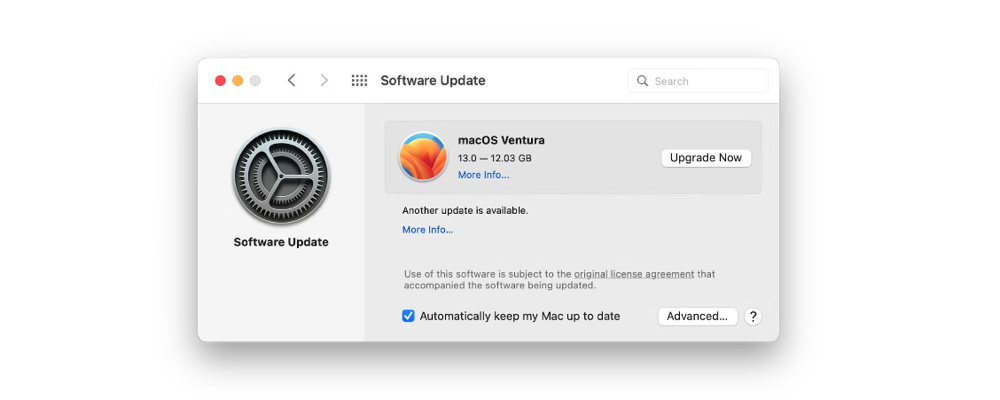
Every year in the fall, Apple formally unveils a new operating system to the world. Apple declared at WWDC in June 2022 that this year's newest operating system, macOS 13 Ventura, would replace macOS 12 Monterey. This new system update was finally made available to the general public on October 24.
Naturally, new systems lead to new issues. Although macOS Ventura's beta version didn't have the same critical performance issues as its predecessors, early adopters of the new operating system nevertheless reported a lot of troubles. These problems have been gathered, and remedies have been offered in this article. Read on to learn how to clean install macOS Ventura and how to address 10 of the most common macOS Ventura problems.
Before the macOS Ventura update
"Should I update to macOS Ventura" is a question that many users ask when faced with this major system upgrade. All computer experts recommend Mac users make a computer backup before performing either a major or minor upgrade to prevent any data loss during the upgrade process. This is an essential step to prepare your Mac to update to macOS Ventura.
Mac's Time Machine is a convenient backup tool to create a full system backup. In the event of the update going wrong, you can use the backup to revert your Mac to a previous state or downgrade macOS Ventura to macOS Monterey.
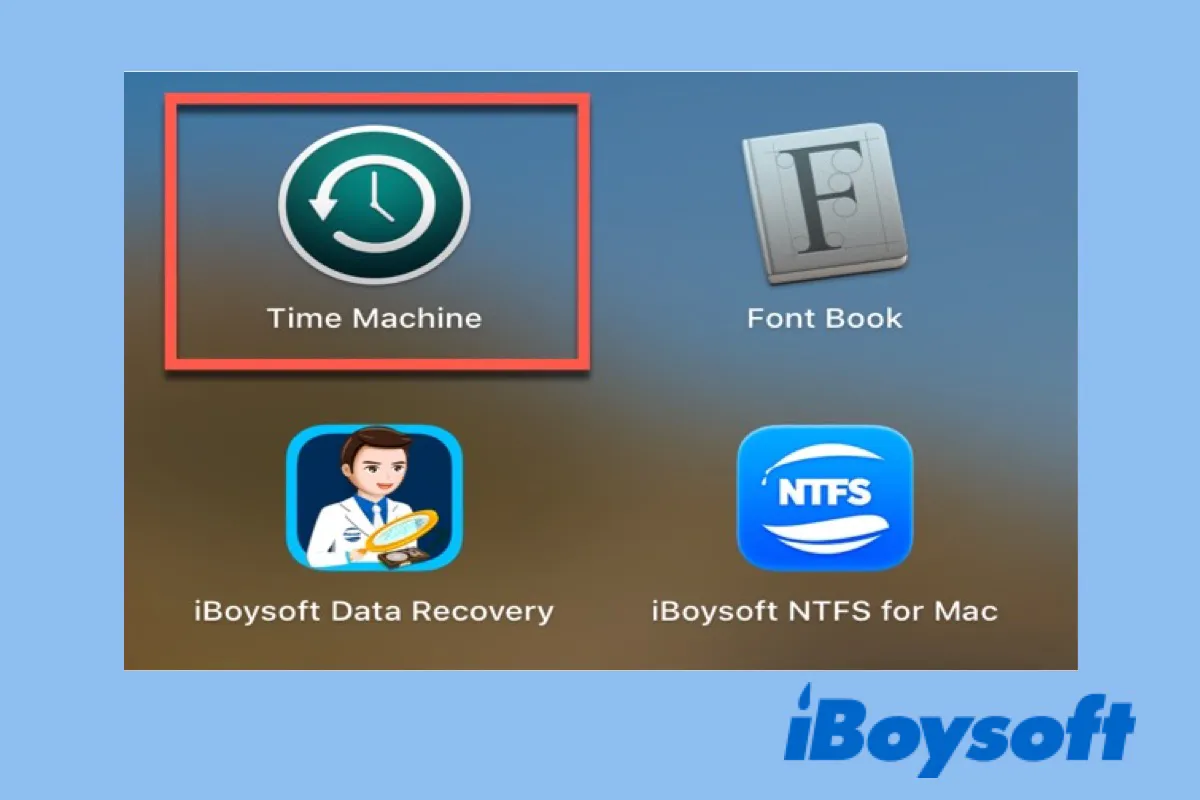
A Time Machine Guide to Back Up and Restore Your Mac
This post will walk you through the steps to set up Mac Time Machine, create Time Machine backups, and restore Mac from Time Machine. Read more >>
Next, if you have a beta version of macOS Ventura installed on your Mac, we also strongly recommend that you uninstall macOS Ventura beta first to provide more free space for the official release and to prevent conflicts between the two versions of the installation package.
Please share the tips with other people for a worry-free macOS Ventura update.
How to fix macOS Ventura Problems: top 10 issues and solutions
We believe Apple has worked very hard to make system upgrades easy, fast, and secure for its users. But inevitably, you will have hiccups before, during, and after the macOS upgrade. Each person will have a different environment to upgrade macOS Ventura, so the problems they encounter may not be the same. The 10 most common macOS Ventura issues are listed below.
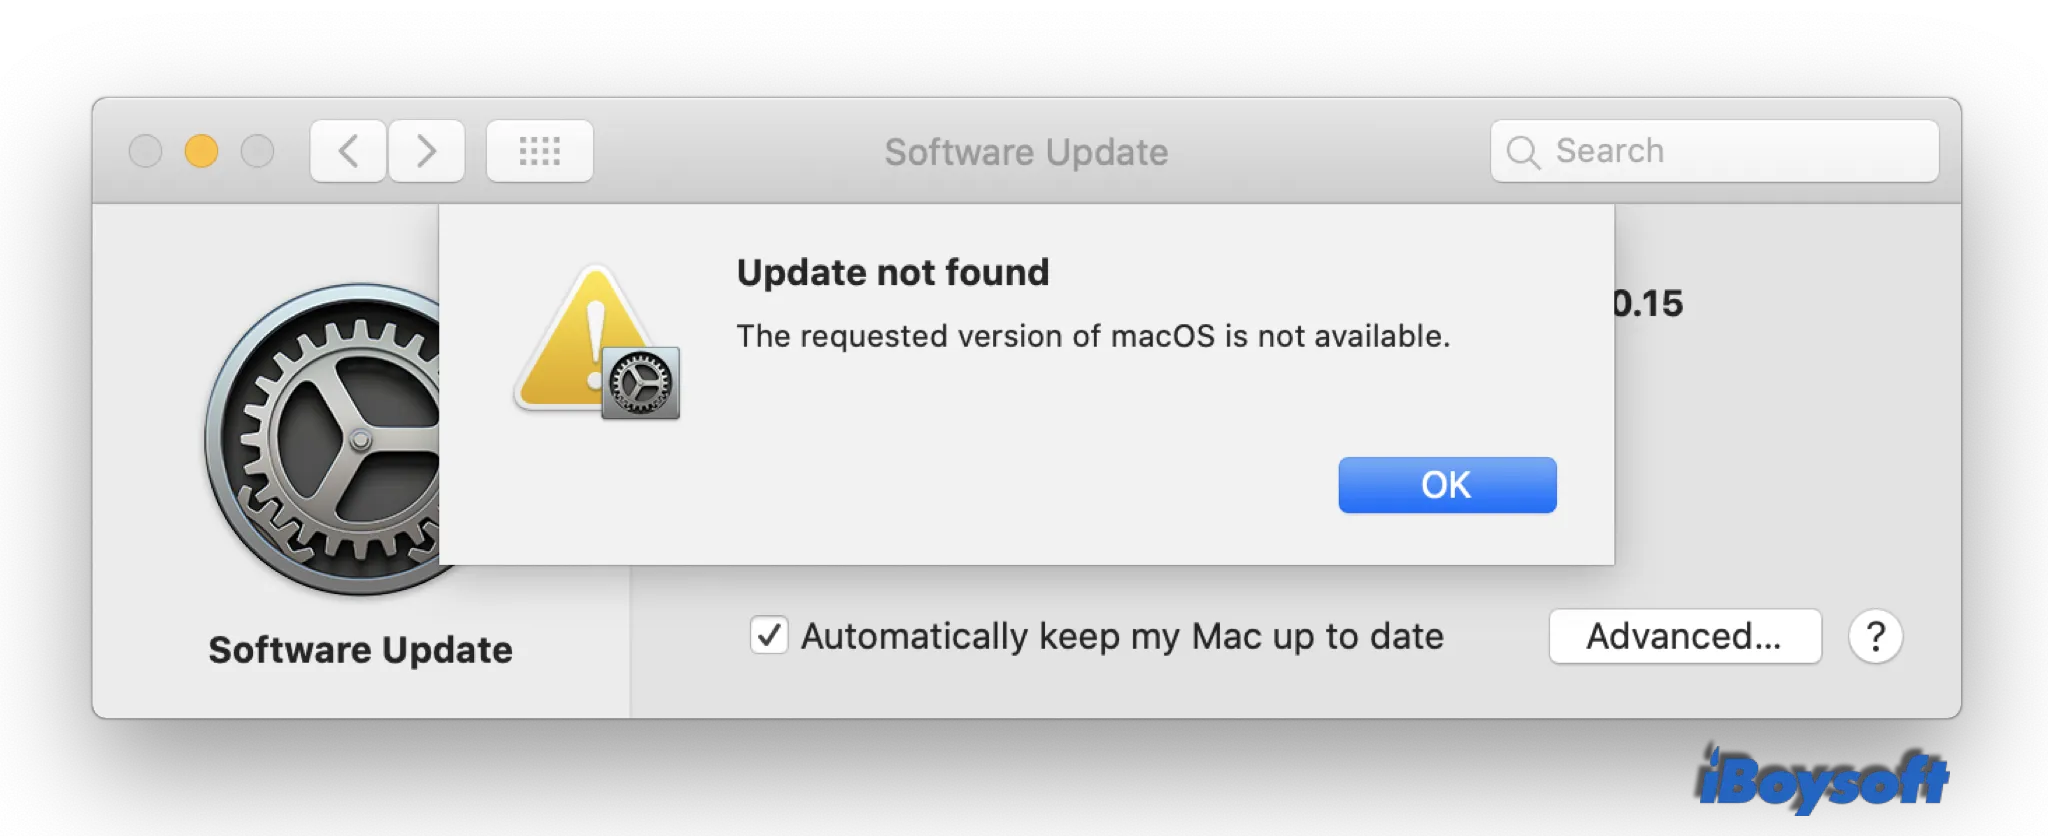
Issue 1: macOS Ventura update not found
It is frustrating when people get stuck at the initial stage – finding the latest macOS Ventura update on Mac. Typically, you can update your Mac to the latest available version using the Software Update feature in System Preferences, but this time you receive the error feedback “The requested version of macOS is not available.”
Verify if your device supports macOS Ventura
This issue may result from the incompatibility between your Mac model and the newest macOS version as some older Mac devices can't run macOS Ventura anymore.
Check your Mac model by going to Apple menu > About This Mac and find if it is in the compatible list:
- iMac 2017 or later
- iMac Pro 2017 or later
- MacBook Air 2018 or later
- MacBook Pro 2017 or later
- Mac Pro 2019 or later
- Mac Studio 2022
- Mac mini 2018 or later
- MacBook 2017
Sync Data and Time with Apple Server
The Mac operating system automatically checks Apple's server for any available updates. Your Mac might not update macOS if the date and time are either ahead of or behind the time of the Apple server. To sync the date and time with Apple's server:
1. Go to the Apple menu > System preferences > Date & Time.
2. Unlock the yellow lock to allow changes.
3. Check the box labeled "Set date and time automatically."

Additionally, you can try the following methods to find the macOS Ventura update:
- Boot your Mac into macOS Recovery Mode and use the Reinstall macOS feature
- Request macOS Ventura update through Terminal
- Install macOS Ventura on your Mac using a USB bootable installer
Note: If your Mac is from your organization, it may prevent you from updating to macOS Ventura with the error "The base build is not compatible for this install method."
Issue 2: macOS Ventura stuck checking for updates
Since macOS Big Sur, Apple has stopped providing delta and combo updates as standalone downloads. As a result, you must download and install the complete update package of macOS Ventura and the system's check for updates may take longer.
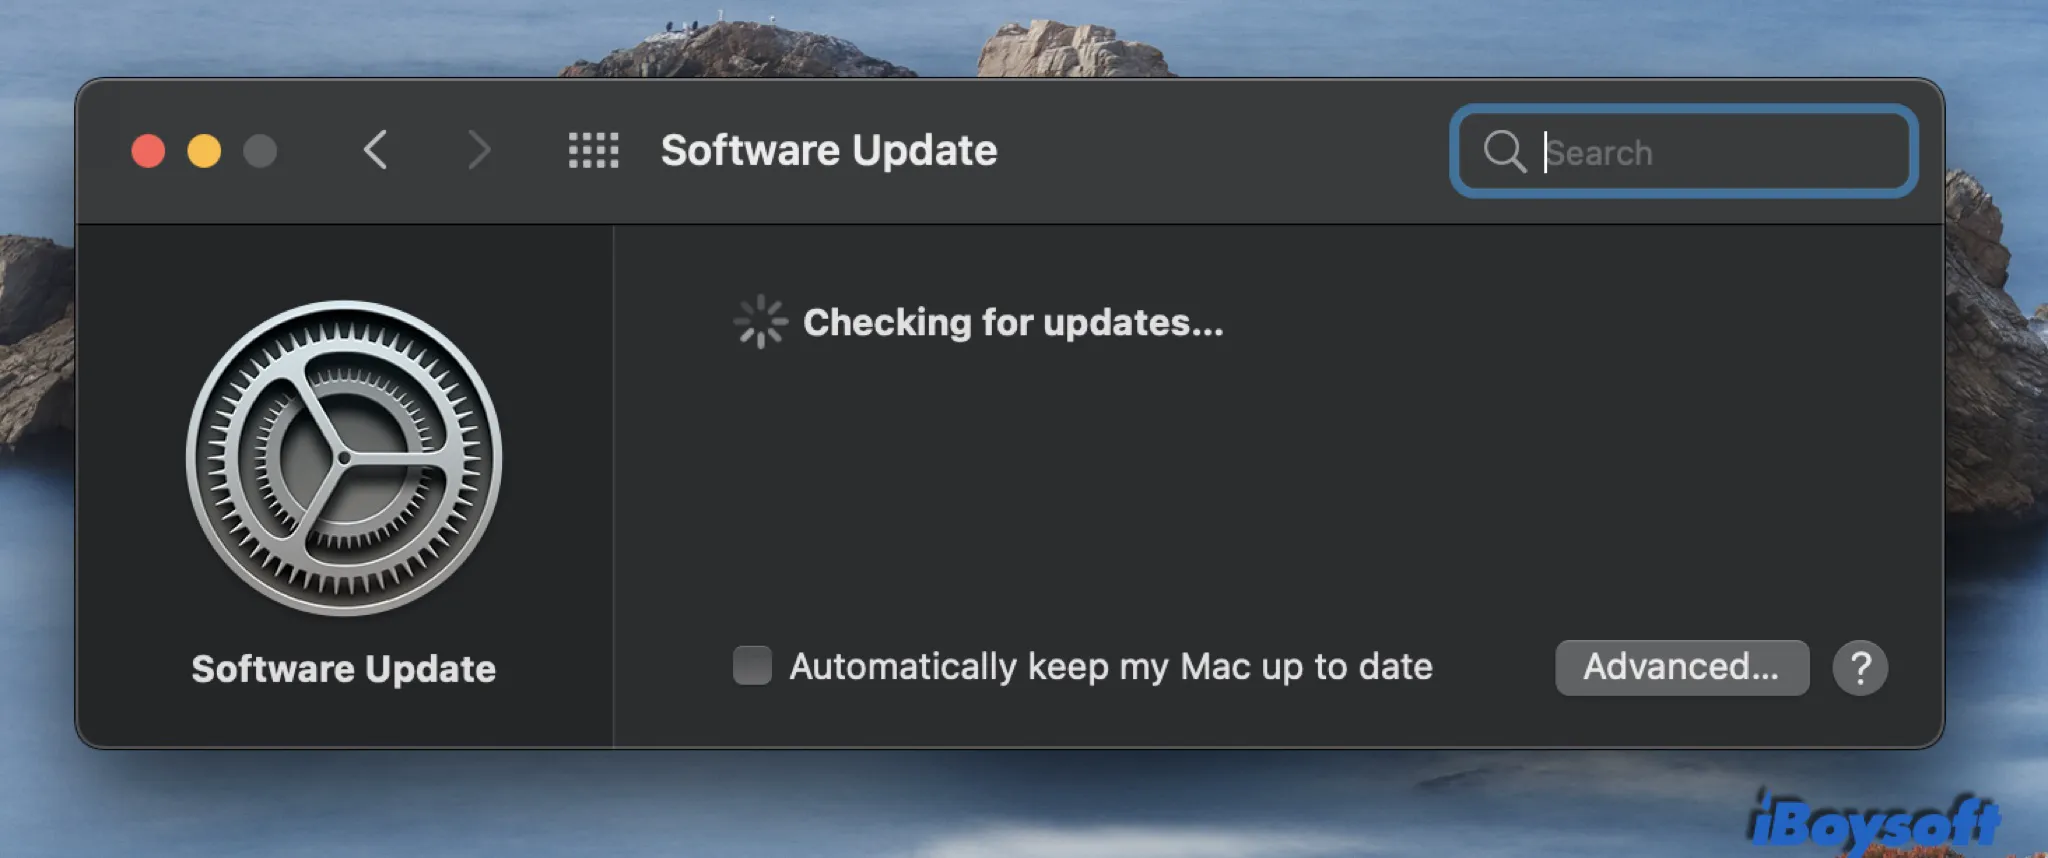
However, checking for updates takes hours and there is still no sign to finish. Some people will be stuck in the checking for updates window for a long time, and others will be warned that “unable to check for updates”, “Internet connection was lost”, and “macOS Ventura download has failed”. It is very probable that some Mac issues are holding back checking for updates.
Check the internet connection
A laggy network is definitely the top obstacle for your Mac to find and download the available updates. It is a good idea to change to another Wi-Fi connection, reboot your router, or stop using other data-intensive services like streaming or gaming.
Sharing will be greatly appreciated by us and your friends.
Issue 3: macOS Ventura download stuck
You are happy when the installation file of the macOS Ventura starts to download and you believe you are about to enjoy a refreshed system in less than an hour. Your smile freezes as the progress bar freezes, especially when the Ventura update download is stuck for less than one minute.
In addition to sudden internet throttling, other possible reasons for the frozen downloading process include an outage in Apple servers and your Mac running out of storage.
Check Apple servers status
There usually is an influx of people updating to macOS 13 during the first week of release. It is very possible that Apple's servers cannot handle the high volume of requests coming in at the same time.
You can head to Apple's System Status page and find “macOS Software Update” in the list to check if it is currently available with a green indicator. Any other colors imply that the Apple servers are too busy to complete the update for you and you should wait until the next day to try again.

Free up more space
For a variety of reasons, especially for the enhanced compatibility with intel and Apple silicon chips and increased security, the installation package for Mac operating system since macOS 11 Big Sur has become very large in size. The current macOS 13 installer itself is around 12GB. With extra free space for breathing during updating, it requires no less than 24GB of free space on the boot partition for a successful upgrade. But, actually, nobody can really confirm the exact free space needed for the Ventura update.
If the macOS Ventura downloading bar has been stuck for hours, use iBoysoft DiskGeeker or the Mac cleaners to clean up some redundant and duplicate files to free up more space.

Not Enough Space to Install macOS Ventura? Try These Fixes
This article provides some feasible fixes to the not having enough space to install macOS Ventura problem and helps you free up the disk space of your Mac. Read more >>
If the downloading bar is still frozen after attempting both solutions, try the following solutions to solve the Ventura download stuck problem.
- Restart Mac to refresh the update
- Disable FileVault to let it not encrypt your new macOS
- Reset NVRAM
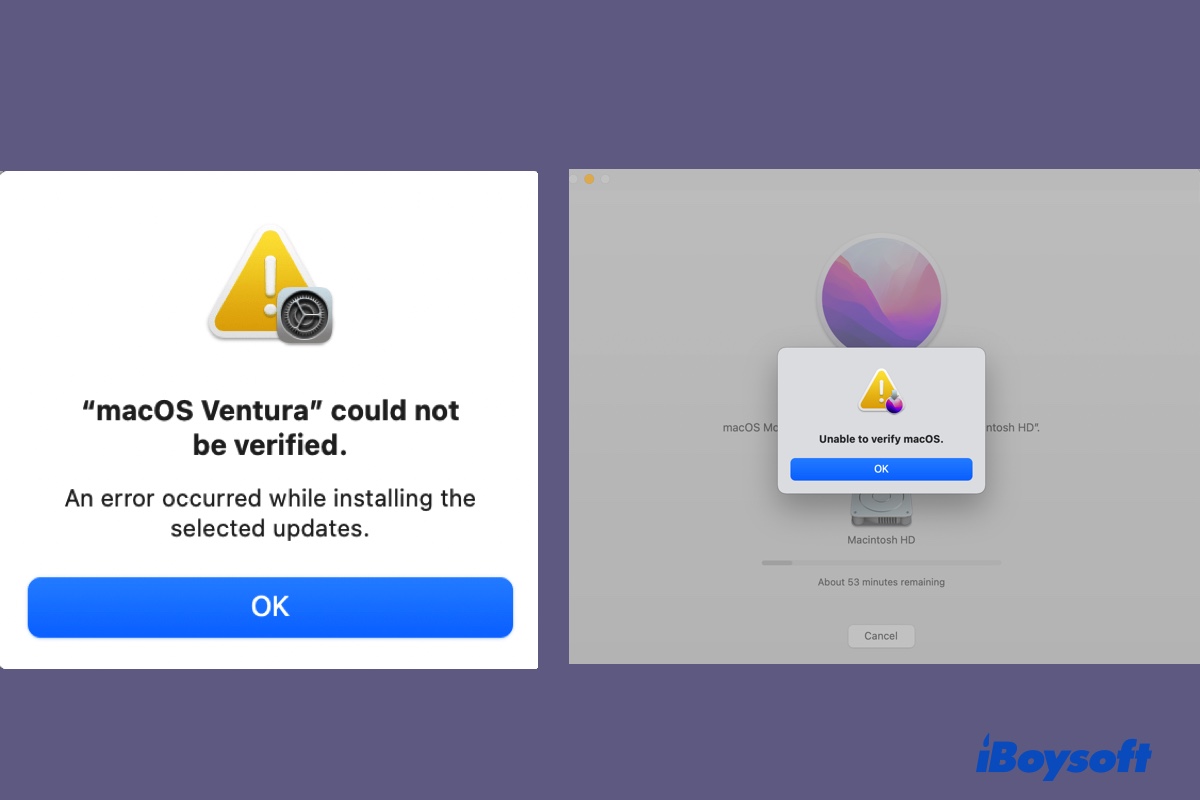
Fix Unable to Verify macOS Ventura/Monterey/Big Sur/Catalina
If you receive "Unable to verify macOS." or "macOS Ventura could not be verified." after downloading macOS Ventura, you can find the solutions in this post. Read more >>
Issue 4: macOS Ventura installation failed
macOS Ventura has been successfully downloaded, but the installation process is stuck or failed with errors like "Failed to personalize the software update." or "An error occurred while installing the selected updates." Besides the reason that Ventura is not supported on your device, it is also possible that some third-party software, drivers, or malware prevents macOS 13 Ventura from installing on your Mac.

macOS Ventura Cannot Be Installed on Macintosh HD [Fixed]
This post offers you 15 fixes to resolve the error reading, "macOS Ventura cannot be installed on Macintosh HD," which you may encounter when installing macOS Ventura. Read more >>
The most effective way to eliminate the effect of unknown factors is to boot Mac to Safe Mode. Safe Mode is a special startup mode that only loads up essential startup items without unnecessary programs and drivers. Then you can try to update to macOS Ventura in Software Update again.
How to boot an Intel Mac in Safe Mode:
1. Turn off your Mac computer and wait for 10 seconds.
2. Press the power button and hold down the Shift key simultaneously to restart your Mac.
3. Release the Shift key until seeing the login window.
How to boot an Apple Silicon Mac in Safe Mode:
1. Shut down your Mac computer and wait for 10 seconds.
2. Press down the power button until the startup options appear on the screen.
3. Click your startup disk.
4. Hold down the Shift key and click Continue in Safe Mode.
5. Release the Shift key until the login window shows up.
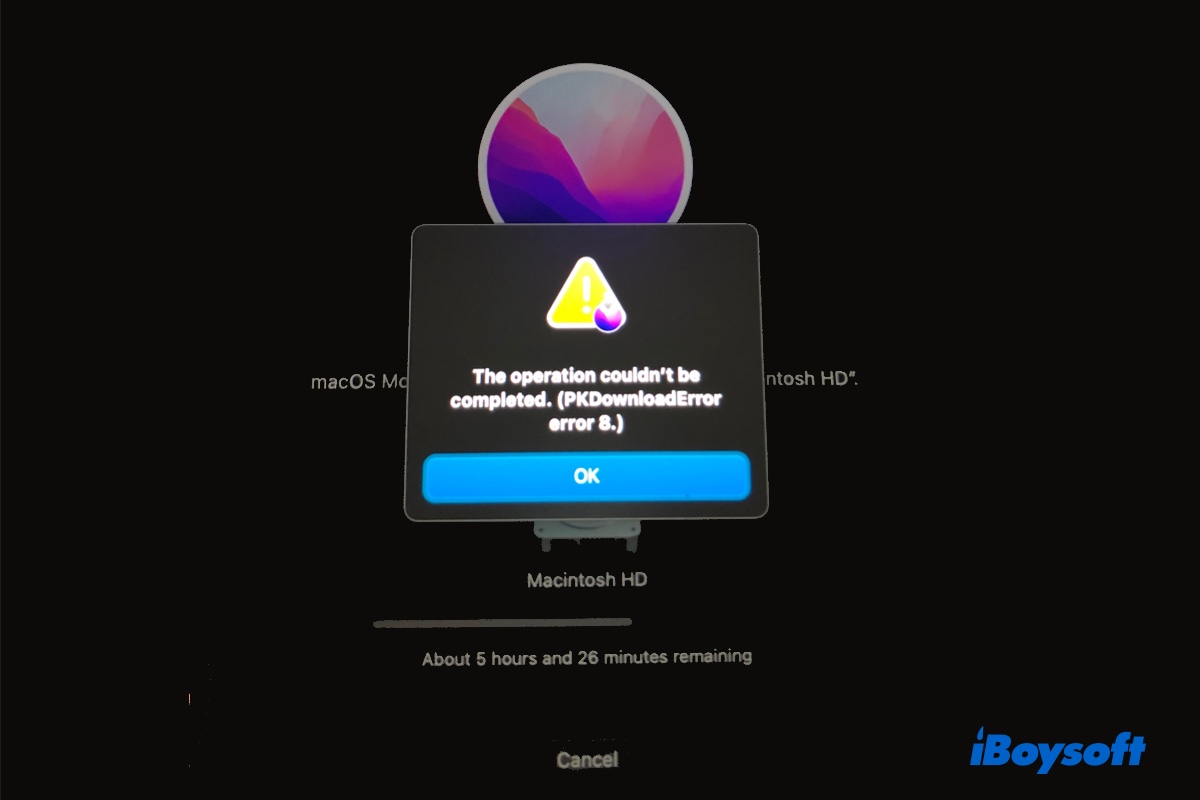
How to Fix PKDownloadError error 8 on M1 & Intel Mac?
If you're unable to install macOS Ventura due to the error reading, "The operation couldn't be completed. ( PKDownloadError error 8.)," this post will give you the solutions. Read more >>
Tips: If you are asked to connect to an internet connection when installing macOS, read: Fix 'An internet connection is required to install macOS' (Ventura)
Do other people a favor to help them have a smooth system update.
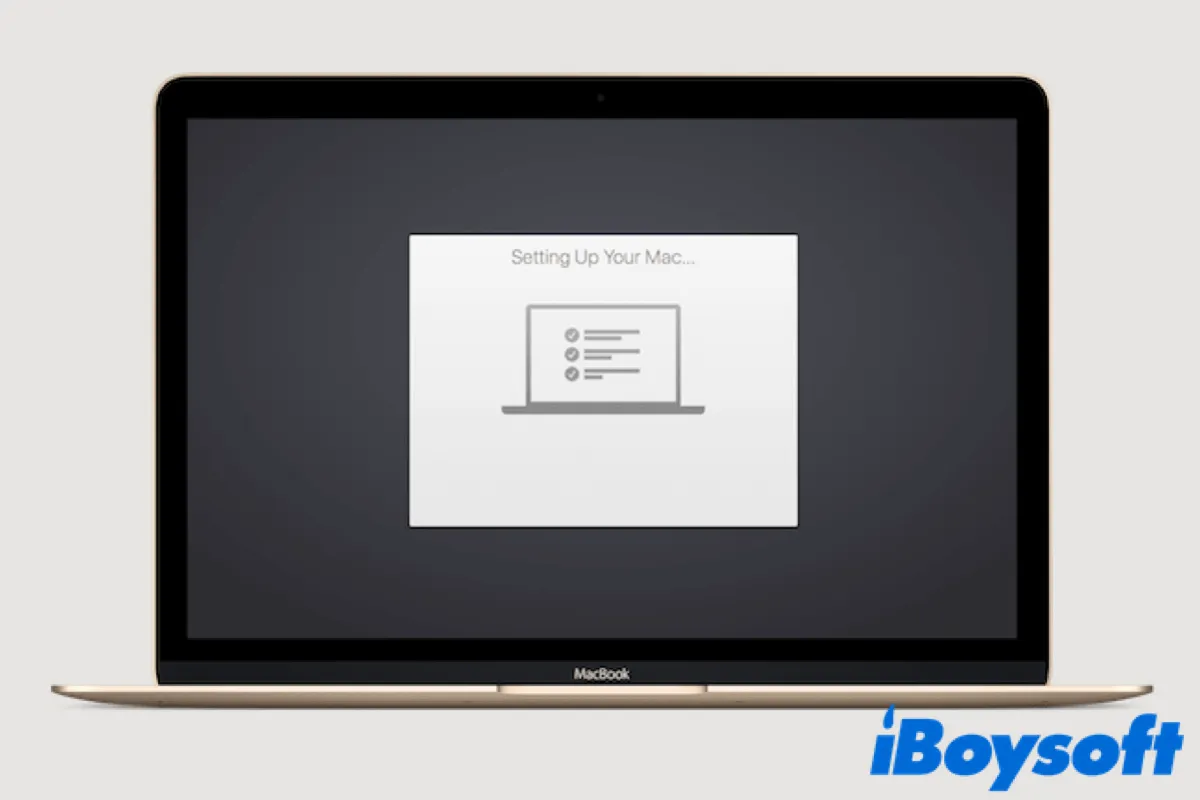
Issue 5: Can't bypass setup page
After reinstalling or upgrading your system, your Mac computer will automatically launch Setup Assistant to help you personalize your device settings such as region, language, Siri, and Apple ID sign-in. However, your Mac displays a “Setting up your Mac” window and the setup never finishes.
Here is how to solve your Mac stuck on the setting up process:
- Force restart your Mac to make the new operating system reload again
- Click Set Up Later to skip the prompt to sign in with your Apple ID
- Boot your Mac into Safe Mode and then restart your Mac in Safe Mode
Issue 6: Mac won't boot after the macOS Ventura update
After installing the macOS Ventura update, your Mac will not boot after macOS update for a variety of reasons, from a minor display issue to more major issues like device bricking. The easy troubleshooting techniques listed below may aid in getting your Mac to start up. If they don't, we advise you to make an appointment at the Genius Bar so the professionals can take care of it.

Disconnect all peripherals
Rare but not impossible, some external accessories may consume an unusual amount of power, resulting Mac not starting up properly such as USB devices disconnecting on macOS Ventura. Unplug the keyboard, mouse, speaker, headphones, external display, USB drive, etc. from your Mac and restart your Mac again.
Issue 7: More Limited NTFS support in macOS Ventura
As announced on Mounty for NTFS website, this free NTFS driver for macOS will not function with macOS Ventura anymore, because
“Apple has changed the entire mount process from the previous kernel-based architecture toward one that runs in user space. The ability to mount NTFS file systems in read/write mode was never a supported end-user function, and was only implemented in NTFS kext to support the BootCamp install process.”
This would be true for other free NTFS drivers such as NTFS-3G and FUSE and mount commands in Terminal as well.
If you want to use an NTFS-formatted hard drive on Mac, you will need to download a professional NTFS for Mac application and purchase a subscription. A professional NTFS for Mac like iBoysoft NTFS for Mac grants you full read and write access to NTFS drives in macOS Ventura and provides basic disk management tools to mount, repair, and format NTFS on Mac.
If you find this article helpful, please tell other people about your joy on social media!
Issue 8: Wi-Fi or Bluetooth not working
The previous settings may be lost in the process of upgrading to the new macOS Ventura, so you will find some services can't connect automatically or are not working anymore. Most issues are found with Wi-Fi, Bluetooth, Apple ID, Airdrop, Airplay, and Screen Mirroring.
Fix Bluetooth not working:
- Turn off Bluetooth in the Control Center and turn it on after 10 seconds
- Disconnect and reconnect all Bluetooth-enabled devices
- Restart your Mac computer
- Go to /Library/Preferences folder using the Go To Folder in Finder, and find the file com.apple.Bluetooth.plist, cut it to another location and restart your Mac.
Issue 9: Battery drain problem
When installing Ventura, a lot of battery energy will be used during the first few days; however, once everything is well-integrated, this should decrease. This Mac battery draining fast issue is most reported by users with Apple silicon MacBook Pro.
Quit top power consumers
Some applications and processes will be abusing your Mac's resources significantly. Your battery will last longer if you stop them from running in the background.
1. Open Spotlight on Mac with Command + Space keys and search for Activity Monitor.
2. Click the Energy tab and find apps that have the most Energy Impact.
3. Select the app and click the quit button which is an X icon at the top.
4. Click Quit or Force Quit to stop the app from consuming too much energy.
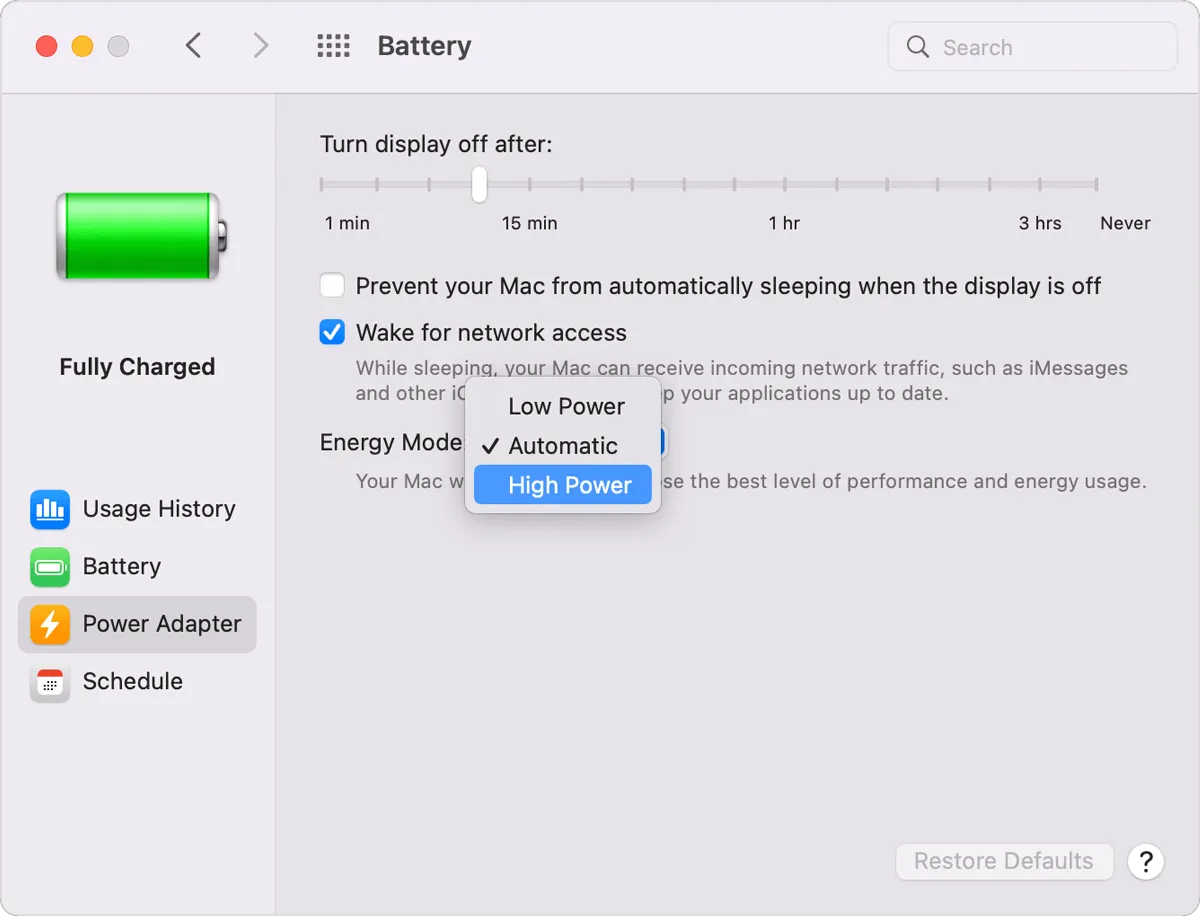
Disable High Power Mode
High Power Mode is currently an exclusive Mac power mode on 16-inch MacBook Pro models with an M1 Max chip, which is designed to improve performance in the graphics-intensive workflow. Undoubtedly, this mode will drain your battery like crazy.
1. Open the Apple Menu and select System Preferences.
2. Select Battery and then choose Power Adapter.
3. Select Low Power from the Energy Mode pop-up menu.
You can alter other settings on Mac to save energy:
- Reset Energy Saver preferences to reduce the time before the display falls asleep
- Disable the keyboard backlight on your Mac laptop
- Unplug any idle external devices
Issue 10: Performance issues after the Ventura update
The last most common problem that users encounter is a Mac noticeably underperforming after major system changes. Don't panic. The new operating system is adapting or your Mac is a little bit struggling if it is one of the earliest Macs that support Ventura.
A list of performance issues when macOS Ventura is unstable:
- Your Mac is running slower than usual
- Your Mac is overheating
- macOS Ventura or the app occasionally crashes
- macOS Ventura memory leak
Update apps
For macOS Ventura, many developers have already upgraded their applications. This indicates that you should apply those updates in case they become outdated. If you downloaded your apps from the App Store, you may update them there. If you downloaded them from their official websites, you can reinstall them.
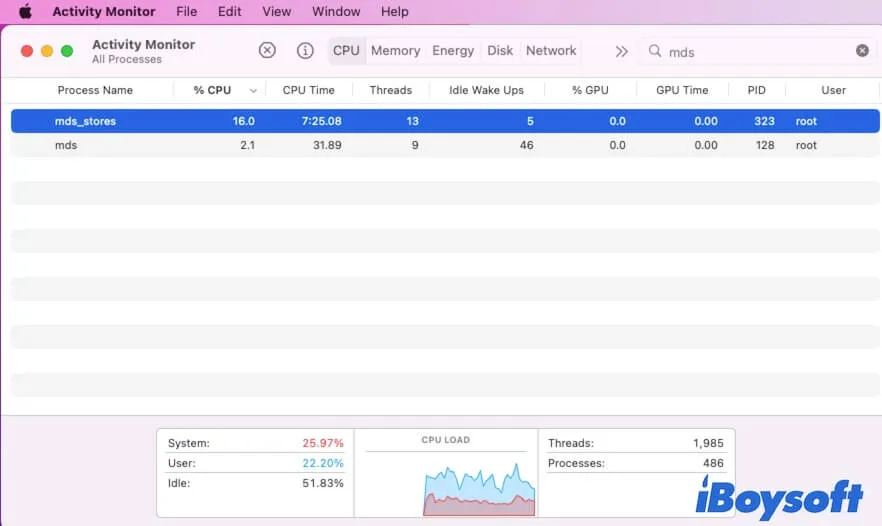
Close processes with high CPU usage
Some processes will take up an unusual amount of CPU capacity, close to 100%, for no obvious reason. As a result, your Mac becomes sluggish and could break down at any minute.
For example:
- Continued corespotlightd CPU overload
- What is MRT on Mac: MRT Process High CPU Usage
- What Is Mds_stores on Mac | Fix Mds_stores High CPU
- What Is WindowServer on Mac & How to Reduce Mac WindowServer CPU Usage
- Fix Mac Kernel-task High CUP Usage Issue & Find the Causes
- What Is Process Bird on Mac & How to Fix Its High CPU Usage
1. Open Finder > Applications > Utilities > Activity Monitor.
2. Click the CPU tab and analyze the CPU usage.
3. Select any process that consumes an abnormally high percentage of CPU and close it.
Now tell the world that you are ready for macOS Ventura.
Enjoy your new system!
Hopefully, this article helps you address the issues you come across and get your Mac ready for macOS 13 Ventura. If you encounter any new troubles, please share your experience with us and we will try to find and test solutions to get the problem solved for you.
macOS Monterey Update Problems and Fixes (Roundup)
This post is a roundup list of common macOS Monterey problems and fixes. The latest update includes issues like memory leaks and old Macs bricked after the macOS Monterey upgrade. Read more >>
Related reading:
・Fix macOS Ventura not detecting external monitors
・Fix Mac Notifications Not Showing/Working on Ventura/Monterey
・4 Ways to Recover Files after macOS Ventura Update
・macOS Ventura Recovery Mode Missing, Try These Fixes!
・[Fixed!] macOS Ventura WindowServer Prevents from Sleeping
・Kernel panic while in sleep on macOS Ventura
・Stage Manager Not Working on macOS Ventura? Fix it Now!
・macOS Ventura installer error 702
・macOS Software Update is Trying to Authenticate User? Solved!
Thanks for reading this article. Thank you for sharing it in advance.