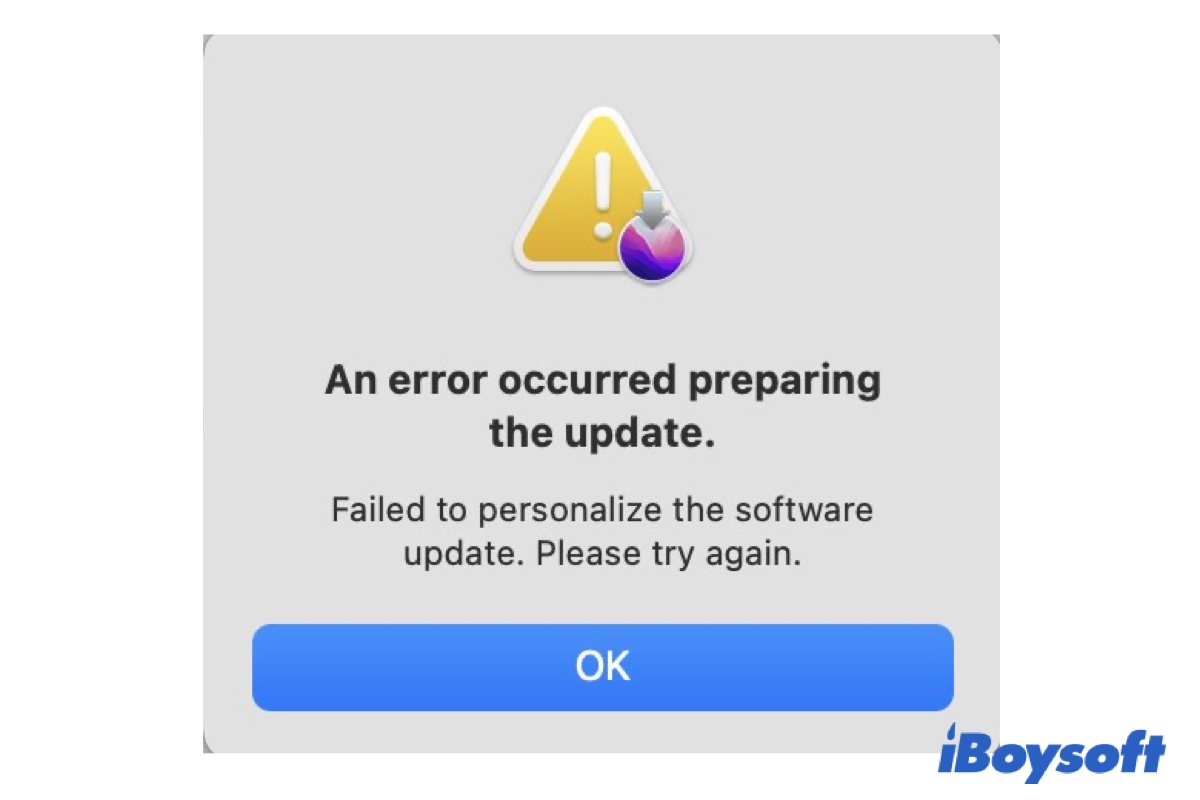
Your Mac won't update to macOS Tahoe or M1 MacBook fails to update to macOS 15.4 Sequoia, Sonoma, Ventura, Monterey, or Big Sur, and gets "An error occurred preparing the update. Failed to personalize the software update. Please try again."
There's also a similar error on Intel-based Macs: "An error occurred preparing the update."

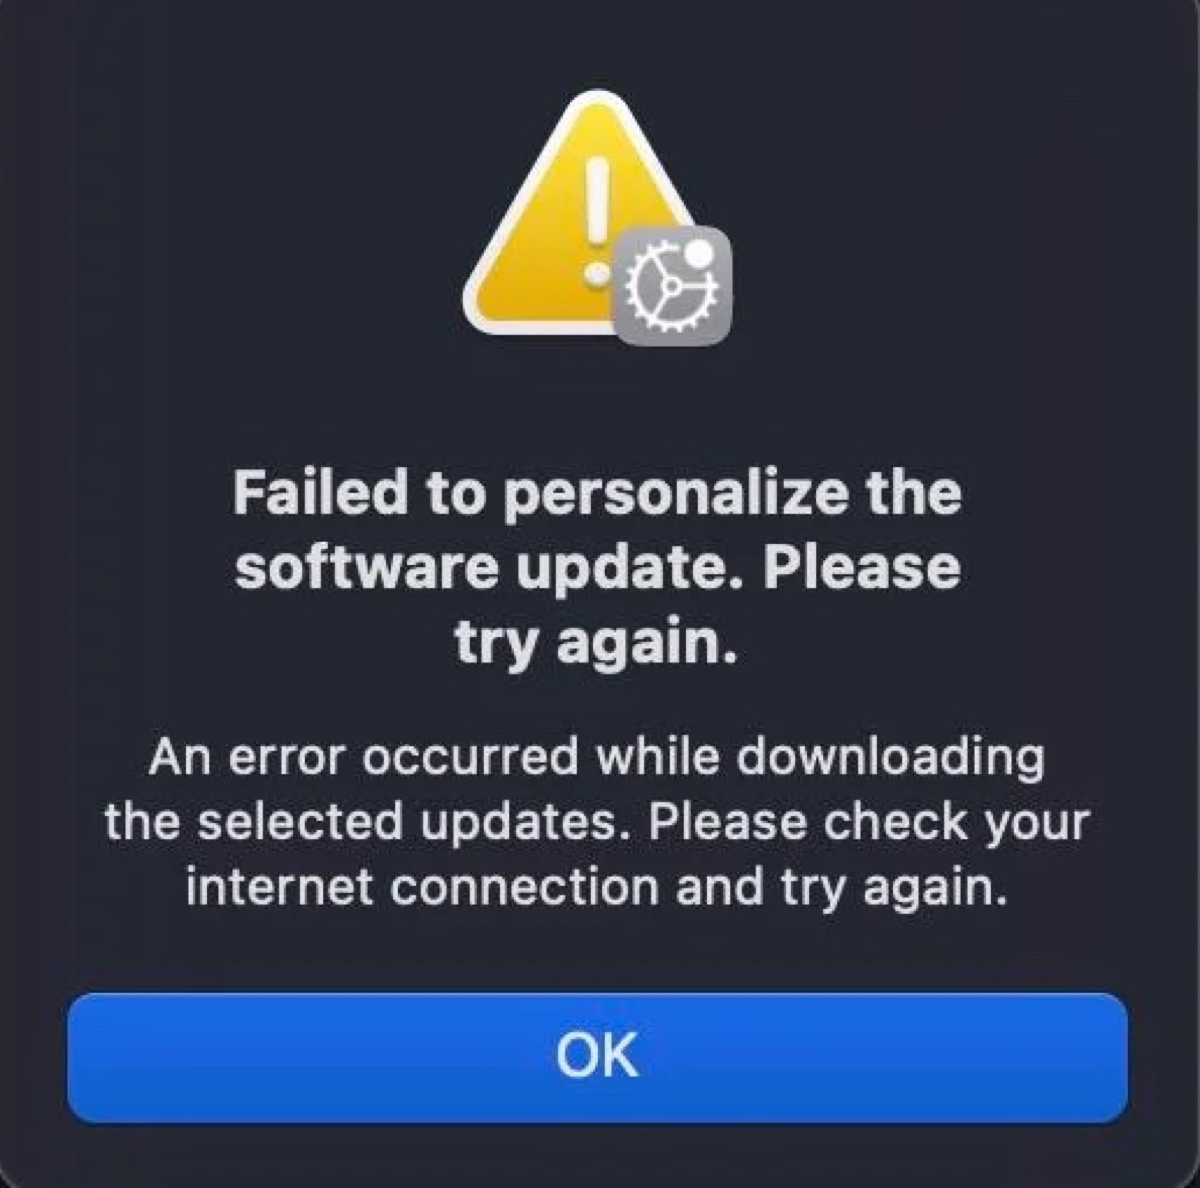
Another one related to the personalization error on Apple Silicon Mac is "Failed to personalize the software update. Please try again. An error occurred while downloading the selected updates. Please check your internet connection and try again."
If you can't install or upgrade to macOS Tahoe, Sequoia, Sonoma, Ventura, or another version due to one of the above errors, you can tap OK to dismiss the notification and then try the following solutions.
Note: If you fail to update to macOS Tahoe on a Mac Studio, follow: Fix 'can't install macOS Tahoe on Mac Studio M3 Ultra'.
Fix 'An error occurred preparing the update' when updating macOS Sequoia or earlier
There are various errors you may encounter when updating to macOS Sequoia, Sonoma, Ventura, Monterey, or Big Sur. Here are the solutions to try if one of the following issues is causing trouble.
- An error occurred preparing the update.
- An error occurred preparing the update. Failed to personalize the software update. Please try again.
- Failed to personalize the software update. Please try again. An error occurred while downloading the selected updates. Please check your internet connection and try again."
- Restart your Mac
- Check the internet connection
- Free up space on Mac
- Install from App Store
- Install from Safe Mode
- Install from a bootable USB installer
- Check your RAM
Restart your Mac
A reboot can sometimes do magic. It clears minor glitches that may prevent macOS Sequoia or other macOS versions from personalizing the software update. To restart your Mac, you can close the error notification, click the Apple logo, and select Restart.
If you are upgrading to macOS Monterey or earlier from System Preferences, check if the full installer is downloaded in your Applications folder. If it is, delete it, empty Trash, and try to upgrade again.
If you can't get to your desktop, hold the power button until your Mac shuts down, then start up your Mac again. Suppose it still won't boot up to the desktop; then you can manually select the startup disk following the steps below.
- On an Intel-based Mac: Press the power button and hold down the Option key until Startup Disk options appear. Then select your startup disk and click the up arrow.
- On an M1 or M2 Mac: Press and hold the power button until seeing "Loading startup options," then select the startup disk and click Continue.
Check the internet connection
For a Mac to be updated or upgraded, it needs to pass the authorization process of the Apple server, which includes checking the measurements presented by the requesting Mac against versions whose installation is permitted. When the server finds a match, it adds the Mac's unique ECID to the measurement and signs the result.
Because of the adding of ECID, the process is personalized. And this personalized update process is also why you need an internet connection to update your Mac with Apple Siclion chips or T2 chips. Nevertheless, if the process is interrupted due to a poor network connection or other internet issues, you will likely receive "Failed to personalize the software update." on Monterey or other macOS versions.
So, a necessary step to dealing with "An error occurred preparing the update." on Mac is to check your internet connection, as guided below.
- Use a different WiFi network. For instance, if you are attempting to update macOS at work, you can take it home and try your home WiFi.
- Reset the DNS of your router to the default if it's customized.
- Try using an Ethernet connection.
After the internet connection is improved, you can retry the upgrade. If the issue persists, continue with the other fixes below.
Free up space on Mac
Not having enough space is also an important factor that may cause an update to fail with "An error occurred preparing the software update." on Sequoia/Sonoma/Ventura/Monterey/Big Sur. You can free up space on Macintosh HD by deleting unnecessary files and emptying Trash.
However, it's not convenient to go over every folder for files no longer needed, and it's even challenging to find the system junk accumulated over the years. To efficiently reclaim more storage, you can free download iBoysoft DiskGeeker. It has two dedicated disk-cleaning features that you can utilize to locate and delete large files and system junk easily.
- Clean Junk: It scans the system volumes (Macintosh HD & Macintosh HD - Data) for potentially unwanted junk files, such as temporary data, user logs, user & app caches, unemptied files in Trash, emails, and files in the Downloads folder.
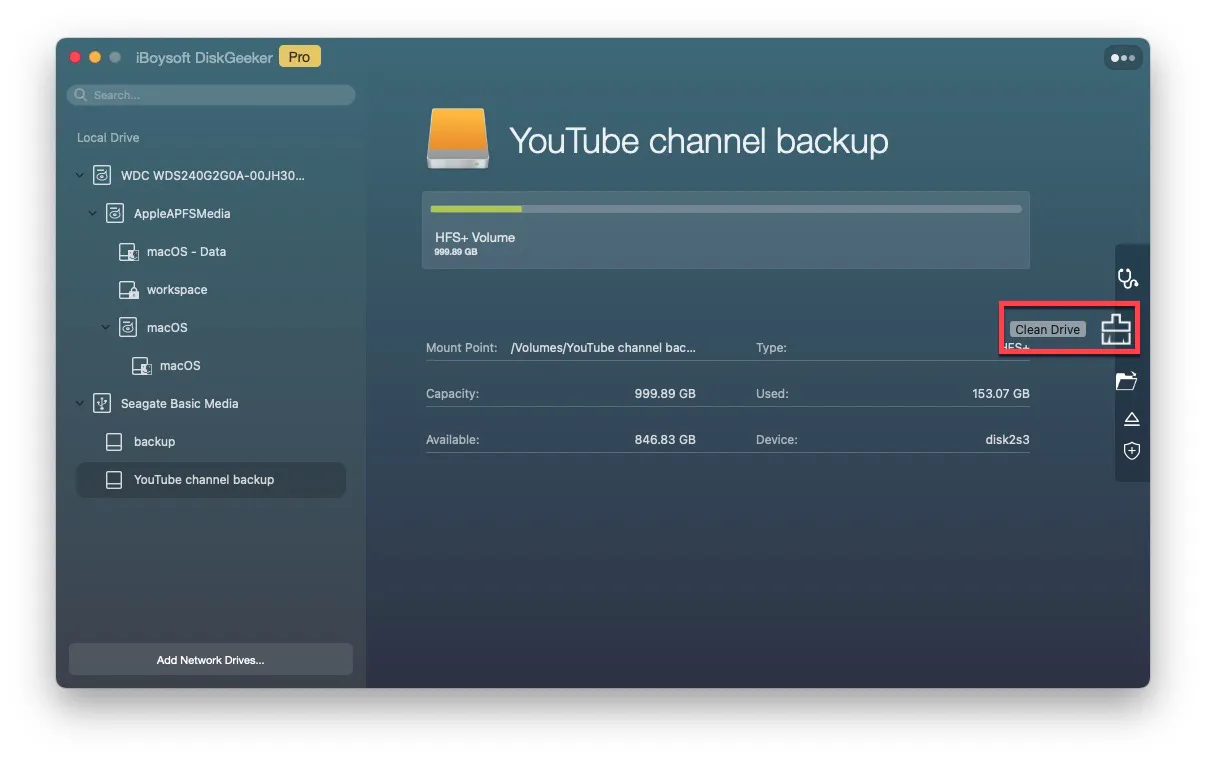
- Clean Drive: It searches every corner of the selected volume or partition and structures found data in an easy-to-navigate way so that you can sort folders in size and quickly delete files that are large and unnecessary.
You can download it for free and follow the steps below to free up space without mistakenly deleting important files.
How to free up space on Mac:
- Open iBoysoft DiskGeeker from your Applications folder.
- Select a partition from the left side and click "Clean Junk."
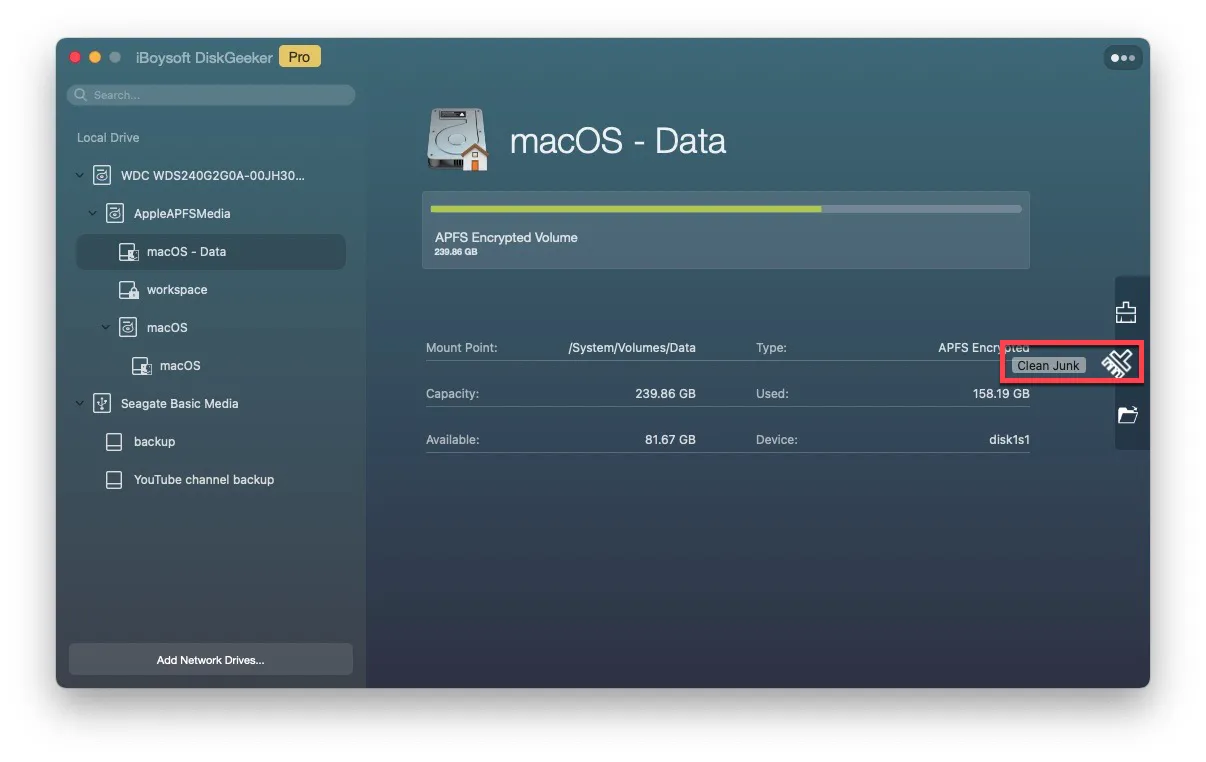
- Check the box before the files and folders you want to delete.
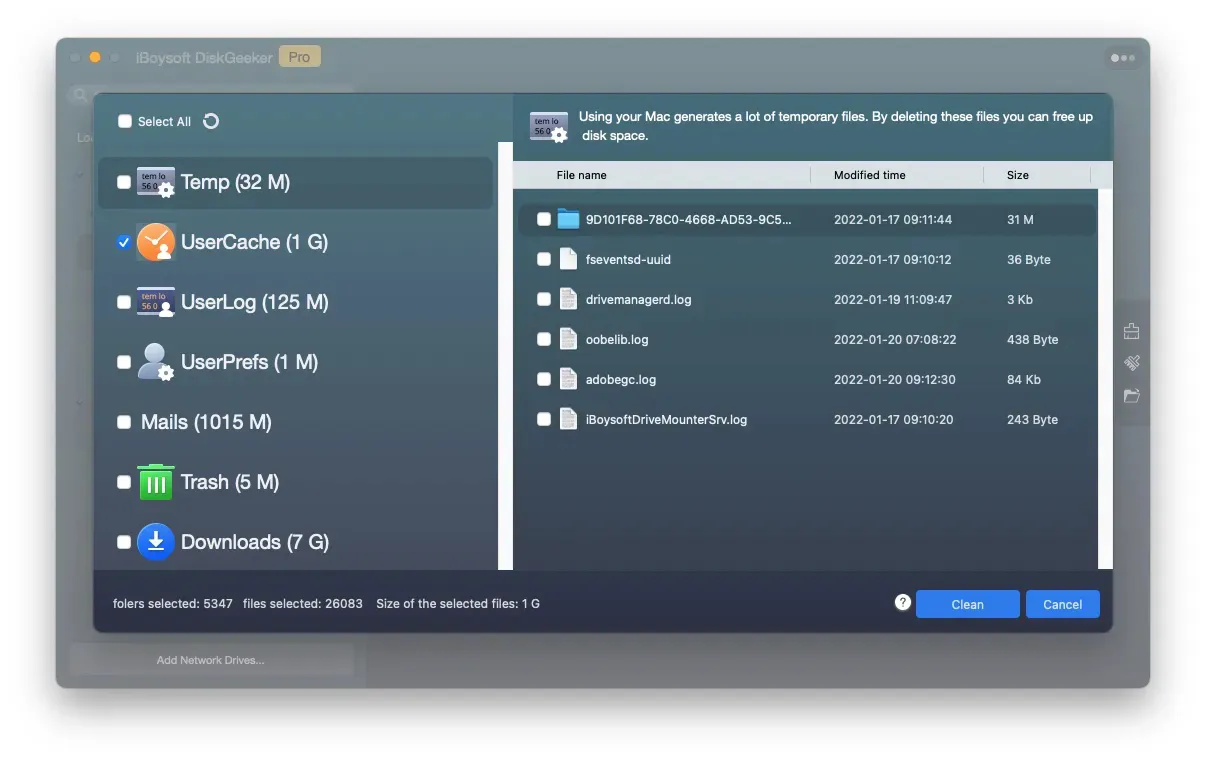
- Click Clean > OK.
- Select the partition again and click "Clean Drive."
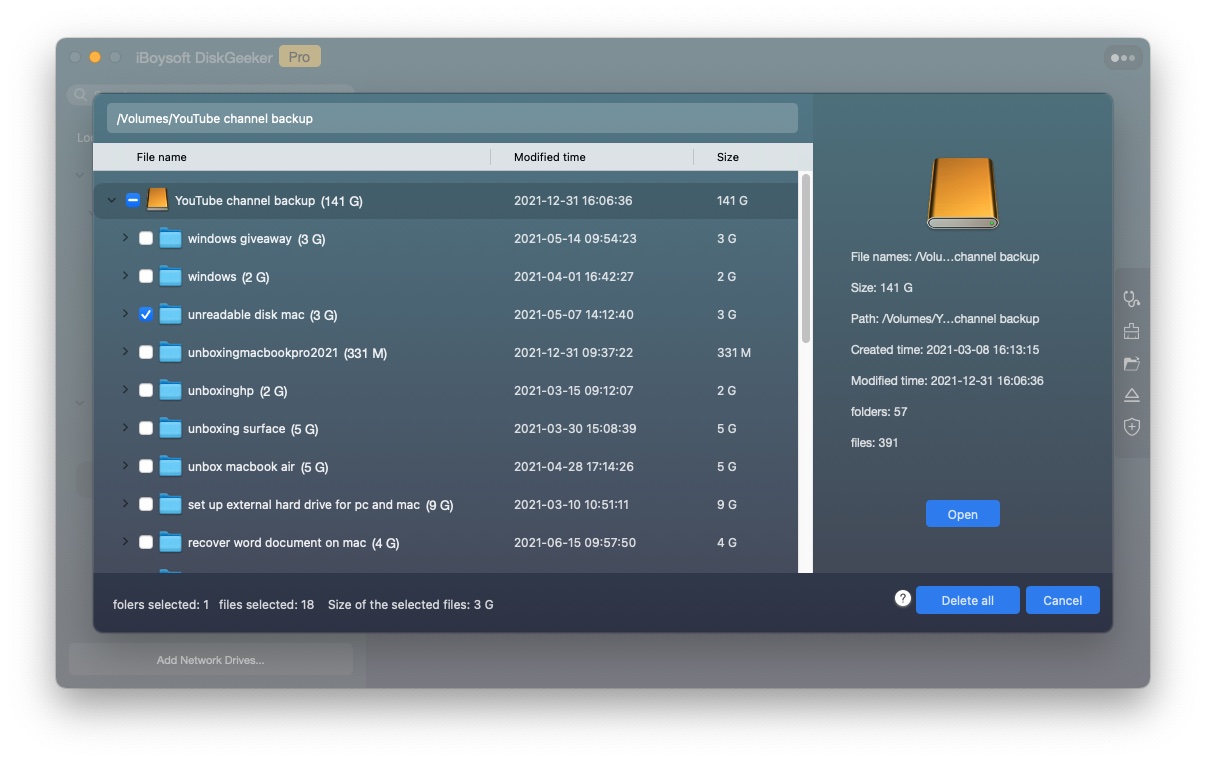
- Choose a file and click Open to view the content.
- Tick the box before the files you want to delete and click "Delete All."
Install from App Store
Suppose the "Failed to personalize the software update" on Sequoia/Sonoma/Ventura error continues to pop up even after you have made enough available space for the upgrade. Then you should try to initiate the download from the App Store.
It's noteworthy that updating to macOS Sequoia/Sonoma/Ventura from System Preferences only gets a minor software update. To get the full installer, you need to visit App Store.
- Open App Store on your Mac.
- Search for the macOS you want to install, e.g., macOS Vetnura.
- Click Get > Download.
- Open the full installer from your Applications folder.
- Follow the instructions to install it. When prompted, select your startup volume as the destination, which usually is Macintosh HD.
Hopefully, following these steps has eliminated the "Failed to personalize the software update" or "An error occurred preparing the update." error. If not, move on to the next fix.
Install from Safe Mode
If you can't update from System Preferences and App Store on a regular boot, Safe Mode is one way to go. It only loads the essential components macOS needs for booting up, preventing third-party login items from interfering with the installation. Once entering Safe Mode, you can upgrade from System Preferences again.
Install from a bootable USB installer
Alternatively, you can update your Mac by installing the latest macOS from a bootable USB installer. This will erase the old system files but keep your personal files and data intact, but you're still recommended to back up your Mac with Time Machine before getting started, as you might run into other errors that cause data loss.
If you have created a bootable USB installer with the macOS you want to install, follow the steps below to boot from it. For Macs with T2 chips, you must first allow booting from USB in Startup Security Utility.
On an Intel-based Mac:
- Shut down your Mac.
- Connect the USB bootable installer to your Mac.
- Press the power button, then immediately hold down the Option key.
- Release the key when seeing startup disks.
- Select the USB installer and click the up arrow.
- Click "Install macOS (Sequoia)" > Continue.
- Install macOS by following the onscreen instructions.
On an M1 Mac:
- Turn off your Mac.
- Connect the USB bootable installer to your Mac.
- Press and hold the power button until the "Loading startup options" shows up.
- Select the USB installer and click Continue.
- Select your user account and enter the password if required.
- When the macOS installer pops up, follow the instructions to install it.
If you still find "Failed to personalize the software update" or "An error occurred preparing the software update" on Sequoia/Sonoma/Ventura/Monterey/Big Sur, you can erase the startup disk and try installing macOS from the USB installer again.
Check your RAM
Bad RAM will also result in "An error occurred preparing the software update" on Monterey or other macOS versions. You can test whether there's a bad stick by running Apple Diagnostics or a free app covered under the GNU GPL called Rember. If you find a bad RAM, you can replace it or re-situate the others following video guides online.
If you have fixed "An error occurred preparing the update. Failed to personalize the software update. Please try again." on macOS Sequoia/Sonoma/Ventura with the above solutions, please share it with your friends.
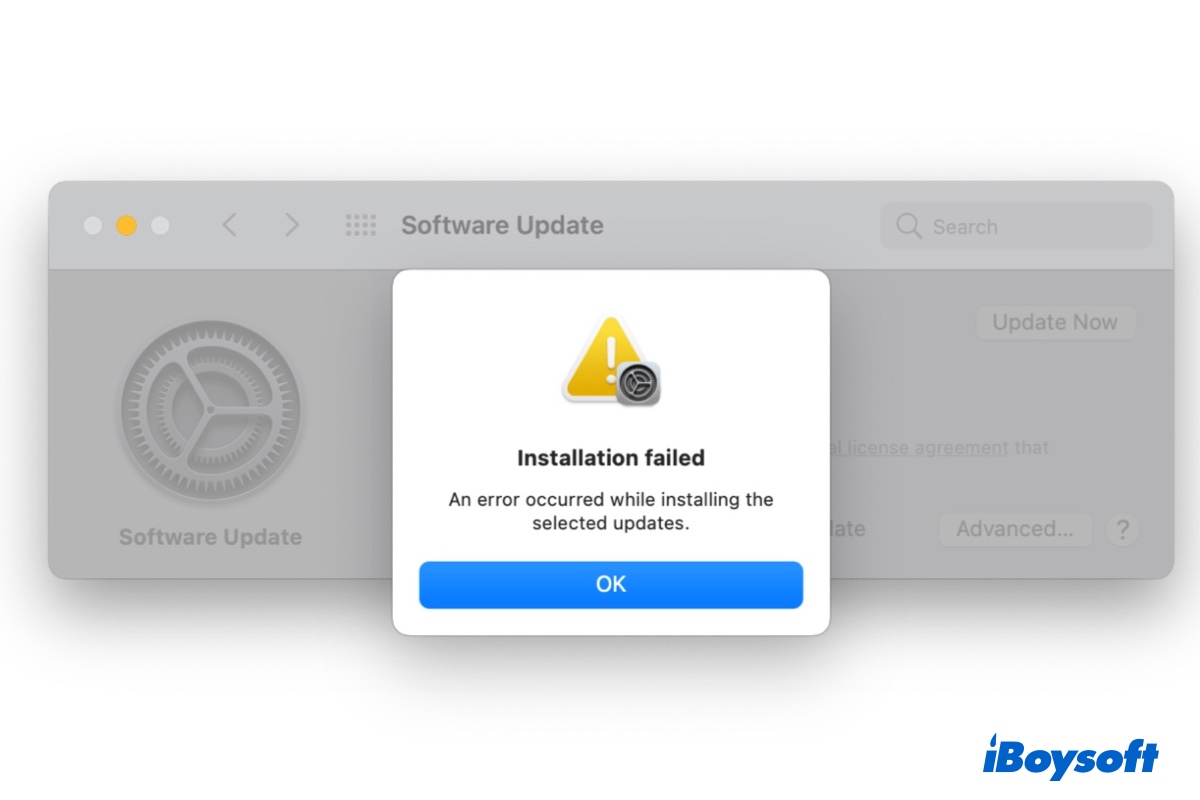
Fix 'An error occurred while installing the selected updates.' on Mac
If you failed to install or update macOS but received an error message saying, "An error occurred while installing the selected updates," you can find solutions in this post. Read more >>
Fix 'Failed to personalize the software update' on M1 Mac when reinstalling macOS
The "An error occurred preparing the update. Failed to personalize the software update. Please try again." was originally a Big Sur issue that occurred when reinstalling macOS on M1 Macs after erasing the drive in Disk Utility. Now, it's also happening with users who want to reinstall macOS Sequoia, Sonoma, Ventura or Monterey.
To fix "Failed to personalize the software update. Please try again." on M1 Mac, try the solutions below. Note that fixes that concerning erasing your Mac will delete all of your data. If your Mac wasn't formatted when receiving the personalization error, you need to back up your Mac with Time Machine beforehand.
Use a bootable installer
If you can't reinstall macOS through the Mac Recovery Mode, an alternative is to create a bootable macOS installer and boot from it to install macOS on your Mac. You can prepare a USB or external hard drive to make the installer.
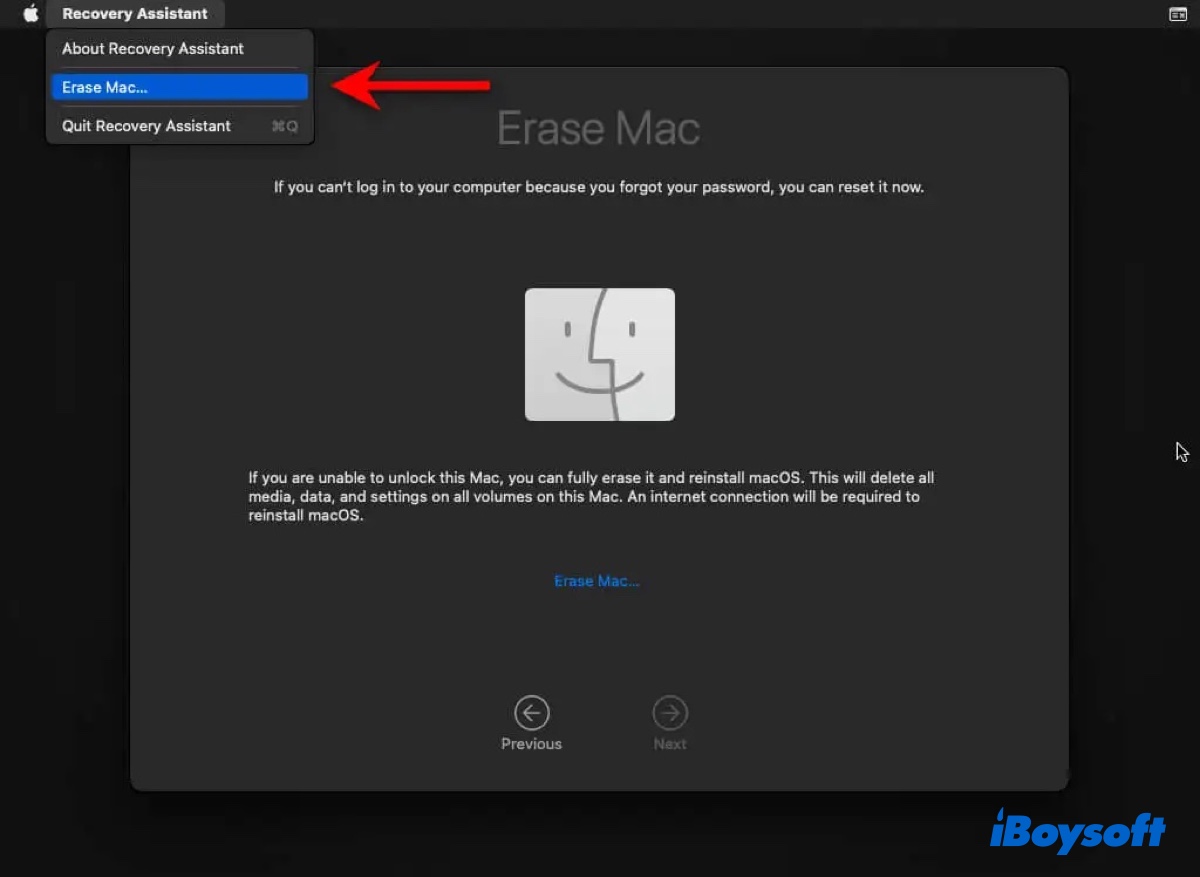
Erase your Mac from Recovery Assistant
Another way to fix "Failed to personalize the software update." on Mac is to erase your M1 Mac through the Recovery Assistant menu. Ensure the WiFi is connected and go through the following steps:
- Shut down your Mac.
- Press and hold the power button until seeing "Loading startup options."
- Click Options > Continue.
- Click Recovery Assistant > Erase Mac.
If you don't see Recovery Assistant, you likely have FileVault enabled. Try the following process to activate it:
- Click Utilities > Terminal.
- Type in the command below and hit Enter.resetpassword
- Tap on the "Reset Password Failed" window and click Recovery Assistant at the top-left.
- Click Erase Mac.
After that, you need to click Erase Mac two more times to confirm the action. When done, your Mac will automatically restart and prompt you to select a language and WiFi. Then you'll be given the option to "Exit to Recovery Utilities."
Once back in Recovery Mode, you can use Disk Utility to erase the startup disk again and properly name it Macintosh HD if it's not already. At last, you can click Reinstall macOS to finish the installation.
Were you able to avoid the "An error occurred preparing the software update. Failed to personalize the software update. Please try again." on Sequoia? If so, please share these solutions to help more people.
Erase your Mac from iCloud
Some users managed to fix the error that reads, "An error occurred preparing the update. Failed to personalize the software update. Please try again." by erasing their Macs from iCloud. If you haven't done that, it's worth a try.
- Open iCloud.com.
- Select Find iPhone, then click "All Devices."
- Select the Mac you want to erase from the list of devices.
- Click Erase Mac > Erase.
- Enter your iCloud password.
- Enter a six-digit passcode for the Mac you intend to erase.
- Enter a recovery message and tap Done.
Restore from Apple Configurator
If you have a spare Mac, you can utilize the Restore feature of Apple Configurator to resolve "Failed to personalize the software update. Please try again." on M1 Mac. A restore updates the firmware and recoveryOS to the newest version, erases your Mac, and reinstalls the latest macOS version on your internal storage.
Apple's guide has laid out all the steps required. But if you struggle to enter DFU mode with the given instructions on your M1 notebook, try the steps below.
- Shut down your Mac.
- Press and hold the power button until "Loading startup options" appears.
- Hold down the power button along with the right Shift + left Option + left Control keys simultaneously for about 10 seconds.
- Release the three keys after 10 seconds but keep pressing the power button until a DFU icon shows up in Apple Configurator on the spare Mac.
Please share this post if you find it helpful.