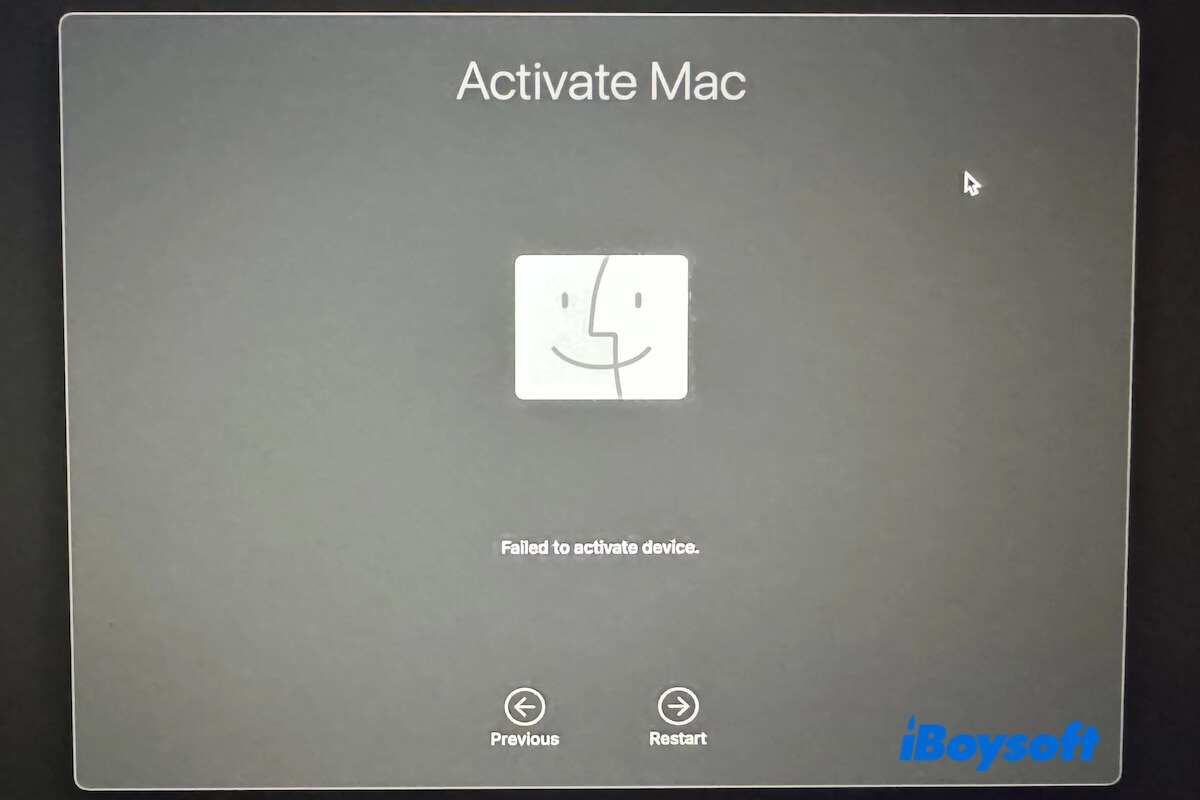
If you see the "Failed to activate device" error during macOS Sequoia installation, don't fret about it. It is a common issue on M1, M2, M3 MacBook Pro and MacBook Air.
In this post, we'll tell you the tricks to fix your Mac that failed to create activation requests and help you restore your Mac to the original state or continue factory resetting it successfully.
How to fix "Failed to activate device" on MacBook Pro/Air:
- Check Wi-Fi connection
- Repeatedly try to activate the Mac device
- Restore your Mac with DFU mode
- Start your Mac with a bootable USB installer
- Bring your Mac to a local Apple Store
Share the quick ways with others when the Recovery Assistant failed to create activation.
Reddit discussions on 'Failed to activate device' on MacBook
The outrageous "Failed to activate device" error on MacBook blocks your factory reset or clean macOS installation process. As the user discussed in the following forum, it is probably an issue on Apple's end and the solution is to take the device to the local Apple Store.
Failed to activate device
by u/Simiyoo in MacOS
In fact, there are some ways to help you fix this trouble before sending your Mac for a repair. You can try the workarounds in the following part to activate your Mac.
How to fix 'Failed to activate device' on MacBook?
To fix the "Failed to activate device" error during cleanly installing macOS Sequoia on your MacBook Air/Pro, you can try some tricks to finish the remaining factory resetting process, restore your MacBook to the original state, or use other ways to directly boot up your Mac.
Whichever you want to try, we offer you the corresponding detailed steps.
Fix 1: Check Wi-Fi connection
When a MacBook fails to create an activation request, first check your Wi-Fi connection. Perhaps, your Wi-Fi is connected but the network is unstable or poor. You can try to:
- Change to a less busy Wi-Fi.
- Move your Mac closer to the wireless access point.
- Reset and restart your router.
Fix 2: Repeatedly try to activate the Mac device
If you cannot activate your MacBook Pro after a factory reset even having a Wi-Fi connection, the glitch probably is the Apple server bug. Here's a workaround to break away from the 'Failed to activate device' in Recovery Assistant:
- Keep clicking on the Previous button on the screen until returning to the initial window.
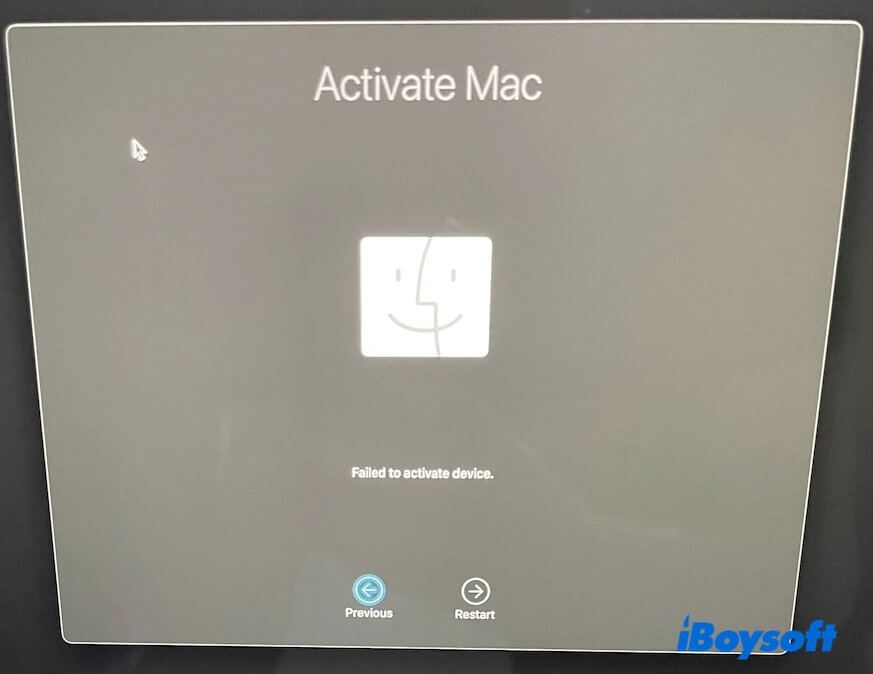
- Click the Next button to try to activate your Mac again.
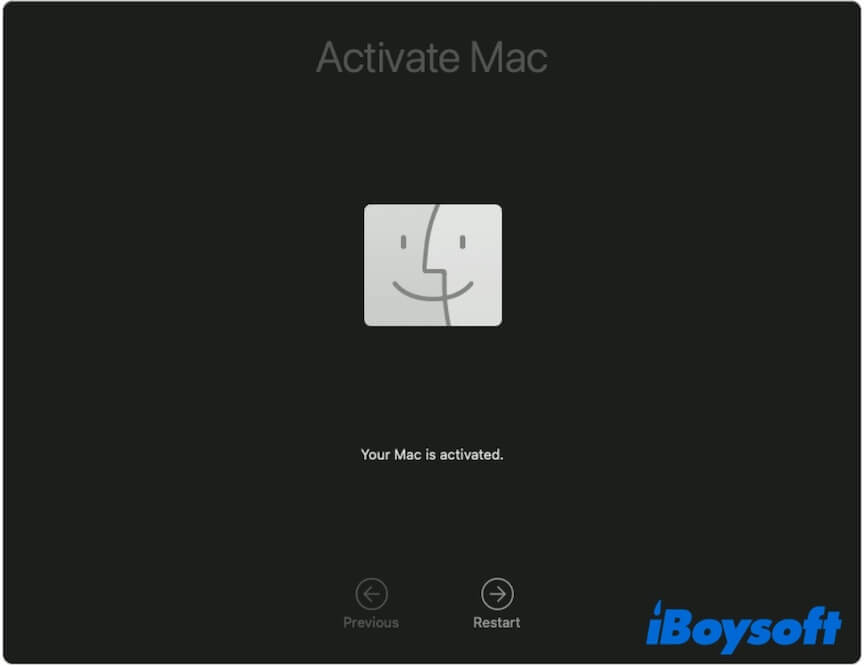
- If failed either, repeatedly try the above two steps until your Mac shows "Your Mac is activated".
Fix 3: Restore your Mac with DFU mode
The DFU (device firmware update) mode is special for restoring an unresponsive Mac with an Apple silicon chip or T2 security chip. You can use it to restore your MacBook failed to create an activation request.
Here's how:
Step 1: Preparations
- A healthy Mac running macOS Monterey 12.4 or later and installed Apple Configurator 2. (You don't need Apple Configurator if this Mac is using macOS Sonoma or later)
- A USB-C to USB-C cable (Don't use a Thunderbolt 3 cable).
- Ensure the Mac that can't be activated and the healthy Mac are connected to the power source.
Step 2: Enter DFU mode on the Mac that cannot be activated:
- Use the USB-C to USB-C cable to connect the two Mac machines.
- On the Mac that can't be activated, press down the power button (Touch ID) for about 10 seconds to completely turn off it.
- Press the power button again and simultaneously press and hold the Control + Option + Shift keys.
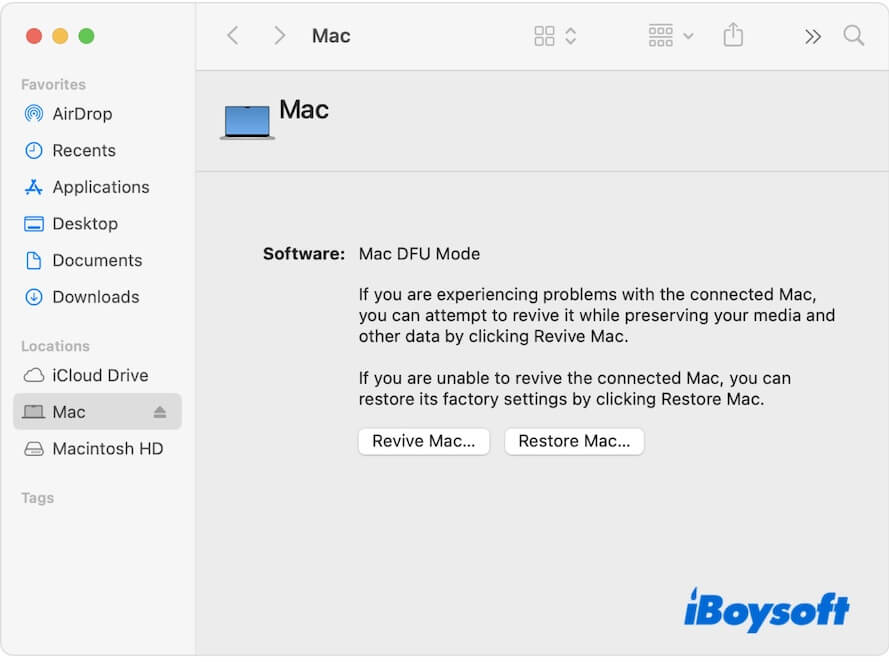
If the affected Mac is an Apple Silicon one, hold the four keys for around 10 seconds and then release the other three keys except the power button. Continue pressing down the power button for another 10 seconds until you see the other Mac shows a DFU window in Finder or Apple Configurator.
If the affected Mac is a T2-secured one, hold the four keys for about 3 seconds until you see the other Mac shows the DFU window.
Now, your problematic Mac is in DFU mode.
Step 3: Restore your Mac that cannot be activated:
Note: Although the DFU Revive function tries to revive your Mac to the original state without erasing it, it doesn't seem to skip the activation issue after being tested by a wide range of forum users. You're suggested to use DFU Restore to erase your Mac and restore it to factory settings.
- For a DFU window in Finder on the healthy Mac:
-Select '(username) Mac' from the Finder sidebar.
-Click the Restore Mac button > Restore > Update.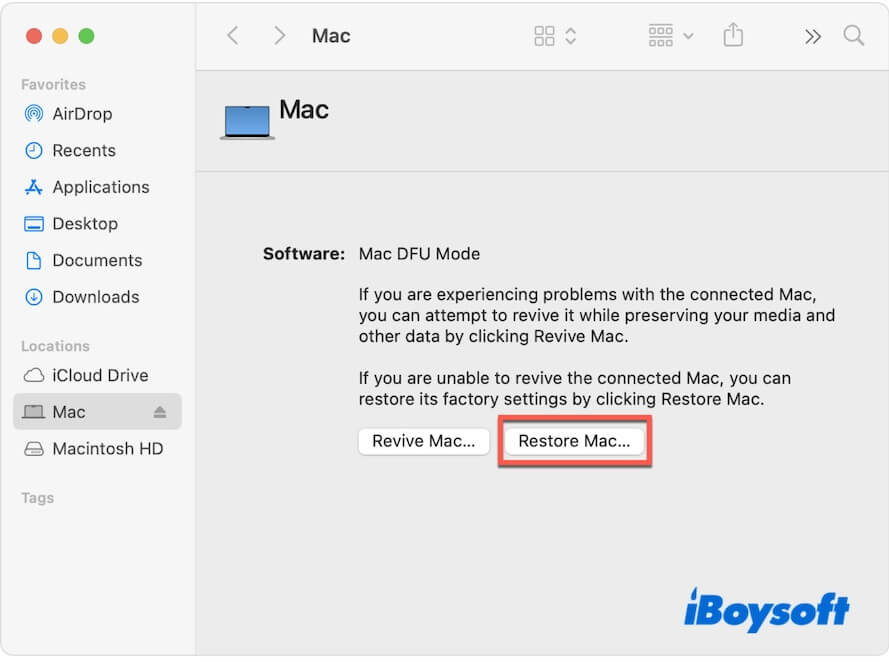
- For a DFU window in Apple Configurator on the healthy Mac:
-Choose DFU in the Apple Configurator window.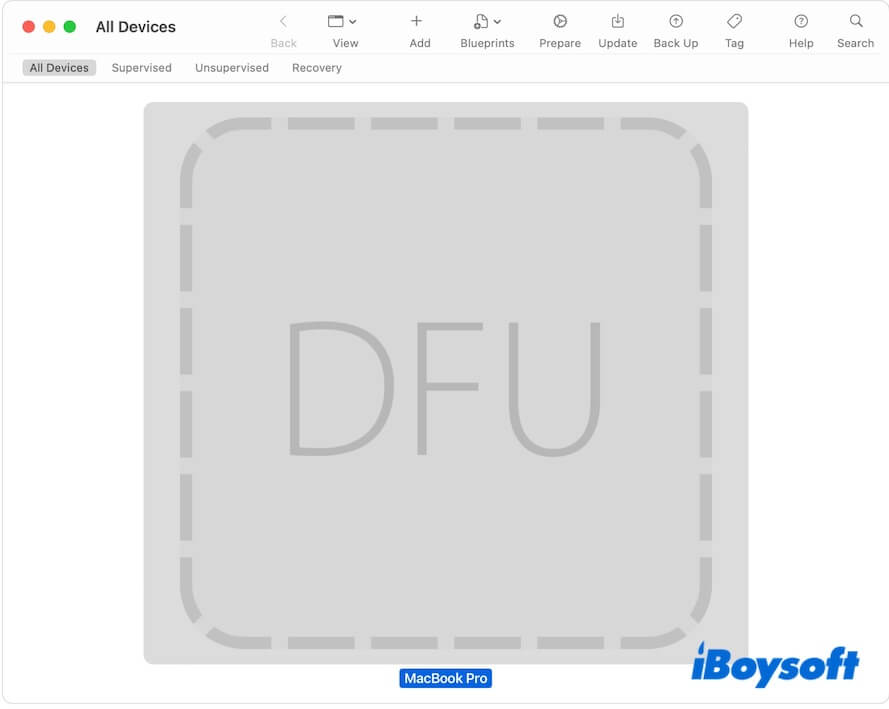
-On the menu bar, select Actions > Advanced > Restore. - Wait for the restore process to finish and then the unactivated Mac will auto-restart.
If the Mac turns off, press the power button to turn it on. - Select a Wi-Fi if asked.
- Sign in to the Apple Account previously used with the Mac if asked and follow the on-screen guide to finish setup.
Or, if you see a spinning globe, you will in macOS Recovery over the internet. Choose a language, sign in to the Apple Account, click Exit to Recovery, and choose the Reinstall macOS option to reinstall macOS and wait for the process to complete.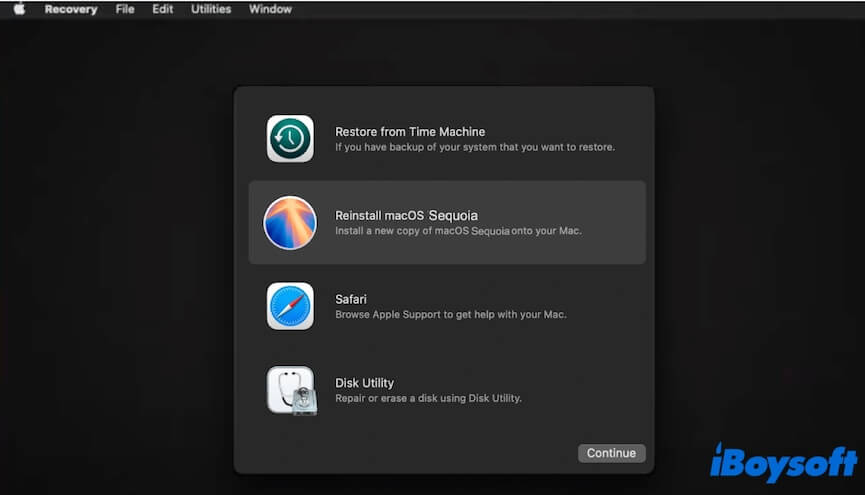
Fix 4: Start your Mac with a bootable USB installer
If even DFU Restore can't help you out and your MacBook still gets stuck on the "Failed to activate device" screen, you can try to boot your Mac from a USB bootable installer.
Fix 5: Bring your Mac to a local Apple Store
If all the above ways can't help you skip the activation screen. Go to your local Apple Store with the original store receipt is the last way to fix your 2020 MacBook Air that won't activate after reset. You can ask the support members to help you reset your Mac.
If your friend's Mac gets stuck on "Failed to activate device" either, share the solutions with them.
Why do I get the 'Failed to activate device' error during macOS Sequoia installation?
The 'Failed to activate device' error is a Mac activation issue confirmed by Genius Bar and typically occurs when macOS cannot communicate with Apple's activation servers.
Generally speaking, it is either caused by a problem with the activation server or an unstable or broken network. The truth is, it is said that the Apple activation servers have been down for days, causing anyone to clean install macOS 15.0 Sequoia not to activate their Mac.
Moreover, this error mainly happens on Apple Silicon Macs, including M3 MacBook Air, M2 MacBook Air, M1 Mac Pro, M1 MacBook Pro, etc. For our guess, it may also related to the Apple Silicon chip errors.
Go to tell more people why 'Failed to activate device' occurs on their M1 MacBook.
Bonus: The reliable way to clean install macOS on Mac
Although Apple supplies the Erase All Content and Settings feature on T2-chipped and Apple Silicon Macs, it is not advisable to use this function to erase your Mac for cleanly installing macOS Sequoia. That's because this utility often triggers your Mac to fail to create an activation request.
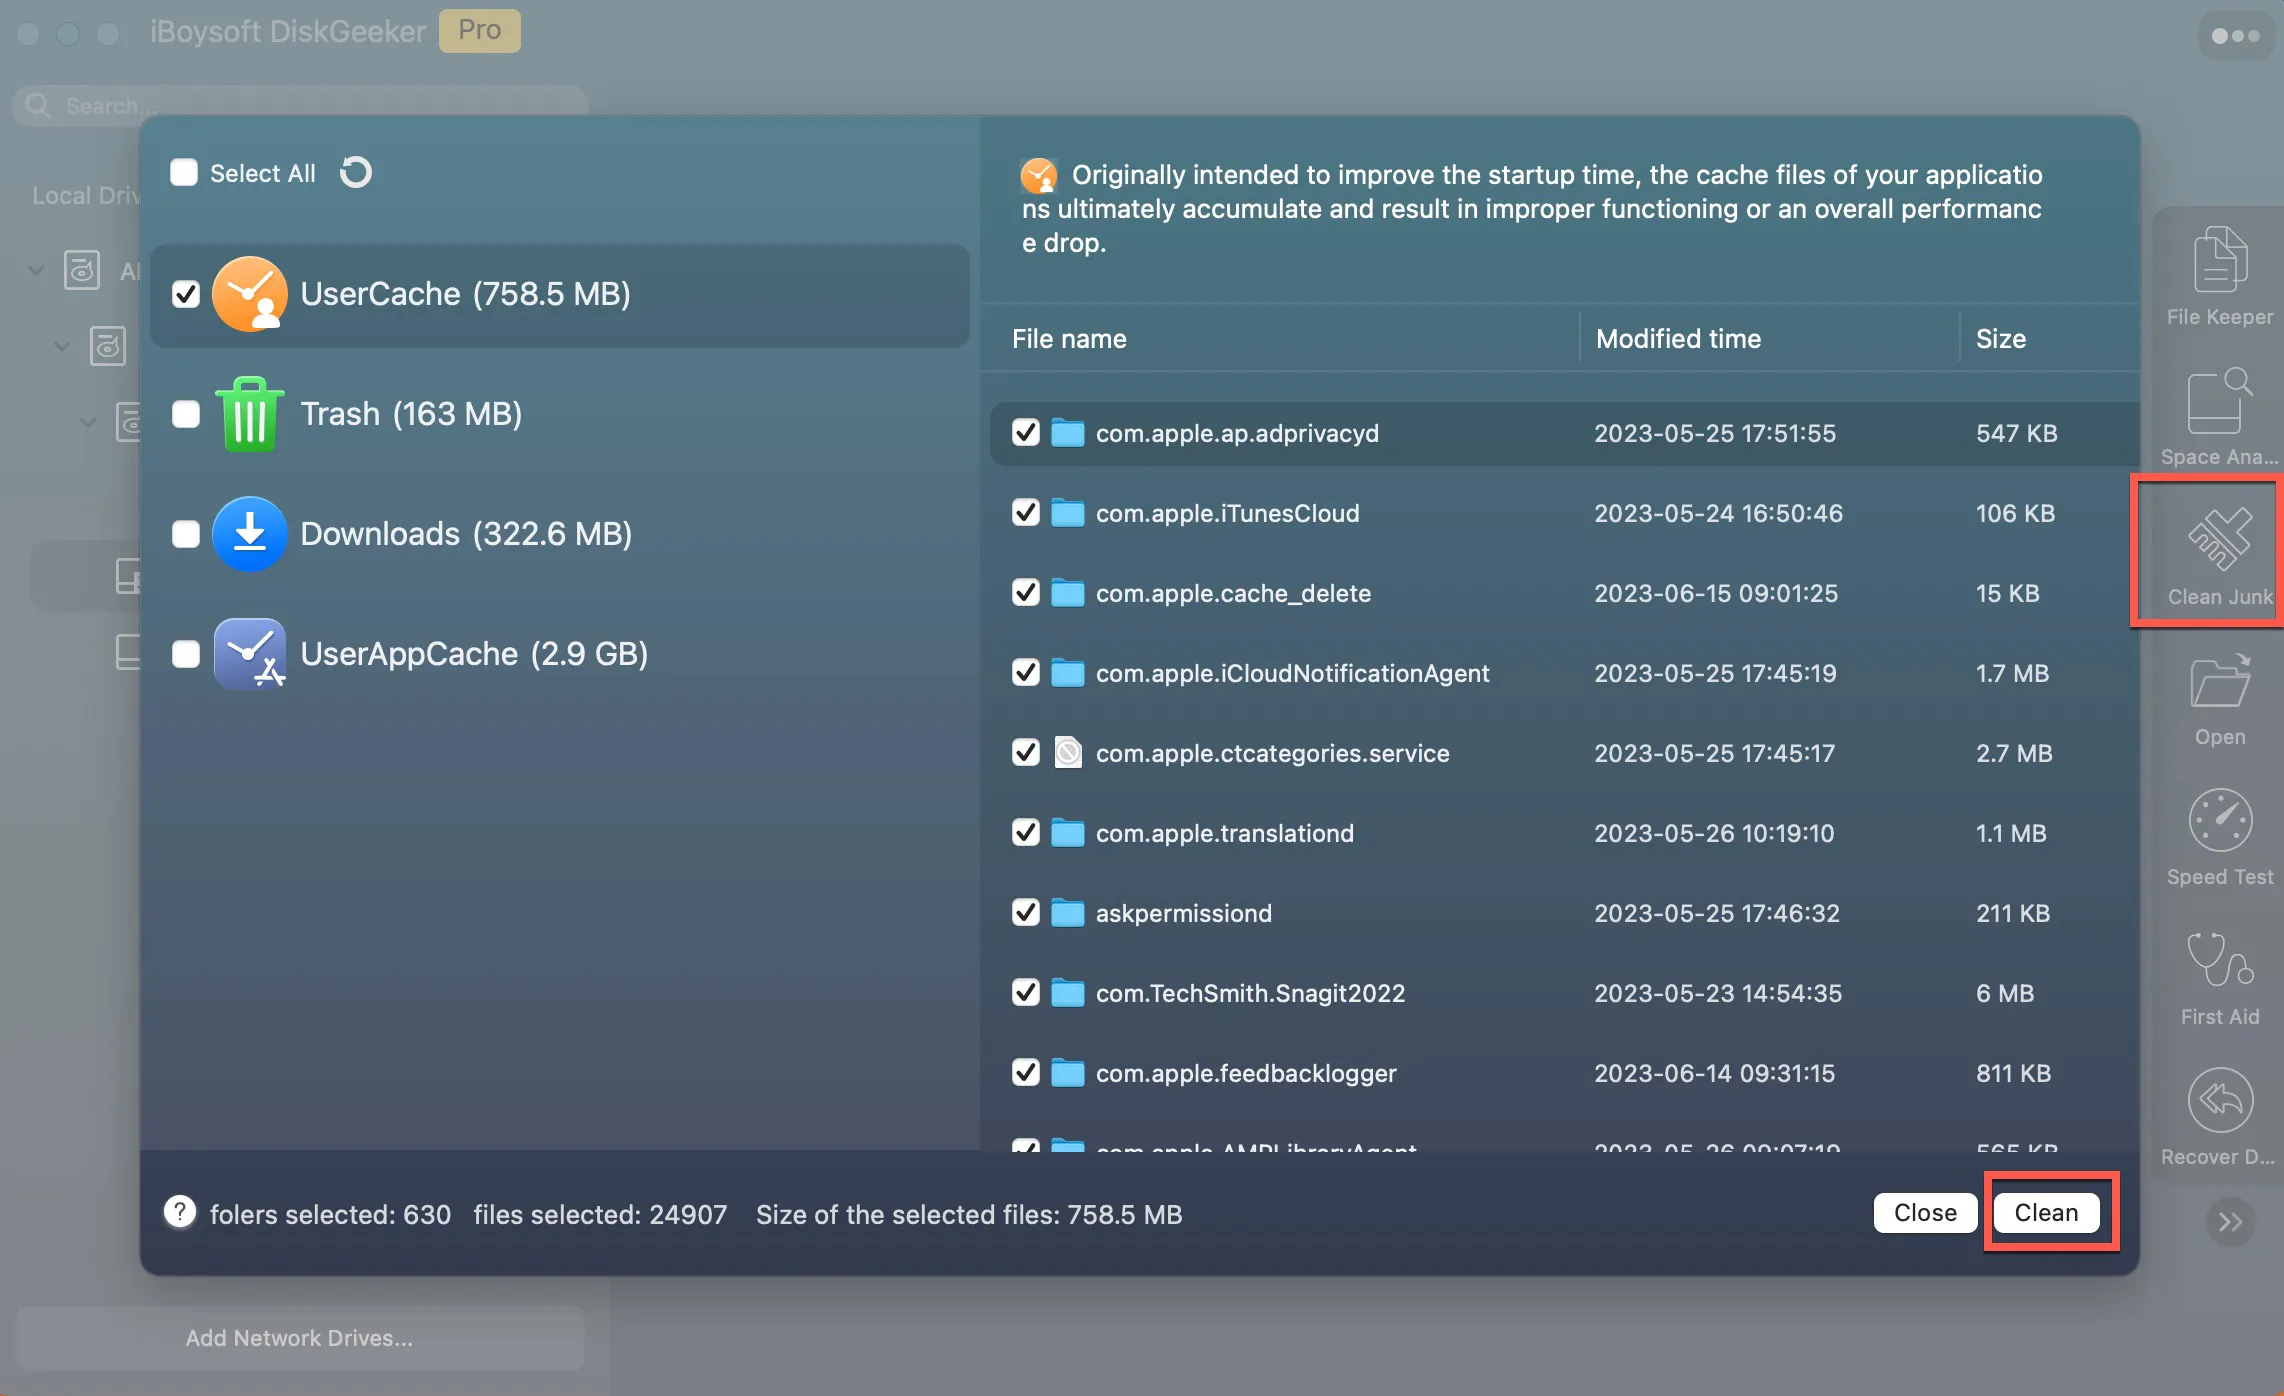
If you want more space to guarantee a successful macOS installation, no need to erase your Mac. You can use a Mac cleaner like iBoysoft DiskGeeker to help you. This tool can search for junk files such as user caches, app caches, user log files, etc. on your Mac for one-click deletion, quickly freeing up space on the device.
- Free download, install, and open iBoysoft DiskGeeker on your Mac.
- Select Macintosh HD - Data or macOS - Data (the user data volume) and click Clean Junk on the right side toolbar.
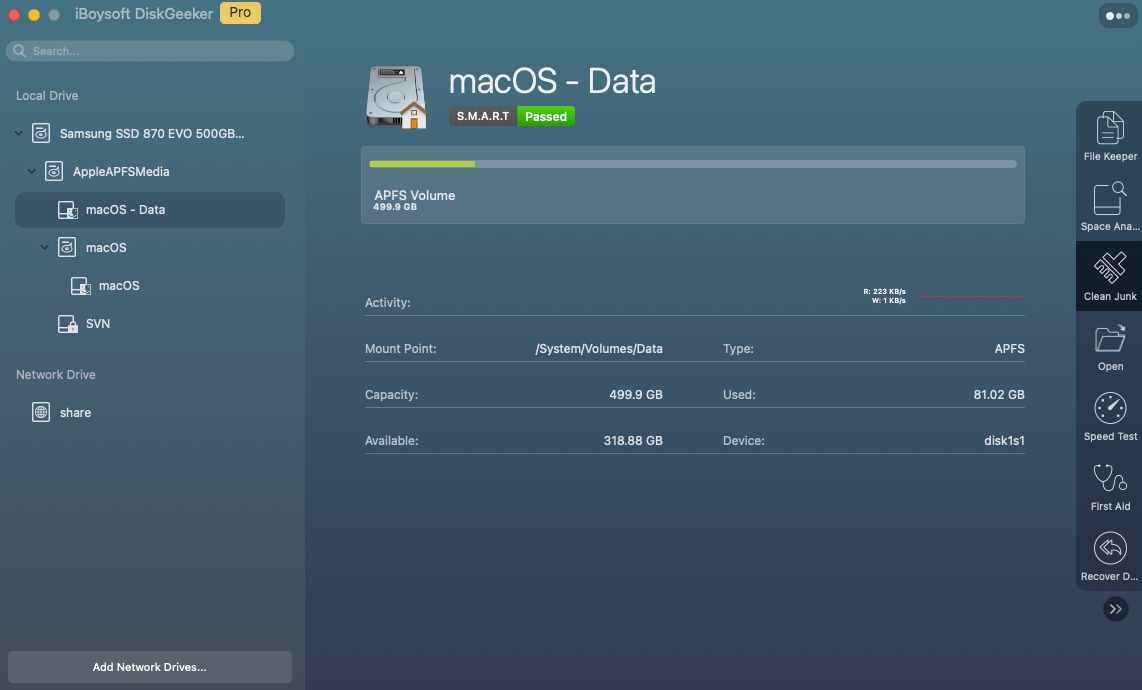
- After scanning, select the files you don't want and click Clean to directly delete them from your Mac.
Then, simply go to the App Store or Software Update to update your Mac to Sequoia.
