Many users report that they can't install macOS Tahoe on the Mac Studio M3 Ultra. So do I.
The Mac can't download macOS Tahoe or often gets stuck during the macOS Tahoe installation process, displaying messages such as "Less than a minute," "11 minutes remaining," or similar. Or, the Mac reboots during the installation and returns to the login screen of Sequoia 15.7.
Quick fix "Mac won't update to macOS Tahoe"
The issue appears tied to the Apple Neural Engine (ANE) driver or hardware check, where Tahoe is testing a register or condition that some M3 Ultra units fail to meet. Besides, it may also be triggered by a firmware bug or a firmware update failure that happens during the macOS Tahoe install phase.
Don't worry, it is not unsolvable. I fixed this issue with a DFU Firmware Restore. I also gathered the ways that are feasible to fix the macOS Tahoe installation failure on Mac Studio M3 Ultra, as the causes are not unique.
Tips: Suppose Software Update doesn't allow you to install macOS Tahoe, download the macOS Tahoe full installer from Apple's server and try again.
Can't install macOS Tahoe on Mac Studio M3 Ultra? Try these fixes
Although you can't install macOS Tahoe on your Mac Studio M3 Ultra through Software Update or App Store, switch to downloading the macOS Tahoe installer via the Terminal or install macOS Tahoe from macOS Recovery Mode or Safe Mode?
Facts have proven that none of these methods mentioned in the Apple community works. I tried all these methods one by one, but none of them could successfully install macOS Tahoe on my Mac Studio M3 Ultra. As I mentioned above, this issue is caused by the Apple Neural Engine (ANE) driver or hardware verification, firmware-related issues.
So, we need to focus on the ways to fix these culprits on the Mac Studio M3 Ultra. Well, I gathered them below. You can try them one by one until you can install macOS Tahoe on your Mac Studio successfully.
Perform a DFU Firmware Restore
A DFU Firmware Restore is the prior solution when you can't update to macOS Tahoe on Mac Studio M3 Ultra. It resets the security enclave and system firmware, and also puts the Mac to factory-like condition. While DFU Firmware Revive only refreshes the system firmware and recovery OS.
So, going to perform a DFU Firmware Restore is better.
Note: Before starting, back up the data on your Mac Studio in case of data loss. A DFU Firmware Restore will wipe your Mac Studio.
Step 1. Enter DFU Mode
- Prepare another bootable Mac running macOS 14 Sonoma or later and a USB-C to USB-C cable.
- Ensure this Mac and your Mac Studio M3 Ultra are connected to power.
- Plug the USB-C to USB-C cable into your Mac Studio M3 Ultra's DFU port (The rightmost USB-C port when you're facing the back of the Mac).
- Plug the other end of the USB-C cable into the USB-C port on the other Mac. Meanwhile, ensure this Mac starts up and is connected to the internet.
- Completely turn off your Mac Studio M3 Ultra and wait a moment.
- On the Mac Studio M3 Ultra, press the power button and simultaneously hold the Control (left side) - Option (left side) - Shift (right side) keys together for about 10 seconds.
- Release the Control - Option - Shift keys on the Mac Studio while holding the power button for 10 more seconds until the other Mac shows a DFU window in the Finder.
- Click Allow if it asks whether to allow the accessory to connect.
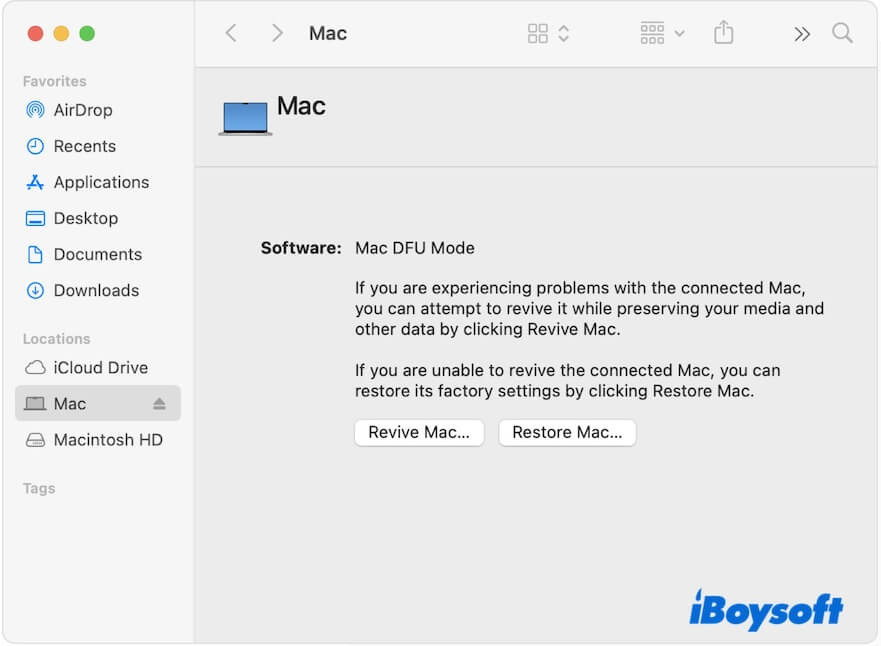
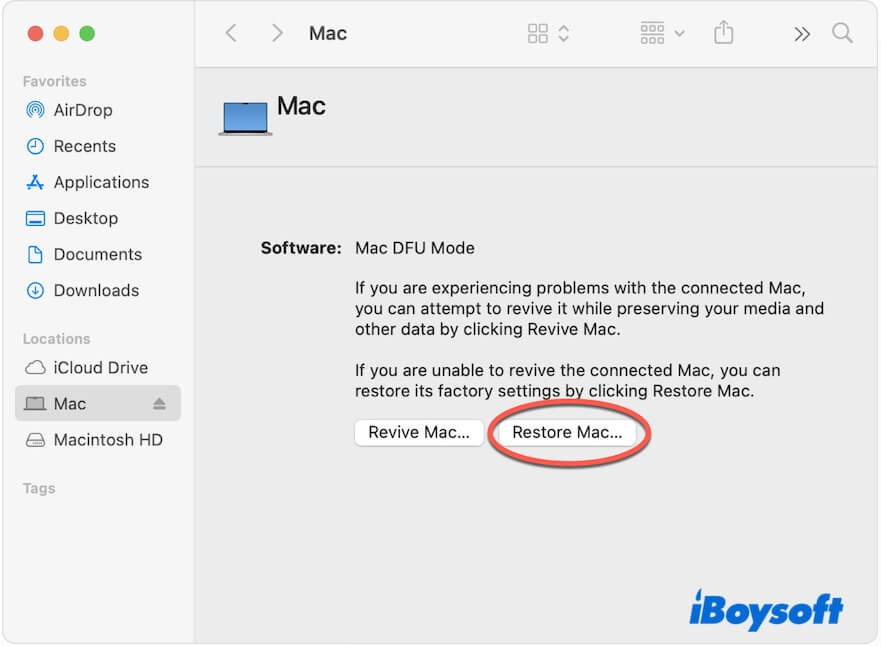
Step 2. Start DFU Firmware Restore
- Click Restore Mac on the DFU window > Restore and Update.
- Wait for the restore process to complete, and your Mac Studio will restart automatically.
- Choose a Wi-Fi if asked and sign in to the Apple Account previously used with your Mac Studio.
- Follow the setup assistant to configure your Mac Studio.
If your Mac Studio doesn't install macOS Tahoe but the version originally shipped with your Mac, you can try updating your Mac to macOS Tahoe.
This time, your Mac Studio M3 Ultra can update to macOS 26 successfully, as the DFU Firmware Restore probably fixes the firmware bugs.
Share this detailed way to fix the Mac Studio M3 Ultra that fails to update to macOS Tahoe.
Clean install macOS Tahoe
Have you installed macOS Tahoe Beta? Installing macOS Tahoe beta may leave firmware at a version that doesn't align with the incoming macOS Tahoe public version.
If you don't have an idle Mac, you can also try a clean installation of macOS Tahoe to fix this issue. This requires wiping your Mac's internal hard drive and installing a fresh copy of macOS Tahoe.
Here's how:
- Back up your Mac. This is necessary, or else you will lose all your data.
- Completely shut down your Mac Studio M3 Ultra.
- Press and hold the power button until the Loading startup options appears.
- Choose Options and click Continue.
- Enter your admin password when asked.
- Select Disk Utility.
- Select the Macintosh HD volume group and click Erase.
- Enter Macintosh HD as the name and choose APFS as the format.
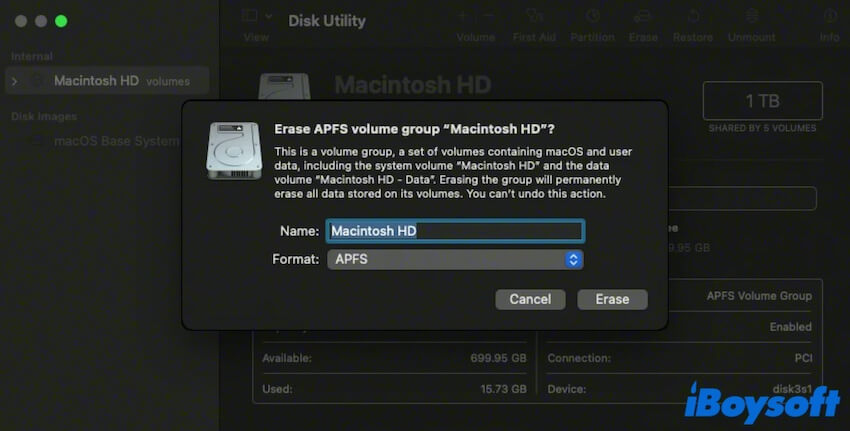
- Click Erase and wait for the process to complete.
- Back to the utilities window and click Reinstall macOS Tahoe.
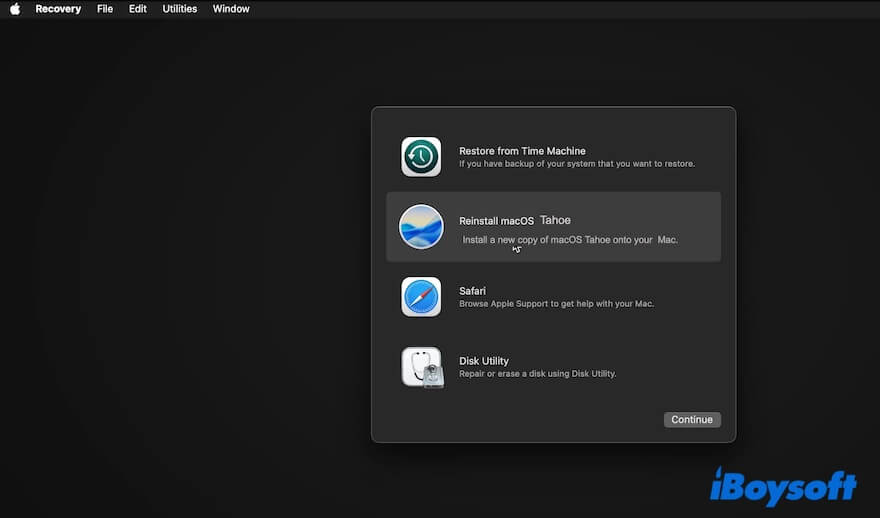
- Follow the on-screen guide to install macOS Tahoe.
Start up Mac Studio M3 Ultra from a bootable USB installer
Since the Apple Neural Engine (ANE) driver or hardware check issue may make you fail to install macOS Tahoe on your Mac Studio M3 Ultra, you can also try booting your Mac from a macOS Tahoe bootable USB installer to verify that.
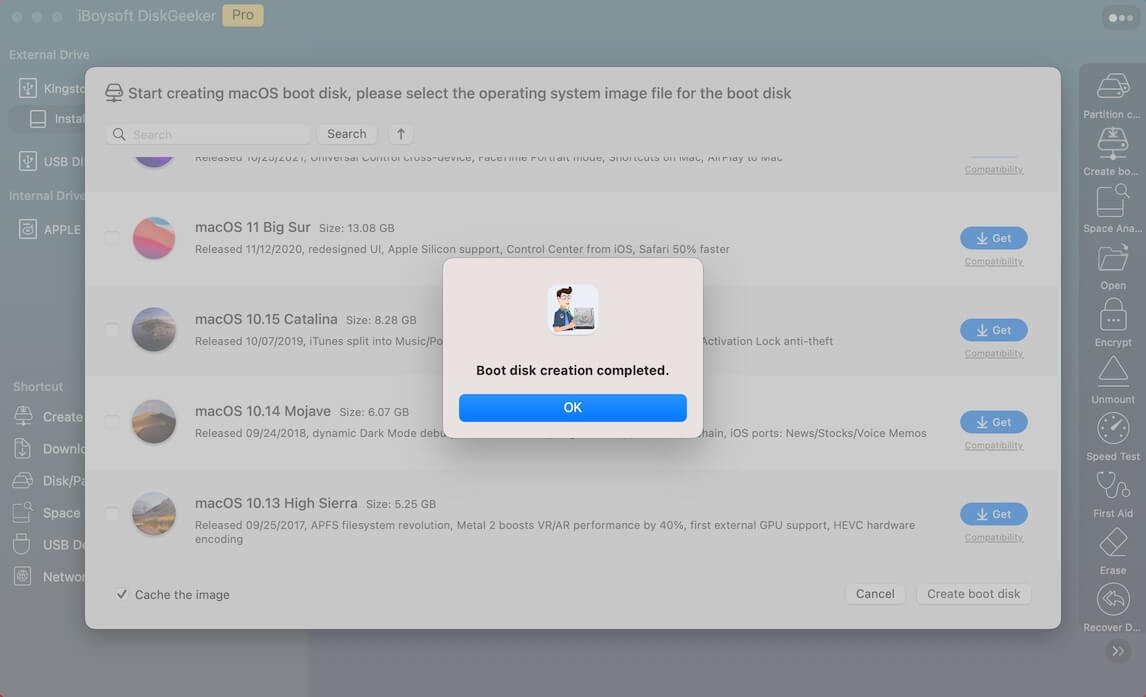
The common way to create a macOS Tahoe bootable USB installer is complicated and prone to errors. Here, I show a quicker and simpler way - using the all-in-one disk management tool iBoysoft DiskGeeker to help you.
- Free download, install, and open iBoysoft DiskGeeker on your Mac.
- Connect an empty USB drive to your Mac. Or a USB drive that has already been backed up.
- Select a volume on the USB drive and click Select > Continue.

- Choose macOS Tahoe and click Create boot disk > OK to start downloading the macOS DMG file and creating a bootable USB installer on the heel.
Now, you have a macOS Tahoe bootable USB installer. You can install macOS Tahoe on the USB and start your Mac Studio M3 Ultra from it.
- Connect the macOS Tahoe bootable USB installer to your Mac Studio.
- Turn off the Mac Studio.
- Press and hold the power button until you see the startup options.
- Choose your USB installer and click Continue.
- Select your external drive when it asks you to select a disk.
- Follow the on-screen guide to install macOS Tahoe on the USB.
- Hold the power button again until the startup options appear.
- Click the USB drive > Continue.
Then, check if your Mac can start up from the macOS Tahoe bootable USB.
Take your Mac to the Apple store for flashing
Flashing your Mac is a quick solution for fixing the trouble. The employees in the Apple store said that the Mac flashing process also upgrades the firmware of several components.
If you don't want to try the above fixes, you can just take your Mac Studio to a nearby Apple store for help.
Wait for the minor macOS update
Based on our analysis, the issue with your Mac Studio M3 Ultra not updating to macOS Tahoe is likely caused by either firmware bugs, firmware update failure, or ANE driver issues.
The Apple team is fixing the problem urgently. You can keep on running macOS Sequoia until the minor macOS update is released with the patch for this issue.
Share these verified solutions with more people.
Why can't Mac Studio M3 Ultra update to macOS Tahoe?
This issue is tied to a driver or firmware mismatch (especially around the ANE) that the Tahoe installer expects but doesn't find or validate properly.
The firmware layer (which needs to be updated alongside the OS) is likely not being correctly updated in the normal in-place upgrade path, leading to a mismatch that triggers a panic/rollback.
Besides, the first release of macOS Tahoe - macOS 26.0 may not be fully compatible with M3 Ultra.
If you think this post clearly explains the macOS Tahoe update failure on Mac Studio M3 Ultra and the offered ways are workable, share it with others.
FAQs about can't install macOS Tahoe on Mac Studio M3 Ultra
- QHow to upgrade to macOS Tahoe on Mac?
-
A
There are several ways to update a Mac to macOS Tahoe, but first, you should ensure that your Mac supports macOS Tahoe.
You can upgrade to macOS Tahoe from Software Update in System Settings, from App Store, or from macOS Recovery Mode.
- QWhat to do if I can't update to macOS 26 Tahoe?
-
A
First, check if your Mac supports macOS 26 Tahoe.
Then, check if your Mac has enough space (at least 25 GB of free space, larger is better) for storing the macOS Tahoe installer and files generated during the upgrade process.
A stable internet connection is also necessary. An unstable internet will cause the installer to fail to download.