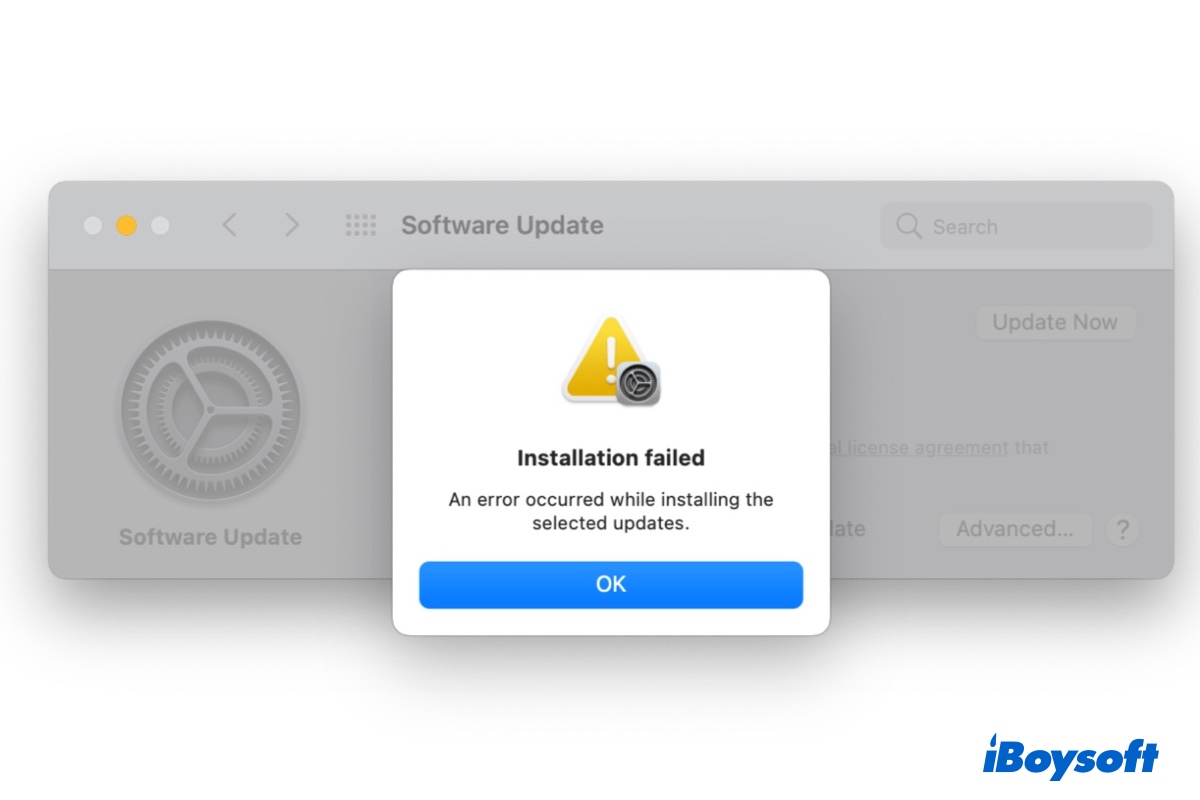
You may run into an error notification that says, "An error occurred while installing the selected updates." when downloading or installing macOS Tahoe, macOS Sequoia, or a prior release from the Software Update pane. Consequently, your Mac can't update to macOS Tahoe.
Its full message may read as follows:
- Installation failed. An error occurred while installing the selected updates.
- The request timed out. An error occurred while installing the selected updates.
- The update package has been deleted since being downloaded from the Apple Software Update server. An error occurred while installing the selected updates.
- The package "%@" is missing or invalid. An error occurred while installing the selected updates.
Like "An error occurred while preparing the installation," many users have reported experiencing "An error occurred while installing the selected updates." on Mac, especially with the latest macOS Ventura. We've gathered the proven fixes to the installation error to help you update your Mac successfully. Now, let's look at the reasons behind it.
Tips: Have you tried to delete the corrupted installer, then download the macOS installer again, and run it?
Why does Mac say 'An error occurred while installing the selected updates.'?
A variety of reasons can lead to "An error occurred while installing the selected updates." on Mac. Here's a quick summary:
- The Apple server is overcrowded at the moment.
- System glitches.
- Poor internet connection.
- Software interfering with the download process.
- Lack of available space for the installation.
- Startup disk errors.
- Corrupted installer.
Which one do you suspect? Click the button below to share the information.
How to fix 'An error occurred while installing the selected updates.' on Mac?
If you keep receiving "An error occurred while installing the selected updates." on macOS Ventura, Monterey, or other macOS versions when downloading the installer from the Software Update pane, you can try the following solutions to resolve it.
- Wait, delete, reboot, and try it again
- Try basic troubleshooting steps
- Check internet connection
- Download from App Store or a direct link
- Install in Safe Mode
- Check your available storage
- Unenroll from the beta program
- Repair your Mac with First Aid
- Create a macOS bootable installer
- Install from the original SSD
Wait, delete, reboot, and try it again
An overloaded Apple server can sometimes result in failures to download and install a macOS update, especially if you are upgrading to a major software release like macOS 13 Ventura. To verify if it's a server issue, you can visit Apple's System Status page and ensure the server for "macOS Software Update" is available.
If the server is having issues, you can install the update at a different time. If the server is working properly, it's still helpful to wait a bit. When you are ready to retry the installation, it's advisable to delete the partially-downloaded software in the Applications folder and reboot your Mac. It's worth noting that many users tried several times before the installer decided to work.
Suppose the error "An error occurred while installing the selected updates." won't go away; then you need to keep reading other solutions below.
Try basic troubleshooting steps
Chances are that certain software or peripherals are affecting the macOS update. Since the culprit is unknown, you can rule out the suspects with the following tips:
Suppose you still get "An error occurred while installing the selected updates." on macOS Monterey or Vetnura. It's recommended to reduce the chance of being interrupted in an installation by temporarily avoiding letting your Mac go to sleep, show screen saver, and turn off the display when inactive. Here's how to do it:
- Open System Preferences or System Setting.
- Select Battery or Energy Saver.
- Disable "Put hard disks to sleep when possible."
- Go to Screen Saver and disable it.
- Open "Lock Screen" and disallow turning your display off when your Mac is inactive.
After the interruption is lowered, proceed to the next solution.
Check internet connection
Dropped internet, DNS issues, and other network-related problems will also prevent a software update from being installed. Therefore, it's necessary that you run some checks to make sure your internet connection is working as expected, as guided below.
- Search for random stuff on Google to make sure your Mac is still online.
- Restart your router and your Mac.
- Switch to another network.
- Change to an ethernet connection if your WiFi loads content slowly.
- If you're using a custom DNS, try Google's DNS address 8.8.8.8.
Download from App Store or a direct link
If clicking the "Update Now" button in Software Update repeatedly gets you stuck on "An error occurred while installing the selected updates," try downloading the full installer from App Store by following the steps below.
- Simply open Apple Store on your Mac.
- Search for the macOS version (such as macOS Ventura) you want to update or upgrade to.
- Click Get, and it will send you to the Software Update pane.
- Tap "Download" to download the installer.
- Wait for the download to complete, then you can find it in the Applications folder labeled like "Install macOS Ventura."
- Double-click the installer to start the installation if it doesn't open automatically.
If installing from App Store yields the same results, try downloading the installer directly from the following links.
After the InstallAssistant.pkg file is downloaded, you can locate it in your Downloads folder. Double-click it to install the installer into your Applications folder. Then you can open the installer and follow the instructions to install macOS.
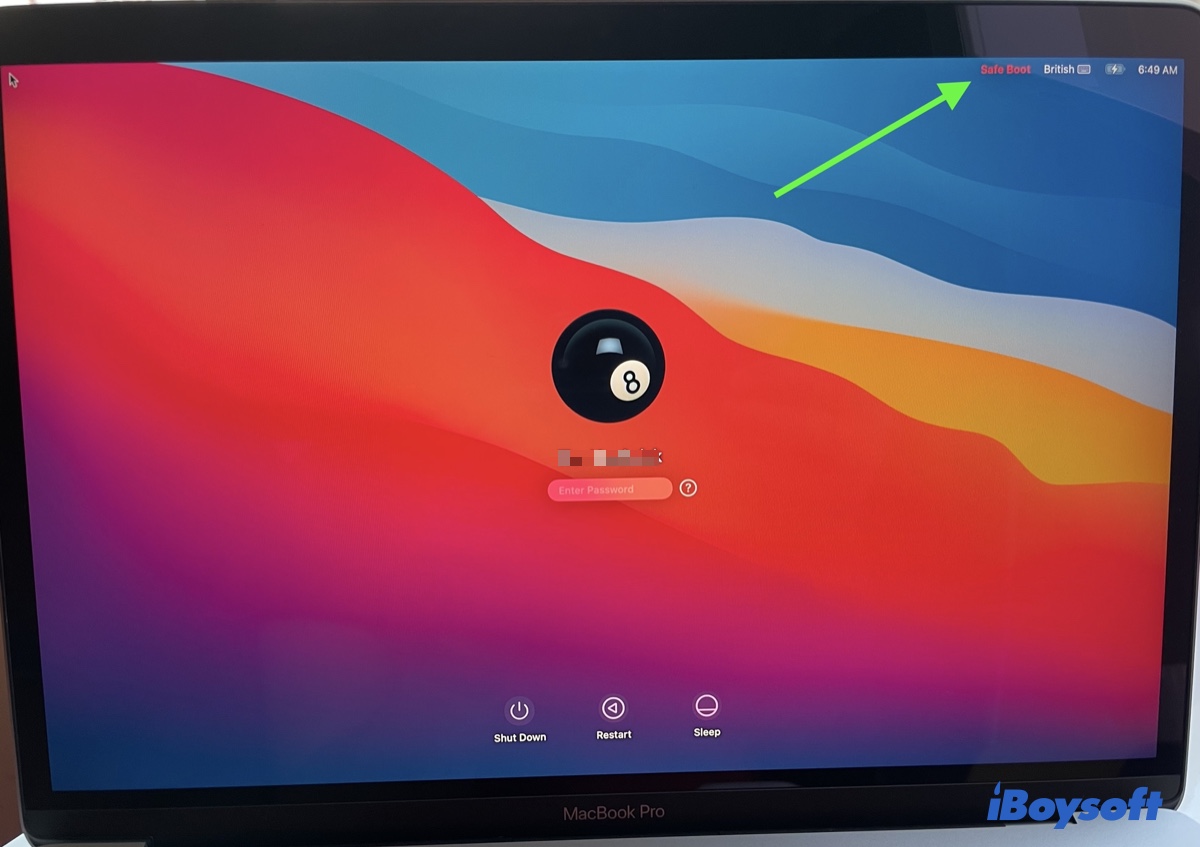
Install in Safe Mode
Upgrading macOS from Safe Mode has been proven as a valid solution to fix all kinds of installation errors on Mac. It can bypass third-party login items, extensions, or apps not necessary for your Mac to run and clear caches. Note that the way to boot into Safe Mode differs between Intel and Apple Silicon Macs.
Boot into Safe Mode on Intel Mac:
- Shut down your Mac.
- Hit the power button, then immediately press and hold the Shift key.
- Release the key when the login window appears.
- Log into your Mac.
Boot into Safe Mode on Apple Silicon Mac:
- Shut down your Mac.
- Press and hold the power button until seeing "Loading startup options."
- Choose your startup disk.
- Hold the Shift key and click "Continue in Safe Mode."
- Log into your Mac.
Once in Safe Mode, you can install the update in the Software Update pane or through the App Store.
Check your available storage
Not having enough free space is a known factor that may result in "An error occurred while installing the selected updates," as well. Take macOS Ventura as an example. Its installation package is 12.15 GB, but you will need more space to install it on your Mac.
If you're upgrading from macOS Sierra or later, macOS Ventura needs at least 35GB of free space. However, if you're upgrading from a version earlier than macOS Sierra, it requires up to 44GB of free storage.
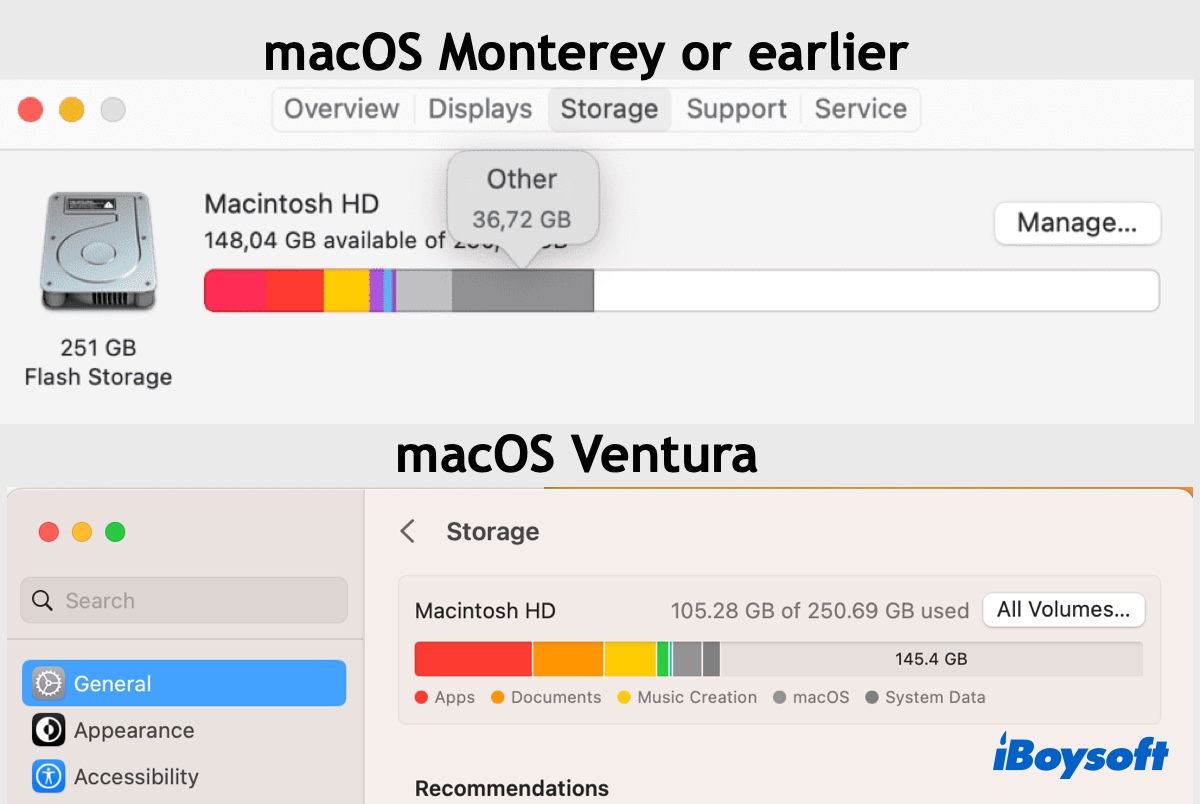
You can check whether your Mac's free storage meets the requirements with the following steps.
- On macOS Ventura, you can open System Settings > General > Storage.
- On macOS Monterey or earlier, you can click the Apple menu > About This Mac > Storage.
Regardless, it's best to clean your Mac regularly and free up space on Macintosh HD for better performance. To check and delete unnecessary files and hidden system junk on your hard drive, you can utilize the "Clean Junk" and "Clean Drive" features in iBoysoft DiskGeeker.
Clean Junk will scan your drive and help you clear caches, system logs, emails, and other junk files. Clean Drive presents all your files in a manageable way, so that you can quickly find large files you no longer need and delete them for good.
You can click the button below to free download the disk cleaning tool.
Unenroll from the beta program
If the macOS update is failing with "An error occurred while installing the selected updates." on macOS Ventura or other releases, you may still be enrolled in the beta program. Users who experienced the same error have found unenrolling their devices from the beta program to be the solution.
Here's how to unenroll your Mac from the beta program on macOS Ventura:
- Open System Settings > General > Software Update.
- Click Details > Restore Defaults.
- Enter your login password.
Here's how to unenroll your Mac from the beta program on macOS Monterey or earlier:
- Open System Preferences > Software Update.
- Click "Details" beneath "This Mac is enrolled in the Apple Beta Software Program."
- Tap "Restore Defaults."
After leaving the beta program, you can retry installing macOS Ventura or another version in Software Update. If the issue persists, move on to the next fix.
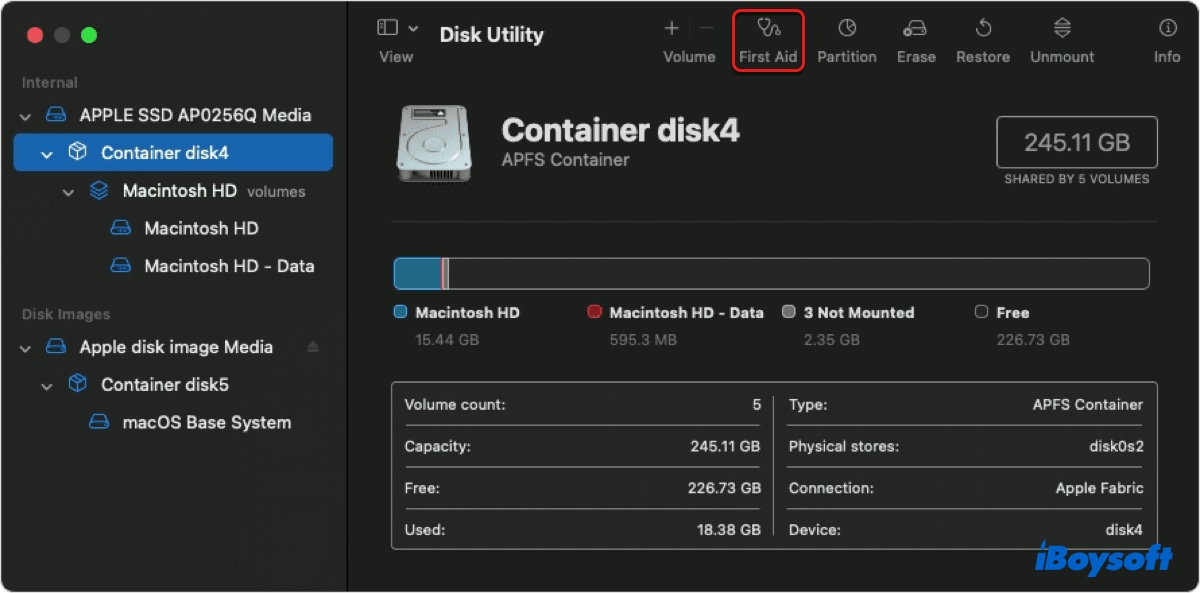
Repair your Mac with First Aid
Disk Utility has a First Aid feature that can check and repair disk issues on your internal and external disks. As these issues could be the cause behind the error that occurred when installing an update, you can initiate a scan on your startup disk by using First Aid in macOS Recovery Mode. If it finds issues, you need to fix them before carrying on with the upgrade.
Create a macOS bootable installer
Alternatively, you can install macOS via a bootable installer created with a USB flash drive, an external hard drive, or another storage device with at least 14GB of free storage. Although it won't erase your drive, you should still back up your Mac with Time Machine in case you encounter issues.
Ensure your Mac has an internet connection before getting started, as it's required to get firmware and other information specific to your Mac model. Then you can create a macOS bootable installer with the version you want to install, and follow the steps below to boot from it.
Boot from an external bootable installer on Intel Mac:
- Plug the bootable installer into your Mac.
- Restart your Mac, then immediately press and hold the Option key when the screen turns black.
- Release the key when seeing your bootable volumes.
- Select the bootable installer and click the up arrow.
- Choose a language.
- Select "Install macOS (version)" and click Continue.
- Go through the installation process.
Boot from an external bootable installer on Apple Silicon Mac:
- Plug the bootable installer into your Mac.
- Shut down your Mac.
- Press and hold the power button until the "Loading startup options" shows up.
- Select the bootable installer and click Continue.
- When the installer opens, follow the onscreen instructions to install it.
If you can't install from the bootable installer, try erasing the startup disk and repeat the installation.
Install from the original SSD
Did you replace the internal Apple SSD with a new drive? If so, you will likely have a hard time updating your Mac, as it may keep popping up, "An error occurred while installing the selected updates." It appears that you need an Apple internal hard drive to update the firmware and OS bootloader.
In this case, you can put back the original Mac hard drive and install the updates on it, then boot from the new drive and update your Mac again.
Is the error gone? Share these solutions to help more people.
How to fix 'An error occurred while installing the selected updates.' when installing apps on Mac?
While the error "An error occurred while installing the selected updates." usually occurs when installing a Mac operating system, it can also happen when updating or opening apps, such as Zoom, WhatsApp, Discord, Microsoft Teams, Steam, Roblox, Spotify, Origin, Safari, or Rosetta.
Here're three solutions you can try to get the impacted app to update or open.
Temporarily disable SIP
System Integrity Protection is a security feature on Mac designed to prevent malicious programs from modifying your files and folders. However, when it's turned on, it will restrict the root user account and sometimes cause troubles concerning software updates or access. To fix the issue, you can temporarily disable SIP on Mac and retry what you intend to do with the app.
Sign out your Apple ID and sign back in
Another solution to get rid of "An error occurred while installing the selected updates." is to sign out of your Apple ID and then sign back in. You can do this by clicking the Apple logo, selecting "Log Out (current account)," and then logging back into your account.
Uninstall and redownload
If you still can't update the app, you can uninstall it completely through its Uninstall menu or by following its official guide. This way, you can remove all the files and folders the app created on your Mac, which can't be done by simply moving the item to Trash. Then redownload the most recent version after the app is cleared from your Mac.
Hopefully, you have fixed the error that reads "An error occurred while installing the selected updates" on Mac. If so, please share this post to benefit more people.