Apple released macOS Ventura to the public in late October 2022. This new operating system optimizes Macs with new features and largely improves the experience of Mac users. However, updating your Mac may not always work as expected. Among all macOS Ventura update problems, data loss is a big headache.
Data recovery is not easy, it may become even tougher if you don't know how to do it. But don't worry, if you find files missing from your Mac computer after upgrading the operating system, we provide an exact guide to tell you how to recover files after the macOS Ventura update here. For more information, read on!
How to recover lost files after the macOS Ventura update?
Anytime you find some files or documents lost after updating to Ventura, you should immediately stop using your Mac computer, and then recover deleted files on Mac. Here, we introduce four solutions to help you recover lost files after the macOS Ventura update, let's check them out!
Solution 1: Recover files after Ventura update via data recovery software
A third-party data recovery tool is the easiest and most effective way to recover missing files from your Mac after the macOS Ventura update. And here, iBoysoft Data Recovery for Mac is highly recommended.
iBoysoft Data Recovery for Mac is a powerful tool that would help you recover your missing data after the macOS Ventura update. It supports recovering over 1,000 files of different formats, including documents, photos, videos, audio, music, emails, etc. Also, it fully supports data recovery on macOS Ventura and both Intel-based and Apple Silicon Macs.
Moreover, with a redesigned and Finder-like user interface of iBoysoft Data Recovery for Mac, data recovery becomes smoother and easier. Even though you know nothing about computers, you can get your lost files back with this tool, within a few clicks!
Here's how to recover missing files after the macOS Ventura update with iBoysoft Data Recovery for Mac:
- Click the above button to download iBoysoft Data Recovery for Mac on your Mac computer, then follow the onscreen wizard to finish the installation.
- This data recovery software will be launched automatically after the installation. If it won't be launched by itself, you can find it in your Finder's Applications folder and launch it.
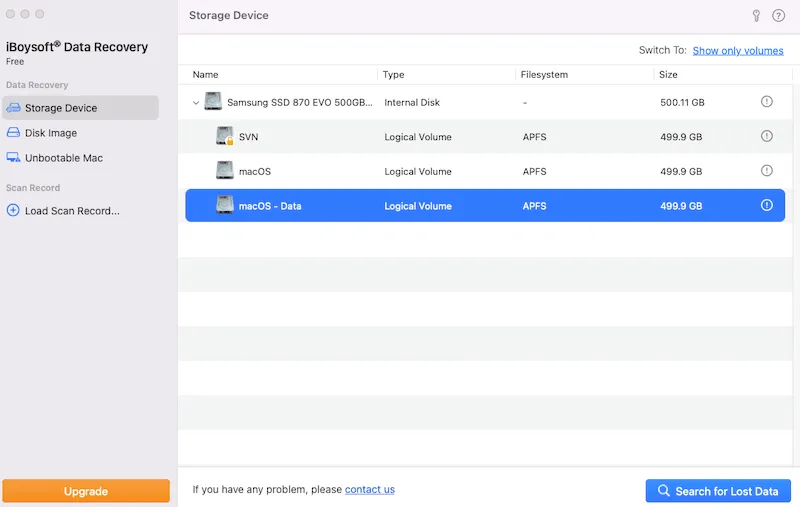
- Select the disk you lost files from after updating your Mac to macOS Ventura in the main interface of iBoysoft Data Recovery for Mac, then click the Search for Lost Data button. This software will begin to scan the selected disk sector by sector.
- The scan process may take a while, which depends on the size of your disk and the number of files on it. Though this software allows you to manually pause the scan, and start recovering files, wait patiently until the scanning process is completed for the best recovery results.
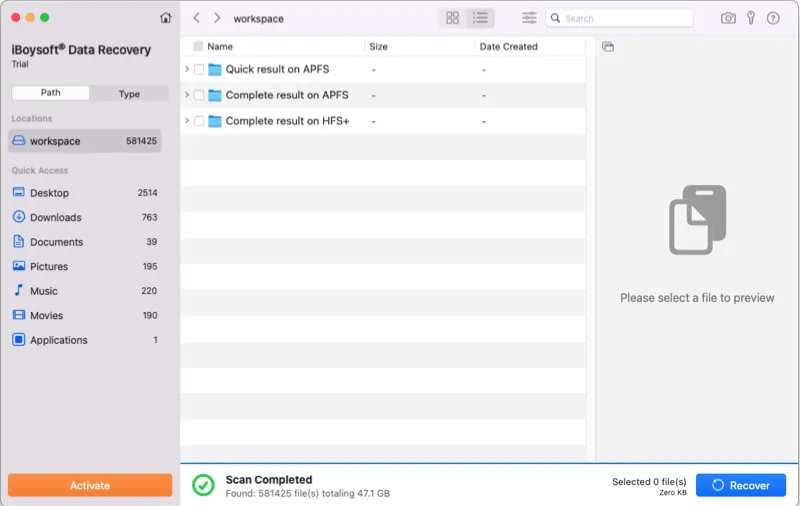
- After scanning, all found files will be listed. You can preview the lost files you want to restore by clicking the Preview button, then check if the files are corrupted.
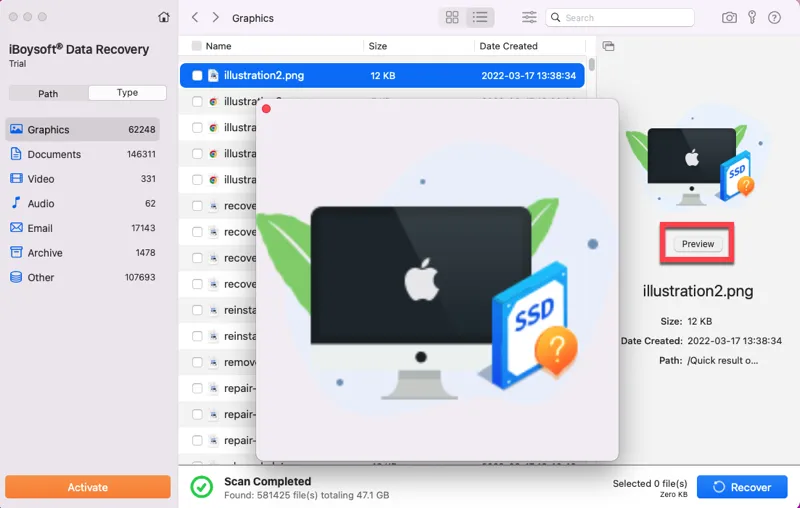
- Check the box next to the files you want to recover, then click Recover. Do not save these recovered files back to your Mac computer, it may cause data overwritten and permanent data loss. Save them to an external storage device, like an external hard drive.
Have you recovered your missing data successfully using iBoysoft Data Recovery for Mac? Share this tool and this tutorial on social media!
Solution 2: Recover lost files after Ventura update from Time Machine
If you have set Time Machine as Back Up Automatically, you may not have to use third-party data recovery software to restore missing files. You can directly recover missing files after the macOS Ventura update using Time Machine:
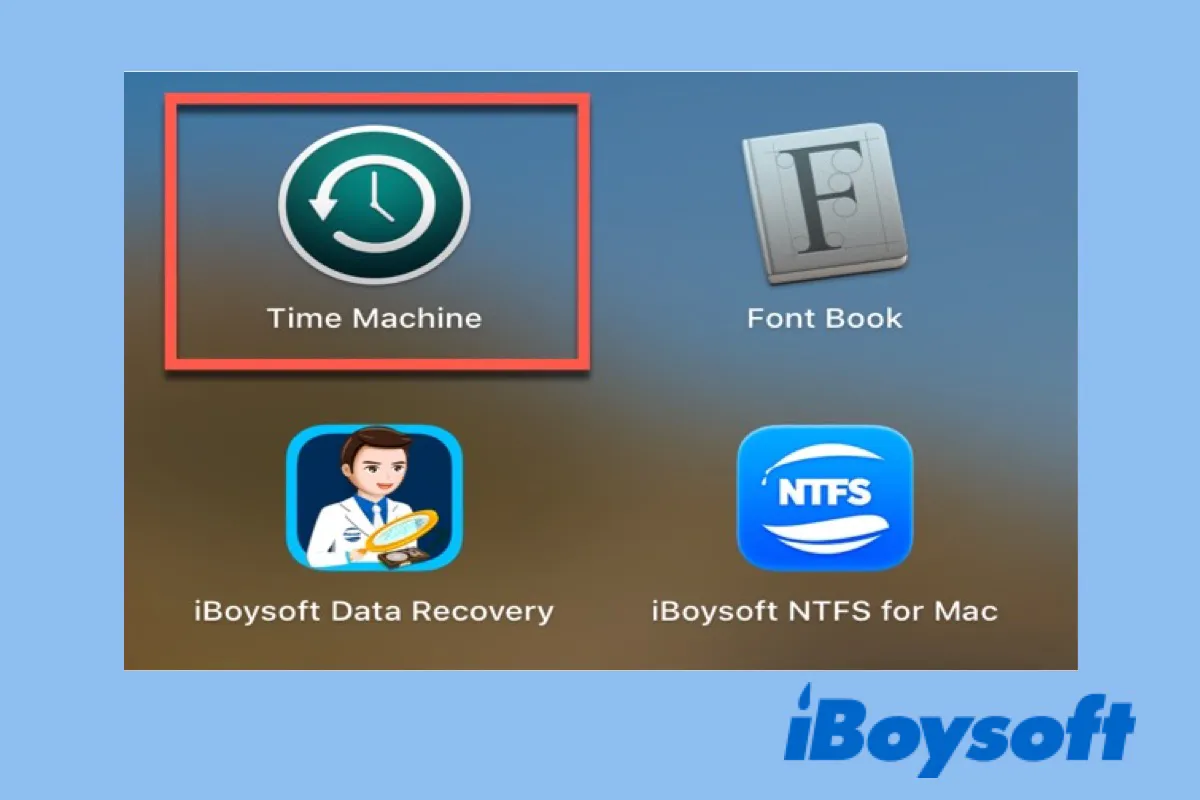
- Navigate to Launchpad > Other, then click the Time Machine icon to launch it on your Mac computer.
- Scroll over to find the specific files or folders you want to restore from the Time Machine. You can also find it by clicking the Up/Down arrows.
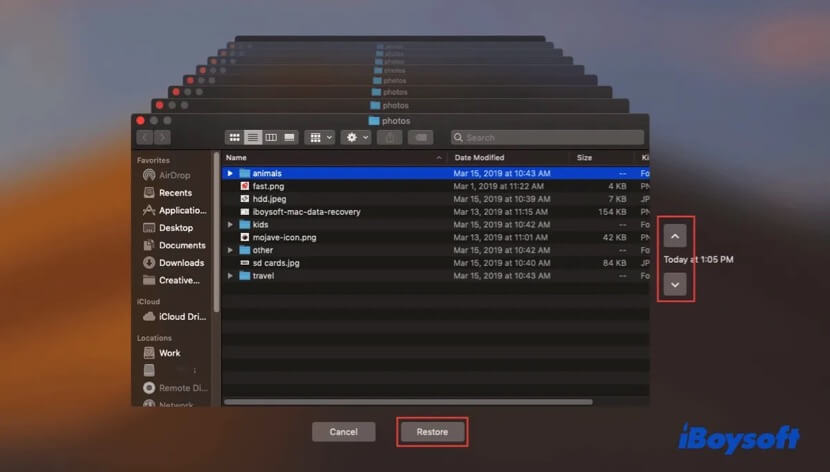
- Select the wanted file and press the Space bar key to preview it. Then click Restore to restore the selected file to its original location.
How to Use Time Machine on Mac: Backup and Restore Tutorials
This article tells you how to use Time Machine on Mac to back up the operating system, files, and apps, and steps to restore your Mac. Read more >>
Though Time Machine is such a great tool to recover data when unexpected data loss happens, it has some limitations. For one thing, if the drive you used to store Time Machine backups is full, and Time Machine is still functioning, it will automatically delete the oldest backups. For another, if the Time Machine drive is corrupted, you can't recover these old backups in Time Machine.
Fortunately, in this situation, you can still use iBoysoft Data Recovery for Mac to recover lost files after the macOS Ventura update.
Solution 3: Restore files after Ventura update with iCloud backup
iCloud is a backup service available on all Apple devices. If you have regular backups on your iCloud, you can easily use them to recover the missing files after updating your Mac to macOS Ventura. Here's how to do it:
- Head to iCloud.com with the browser on your Mac, then sign in to your account.
- Click Account Settings, then scroll down the window, under the Advanced label in the lower-left corner of the screen, click Restore Files.
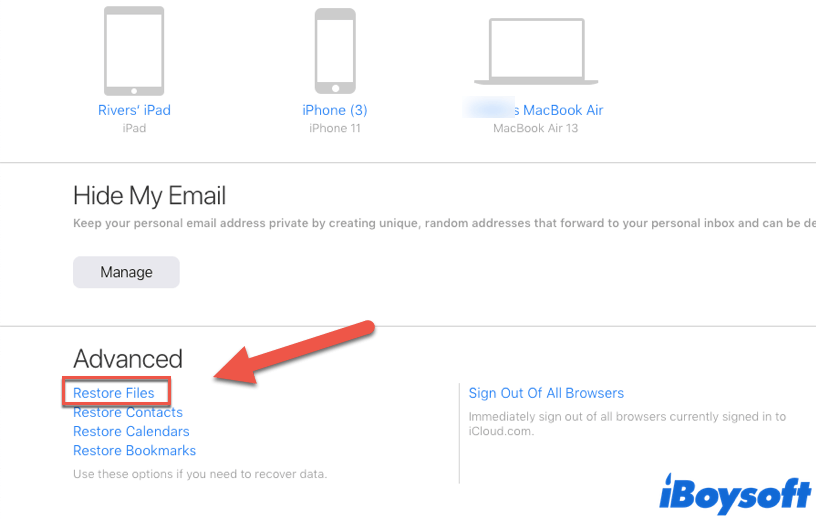
- See if your missing files are listed, if they are in the Restore Files window, check the checkboxes next to the files you want to recover, then click Restore to retrieve them to their original location.
Solution 4: Contact Apple Support

If you still can't recover your files after the macOS Ventura update with the above three methods, contact Apple Support by heading to its online website. Users can find a wealth of information and support there. Moreover, the extensive knowledge base of Apple Support covers a wide range of solutions related to recovering lost or missing files in various scenarios.
Also, if you need immediate assistance, Apple Support offers live chat and phone support.
Why are my files missing on my Mac after the macOS Ventura update?
Does updating your Mac to a new operating system delete some existing files? If it does, then what causes missing files after the Ventura update? The macOS Ventura update or any other macOS update doesn't delete Mac files.
However, certain problems and scenarios that occur during or after the Ventura update process may cause some files stored on your Mac computer to disappear. That's why you should back up your data before applying any big update, thus recovering missing files after the macOS Ventura update would be easier when data loss happens unexpectedly. The scenarios may go like this:
- The Ventura update package file is downloaded from a shady or third-party website.
- Sudden disruptions like an unstable network connection or a power outage during the update process.
- Some Mac files get corrupted when the update process is ongoing.
- Files are stored in a location that is incompatible with macOS Ventura.
- Data is just lost or deleted during the update process.
Do you find this content informative? Please share it with more people!
How to avoid data loss after a Mac update?
Though generally updating your Mac to a new operating system would not delete any of your files, sometimes it happens. So how to avoid data loss after the macOS Ventura update? Here, we provide some tips for you:
- Do not rush to apply the update, prepare your Mac to upgrade to macOS Ventura first.
- Download and install updates only through official sources.
- Always try to create local backups in Time Machine, iCloud, or directly back up your important files to an external storage device.
- Regularly check if your Mac computer is infected by viruses or malware.
- Install macOS Ventura on a supported Mac. If you want to install macOS Ventura on an unsupported Mac, ensure you've learned enough background knowledge.
Conclusion
In this article, we offer four feasible solutions to tell you how to recover missing or deleted files after the macOS Ventura update. It's always frustrating when finding some of your files lost from your Mac. But with the methods mentioned above, especially iBoysoft Data Recovery for Mac, you can get them back!
Share this article if you find it useful!
Also read:
FAQs about recover files after macOS Ventura update
- QDoes the Mac update delete files?
-
A
Generally speaking, if the update is downloaded from trusted sources, none of your files will get deleted, unless there are some disruptions that occur during the update process.
- QHow to recover deleted photos after the macOS Ventura update?
-
A
The most effective way to recover deleted photos after the macOS Ventura update is to use iBoysoft Data Recovery for Mac. You can download it from its website, then scan the disk you lost your photos from, and click Recover to restore these photos.