
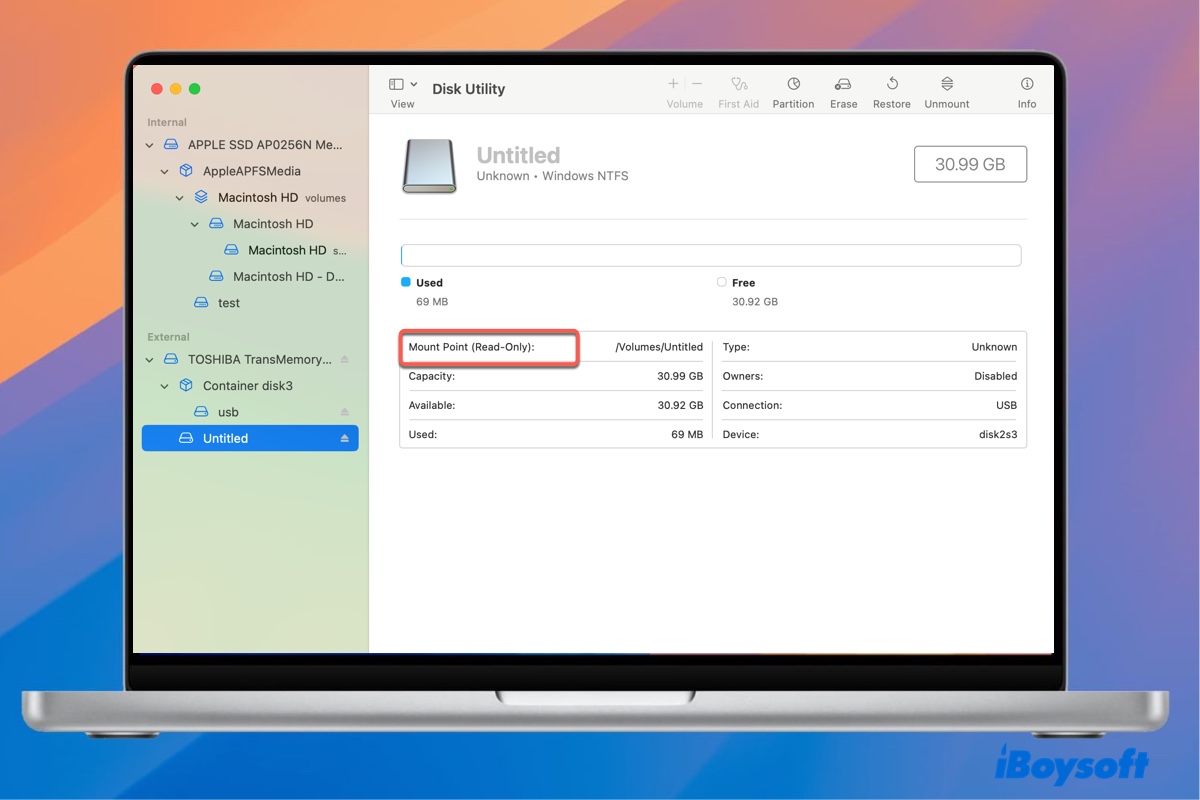
NTFS volumes continue to mount as read-only on Ventura, since macOS does not provide native NTFS write support.
Adding to the challenge, the Terminal-based method once used to enable macOS's hidden NTFS write capability has been disabled since macOS Ventura. If you still want to write to NTFS drives on macOS Ventura or newer versions with a free NTFS driver, turn to the combination of macFUSE+NTFS-3G+Mounty. But this combination is complex, unstable, and unsuitable for most ordinary users.
For most common users, iBoysoft NTFS for Mac is highly recommended, which gives you full read and write access to NTFS drives on macOS Ventura - Tahoe 26, as well as older macOS. Thus, you can easily duplicate, delete, edit, and transfer files between NTFS drives and macOS Ventura in Finder like Mac's native drives.
Download iBoysoft NTFS for Mac to write to NTFS drives on Mac with ease!
How to make NTFS hard drive writable on macOS Ventura:
| Solutions | Detailed Steps | Time Required | Recommendation Rate |
| Use iBoysoft NTFS for Mac | 1. Download and run iBoysoft NTFS for Mac. 2. Connect the NTFS drive to Ventura computer. 3. Mac auto-mounts the NTFS drive in read & write mode. | 3 ~ 5 mins | High (easy & fast) |
| macFUSE + NTFS-3G + Mounty for NTFS | 1. Install macFUSE and NTFS-3G driver via Terminal command lines. 2. Download and install Mounty for NTFS on Ventura. 3. Mount, read, and write NTFS drives on macOS Ventura. | 40 mins ~ 1 hour | Low (complex, high risks) |
| Format NTFS drive to a macOS-compatible file system | 1. Connect your NTFS drive to your Mac and launch Disk Utility. 2. Erase the NTFS drive in Disk Utility by clicking Format. | 5 ~ 8 mins | Low (Data wll be all erased) |
If you've upgraded to macOS Tahoe, learn how to read/write NTFS for macOS Tahoe
3 Methods to Write to NTFS Drives on macOS Ventura
Though macOS Ventura removed the hidden NTFS write capability, there are still some workarounds to help you get read & write access to NTFS drives. We gather all of the workable solutions here:
- Use a third-party NTFS for Mac application to gain write access on macOS Ventura
- Use free tools on macOS Ventura - the combination of macFUSE + NTFS-3G + Mounty
- Format the NFTS drive to APFS or FAT/exFAT for write support on macOS Ventura
Method 1. Use iBoysoft NTFS for Mac
iBoysoft NTFS for Mac is a robust NTFS for Mac driver and a basic disk management tool. It immediately mounts your NTFS partition in read-write mode as you plug your device into a Mac computer. This software has been upgraded to work seamlessly with NTFS drives on Apple Silicon/Intel Macs, running on macOS Tahoe, Sequoia, Sonoma, Ventura, Monterey, Big Sur, Catalina, Mojave, and High Sierra.
With this Microsoft NTFS driver, you can read, edit, delete, copy, rename, and move files between NTFS drives and macOS at a rapid transfer speed and stable performance, no extra driver or steps needed.
How to Enable NTFS Drive Write Access on macOS Ventura with iBoysoft NTFS for Mac?
With a clean and user-friendly interface, it's as easy as ABC to write an NTFS hard drive on macOS Ventura. Here is how:
1. Download and install iBoysoft NTFS for Mac on your macOS Ventura.
2. Launch iBoysoft NTFS for Mac and connect the external Windows NTFS hard drive to your Mac.
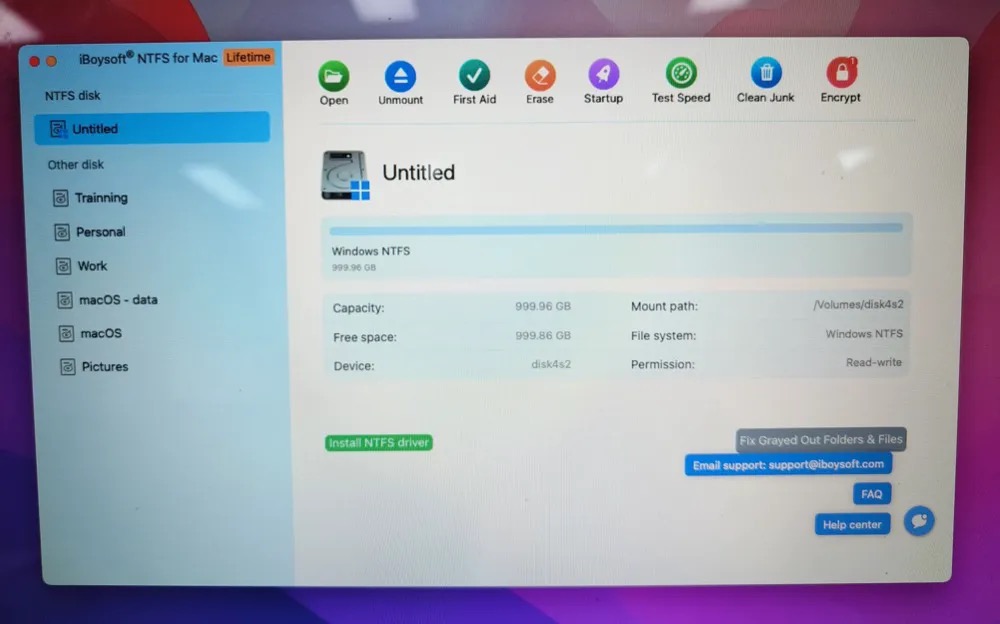
3. Write to the external Windows NTFS partition freely after getting a notification that the drive has been mounted in read-write mode successfully.
Method 2. Use the Combination of macFUSE + NTFS-3G + Mounty
Mounty for NTFS on Mac is a free NTFS for Mac toolset, allowing you to write to your NTFS drive on macOS Monterey and any previous macOS. Nevertheless, Mounty stopped providing NTFS write access for macOS Ventura and later macOS.
If you insist on Mounty for macOS Ventura and later macOS, you're required to take advantage of both macFUSE and NTFS-3G, as well. But using this combination is very complex. It involves the Terminal command lines, which is high demanding for users' skill level. Meanwhile, there is a high risk of data corruption or drive errors, particularly with large transfers.
If you're okay with its downsides, dive into the guide below to learn how to enable NTFS read/write access with macFUSE + NTFS-3G +Mounty:
1. Install macFUSE on macOS Ventura. Go to its official website and download the latest release compatible with Ventura. During installation, macOS may block system software. If so:
Open System Settings > Privacy & Security > Click Allow for macFUSE. Reboot Mac to finalize the installation.
2. Install NTFS-3G using HomeBrew and Terminal. NTFS-3G is the driver that enables full NTFS read/write access. Read the NTFS-3G for macOS post to get detailed command lines for this driver installation.
3. Install Mounty for NTFS. Click Open Anyway if your Mac warns that it's from an unidentified developer.
4. Plug in your NTFS drive once the three tools are all installed.
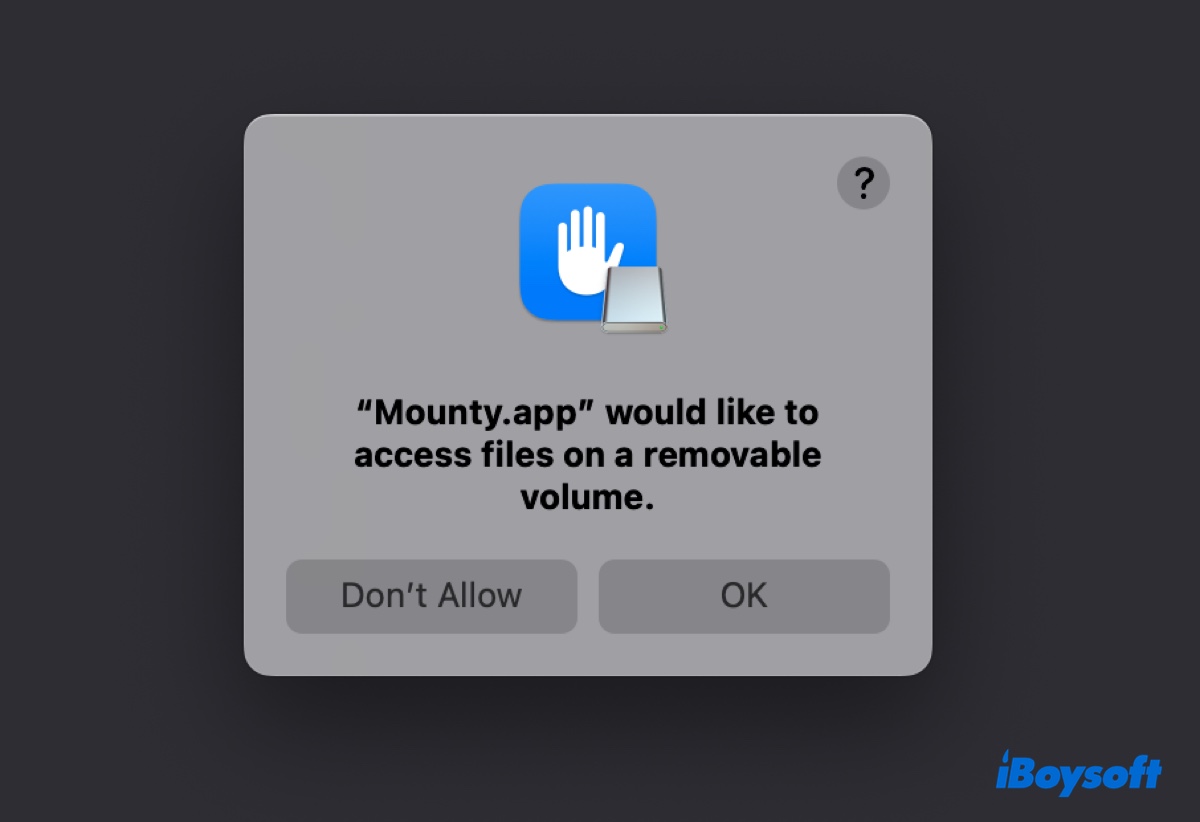
5. Mounty is supposed to detect it automatically. Tap OK to allow Mounty access files on your NTFS drive. You can eventually read and write to your NTFS volume once the mounting has succeeded.
Method 3. Format NTFS drive on macOS Ventura
Note: Only use this method for an empty or fully backed-up NTFS drive.
You can always format an external hard drive for macOS and PC. However, this way is less recommended, especially if you have many important files stored on the NTFS disk.
Let me explain it clearly. Frequent disk formatting puts the stored files and documents at risk of being wiped, causing unintentional data loss, which is a far more complicated challenge than disk formatting for writing access to NTFS drives on Mac.
If you have an empty hard drive or have file data backed up already, you can format it with Disk Utility directly. The instructions below lead you through the entire format procedure by using the example of formatting NTFS to APFS for Mac users only:
- Insert your NTFS drive into your Mac.
- Launch Disk Utility via Spotlight Search shortcuts.
- Click the View button and choose Show All Devices.
- Select the NTFS drive you attempt to format on the left sidebar of the Disk Utility home window.
- Tap on the Erase button at the top of the Disk Utility window.
- Name the drive as you prefer and choose an APFS format.
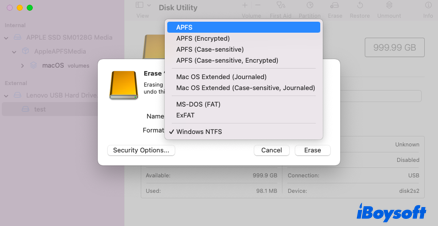
- Click Erase again to start the formatting process.
Moreover, if you intend to use the NTFS drive on both Mac and Windows, you'd better format it to FAT or exFAT. FAT and exFAT file systems are read-write supported by Mac and Windows.
Limited workaround: If you're running a previous Intel-based Mac with macOS Ventura, you have one more option than those Apple Silicon Mac users. Install Windows on an Intel Mac using Boot Camp Assistant, and then read and write your NTFS drive after booting into Windows on a Mac.
Installing another operating system on the Mac's startup disk will cause much inconvenience. For example, you need to switch from macOS to Windows for NTFS write access on Mac. Also, the Windows partition takes up your storage, making your Mac sluggish. Last but not least, you can't write to the NTFS drives on your Mac when running macOS Ventura.
Wrap up
Each method mentioned above has its own pros and cons. You can opt for the workaround to enable NTFS volumes write access on macOS Ventura based on your specific case. For most ordinary users, using a professional NTFS for Mac tool - iBoysoft NTFS for Mac is the most reliable and easy way to regain NTFS full write support on macOS Ventura, without complicated command lines, extra drivers, or data erase concerns.
If you plan to upgrade to macOS Sequoia, continue reading this article to learn 3 ways to gain macOS Sequoia NTFS write support on Mac.
Solve your problem? Let's share!
FAQ about NTFS Write Access on macOS Ventura
- QWhy can't my Mac running macOS Ventura write to my NTFS-formatted drive?
-
A
Because NTFS is a proprietary file system Apple hasn't licensed, your Mac can't write to NTFS natively. When working with NTFS files. You'll need a third-party NTFS driver for Mac if you want to work with the files. iBoysoft NTFS for Mac drive is highly recommended for its powerful and excellent function.
- QHow can I edit the files in my Seagate NTFS drive on my MacBook Air 2020?
-
A
You can edit the files in your Seagate NTFS drive on Mac through the following channels: 1. Force open the write assess to the NTFS drive on Mac by running command lines in the Terminal app (not on macOS Ventura or newer macOS). 2. Apply a third-party NTFS software to obtain full write support for the NTFS drive on Mac. 3. Format the NTFS drive to any Mac-compatible file system on your Mac.
- QWhy did Terminal NTFS write stop working on macOS Ventura?
-
A
On macOS Ventura, the old 'Terminal NTFS write' trick largely stopped working because Apple has continued tightening filesystem and kernel security. And Apple removed this wonderful driver on macOS Ventura. Therefore, you cannot write to your NTFS drive on your Mac running macOS Ventura unless you use the combination of macFUSE+NTFS-3G+Mounty.
- QIs iBoysoft NTFS for Mac safe to use?
-
A
Yes, it's safe if you download it from its official website or other reliable platforms like App Store.
- QIs Boot Camp a good workaround for NTFS drive writing on macOS Ventura?
-
A
Not really. Boot Camp partition is only available for Intel-based Mac models. Essentially speaking, it enables your NTFS drive writing still in the Windows partition, not in macOS Finder.