Many Mac users are desperate for the Word app in Microsoft Office for Mac to take notes, but it costs money and needs you to install it. Actually, Apple also develops an excellent built-in app that enables you to write down something, that is, Apple Notes.
This article from iBoysoft guides you to know Apple Notes from an all-around standpoint. Meanwhile, approaches on how to maximize the performance of Apple Notes on Mac are also covered.
Note: If you want to undo text in Notes, follow: How to Undo in Notes on a Mac
The basic information of Apple Notes
Apple Notes is an app that allows you to take notes, which is developed by Apple Inc. This wonderful app came with the publication of the OS X Mountian Lion operating system on July 2012.
In the OS X EI Capitan version, Apple Notes embraced significant functional improvements, including iCloud synchronization, advanced text formatting options, kinds of list styles, rich web and map link previews, more file type attachments support, a corresponding dedicated attachment browser, and a system share extension point for saving web links and images.
The Apple Notes app is supported on iOS and macOS, and the notes are synchronized across devices with the same Apple ID.
With the basic information of Apple Notes, you can run it with a facility in later usage.
How to use Notes on Apple Mac?
The Apple Notes is capable of performing various tasks, you can learn how to take advantage of it to bring you incredible convenience with the specific instructions below.
Write a new note
Writing a new note is really easy and simple, you can finish it without effort:
- Launch the Apple Notes via Launchpad or Spotlight Search on Mac.
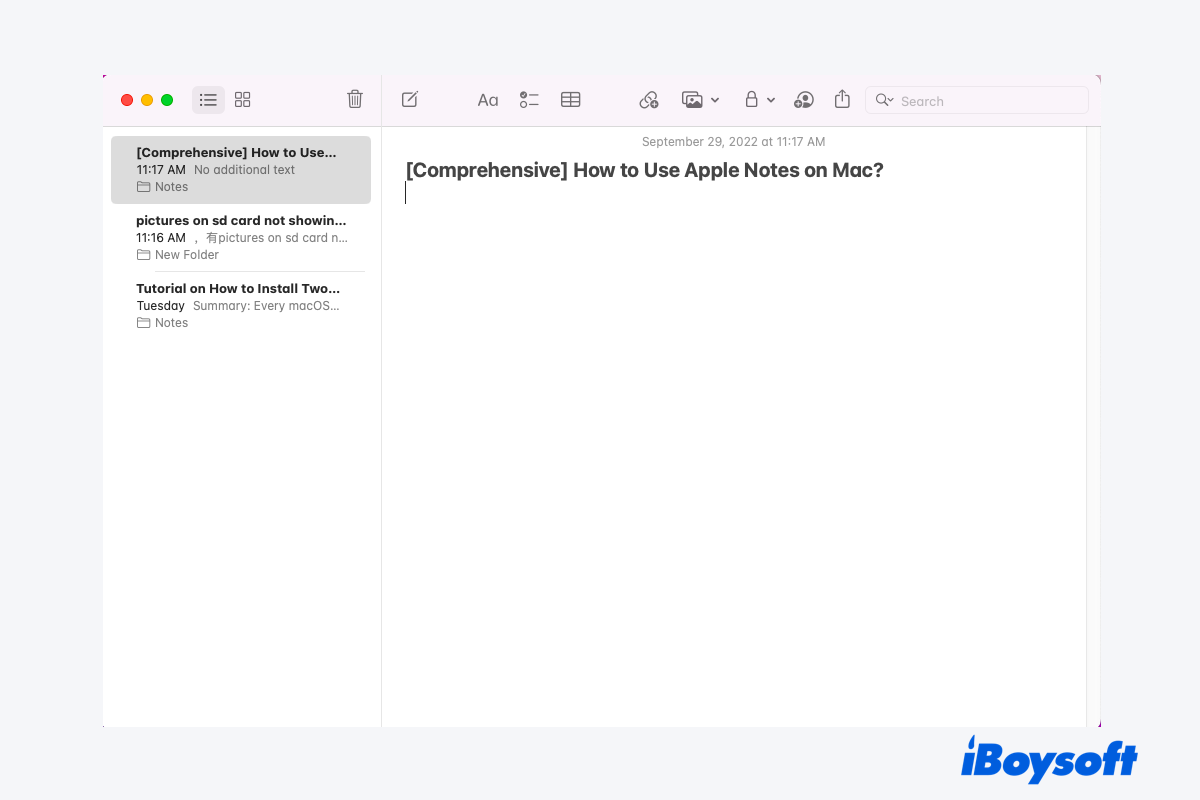
- Click the writing icon to create a new note.
- type your note, and the first line of content will become the title of your note.
- When you finish, just close the window and the Apple Notes will save your note automatically.
Pin note on the Apple Note
If you're a frequent user of Apple Notes, it's common that you have stacks of notes. Typing the note titles in the search box to locate the wanted notes every time is really bothering and trifling.
Facing this, you can pin the note to place it on top for a quick find. Here are how to do it:
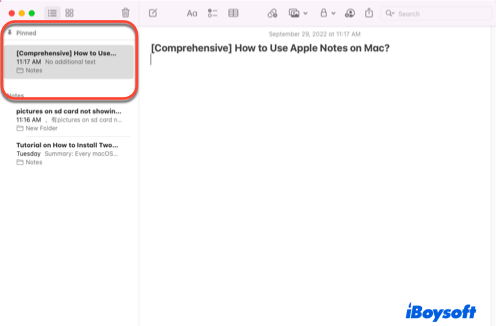
- Select the note that you want to place on top.
- Control-click it and select the Pin Note option from the dropdown menu.
- Then you can see the note showing in the Pinned tab.
Lock note on the Apple Note
If you keep something private and secure on the Apple Note, you're able to lock Notes on Mac with passwords.
- Run the Apple Notes app on your Mac.
- Locate the note with private or secure information in the Apple Notes.
- Right-click the note and select the Lock Note in the context menu.
- Enter the password, the verifying password, and the password hint in the responding boxes.
- Write down your password information in the Sticky Notes for Mac in case you forget them.
- Click the Set Password button to save your actions.
- Click the lock icon on the top bar, and select the Close All Locker Notes icon. From now on, the notes are locked unless you open them with passwords.
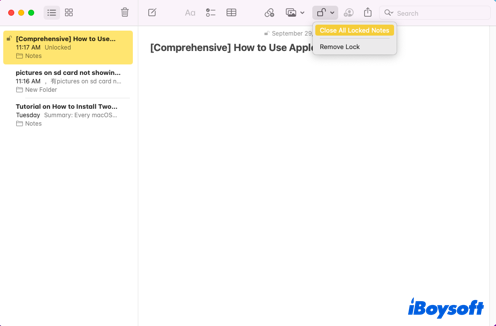
If you want to remove the lock, just click the lock icon > select the Remove Lock option > enter your password > and click the OK button, then the lock will be removed.
Float note on the Apple Notes
Saying you have lots of important work to complete today, and you have to repeat opening the note to check if you have kept synced with the plan. At this moment, the float note function of Apple Notes is needy. This function makes the selected note separate from the rest of the notes.
- Launch the Apple Notes on Mac.
- Click the Window top on the top toolbar of your desktop.
- Choose the Float Selected Note option on the dropdown menu.
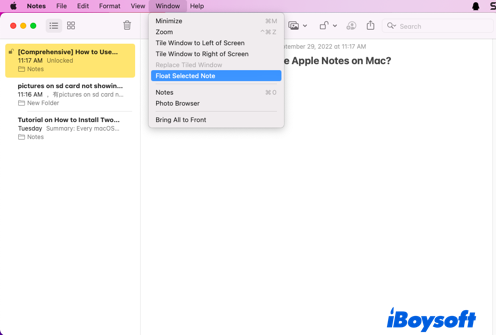
- The note that you float will appear above the Apple Notes app.
Format notes with keyboard Shortcuts
Apple Notes make it possible for you to add styles and formats to the text with Keyboard Shortcuts, which are really simple and easy to operate:
- Title style: CMD + Shift + T keys
- Body style: CMD + Shift + B keys
- Headline style: CMD + Shift + H keys
If the format work goes not well, it's likely that you encounter the Mac/MacBook keyboard not working suddenly issue or the left shift key not working on Mac issue. Don't worry, you can fix these issues without any effort.
Change default account
All the notes you created will be synced with other devices via your Apple ID. But what if you want to change the Apple ID to another account, for example, Google account? Easy, just keep reading!
- Turn on Apple Notes on your Mac.
- Click the Notes menu on the top taskbar of your desktop.
- Select Accounts from the context menu.
- Choose an account to sign in from the main window.
Since then, the notes are synced with the account that you logged in to.
Collaborate with others
You are allowed to share the note with your friends so that you all can edit the note simultaneously. You can follow the steps below to collaborate with your friends:
- Run the Apple Notes on your Mac and select the note that you want to share.
- Click the guest icon to share the note via Mail, Message, Copy Link, and AirDrop.
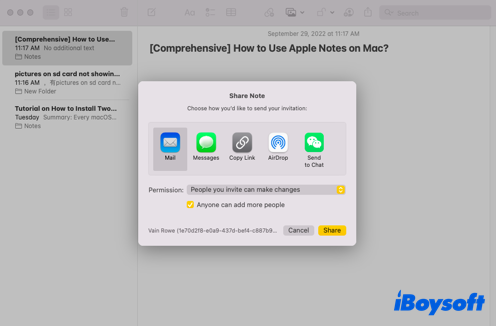
- Tap the Share button, then you and your friends can edit the note at the same time.

If the notes are not syncing between your iPhone and Mac, follow the tips in this post. Moreover, you can also learn the common reasons why the Apple Notes app is not syncing between devices.
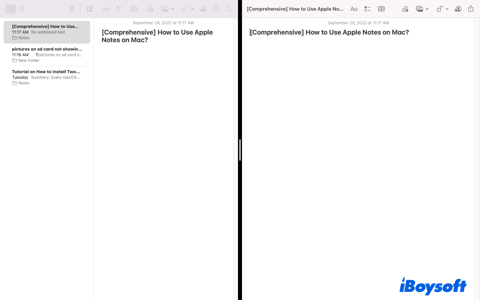
How to use Apple Notes in split screen on Mac?
If you wonder how to use Apple Notes in split screen, you're in the right place. Apple features with split screen and Mission Controlenabling you to apply the Notes flexibly.
- Launch the Nots app on your Mac, and select the note that you want to open on a split screen.
- Float a note, and then expand it to full screen.
- Swipe up three or four fingers on your Trackpad to open Mission Control. If your Trackpad is insensitive, you should tell if your Trackpad on MacBook Pro lagging and fix it.
- Add a new desktop, then drag the floated note page to the new desktop.
- Expand your Apple Notes to full screen, and then drag it to the thumbnail window with a note page in the spacebar.
- Now, you can use Apple Notes on a split screen. You can even drag the line to adjust the note page size.
You can launch Mission Control by swiping 3 or 4 fingers up to click the X icon on the thumbnail window for quitting the split screen. The note pages will come back to the first thumbnail window automatically.
Final thoughts
Apple Notes really takes place the Microsoft Word sometimes. This article guides you to know the Apple Notes with a comprehensive perspective. Also, you can find the answer to how to use Notes on Apple Mac and how to use Apple Notes on a split screen on Mac in this article.
You can also export Notes from Mac. If you're interested in this app, try it now!
FAQ about how to use Notes on Apple Mac
- QHow do I use Apple notes effectively on Mac?
-
A
You can write a note, pin a note, lock a note, float a note, lock a note, and share a note with your friends via Apple Notes on Mac. The Apple Notes on Mac definitely increase your proficiency.
- QCan I see my iPhone notes on my Mac?
-
A
Yes, of course. The notes on your iPhone can be synced with your Mac if you log into the same Apple ID on your iPhone and Mac.