Is your NTFS drive read-only on macOS Sequoia?

With Apple releasing a new version of the Mac operating system every year, bringing tons of new features, it can also render your NTFS external drives not working properly on Mac. And the same holds true for macOS 15 Sequoia.
Following the macOS Sequoia update, you may find you're suddenly unable to perform write tasks on Mac, such as copying files, deleting files, or creating new folders.
This is usually due to an outdated NTFS for Mac driver or the method you used to enable write support to NTFS on Mac is no longer valid on macOS Sequoia. Thus, the solution to your read-only NTFS drive is to find an NTFS for Mac driver that's compatible with macOS Sequoia, reformat it with a Mac format, or install Windows on your Mac to use NTFS.
I'll explain these methods in detail. If you want to save time and the hassle of erasing the drive or getting Windows on your Mac, simply download iBoysoft NTFS for Mac to enable macOS Sequoia NTFS support (read & write). This tool allows you to write to NTFS on macOS Sequoia freely.
| How to get read & write support for NTFS on macOS Sequoia | Steps | Time needed | Efficiency & Effectiveness |
| Use iBoysoft NTFS for Mac Sequoia | 1. Download and install NTFS for Mac Sequoia. 2. Read/write to NTFS drives. | < 5 minutes | High (safe & fast; gain NTFS read/write support instantly without formatting) |
| Install Windows on macOS Sequoia | 1. Install Windows on your Mac. 2. Boot into the Windows partition. 3. Use the NTFS drive. | > 30 minutes | Low (takes time to partition your Mac and install Windows, need to reboot Mac to use NTFS drives) |
| Format NTFS with a Mac format | 1. Open Disk Utility. 2. Select the NTFS drive and click Erase. 3. Choose a format and click Erase again. | > 10 minutes (depending on the time for backing up data) | High but erases all data on the NTFS drive and changes NTFS to another format. |
Can macOS Sequoia write to NTFS?
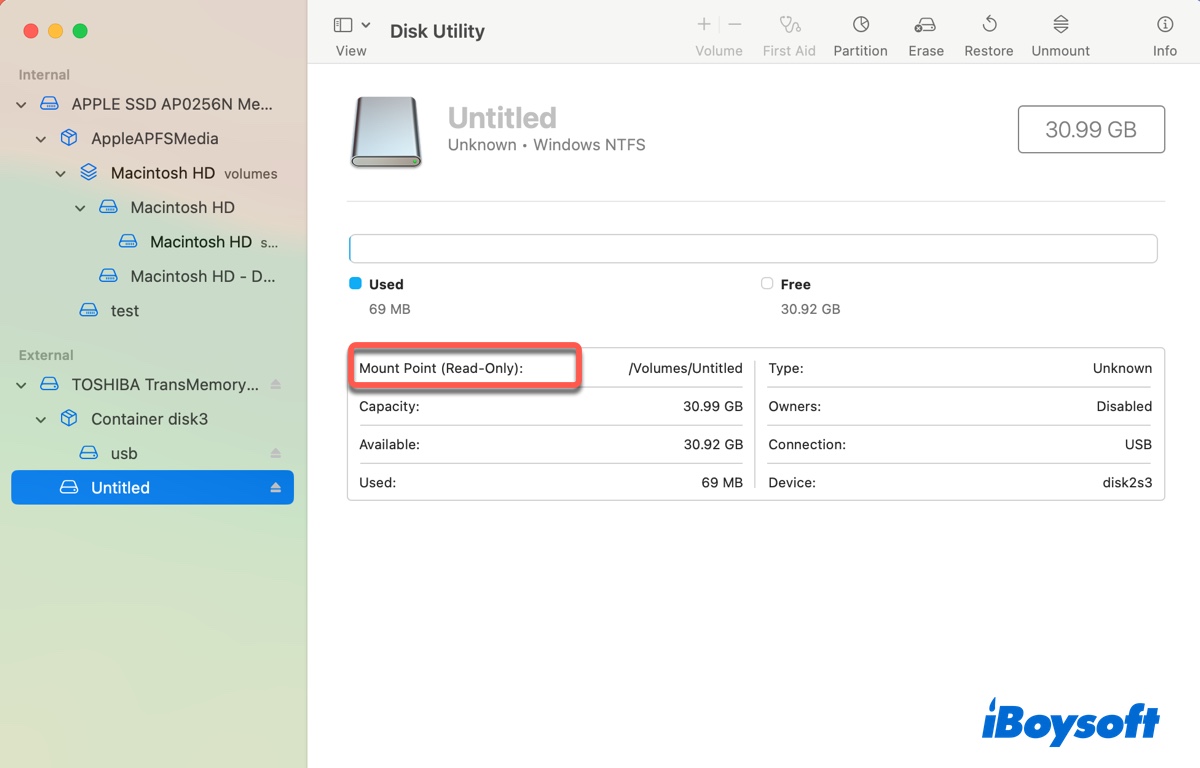
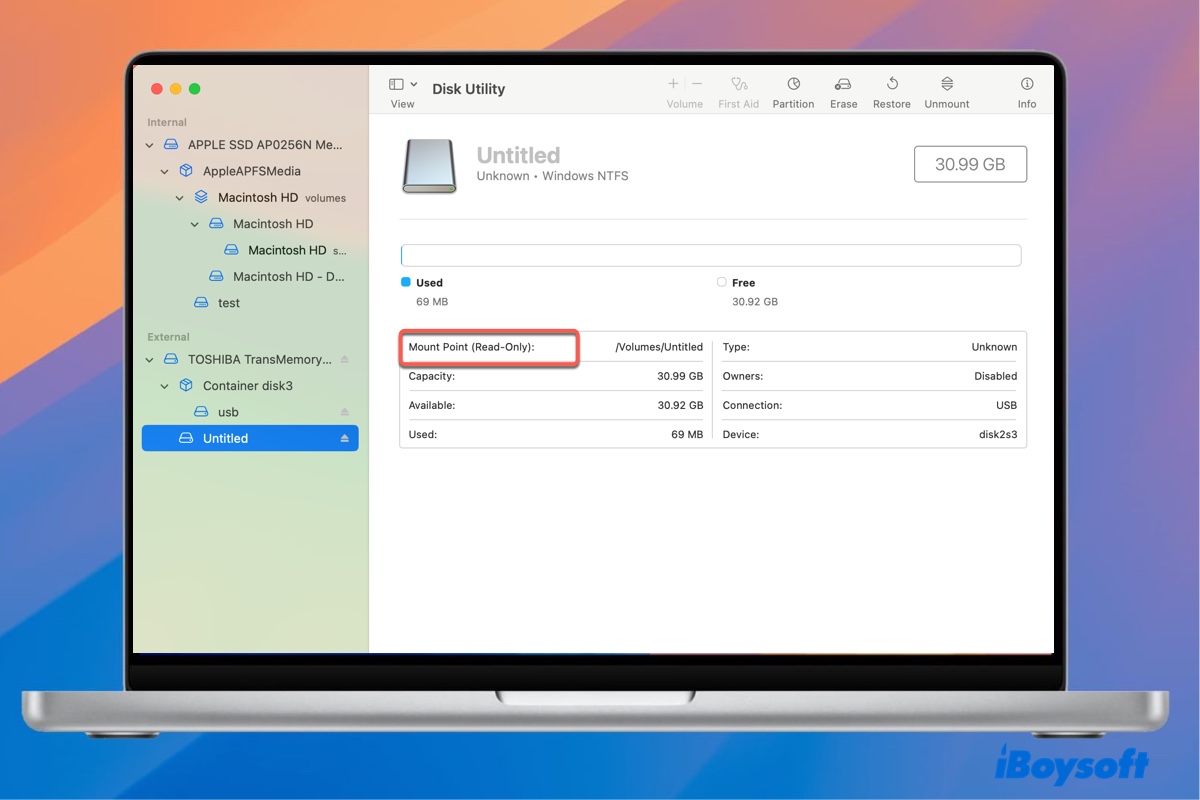
No, macOS Sequoia can't write to NTFS by default. In fact, your Mac can only read NTFS, regardless of which macOS version it runs. NTFS is read-only because it's a proprietary file system owned by Microsoft, and Apple doesn't have the necessary licensing to provide full read-write support for it on Mac.
How to enable NTFS write support on macOS Sequoia?
If you can't copy, delete, edit, move or save files on an NTFS drive on macOS Sequoia, use one of the following three methods to use NTFS drive on macOS Sequoia in read-write mode.
Way 1: Use iBoysoft NTFS for Mac Sequoia
The best way to write to NTFS on macOS Sequoia without formatting or losing data is to use iBoysoft NTFS for Mac. This reliable NTFS for Mac driver is updated for macOS Sequoia and is compatible with all Mac models, including Intel, T2, and Apple Silicon (M1, M2, M3 and M4) Macs.
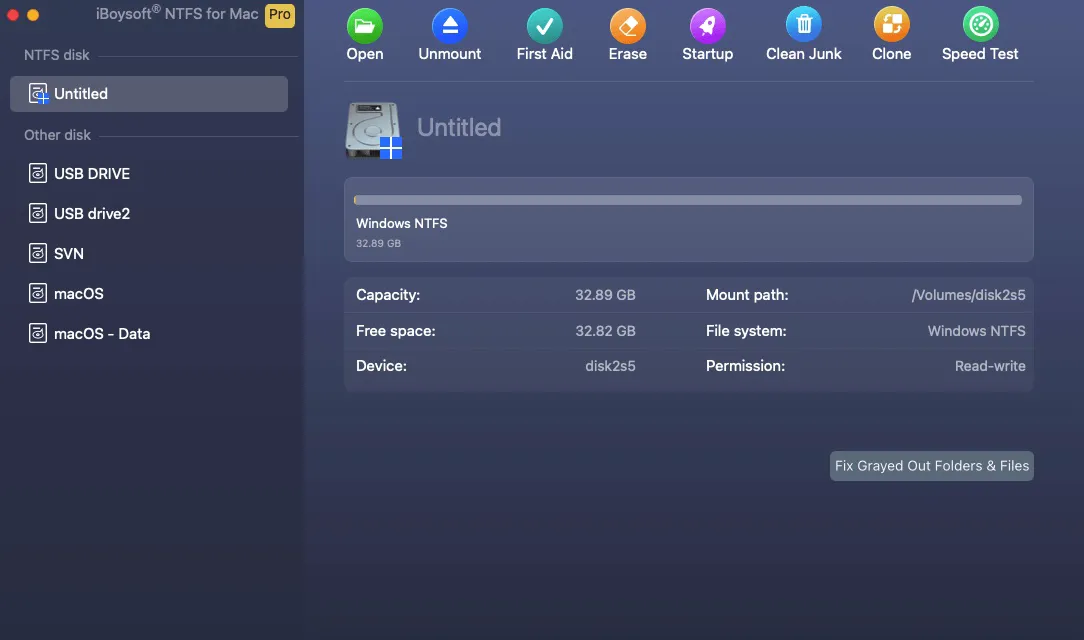
Once installed, it can automatically mount any NTFS external drives connected to your Mac in read/write mode, no matter if it's a USB flash drive, an SSD/HDD, or an SD card.
Best NTFS for macOS Sequoia - iBoysoft NTFS for Mac
- Compatible with macOS Sequoia/Sonoma/Ventura/Monterey/Big Sur/Catalina/Mojave/High Sierra
- Grant NTFS drives read/write access on Mac
- Format drives to NTFS on Mac
- Check and repair NTFS-formatted drives on Mac
- Open, mount, and unmount NTFS disks on Mac
- Mount Boot Camp partitions in read/write mode
- Start up from the Boot Camp Window partition if it exists.
Read-only & risk-free
How to write to NTFS drives on macOS Sequoia: (Uninstall the outdated NTFS for Mac driver first, if any.)
Step 1: Download and install iBoysoft NTFS for Mac.
Step 2: Write to the NTFS drive after it's mounted in read/write mode.
Suppose your NTFS external hard drive isn't mounted on Mac, then you can open iBoysoft NTFS for Mac, select the unmounted NTFS disk from the left panel, and click Open to mount it. After that, you'll gain the macOS Sequoia NTFS support for writing data.

Share this NTFS for macOS Sequoia tool to benefit others!
Way 2: Install Windows on macOS Sequoia
If you've been meaning to run Windows on your Mac, now is the time. With the Windows partition available, you can switch from macOS to Windows to use the NTFS drive on your Mac. This is a viable option for those who don't mind rebooting their Mac and changing to Windows every time they need to write to the NTFS drive on Mac, as well as having enough free space for a second partition.
This method is totally free for Intel-based Mac users, as they can install Windows on Mac with the built-in Boot Camp Assistant. However, Apple Silicon Macs don't support it. If you have an M1, M2, M3, or M4 Mac, you'll need to install Windows on a virtual machine instead.
Keep in mind that when using the macOS partition, you still won't be able to write to your NTFS external drives. Also, you can't access data on the macOS partition when booting from Windows.
How to Install Windows 10 on Mac with Boot Camp Assistant?
Way 3: Format NTFS with a Mac format
Another way to use NTFS drives on macOS Sequoia freely is to reformat it with a file system compatible with Mac. This allows you to work with the drive in read/write privileges on Mac by trading NTFS for a new format and removing all data on your disk.
If your NTFS drive doesn't store any valuable data, reformatting may be a good choice. Just don't forget to back up your drive before initiating the formatting process.
After your drive is backed up, take the following steps to format it:
- Ensure your NTFS-formatted drive is inserted into your Mac.
- Open Disk Utility from the Applications > Utilities folder.
- Tap View > Show All Devices.
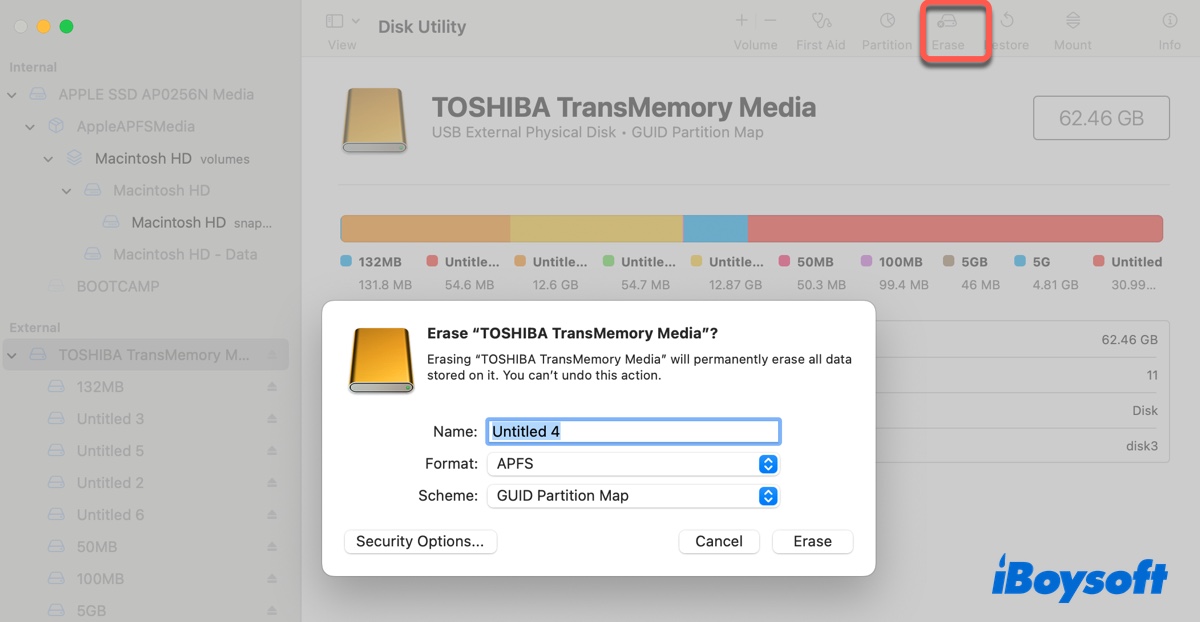
- Select the NTFS disk or partition and click Erase. (If you want to reformat the whole drive, choose the physical disk with the manufacturer's name on its label; if you only need to reformat an NTFS partition, select the partition.)

- Name the drive.
- Choose a proper format. (Read this guide to learn the best format: How to Reformat External Hard Drive on Mac Without Losing Data?)
- Keep GUID Partition Map as the scheme. (Only available when formatting an entire disk.)
- Click Erase again to start the erasing process.
That's how to read and write to NTFS on macOS Sequoia. If you find the information helpful, don't hesitate to share it!
Any free NTFS for Mac Sequoia tool available?
There are many free NTFS for Mac drivers that officially support macOS Sequoia, but most of doesn't have the high performance that iBoysoft NTFS for Mac does.
However, if you're open to experience, you can give Mounty for NTFS a try. It's a popular NTFS for Mac driver that's completely free. Still, do it at your own risk because no one can guarantee success. If you decide to test it out, please ensure your NTFS disk doesn't contain important files and follow the steps below.
Since Apple has removed the NTFS kext file that Mounty relies on to mount NTFS in read/write mode on macOS Ventura, it now functions as a graphical interface for the third-party driver NTFS-3G. So to use it, you'll need two additional programs: macFUSE and NTFS-3G for Mac.
Here's how to install this free NTFS for Mac tool on macOS Sequoia:
- Install Homebrew on your Mac.
- After Homebrew is ready, open Terminal.
- Execute the command below to install macFUSE.brew install --cask macfuse
- Run the command below to install NTFS-3G on macOS Sequoia.brew install gromgit/fuse/ntfs-3g-mac
- Execute the command below to get Mounty.brew install --cask mounty
This is one possible way to get a free NTFS for Mac Sequoia driver. If it helps, share this post!
Does NTFS for Mac work on Sequoia?
Currently, the only NTFS for Mac software that officially works on macOS Sequoia is iBoysoft NTFS for Mac. If you can't write to NTFS external drives on macOS Sequoia, install it from the button below. It grants your Microsoft NTFS drives full read/write access on your Mac with disk speed close to drives formatted in a native Mac file system.
Write, copy, or delete files on Microsoft NTFS drives on Mac freely now!
