The external hard drive has become an indispensable part of your life to store kinds of files such as photos, videos, documents, etc. WD My Passport features oodles of storage, solid performance, password encryption, etc., and has become one of the most popular external drives.
Then, you may want to know how to use WD My Passport for Mac, how to transfer files to WD My Passport from Mac to free up space, how to back up important files to the external drive, or how to copy files to it to share between two computers. Even more, it could be used as a bootable installer when your Mac won't turn on.
Here, this post will talk about how to transfer files to WD My Passport from Mac, it will guide you to make preparations and copy/move files from Mac to external WD My Passport in detailed steps. Let's dive into it now.
| Transfer files from Mac to WD My Passport | Applicable Scene | Difficulty Level |
| Transfer files using iBoysoft NTFS for Mac | It is an NTFS drive and you don't want to lose data by reformatting | Easy |
| Move files after reformatting the drive | Format the incompatible drive that doesn't store important files for Mac | Medium |
| Transfer files with iBoysoft MagicMenu | Quickly move selected items to the external hard drive via the right-click menu | Easy |
| Copy-paste or drag-dop files to the drive | Using Finder to transfer files without any third-party software | Medium |
Before transferring files to WD My Passport from Mac
You need some essential preparations to make sure you can successfully transfer files from Mac to My Passport external hard drive.
Check the file system of the WD My Passport
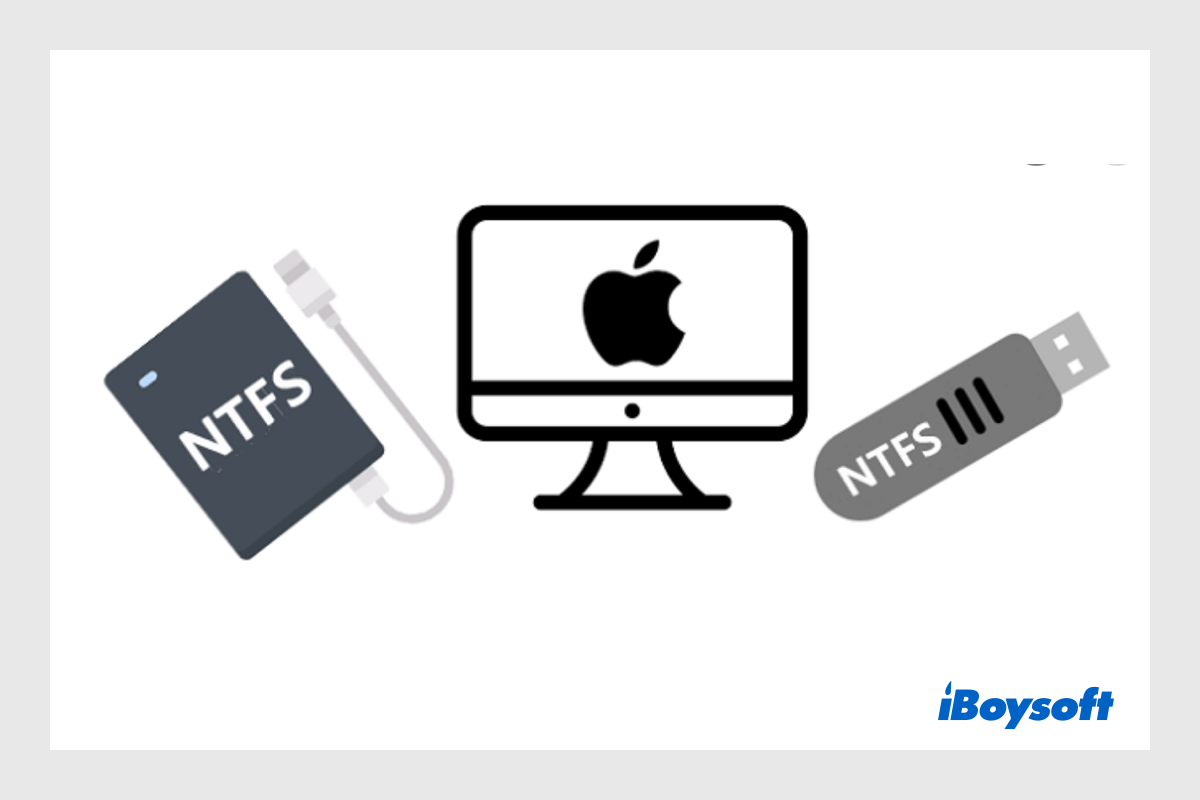
In case the file system of your WD drive is not supported by macOS, you cannot copy files to a read-only WD My Passport on Mac. Most WD drives are designed for Windows OS and come with the NTFS file system by default. Then the problem arises, macOS can read but can't write an NTFS drive even on the latest macOS Tahoe. Check whether it is an NTFS-formatted WD My Passport drive.
How to see detailed information about a disk on Mac:
- Open Disk Utility in the Utilities folder in Applications.
- Select the connected WD drive on the left list.
- Click the Info button in the toolbar.
- On the pop-up window, check the file system.
For FAT32, exFAT, Mac OS Extended, and APFS file systems, you can straightforwardly transfer files from Mac to My Passport external hard drive. But if the file system is NTFS, you need to make the extra effort otherwise you can't add files to My Passport on Mac, enabling NTFS write support on Mac or formatting the drive for Mac.
[Multiple Ways]How to Enable NTFS Write on Mac
Natively, you can only read NTFS drives on Mac but can not write to it. This post provides multiple ways to gain NTFS write permission on Mac. After reading, you will know how to enable NTFS write on Mac. Read more >>
Ensure a good connection between the Mac and WD drive
To use the Wd My Passport on your Mac, you will need to connect the drive to the Mac's USB ports via a USB cable. Both the port and the cable should be matching and working to make Mac to detect the plugged external WD drive. Otherwise, the WD My Passport won't show up on the Desktop, in Finder's sidebar, and the Disk Utility, and you can not transfer files to WD My Passport from Mac.
External Hard Drive Not Showing up on Mac, How to Fix It?
This article explores how to fix an external hard drive that is not showing up on Mac Sonoma, Ventura, Monterey, Big Sur, Catalina, or earlier Apple OS versions. In addition, you can free download iBoysoft Data Recovery for Mac to recover your files from the unrecognized external disk. Read more >>
Have prepared the WD My Passport drive to transfer files? Click to share with others!
How to transfer files from Mac to my Passport external hard drive?
After correctly connecting the WD My Passport to your Mac and it is successfully detected and displayed on your desktop and Finder, it's time to dive into the specific steps to copy or move from your Mac to the WD My Passport.
Solution 1. Use an NTFS driver for Mac to transfer files (No data loss)
An NTFS for Mac drive makes an NTFS-formatted drive readable and writable on Mac without formatting. It can mount the drive in read-write mode on a Mac so that you can use WD My Passport on a Mac just as you use it on a Windows PC.
Here we recommend iBoysoft NTFS for Mac, the best NTFS for Apple silicon Mac and Intel-based Mac solution, which enables you to write Microsoft NTFS drive on your Mac without any hassle and supports the latest macOS Tahoe and Sequoia. You can download and install this software to transfer files from a Mac to an NTFS-formatted WD My Passport drive. Here's how:
Step 1: Download and install iBoysoft NTFS for Mac.
Step 2: Open NTFS for Mac, it should automatically mount the NTFS drive in read-write mode.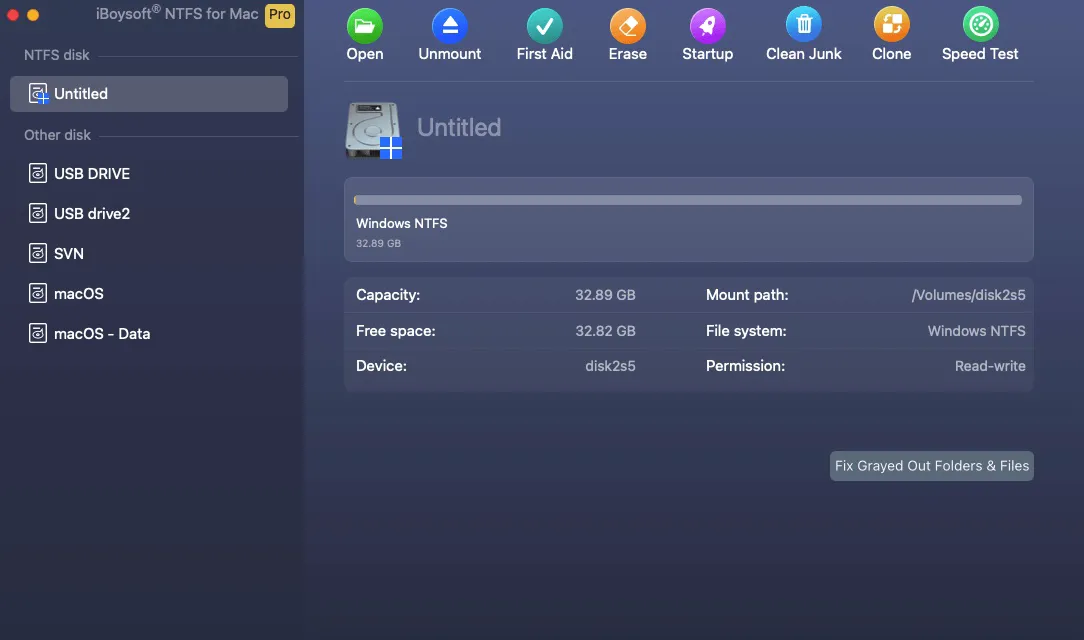
Step 3: Then, you can freely transfer files from Mac to external hard drive.
Solution 2. Format WD My Passport to make it compatible
If it is a brand-new WD My Passport drive without any crucial files stored, the easiest way to make it compatible with macOS is to format WD My Passport on Mac, then you can reassign a new file system that works on Mac to the drive. But if you have used the drive for a while and don't want to lose the data on it, consider Fix 1.
Solution 3. Transfer files from Mac to WD My Passport via Finder
If the connection between the WD My Passport drive and the Mac is in good condition, and the file system is also compatible with macOS, everything is ready, then you can begin to transfer files from Mac to My Passport external hard drive. Let's dive into the details.
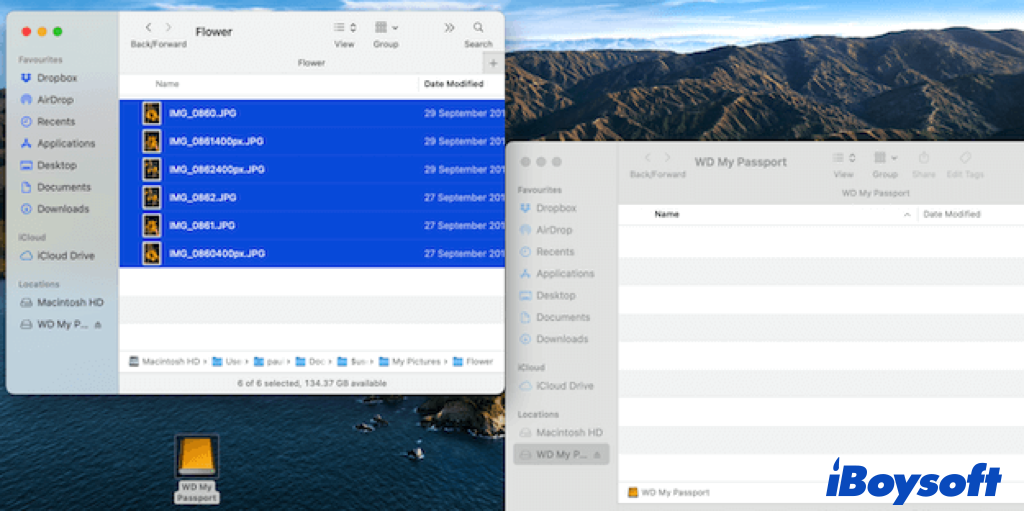
Step 1: Open Finder and find the items you want to copy to the WD My Passport drive.
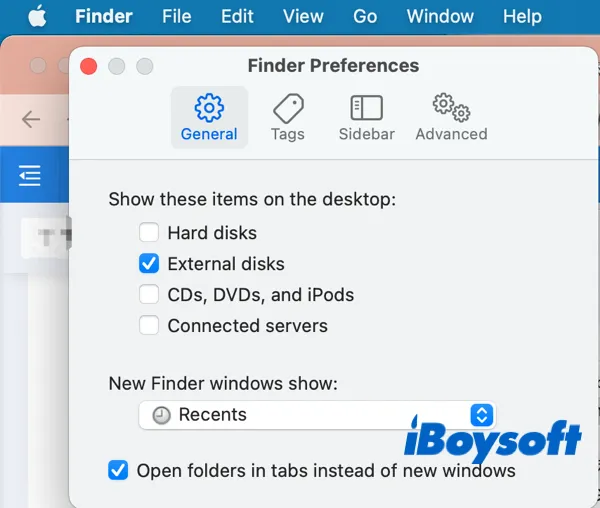
Step 2: Double-click the WD My Passport drive icon on the desktop to open it. If you cannot see it there, go to Finder's Preferences, choose the General tab, then check the box next to "External disks" under "Show these items on the desktop" to make the WD drive show up. You can create a new folder for the transferred files to organize them easily.
Step 3: Click the item you want to copy to highlight it or select multiple files on Mac with the Shift key for adjacent files and the Command key for non-adjacent files.
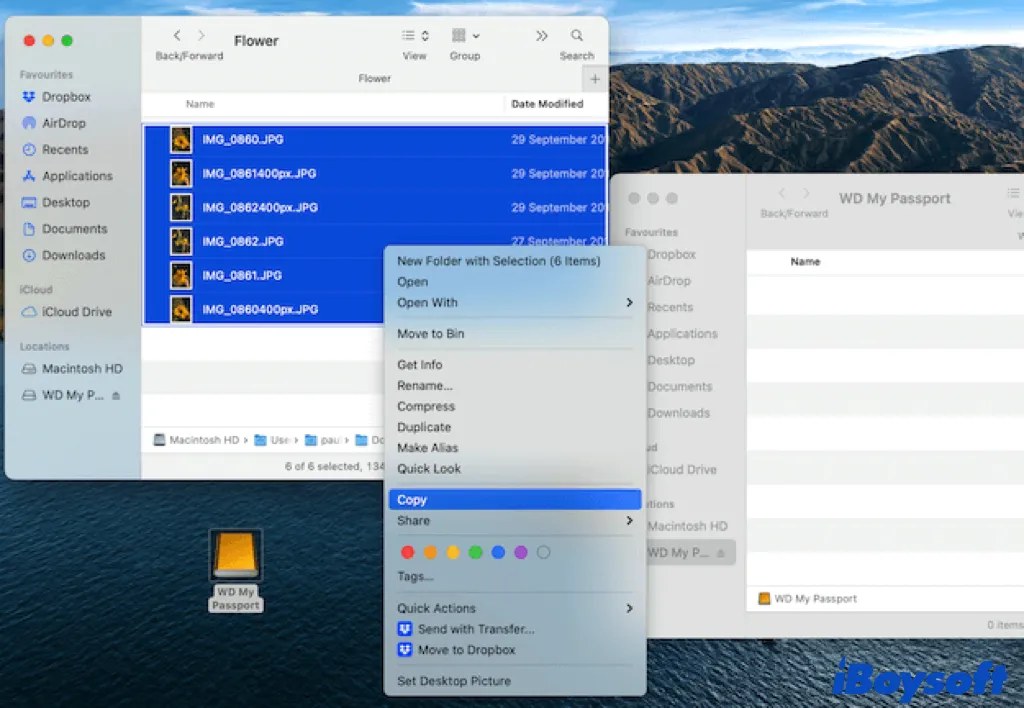
Step 4: Control-click the selected items and choose Copy(Control+C) on the menu, then head to the WD drive window, open the added empty folder, right-click, and choose Paste(Control+V) to put the copied items there.
Step 5: View the added files in the WD My Passport windows to make sure you have transferred all the items you want from Mac. Then safely eject the external hard drive on Mac and disconnect the WD drive.
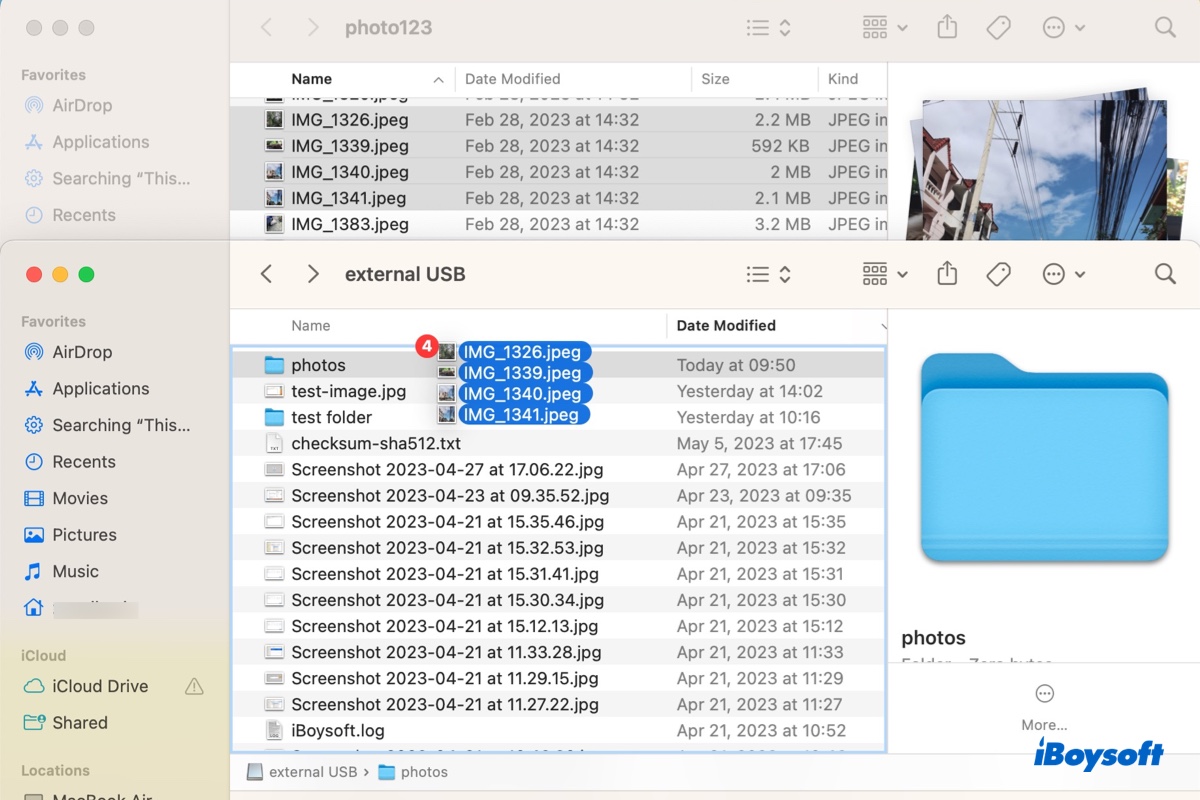
Or, you can directly drag the selected items and drop them into the WD My Passport drive, and the original files will not remain on your Mac.
A popup displaying the status of your move will appear. Additionally, if the transfer files are large, or if there are a lot of items, it can take some time to complete. Just wait till it is finished.
Solution 4. Copy/move files from Mac to WD My Passport via iBoysoft MagicMenu
Alternatively, you can use iBoysoft MagicMenu to quickly move files to the external hard drive by right-clicking selected files, choosing Move To from the context menu, and selecting the external hard drive as the path.
If you want to learn other ways to copy files from your Mac to an external hard drive or move files without copying them, check out this guide.
This post guides you to transfer files from one hard drive to another on Mac, you can follow the steps to move some files between two drives or clone the drive via iBoysoft DiskGeeker to move everything from one drive to another.
Successfully copy files from Mac to WD drive with the steps above? Why not share it now?
Why can't I add files to My WD Passport? Fixed!
Some Mac users can't copy files to the WD Passport on Mac due to various reasons. It may be caused by a poor connection, the read-only permission of the external drive, drag-drop not working, copy and paste not working, not enough free space on WD My Passport, an incompatible file system, a corrupted or physically damaged external drive, etc.
When you can't copy from Mac to external hard drive such as WD My Passport, you can try the following fixes to get the problem solved.
- Fix 1. Make sure the USB port and cable work.
- Fix 2. Reformat the NTFS WD drive or use NTFS for Mac to transfer files.
- Fix 3. Change the permission of the drive to have full read & write access to it.
- Fix 4. Restart the Mac to get rid of temporary macOS bugs.
- Fix 5. Try a different way to copy files to the external drive.
- Fix 6. Run First Aid to check and repair the external drive.
- Fix 7. Update macOS.
- Fix 8. Send the drive with physical damage to a local repair.
Conclusion
After reading this complete guide, you know how to tranfer files to My Passport from Mac. If the drive is formatted with the NTFS file system, you can choose to reformat it or use iBoysoft NTFS for Mac(macOS Sonoma-supported) to gain full read & write access. Try the workarounds mentioned above if you can't move files to WD My Passport from a Mac.
Read Also:
Can't Save to External Hard Drive on Mac? (7 Solutions)
How to Copy/Move Photos from Mac/MacBook to External Hard Drive?
If you think this post is useful, you can share it with more people!