NTFS(New Technology File System) is a Microsoft-developed file system used to store, organize, and retrieve files on the storage device. It is designed for the Windows operating system and has been widely applied to HDDs, SSDs, USB flash drives, etc. However, a problem arises when people want to use an NTFS drive on Mac.
You may find the NTFS drive is read-only, and iBoysoft provides proven solutions to enable NTFS write on Mac.
| Ways to enable NTFS write on Mac | Applied to | Difficulty level | Erase data or not |
| Use NTFS driver for Mac | macOS 10.13-macOS 15; Intel-based and Apple Silicon Macs | Low | No |
| Run commands in the Terminal | macOS Monterey and earlier; Intel-based and Apple Silicon Macs | Medium | No |
| Create Windows partition on Mac | Intel-based Mac only | Medium | No |
| Format NTFS drive for Mac | All macOS versions and Mac models | Low | Yes |
Quickly and easily gain macOS NTFS write support with the universal solution - iBoysoft NTFS for Mac!
Note: To enable NTFS write support on macOS Tahoe, use NTFS for macOS Tahoe.
Can Mac read NTFS? Can Mac write to NTFS?
You only find that you can view the contents stored on the NTFS drives freely, but you can not copy, move, delete, or rename files on the NTFS drive. That is to say, any write operation towards the NTFS drive is denied on your Mac. This is because of the incompatibility between NTFS and macOS.
Even if the latest macOS 15 Sequoia doesn't support NTFS write. But there are still multiple ways out of this trouble to make NTFS writable on Mac. Keep reading to gain full read and write access to NTFS on macOS.
Write NTFS on Mac using NTFS driver for Mac
Maybe you find that you cannot edit an external hard drive on your Mac and it is formatted with NTFS. The simplest solution to make NTFS writable on Mac is using professional NTFS for Mac software. Pick up an NTFS driver you prefer and install it, then you can read and write to the NTFS drive on Mac without any limitations.
There are completely free NTFS drivers and paid ones you can choose from. Some free NTFS for Mac don't support the newer macOS versions such as the Sequoia and Sonoma, some need to run commands in Terminal on Mac or pose a risk to the system environment. Therefore, we would like to recommend a cost-effective, easy-to-use, reliable, and risk-free NTFS driver - iBoysoft NTFS for Mac.
iBoysoft NTFS for Mac automatically mounts the NTFS drive on your Mac in read-write mode. You can straightforwardly access the connected NTFS drive to open, view, move, add, delete, edit, and rename files just like you use the NTFS drive on a Windows PC. Here's how to use iBoysoft NTFS for Mac to enable NTFS write on Mac:
There is a video tutorial to write NTFS with iBoysoft NTFS for Mac:
Steps to enable Mac to write NTFS with iBoysoft NTFS for Mac:
- Download, install, and launch iBoysoft NTFS for Mac.
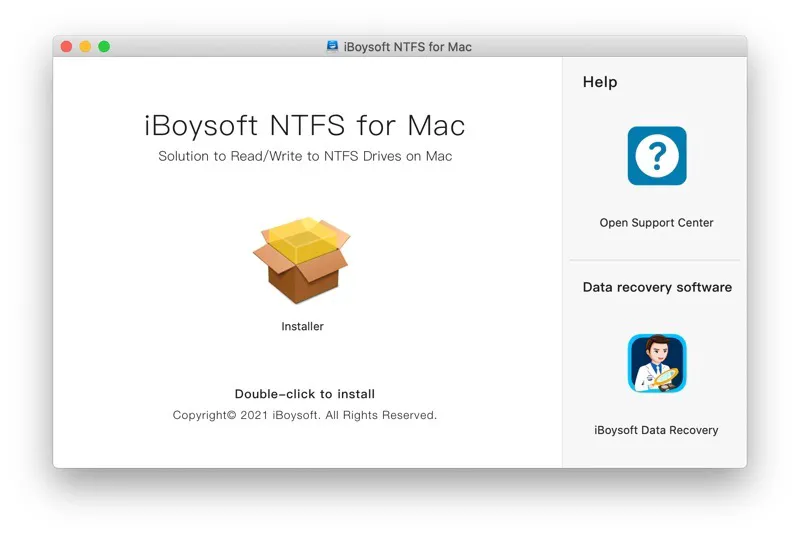
- Connect the Microsoft NTFS drive to your Mac.
- Open the NTFS drive automatically mounted in read-write mode.

There is a free trial of iBoysoft NTFS for Mac, just download and experience its excellent performance. If iBoysoft NTFS successfully enables NTFS write on your Mac running Sequoia and earlier, you can share it with others with the same needs.
Make NTFS writable on Mac via macOS Terminal
Update: Sadly, Apple has changed the entire mount process on macOS Ventura and later versions. It removed the previous kernel-based architecture - /System/Library/Extensions/ntfs.kext, which means all free NTFS for Mac drivers including Mounty for NTFS and others and terminal commands will not function on macOS 13 Ventura and later versions anymore.
The Terminal app provides a command-line interface to allow you to change some settings on the Mac to indirectly control the system kernel, which is the brain of the system. You can also try to enable NTFS write support on Mac in Terminal with the command lines below.
Using command lines in the Terminal should be very cautious, any wrong operation may corrupt the drive and files. Therefore, it is very necessary to back up your Mac before you run commands in the Terminal to make changes. This solution is free but a little complicated and risky, just follow the steps below patiently and carefully.
- Launch the Terminal program from Finder > Applications > Utilities > Terminal.
- Input the following command to edit the fstab file.sudo nano /etc/fstab
- Provide your admin account password when prompted. Make sure you enter the right one and no letters will show up on the screen.
- Type the following command in the editor window, replace DISKNAME with the name of your NTFS driveLABEL=DISKNAME none ntfs rw,auto,nobrowse
- Press Control + O, hit Enter, and press Control + C and then Control + X to exit.
- Reconnect the NTFS drive to the Mac.
- In Finder, click Go > Go to Folder, type in /Volomes, and hit Enter.
- Find the NTFS volume/drive, then you can read and write it now.
If the commands above don't work to enable Mac to write NTFS, you can try another set of sudo commands as follows.
- Open Terminal and input the following command, replace the DISKNAME with the name of your device, and hit the Return key to unmount your disk. sudo umount Volumes/DISKNAME
- Run the following command to create a mount point for your NTFS volume.sudo mkdir /Volumes/1
- Run the command to mount the NTFS on Mac computer in read and write mode, and replace"disk2s2" with the Device info of your NTFS drive in Disk Utility. sudo mount -t ntfs -o rw, auto, nobrowse /dev/disk2s2 /Volumes/1
If you can read and write the NTFS drive on a Mac after using the commands above, you can share this solution to help more people!
Access NTFS drive with Bootcamp Assistant
The third solution to enable NTFS write Mac is using Bootcamp Assistant, a built-in multi-boot utility on Intel Macs. It creates a partition on your disk for Windows and installs Windows operating system on Mac, then you can boot Mac into Windows OS and access the NTFS drive without any limitation.
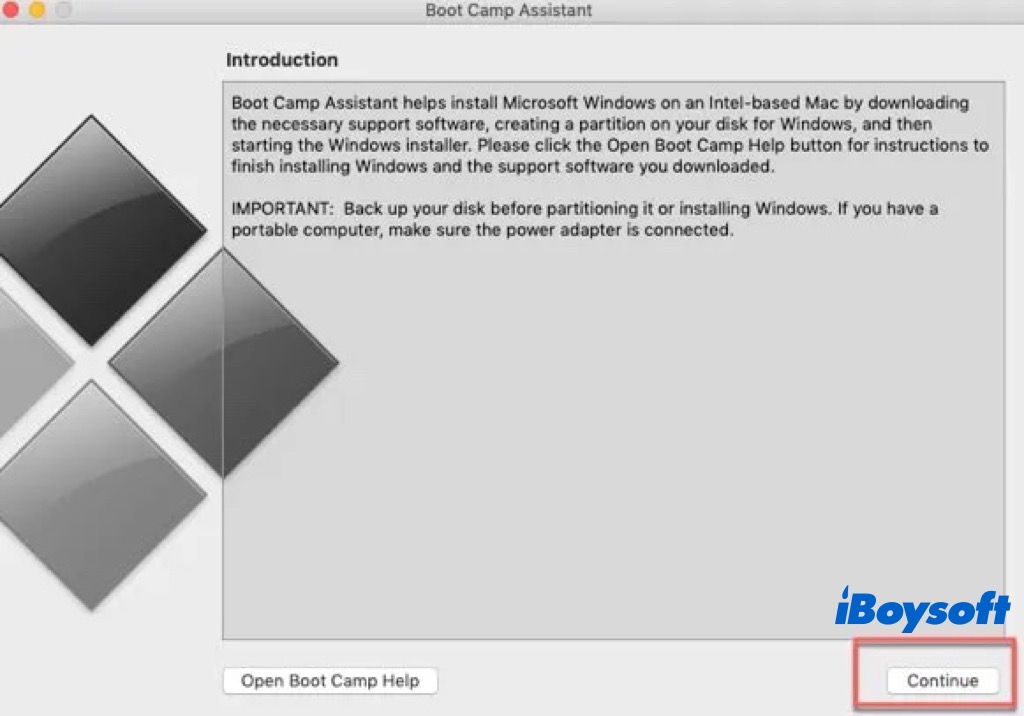
However, you may receive the message that says "Boot Camp Assistant can not be used" on Apple Silicon Mac. This is because M1/M2/M3/M4 Mac doesn't support Bootcamp Assistant given that Intel Mac and Apple Silicon Mac are based on different instruction sets architectures. In addition, Apple removed Bootcamp Assistant from macOS Big Sur, so you can only use this tool on Intel Mac running macOS Catalina and earlier versions.
How to Run Windows on M1 Mac
This post explains whether you can run Windows on Apple silicon Mac, and it introduces how to run Windows on M1 Mac with different methods, including virtual machine, emulator, and cloud server. Read more >>
Format NTFS drive to a macOS-supported file system
If the NTFS drive is a new disk without any important files stored, you can directly format NTFS on Mac to make NTFS writable on Mac. Instead of an NTFS file system, you need to assign a macOS-supported file system to the drive, including exFAT, FAT32, HFS+, and APFS. You should choose exFAT and FAT32 which are compatible with both macOS and Windows if you want to switch between the two operating systems to share files using the drive.
However, if you have used the NTFS drive for a while and have kept some important files on it, formatting the NTFS drive to be able to write to it is not the best choice for you. Because formatting will delete all contents on the NTFS drive. In this case, you can choose iBoysoft NTFS for Mac to enable NTFS write on Mac without losing data, or, you can back up the whole NTFS drive on a Windows PC and then go ahead to format it via Disk Utility.
- Open Finder > Applications > Utility > Disk Utility.
- Click the View button and choose Show All Devices.
- Choose the connected NTFS drive on the left sidebar.
- Click the Erase button on the toolbar of Disk Utility.
- Enter a name for the drive and choose a format on the pop-up window.
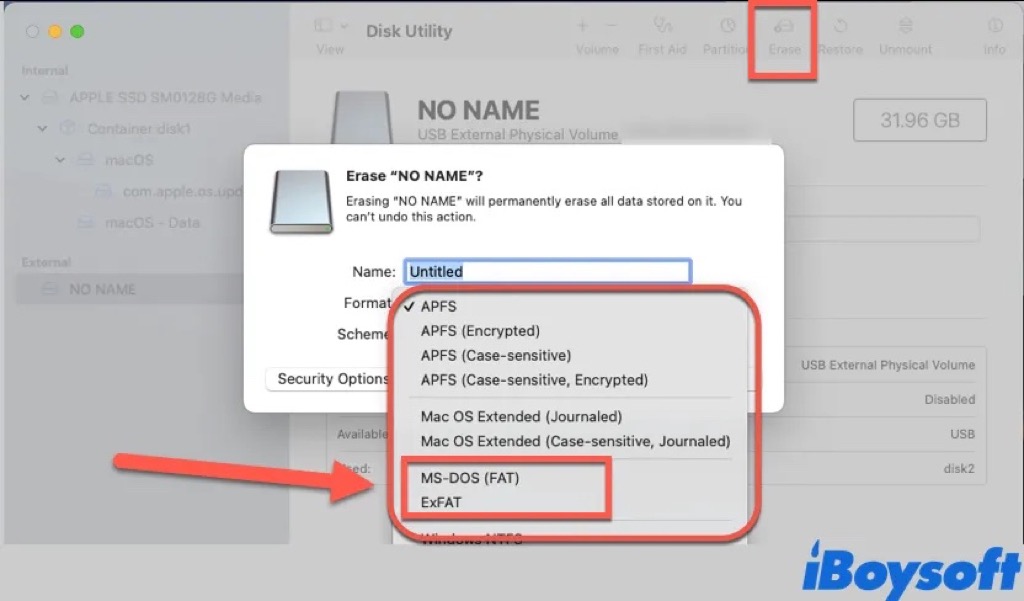
- Click Erase again to begin the formatting process.
After reformatting the NTFS drive to exFAT, FAT32, APFS, or HFS+, now you can freely read and write data to the formatted blank drive. If you don't want to lose data by formatting and think it is troublesome to back up the whole disk before formatting, you can choose other alternatives provided in this post.
If this post is helpful, you can share it with others who are seeking solutions for enabling NTFS write on Mac.
The bottom line
We provide 4 ways to enable NTFS write support on Mac. These are the most common solutions to obtain NTFS write permission on Mac. Besides, you can also use cloud storage to sync files you stored on the NTFS drive and Windows virtual machine to enable Mac to write NTFS.
Among all these solutions, the professional NTFS driver iBoysoft NTFS for Mac stands out, it is a simple and safe NTFS solution for Mac, compatible with the latest macOS 15 Sequoia. Free download it to have a try!
Also read:
