
Plugged an NTFS drive into your Mac but realized macOS Catalina can't write to it? You're not alone. This is a common issue many users experience when using NTFS drives on macOS Catalina without a proper NTFS for Mac driver (Explore free NTFS for Mac).
For those who have an outdated NTFS driver for macOS, the Catalina update may even render their NTFS external hard drives not mounting on Mac. If they try to manually mount the NTFS drive in Disk Utility, the error reading "com.apple.DiskManagement.disenter error 49223" may pop up and stop their action.
In this article, I'll explain three ways to grant read and write access to NTFS drives on macOS Catalina.
| Read/write NTFS on macOS Catalina | Difficulty Level | Efficiency |
| Use iBoysoft NTFS for Mac driver 🥇 | Low, automatically mount NTFS in read/write mode | High - download, install, then use NTFS disks on macOS Catalina freely |
| Run commands in Terminal | High, need command-line knowledge, need to repeat steps after a macOS update | Low - modify file system files, may cause data corruption |
| Reformat NTFS drives | Medium, replace NTFS with a different format | High - but removes all data |
Can macOS Catalina read NTFS?
Yes, macOS Catalia can read NTFS but can't write to it. NTFS is a Windows format owned by Microsoft and is the default file system since Windows NT 3.1. It's possible that Apple needs to pay for a license to have full access to NTFS on Mac, but that's not on their agenda yet.
That said, you can view all the existing files on an NTFS drive on macOS Catalina but can't make any changes. For instance, you won't be able to move files to the NTFS drive, delete files from it, or create a new folder on it.
How to read/write NTFS on macOS Catalina?
To enable read and write access to NTFS on macOS Catalina, use one of the following three ways.
Way 1: Enable read/write access with NTFS for Mac
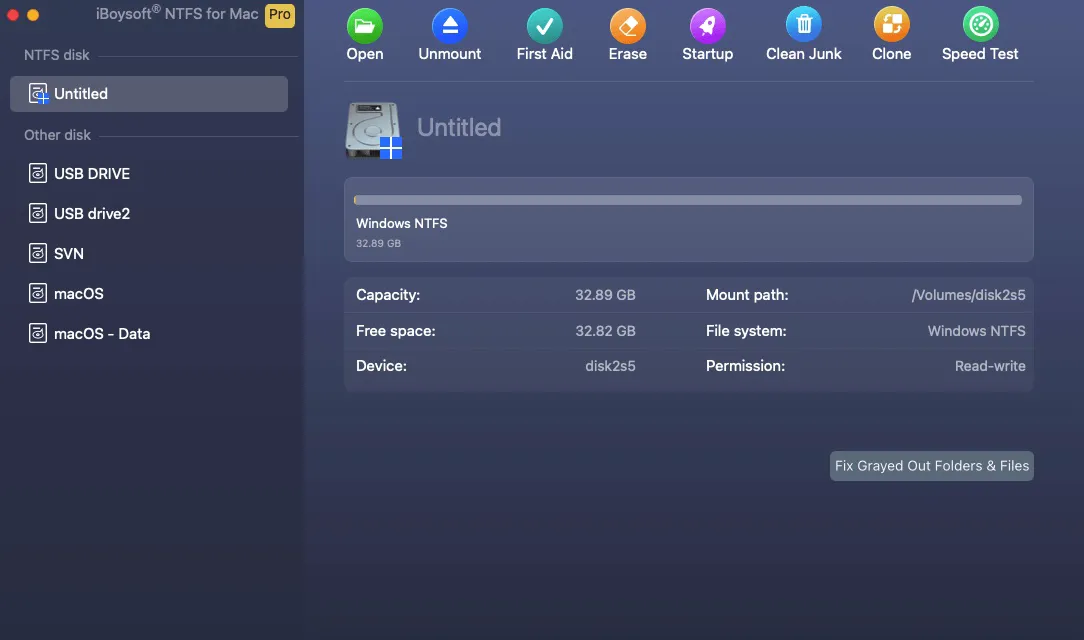
If you need one reliable tool that automatically enables NTFS read/write access on macOS Catalina without formatting the drive, iBoysoft NTFS for Mac is the best choice. This NTFS for Mac Catalia driver can not only grant full read/write access to NTFS on Mac (Boot Camp partition included), but also allow you to format drives to NTFS on Mac, repair, mount, unmount, and open NTFS drives on Catalina or any version newer than macOS Sierra.
It's also compatible with all Mac models, including Intel, T2, M1, M2, and M3 Apple Silicon Macs. You can employ it to read and write NTFS-formatted USB sticks, flash drives, SD cards, or external hard drives of any brand.
Follow the steps below to read and write to NTFS on macOS Catalina:
Step 1: Download and install the NTFS driver for macOS Catalina.
Step 2: Use the NTFS drive on Catalina without restriction.
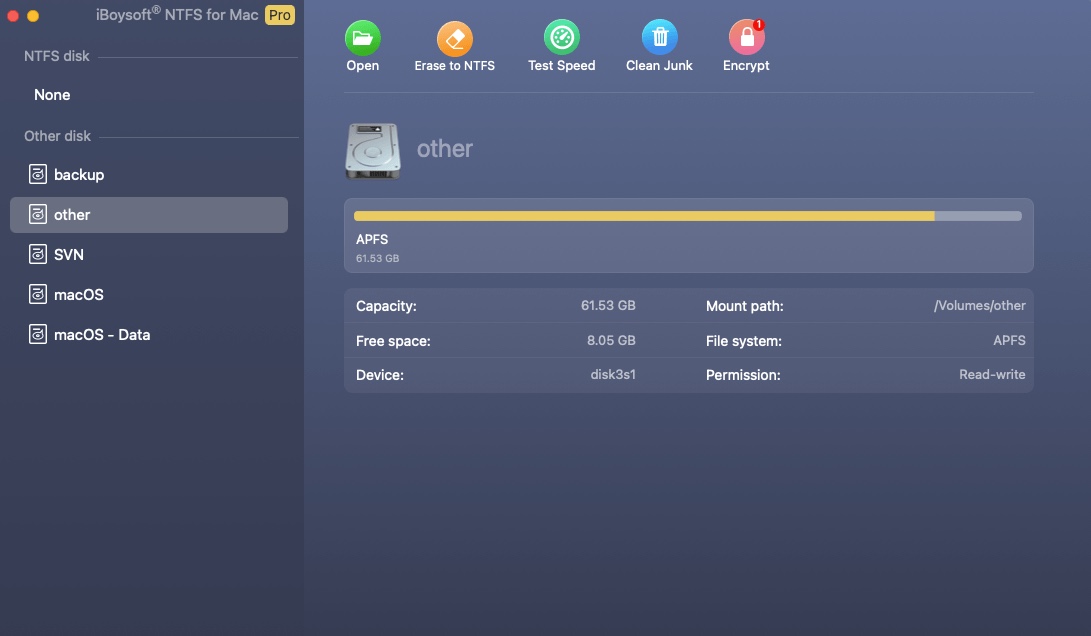
If the drive isn't automatically mounted with read/write access, open the app, select your NTFS drive from the left, and click Open.
Share this wonderful NTFS for macOS Catalina tool with others!
Way 2: Allow read/write permission for NTFS via Terminal
Alternatively, you can enable the experimental NTFS write support on your Mac to work with the NTFS drives. But it's not recommended because it may corrupt your drive or cause other issues that may lead to data loss. Besides, Apple has removed this function on macOS Ventura and later. So, if you plan to upgrade to one of the newer releases, this won't work.
Still, if you decide to try it out, here's how:
- Make sure you're logged into your Mac with an administrator account.
- Launch Terminal.
- Type the command below and hit Enter to open the /etc/fstab file from the nano editor.sudo nano /etc/fstab
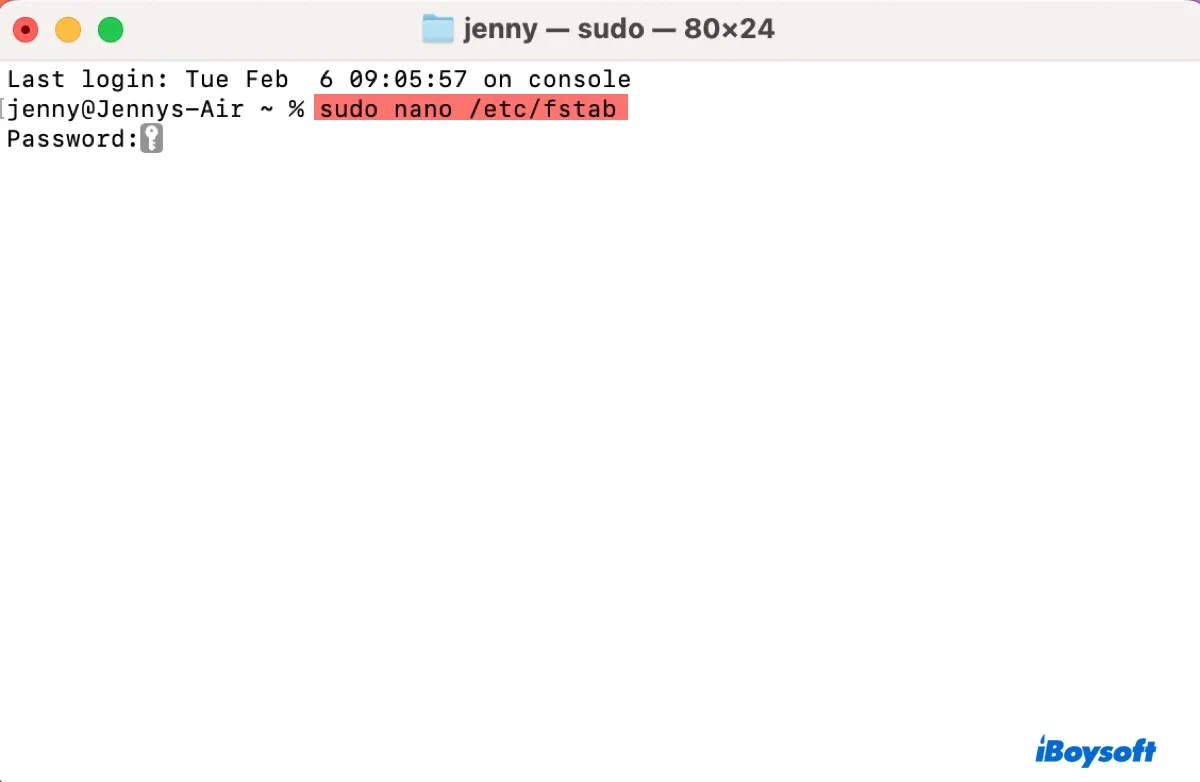
- Input your login password and hit Enter again.
- When the text editor opens, use the arrow key to move the cursor to a new line.
- Type the line below after replacing NAME with your NTFS drive's name.LABEL=NAME none ntfs rw,auto,nobrowse
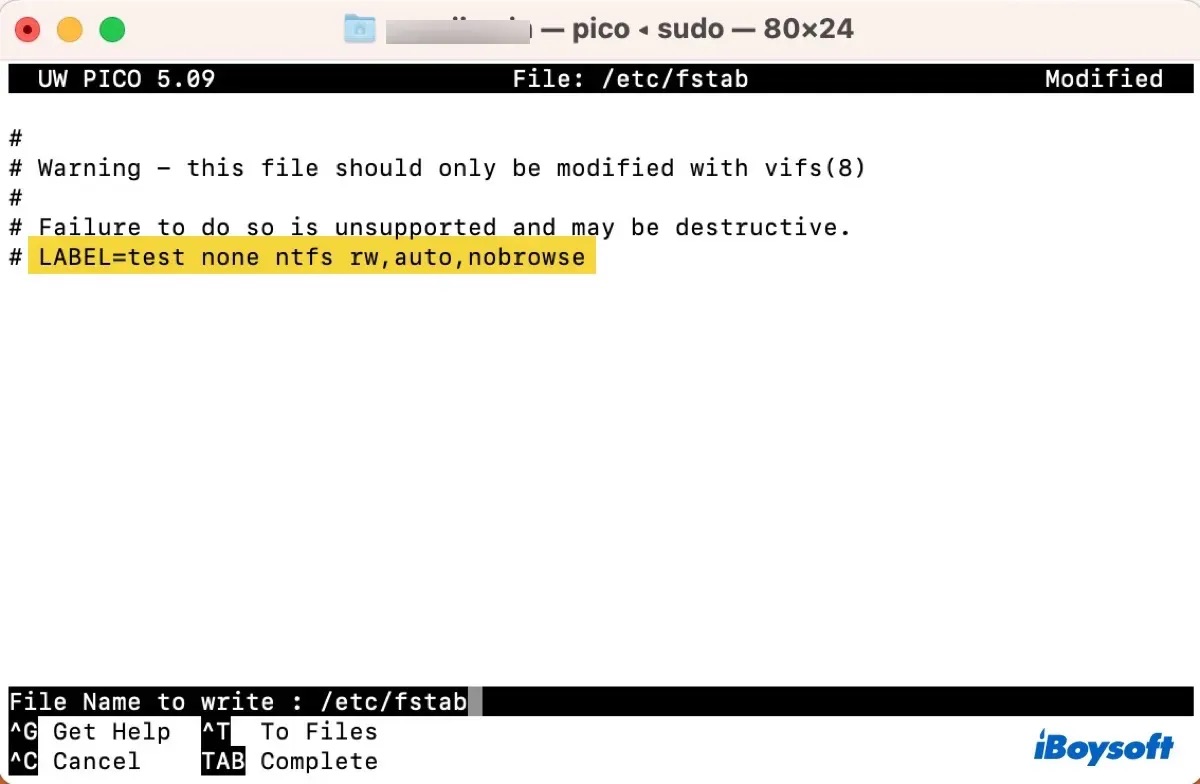
- Press Ctrl + O to save the changes.
- Hit Enter and then Ctrl + X to quit the editor.
- Safely eject the NTFS-formatted disk and plug it back again.
- Test if you can write NTFS on macOS Catalina.
Way 3: Reformat NTFS drives on Mac Catalina
If you don't need the drive format to be NTFS, you can also reformat the NTFS drive on macOS Catalina using a different format. For instance, you can choose APFS as the file system if you only use the drive on Mac. To decide which file system is the best for your drive, keep reading: How to Reformat External Hard Drive on Mac Without Losing Data?
Note that this will remove all files on your NTFS drive, so make sure it is backed up before reformatting. After your data is secured, take these steps to reformat the drive:
How to reformat NTFS drive on Mac Catalina:
- Open Disk Utility.
- Click View > Show All Devices.
- Choose the physical disk of your NTFS drive from the left if it's an NTFS disk; otherwise, choose the NTFS partition.
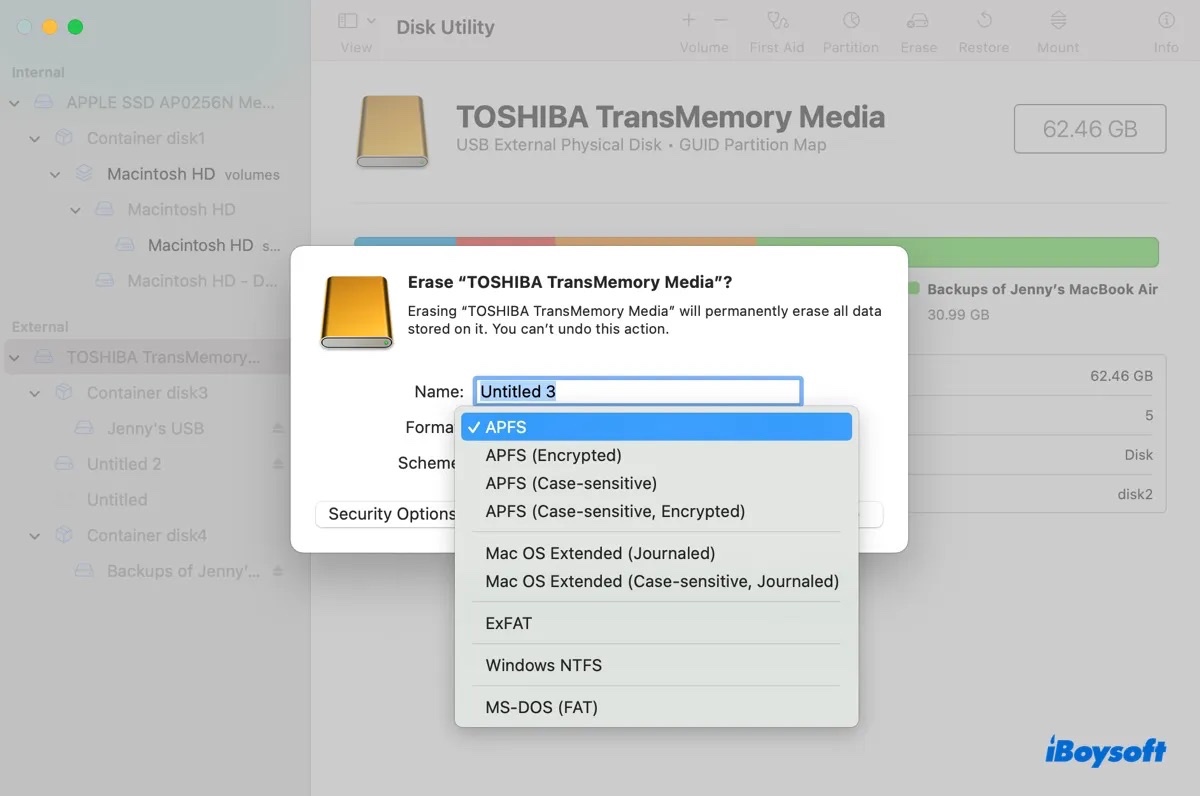
- Click Erase.
- Give the drive a name.
- Choose a file system.
- Keep the scheme GUID Partition Map.
- Click Erase.
These are the ways to write NTFS on Mac Catalina. If you find the solutions helpful, share this post!
How to format a drive to NTFS on macOS Catalina?
Disk Utility doesn't offer NTFS as a format option. If you need to format a drive to NTFS, you can utilize a tool like iBoysoft NTFS for Mac. Here's how to do it:
Step 1: Download and install iBoysoft NTFS for Mac.
Step 2: Open the software, select the NTFS drive from the left, and click Erase to NTFS.
That's it! Share this guide to benefit others!