Though Mac computers are becoming increasingly popular nowadays, there's no denying that Windows computers are becoming more widespread. That's why most of the external storage devices, such as external hard drives and USB flash drives, are pre-formatted to NTFS by default.
When you plug an NTFS-formatted drive into your Mac, you may have a question about "Can a Mac read NTFS?" or encounter problems like the USB drive is read only Mac issue, and you're prevented from writing to it. But don't worry, read this article to learn how to use the NTFS drive on Mac, and gain full read-write permission to the NTFS drive. Let's get started!
Tips: If your Mac is running macOS Tahoe, you can use the NTFS drive with NTFS for macOS Tahoe.
What is an NT file system?
Before we dive into how to use NTFS drives on a Mac, it's worth understanding what NTFS actually is. It would help you better use NTFS drives on your Mac as well.
NTFS stands for NT file system, which is also sometimes called the New Technology File System. It was first developed by Microsoft in 1992 with the release of Windows 3.1. Like FAT32, ExFAT, and APFS, NTFS is a type of file system which manages how and where your files are stored on a storage disk.
Since it is patented by Microsoft, NTFS is not compatible with macOS. Besides, you can only read NTFS on Mac but not make any changes to it, including editing, renaming, moving, pasting, deleting, or copying files to the NTFS drive on Mac.
To be honest, this is a kind of cross-platform incompatibility issue. Due to this, the NTFS for Mac tools were born. If you'd like to learn its evolution, follow: NTFS for Mac Tech Evolution.
How to use NTFS drives on macOS Sonoma?
Since you already know what is NT file system is, it's time to learn how to use NTFS drives on a Mac. Without further ado, let's dive in!
First of all, as we mentioned above, you can read and view your files or documents stored on the NTFS drive on a Mac normally. So, if you only need to view the contents through your Mac computer, and plan to leave all "write work" to your Windows computer, then you can directly connect your NTFS drive to your Mac, and browse the desired contents.
But, if you want to write to your NTFS drive on macOS Sonoma, you should do some tricks to it. You can follow these methods to use NTFS drives on M1 Mac and Intel-based Macs, and acquire full read-write control over them.
Use a third-party NTFS for Mac software
If you have important files or documents stored on the NTFS drive and want to read as well as make changes to them, a third-party NTFS for Mac software can get the job done easily.
iBoysoft NTFS for Mac is one of the best NTFS drive managers for Mac in the market, which works as a Mac NTFS mounter to mount and unmount your Windows NTFS drives on macOS. Also, it is an NTFS reader and NTFS writer. With it, you can have full read and write control over the NTFS drive in a macOS environment without formatting it with a Mac-compatible file system.
Best NTFS for Mac by iBoysoft
- Immediate read-write access to NTFS drive on Mac
- Support HDDs, SSDs, and other external drives, like pen drives, USB flash drives, etc.
- Support macOS 26 Tahoe/15 Sequoia/14 Sonoma/Ventura/Monterey/Big Sur/Catalina/Mojave/High Sierra
- Compatible with both Intel-based Macs and Apple Silicon M1/M2/M3/M4 Macs.
- Format the drive to NTFS on Mac
- Read and write Boot Camp NTFS partition on Mac
Read-only & risk-free
Here's a video tutorial on how to use NTFS hard drivs on Mac, and obtain full read and write permissions to it using iBoysoft NTFS for Mac.
If you are not a video type, check this text version:
- Free download, install, and launch iBoysoft NTFS for Mac on your computer.
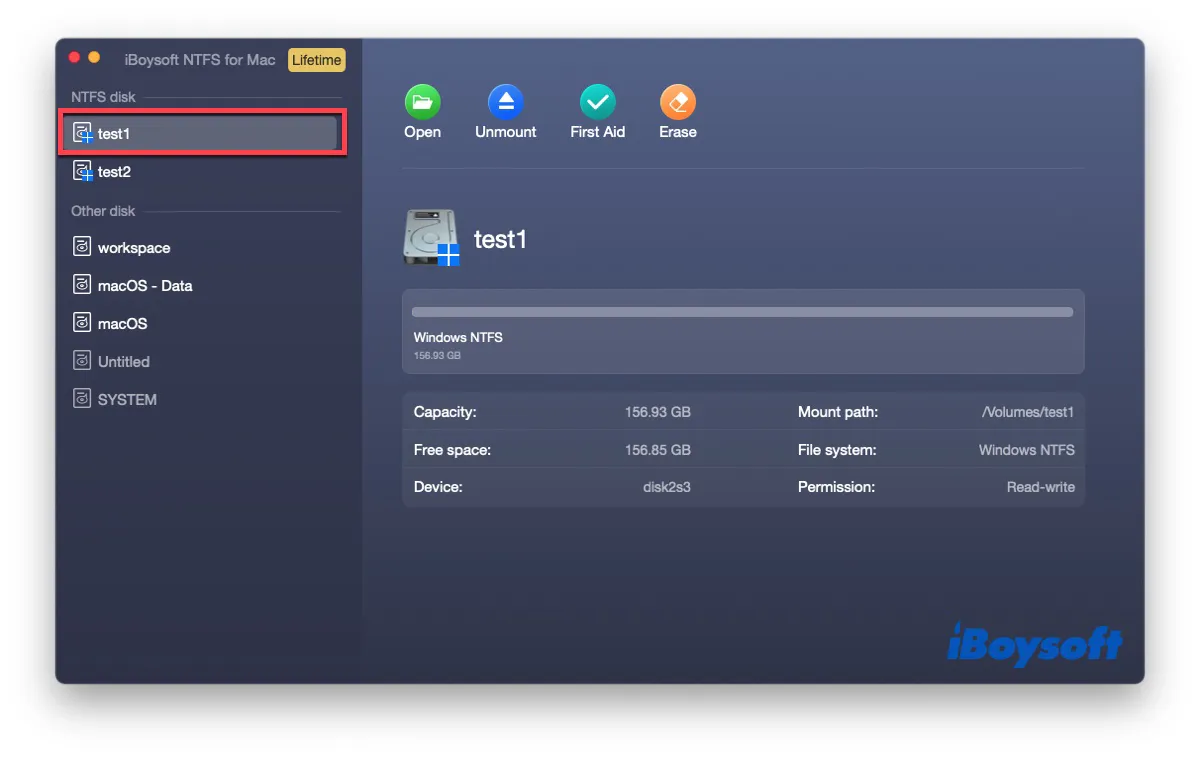
- Connect your NTFS drive to your Mac computer.
- Your NTFS drive will be mounted in read-write mode on Mac automatically, and you are allowed to modify, transfer, rename, delete, and create files on that drive now.
If you think this method is quite helpful, share it with more people who don't know how to use NTFS drives on a Mac!
Format an NTFS drive to FAT32 or ExFAT
If your NTFS drive does not contain any important data, or it is totally blank, you can straightforwardly format NTFS for Mac, reformatting it to FAT32 or ExFAT is the simplest way to read and write to it. Unlike NTFS, FAT32, and ExFAT are compatible with both Windows and macOS, which means you can read and write to your drive in both operating systems.
Though both of the said two file systems will work for macOS, you should be aware that the FAT32 format has several limitations, for example, it only supports file sizes of up to 4GB. Besides, it is not as sufficient as NTFS. Moreover, reformatting will erase all existing files on your drive. Before you do that, make sure you have had it backed up already.
Here's how to use an NTFS drive on Mac by reformatting:
- Make sure the NTFS drive is connected to your Mac computer.
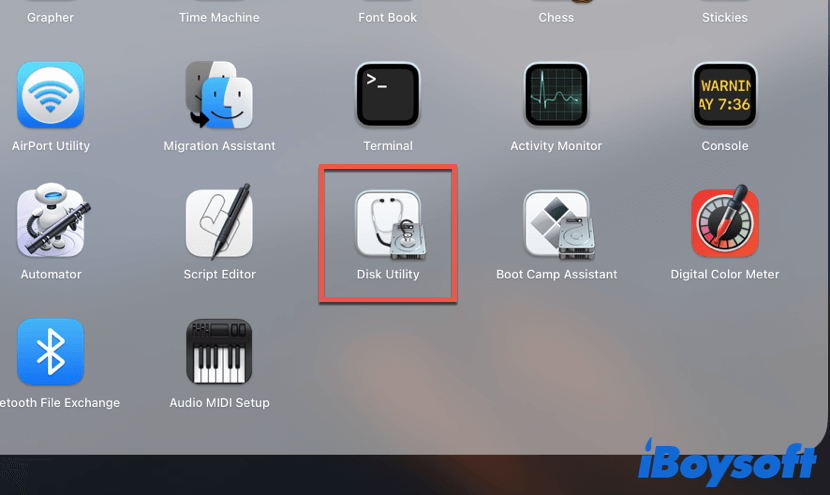
- Navigate to Mac Launchpad > Other, find Disk Utility, and click on it to open it. Also, you can launch Disk Utility through Spotlight, simply press the Command + Space bar together, enter Disk Utility in the search box, then hit Return, it works the same.
- In the Disk Utility window, select your NTFS drive in the left sidebar.
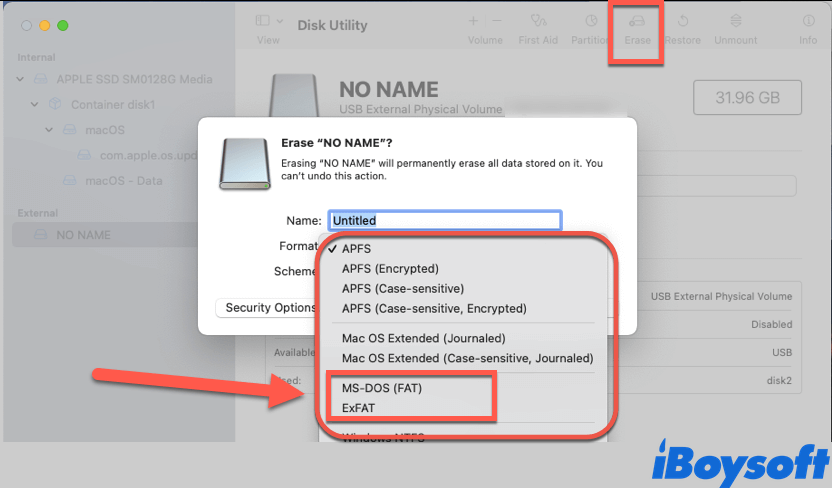
- Click the Erase button at the top, switch the format to FAT32 or ExFAT, rename the drive if necessary, then click Erase.
- Wait for the format process until it is completed.
After reformatting your NTFS drive, you can read and write to it on your Mac now. If, however, your NTFS drive contains important data, you should consider an alternative solution. Just move on!
Enable NTFS write support using Terminal
Update: Sadly, Apple has changed the entire mount process on macOS Ventura and later version. It removed the previous kernel-based architecture - /System/Library/Extensions/ntfs.kext. It means all free NTFS for Mac drivers including Mounty for NTFS and others and terminal commands will not function on macOS 13 Ventura and Sonoma anymore.
In addition to using professional NTFS for Mac software to gain full read-write permission to NTFS drive, you can also use sudo in Mac Terminal to achieve that goal. But, compared to using NTFS for Mac software, it is much more complicated to gain NTFS write support using Terminal. Besides, it poses a risk of corrupting your drive and files.
If you want to take the risk anyhow, here's how to do it:
- Make sure your NTFS drive is connected to your Mac, then launch Terminal.
- In the Terminal window, enter the following command and press Return.
sudo nano /etc/fstab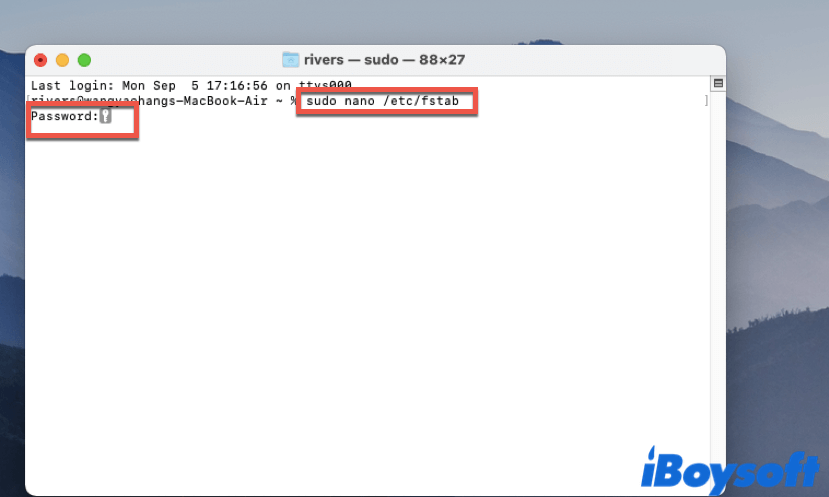
- Enter your admin password and hit Return (for security, you won't see the password shown in the Terminal window, so make you type in the right one).
- Copy and paste the following command to Terminal, you should replace NAME with the name of your NTFS drive.
LABEL=NAME none ntfs rw,auto,nobrowse - Press Control + O on your keyboard, hit Return to continue, then press Control + X.
- Open Mac Finder on your device, you can find it on the left side of the Dock.
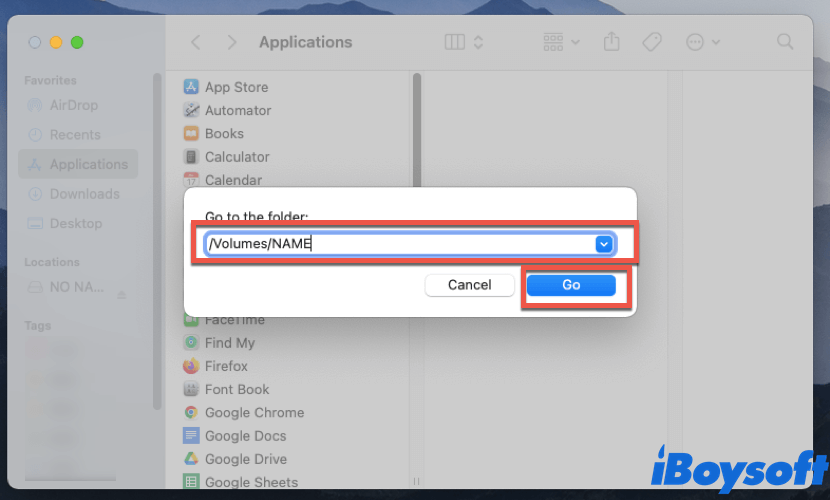
- Press Command + Shift +G together, a dialogue box appears, and enter "/Volumes/NAME" into it. Remember to substitute your NTFS drive name for 'NAME', then click Go.
- Read and write to your NTFS drive on Mac.
If the Terminal method doesn't work, you should check if you entered all command lines into the Terminal window correctly. One wrong character is enough to derail the entire process. Again, this method is not recommended, instead, you can use iBoysoft NTFS for Mac to read and write your NTFS drive.
Access NTFS drive using Boot Camp Assistant
Boot Camp Assistant is Mac's built-in utility for installing and running Microsoft Windows on your Mac natively. It allows you to boot your Mac into both Windows and macOS at a time. Once you installed Windows through Boot Camp Assistant on your Mac, it will run in the same way as it would on a regular PC, thus, you can read and write your NTFS drive by simply connecting it to the device.
But for Apple silicon Macs, things are a little bit tricky. Apple Silicon Macs will not have the access to Boot Camp Assistant. Besides, it seems unworthy to install a whole operating system on your Mac to merely gain the write support on an NTFS drive. Anyway, if you want to know how to install Windows through Boot Camp, you can read this article.
How to Install Windows 10 on Mac? [Completely Free]
Installing Windows on Mac for free isn't that hard. Boot Camp Assistant is a better Mac tool to do the job without charge than free virtual machine software. Read more >>
Know how to use NTFS drive on Mac now, share this article on social media now!
Conclusion
In this article, we provide you with 4 practical methods to tell you how to use NTFS drives on Mac. Also, things you should know about the NT file system are covered as well.
When you try to access your NTFS drive on a Mac computer, finding you can only read but are not allowed to make any changes to it is quite annoying and frustrating. In this situation, don't hesitate to use iBoysoft NTFS for Mac to help you!
Also read: