Windows PC and Mac are each other's most powerful rivals in the computer market. It is hard to say which is better than the other because they have respective edges. And it is difficult for a consumer to make a choice between them. Or, you can buy both if the budget allows.
Luckily, such a great need for running Windows on Mac has been realized on the Mac with Intel chips. You can use the macOS utility Boot Camp Assistant to install Windows 10 on Intel Mac or rely on third-party software. However, with the advent of Apple Silicon Mac, things have changed. Is it possible to run Windows on M1 Mac? Stay tuned to know more.
(To run Windows on M1 Mac, you need the Arm64 version of Windows. Get the Windows 11 Arm64 version of all Windows 11 updates from the Windows 11 Update Download Center. To get other Windows Arm64 versions, open the Old Windows Download Repository.)
Compatibility issue with Apple Silicon Mac
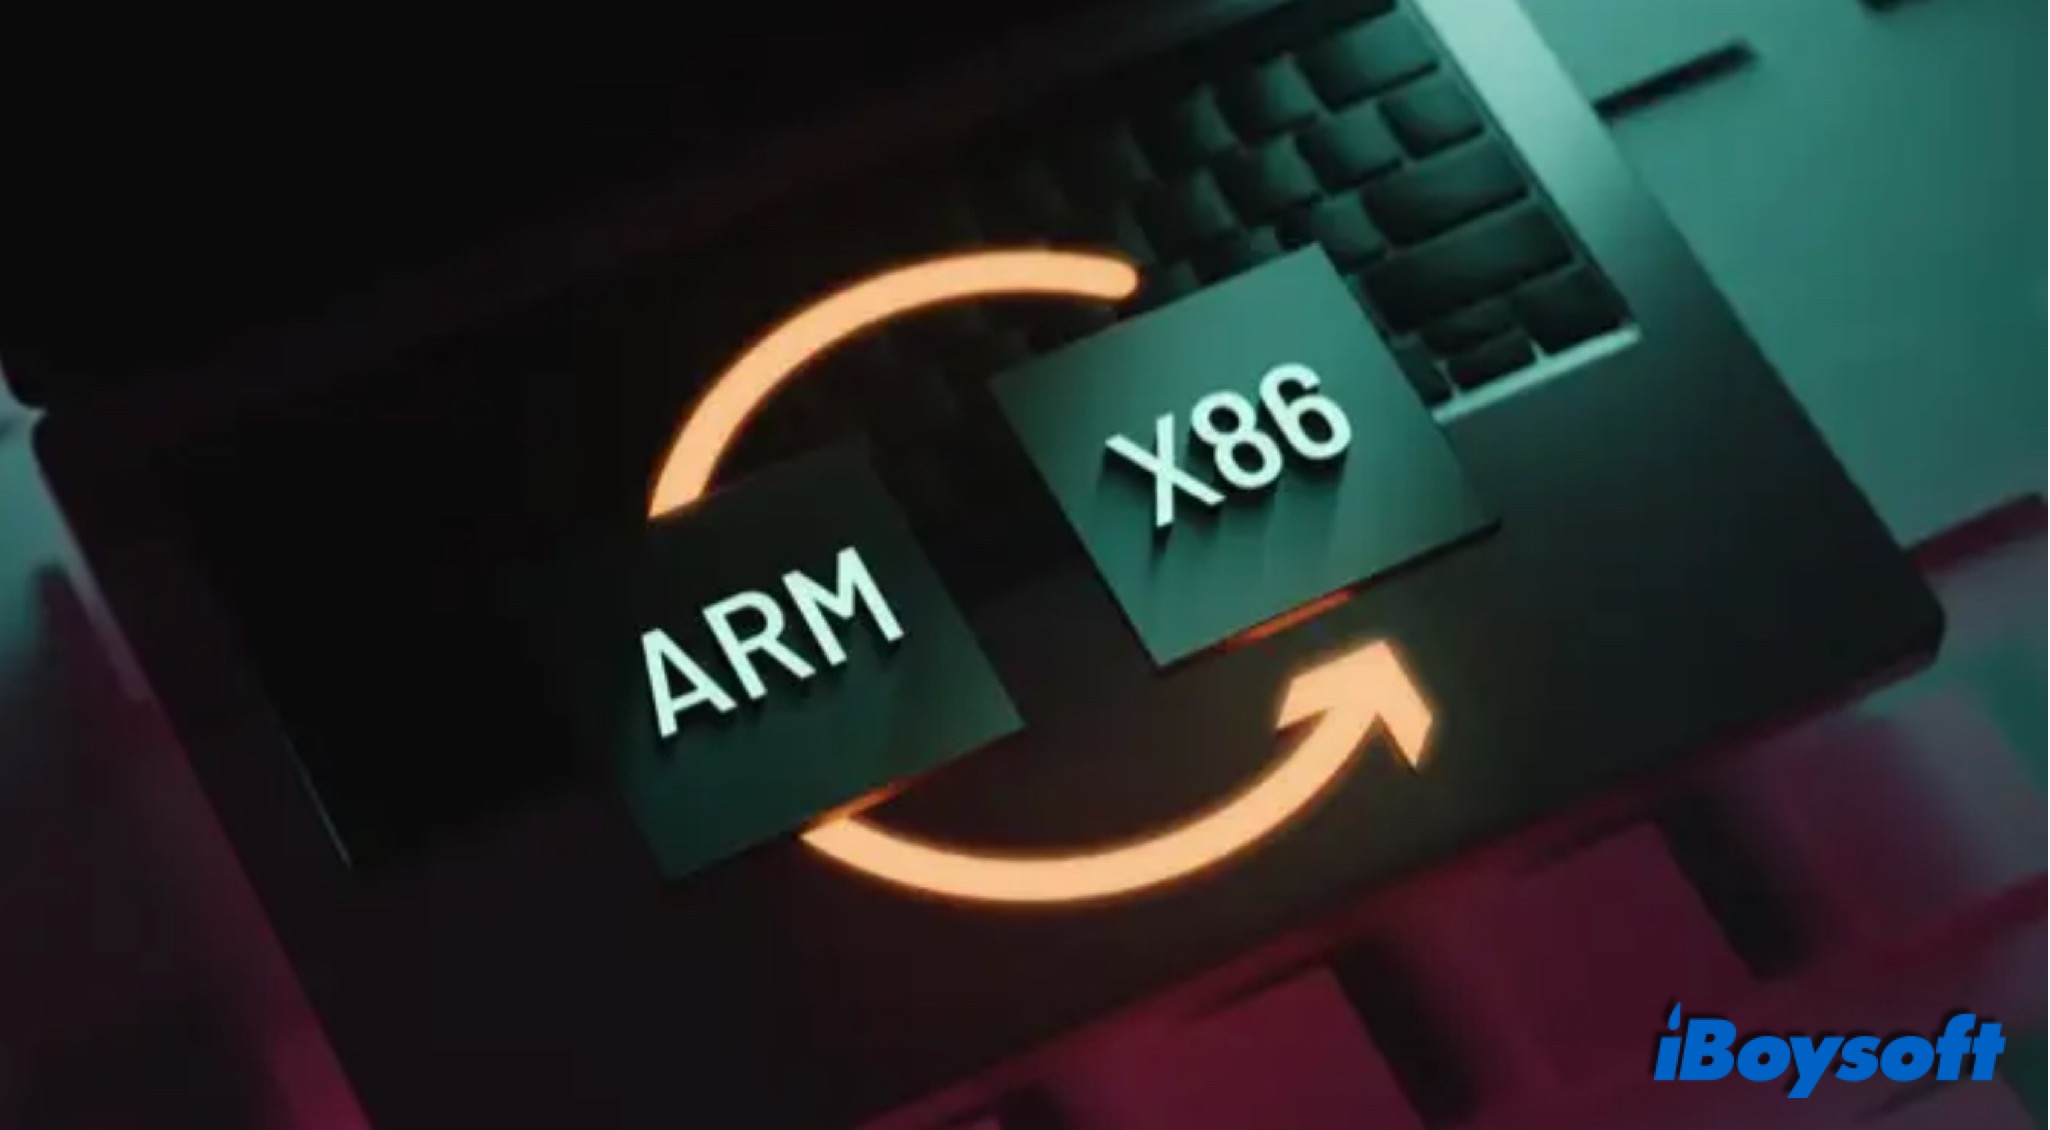
Apple released its first Mac model with Apple silicon in the fall of 2020. It marks Apple's transition from Intel processor to Apple home-grown processor on Mac series products. Before that, Apple has equipped the MacBook Air/Pro/iMac with the x86-based Intel chip for nearly 30 years. And the Apple silicons including M1, M1 Pro, and M1 Max are based on ARM architecture (that's why people call it ARM Mac), different from that of the Intel chip.
That is to say, x86-based Intel Mac and ARM-based M1 Mac speaks two languages. Most apps and programs are based on x86 architecture and can seamlessly run on Intel Mac and Windows PC. Therefore, you may find that some Intel apps can not be installed on Mac with M1 chips. And it needs time for developers to make the apps compatible with ARM Mac or design apps right for ARM Mac.
(Download Windows operating system for Apple Silicon Mac)
ARM VS. x86: What Notebook/Desktop Users Should Know
This post walks you through what ARM and x86 are, the pros and cons of each structure, and the differences between ARM and x86. After reading, you can choose the one that best suits your needs. Read more >>
This compatibility issue also comes to the Windows operating system. With the Boot Camp Assistant, you can install an x86 version of Windows on an Intel Mac. However, you may see the Boot Camp Assistant can not be used message on your M1 Mac and the macOS Monterey has removed Boot Camp Assistant.
Can I run Windows on M1 Mac(OS&Apps)
Theoretically, if you can install an Arm version of Windows on your M1 Mac, then you can run Windows OS and Windows-exclusive apps on Apple's M1, M1 Pro, and M1 Max Macs. However, it is said that Arm-based Windows has only been made available on devices with Qualcomm SoC's because of a previously unknown deal between the two companies.
Even on an Intel Mac, the Boot Camp Assistant is not the only way to run Windows on Mac. In addition to that, you can also try some Windows virtual Machine for Mac. Similarly, most of them are not compatible with M1 Mac. Up to now, only Parallels Desktop supports all Apple M1 chips. What's more, Windows 365 and Rosetta 2 can also meet your needs.
How to run Windows on Mac with M1/M1 Pro/M1 Max chip
Even if the Boot camp Assistant is not available on Apple silicon Mac, you can also run Windows OS and use Intel/Windows apps on M1 Mac with the following methods, including virtual machine, emulator, and cloud server. Let's dive into it.
Run Windows on M1 with virtual machine
Back to the Intel Mac, you can find a lot of virtual machines that work to install Windows OS and apps on your device such as Parallels Desktop, VMware Fusion, CrossOver, etc. However, most of them are not compatible with Apple silicon Mac due to the different instruction set architecture - ARM and x86. It is quite a challenge for the developers to redesign their software to support ARM Mac.
Fortunately, Parallel Desktop has released its new version - Parallels Desktop 17, it can work on all Apple M1 chips. As the only software that supports Apple silicon Mac, it allows you to access Microsoft Office for Windows and Internet Explorer, run more than 200,000 Windows apps on your Mac, move and share content between Mac and Windows, etc. Let's see how to install and use Parallels Desktop on M1 Mac.
Step 1. Download and install Parallels Desktop 17.
Step 2. Register as a Windows insider by visiting Windows Insider.
Step 3. Log in as a Windows Insider to download Windows 10 on ARM Insider Preview or get the Windows installer directly.
Download the 32-bit or 64-bit version of Windows 10 ISO directly
Download the x64 or Arm64 version of Windows 11 ISO directly
Step 4. Open Parallels to configure your Windows 10 installation.
- Click Continue on the Install on ARM window.
- On the Create New window, click Install Windows or another OS from a DVD or image file.
- Parallels will automatically locate Windows 10 on your Mac, then click Continue. Otherwise, you need to click Choose Manually to continue the configuration.
- Drag the Windows 10 VHDX image file to the Select Installation Image window and click Continue.
- Select Productivity on the "I will primarily use Windows for" screen and click Continue.
- The Name and Save to location should be pre-populated, and you can customize these options if you'd like.
- Uncheck the Create alias on the Mac desktop option.
- Check Customize settings before installation.
- Click Create, then Parallels will create the virtual machine.
- Customize the amount of memory and CPU cores allocated to the virtual machine when the Configuration window appears.
Step 5. Click continue on the Virtual Machine Configuration page to install Windows 10 on your M1 Mac.

Step 6. Sign in to your Parallels account in order to proceed, or create an account if needed.
Step 7. Head to Start > Settings > Update & Security to update all of the latest software and security fixes.
Step 8. Install your favorite games and apps, such as Steam.
Alternatively, you can install Windows on Mac with UTM. If the VM runs slow, follow: How to optimize if Windows VM runs slow on Mac?
Run Windows on M1 via emulator
Unlike the virtual machine that accesses your hardware and runs code directly with a different set of domains in use language, the emulator needs a software connector to access the hardware and an interpreter to translate the source code.
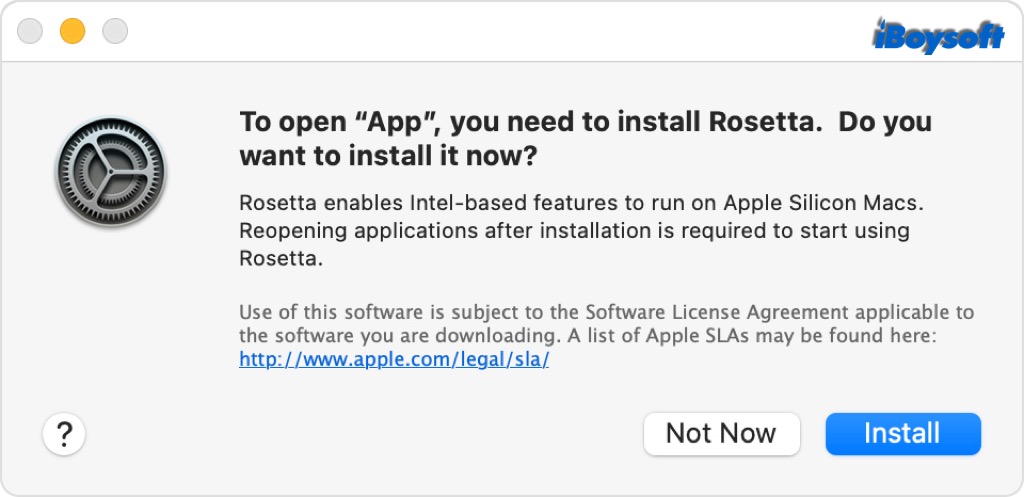
For the apps that are available on both Intel Mac and Windows PC, you can install them on Mac with M1, M1 Pro, and M1 Max chips with Rosetta 2 - Apple's solution. Apple released Rosseta 2 as a part of macOS Big Sur to aid in the Mac transition to Apple silicon. Rosetta 2 translates apps built for x86 Intel to run them on Apple Silicon.
Check whether the app needs Rosetta:
- Open Finder, and find the app in Applications.
- Control-click the app and choose Get Info.
- See the information labeled Kind:
- Application (Intel) means the app is based on Intel processors and needs Rosetta to run on Apple silicon Mac.
- Application (Universal) means the app supports both Apple silicon and Intel processors, and can run on Apple silicon.
You can choose Open using Rosetta to launch a universal app so that you can use plug-ins, extensions, and other add-ons that haven't been updated to support Apple silicon.
How to install Rosetta on M1 Mac:
For the first time you open an app built for an Intel-based Mac, it will pop up a window asking for installing Rosetta on the M1 Mac, you can choose Not Now(asks again next time it requires Rosetta ) or Continue. You can also install Rosetta in Mac Terminal with the command:
/usr/sbin/softwareupdate --install-rosetta --agree-to-license
Rosetta is not an app you need to open. It automatically and transparently works in the background. When an executable contains only Intel instructions, macOS automatically launches Rosetta and translates it. Once the translation is done, the system launches the translated executable in place of the original.
Run Windows on M1 using cloud server
The third method we will introduce is using the cloud server. It enables users to access the developer's resources remotely over a network. The cloud server provides the same functions and supports the same OS and applications as a traditional physical server that runs in a local data center.
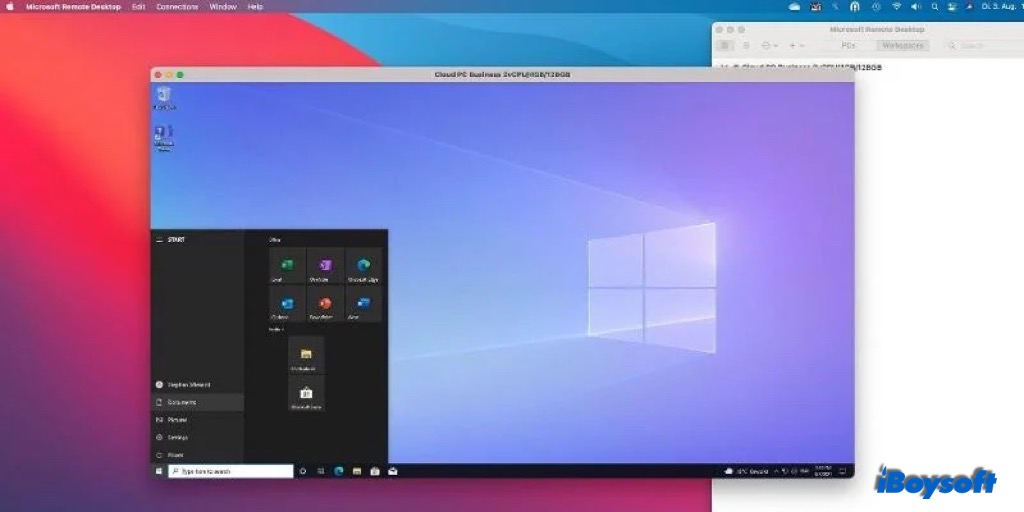
Windows 365 is a cloud-based service that automatically creates a new type of Windows virtual machine (Cloud PCs) for the end-users. Windows 365 is available in two editions, including Windows 365 Business and Windows 365 Enterprise. With Windows 365, you can run Windows and Windows software on the Cloud PC on your M1 Mac. Here's how:
- Downloaded and installed Microsoft Remote Desktop from the Mac Store.
- Get a subscription URL from the Windows 365 website.
- Open Remote Desktop, choose Workspace > Add Workspace.
- Paste in the subscription URL, authenticate, and then add your Cloud PC to the app.
- When you connect to the Cloud PC, it presents the Windows interface on Mac, then you can enjoy Windows on your Apple silicon Mac.
The bottom line
Apple silicon Mac indeed brings Mac users improved performance but also the compatibility issue for those who want to run Windows on M1 Mac. But there are still fixes. You can rely on Parallels Desktop, Rosetta 2, and Windows 365 to run Windows on Apple silicon Mac. Among them, Parallels Desktop stands out for its variety of apps and enhanced features.
Note: Need the Windows ISO? Find any version of official Windows from this database: Windows ISO download.
Or, get it from:
Download Windows Vista
Download Windows 7: Windows 7 Home Premium, Windows 7 Ultimate
Download Windows 10: Windows 10 Pro, Enterprise, Home, Education Download
Download Windows 11