The tricks of malware and hackers are advancing day by day, and it's impossible to guard against all of them. Facing this, optimizing the security settings of Mac is a significant task.
This article from iBoysoft offers you several useful tips on how to secure your Mac from hackers. All these tips are straightforward to apply, and they can improve the security of your Mac greatly.
Aside from these tips, it is necessary to set Secure Boot to Full Security to protect your Mac.
How to optimize the security settings of your Mac?
When talking about optimizing the security of your Mac, the tips are boundless. You can run an eye over them, then this article will explain them one by one with specific instructions:
- Backup your Mac
- Keep your macOS & software updated
- Turn on the Firewall
- Turn on FileVault
- Encrypt your hard drive with iBoysoft DiskGeeker
- Disconnect other Wi-Fi users
- Disable remote access & sharing
- Enable Touch ID on your Mac
- Use the macOS Keychain Access
- Disable Spotlight Search suggestions
- Turn on the “Find My Mac” function on your device
Back up your Mac
Backup work is indispensable because Mac keeps crashing always hits unexpectedly and makes you freak out. Once you suffer the macOS collapse, data loss comes absolutely. Hence, you'd better back up your Mac regularly.
Performing backup through Time Machine is quite easy. Follow the steps below to complete the backup task:
- Insert an external hard drive into your Mac.
- Launch the Time Machine app via Home Folder on Mac.
- Click the Select Disk option to choose your inserted drive as the backup drive.
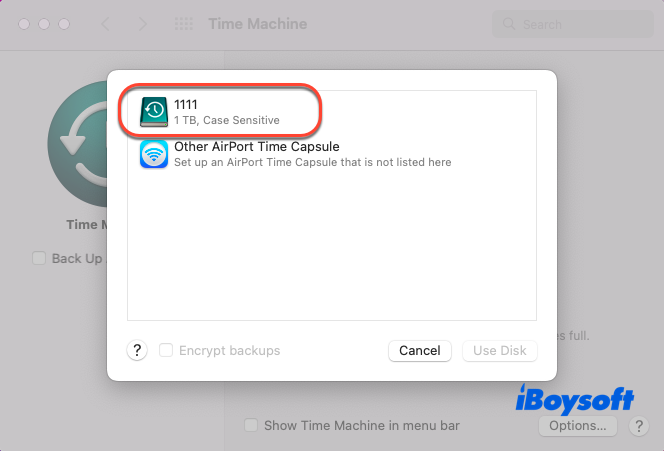
- Tap the Use Disk option to begin your backup process.
If your backup drive almost goes full, you can transfer Time Machine backup to a new drive.
Share the steps mentioned above with others!
Keep your macOS & software updated
The old-fashioned macOS and software always expose potential hazards and vulnerabilities to hackers. The hackers, therefore, take advantage of those loopholes to attack your Mac by planting malware or virus.
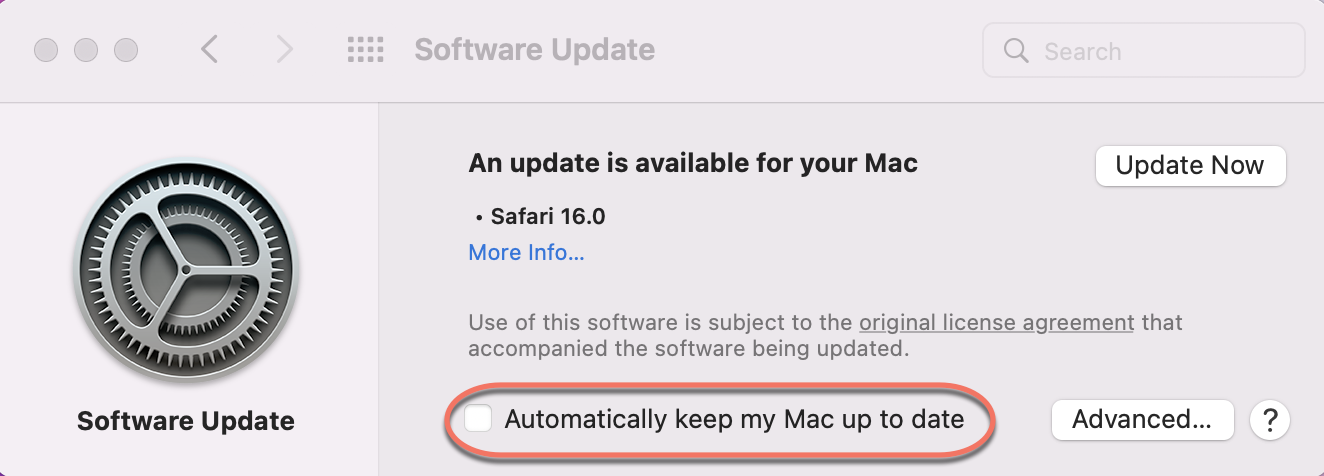
You can avoid this scenario greatly by setting an automatic upgrade of macOS and software in Software Update on your device:
- Launch the Spotlight Search by pressing the CMD + F keys simultaneously.
- Type Software Update and select it for later operations.
- Tick the Automatically keep my Mac up to date option. Then your Mac will update automatically when macOS or any software upgrades.
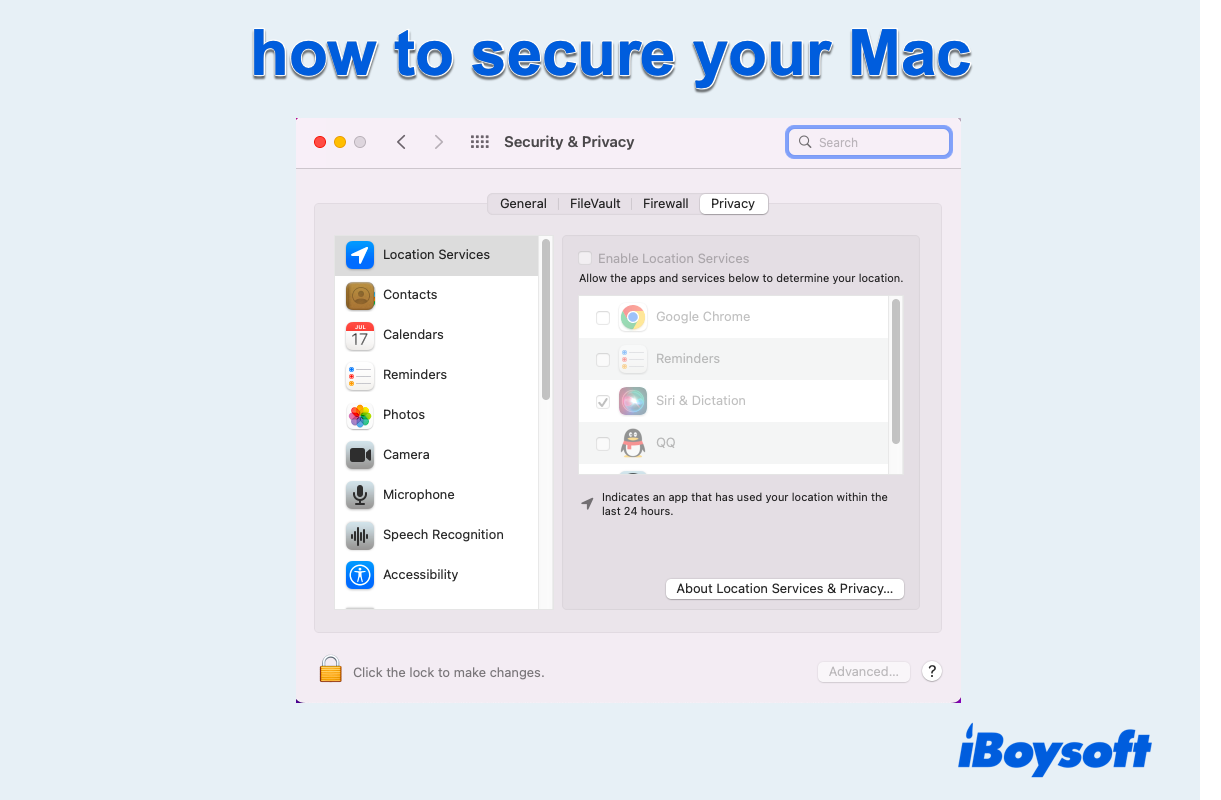
Turn on the Firewall on your Mac
A Firewall is a network security device that monitors and filters incoming and outgoing network traffic on your Mac. It sets a barrier between the private network and the public internet, keeping your Mac against the potential hazards coming from the public internet.
You can enable the Firewall on your Mac manually:
- Click the Apple menu, and then select System Preferences.
- Locate and open the Security & Privacy tab, and then switch to the Firewall tab.
- Click the padlock icon on the lower corner and enter your account password.
- Click the Turn On Firewall option to enable it, then close the window to confirm your actions.
If you have higher demands for internet security, you can head to Firewall Options to make more changes. 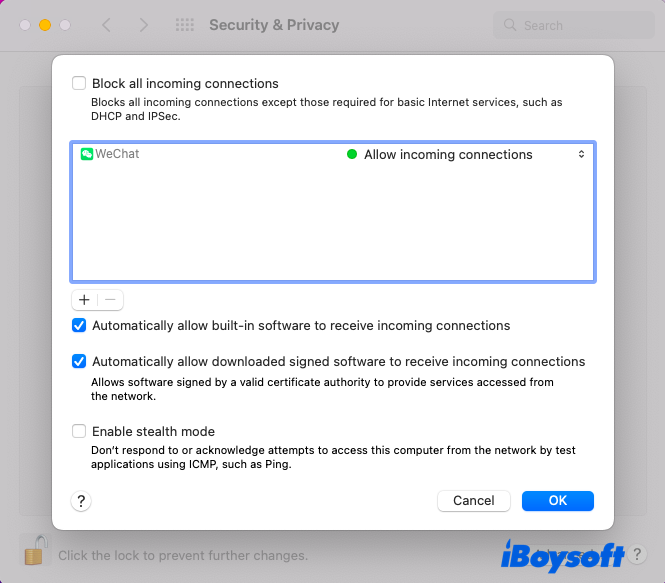
Turn on the FileVault on your Mac
Password protect files & folders on Mac are not as safe as you think, while encryption is the most secure way to keep your drive private and safe. You can apply the FileVault to encrypt your APFS, HFS, HFS + formatted drive on Mac.
- Launch the FileVault app on your Mac.
- Click the padlock button to enter your admin account password.
- Click the Turn On FileVault button to enable it.
- Select your iCloud account to reset the password or produce a recovery key. If you choose the recovery key, remember to write down the recovery key to Apple Notes in case you forget it.
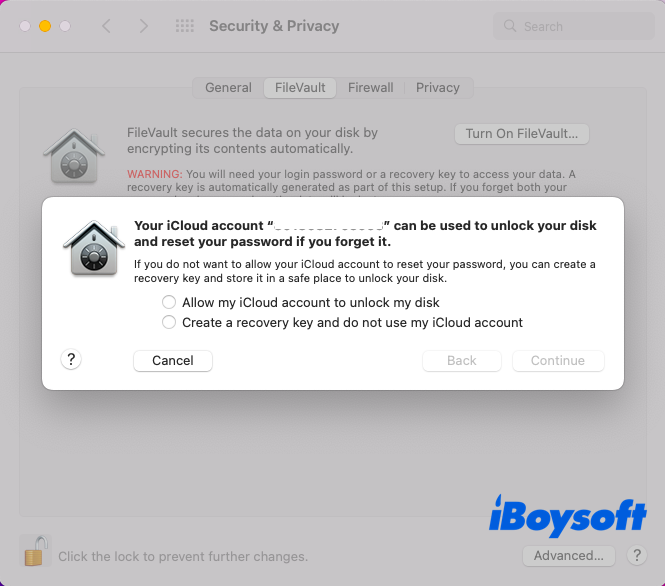
- Click the Continue button, select the user to encrypt its responding startup disk, and tap the Enable User option.
- Click Done to finish the encryption.
If you think these approaches are wonderful, why not share them with others?
Encrypting your hard drive with iBoysoft DiskGeeker
iBoysoft DiskGeeker allows you to encrypt your APFS, HFS, and HFS + drive with FileVault encryption and your NTFS, FAT, and exFAT drive with BitLocker encryption both on your macOS and Windows OS.
- Open iBoysoft DiskGeeker and select a partition that you want to encrypt from the left panel.
- Click the Encrypt option from the right-side toolbar and then click Continue.
- Enter your password and confirm it. Your password should contain uppercase and lowercase letters, numbers, spaces, and symbols.
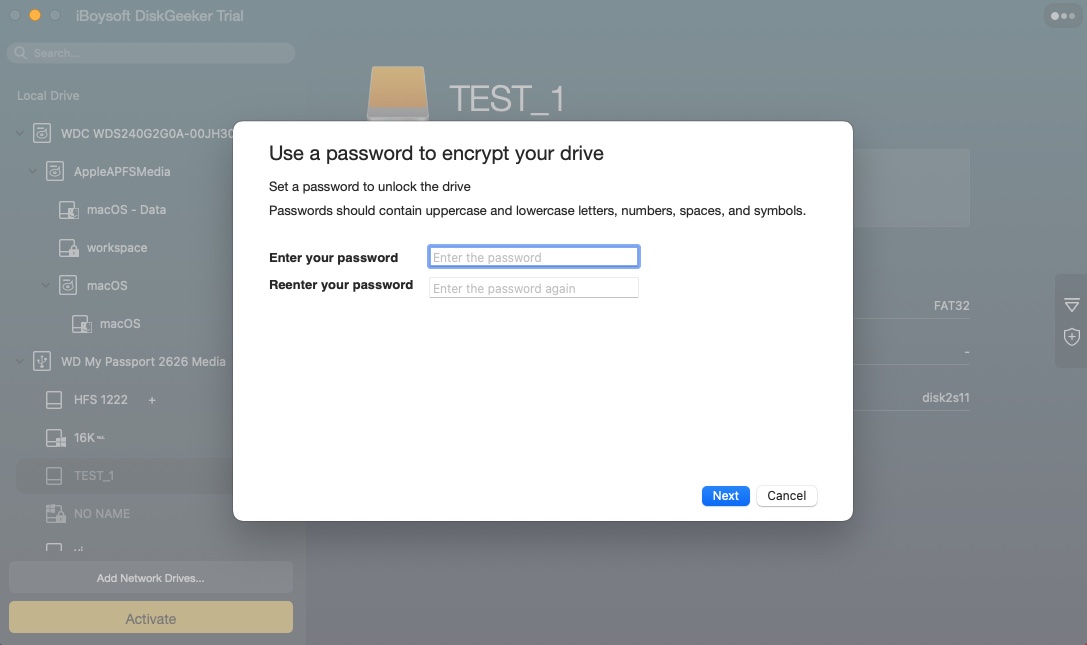
- Click the Next button.
- Back up the generated Recovery Key by saving it to Sticky Note for Mac.
- Click the Next button, and then select the Start encrypting option to proceed with the encryption work. When the encryption process begins, you can't terminate it. Or else you'll face drive corruption or data loss.
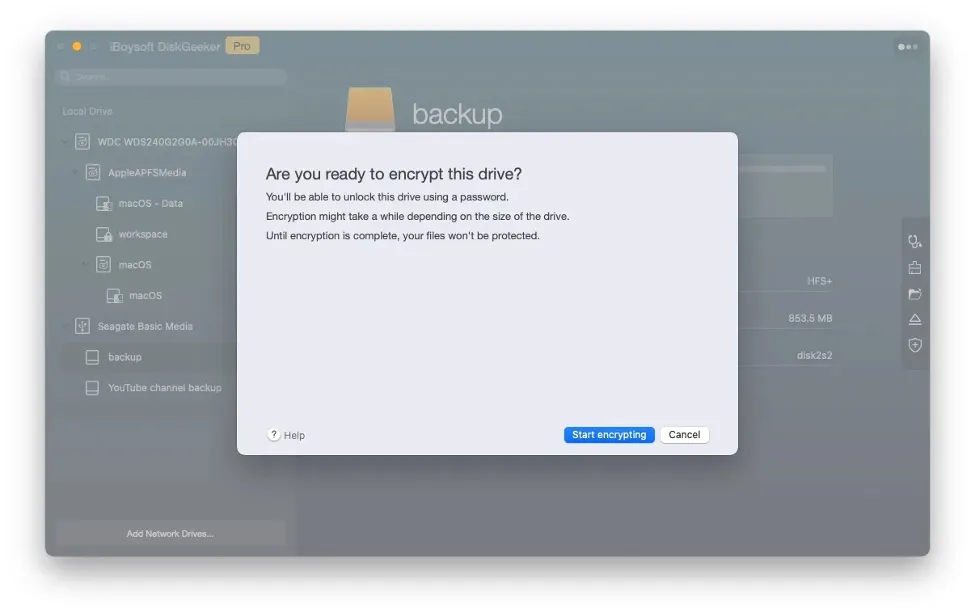
- Wait until the encryption process is done.
When you want to unlock the FileVault or BitLocker encrypted drive, you can click the lock button at the right toolbar and enter your password to access the files on it.
Many thanks in advance if you share with your families and friends!
Disconnect other Wi-Fi users
A simple Wi-Fi password is really easy to crack by others or third-party Wi-Fi crackers. Sharing Wi-Fi with unauthorized users always brings you in danger for malicious people can plant your Mac malware, send you viruses, and filch your data.
Hence, kicking unwanted users off your Wi-Fi by changing the password really matters a lot in keeping your Mac secure.
- Find IP Address on your Mac, and copy it to a webpage.
- Hit the Enter key to enter the configuration page of your router.
- Enter your router's username and password.
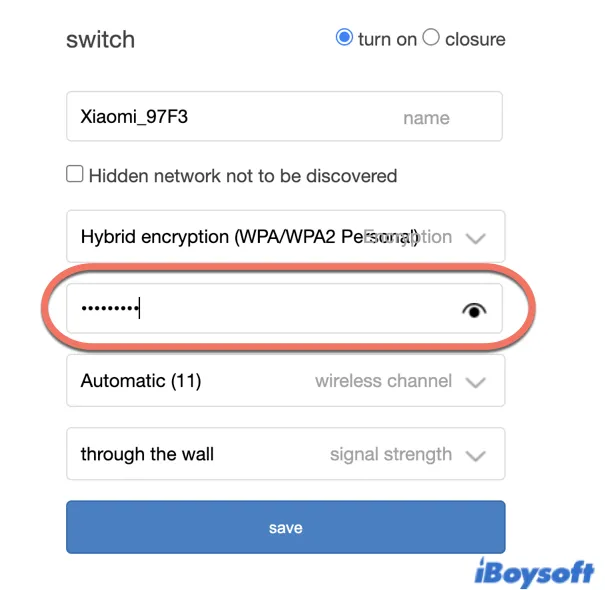
- Locate the Wireless tab, and your Wi-Fi will be listed in this tab.
- Select the Wi-Fi that you want to change the password to, and then input your new password. For security, you'd better set a complicated password.
Disable remote access & sharing
Remote access works certainly when you have the demands to access any files and folders from far away. But you need to close the remote access & sharing settings after you get the wanted data. Or others also have channels to your files and data.
Here are how to disable the remote access & sharing settings:
- Head to System Preferences and open the Sharing tab.
- Untick the Remote Login option and Remote Management option to stop the remote access & sharing.

- You are also allowed to close other sharing services that you needn't for better security.
Enable Touch ID on your Mac
You can enable Touch ID on your Mac to replace the login password, which saves your energy to remember the boot password.
To enable the Touch ID on your MacBook Pro or MacBook Air, you need to add your fingerprint first and then set up the available options that you want to use on your MacBook.
- Open the Apple menu, select System Preferences, and then open Touch ID.
- Click Add a fingerprint on the Touch ID window.
- Type in your admin password on the pop-up window and click OK for confirmation.
- Follow the on-screen guide to set up your Touch ID for your Mac.
- Click Done to save your fingerprint.
- Change the options to the way that you want to use the Touch ID.

Use the macOS keychain
Simple and multiple-used passwords of various websites are easy to crack, which results in your data breach and information exposure.
You can enable Keychain Access to store various difficult-to-remember passwords, auto-fill passwords, and sync your passwords with all your devices through your iCloud account.
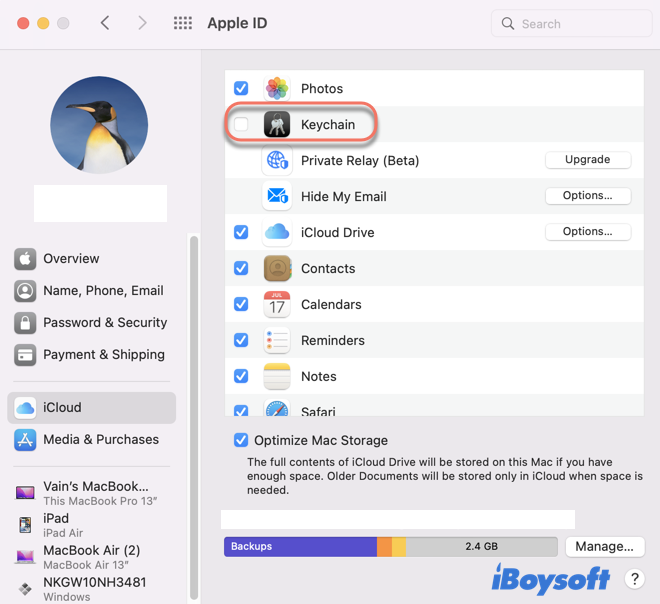
- Open System Preferences and tap Apple ID.
- Click the iCloud menu in the left bar of the Apple ID main window.
- Tick the Keychain option to launch the Keychain access.
These operations will auto-fill your information and passwords, such as website account passwords, credit card passwords, etc, on your devices with the same iCloud account.
If you encounter the 'accountsd wants to use the login keychain' popping up, don't worry. It's possibly caused by major or supplementary macOS updates, or the change of authorized accounts. You can fix this notification easily.
You can also enable a password manager like Safari password manager to manage the kinds of tough passwords with one main password.
Share this wonderful built-in password management toolset with more people!
Disable Spotlight Search suggestions
Sometimes, your Spotlight Search suggestions expose your personal information. Facing this, you'd better cancel the suggestions in case unauthorized users snoop into your privacy.
- Launch the Spotlight Search in Finder.
- Untick the items that you don't want the Spotlight Search to present to users.
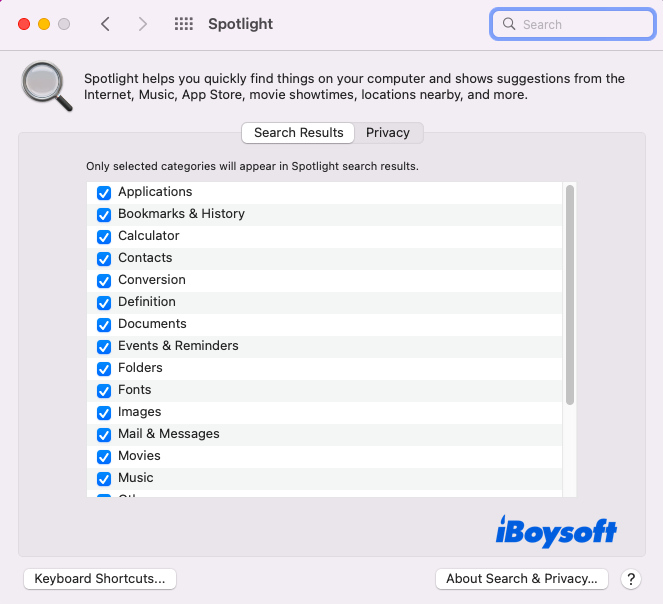
- Cose the home window to save your actions.
Turn on the “Find My Mac” function on Mac
The last way comes into use when you lose your Mac or some others steal your Mac. In such a case, you can turn on Find My on your Mac so that you can locate it on other devices or iCloud.com. Here are how to do it:
- Click on the Apple Menu, and select System Preferences.
- Choose Apple ID next to your user name on the top.
- Select iCloud from the left sidebar.
- Then check the box of Find My Mac in the right column to turn it on.

- To turn it off, just uncheck the box and enter the password of your Apple ID when asked.
Final thoughts
Ways to make your Mac and the information secure and safe are boundless, and you can also hide the text in a picture on Mac or apply Security Keys for Apple ID to protect your information.
This article offers you the 11 best tips to protect your Mac security. You can try them to improve the safety and security of your Mac right now! And don't forget to share these amazing tricks!
FAQ about how to secure your Mac
- QDo you need virus protection on a Mac?
-
A
Yes, you need virus protection software on your Mac for Mac cannot guard against all viruses at any time. You can apply the following software on your Mac: Avast Security, Bitdefender Virus Scanner, Avira Free Security, Sophos Home, and so on.
- QHow to protect your Mac physically?
-
A
You can protect your Mac physically by following steps: 1. Apply screen protectors to prevent scratches. 2. Use body cases and keyboards covers. 3. Get a secure sleeve to carry the MacBook around. 4. Use a microfiber cloth for regular cleaning. 5. Make your workspace safer. 6. Ensure good ventilation and a safe temperature.
- QWhy the Encrypt feature in iBoysoft DiskGeeker recommends FileVault encryption rather BitLocker?
-
A
Because the partition you want to encrypt is formatted with APFS or HFS+ file system. Therefore, it suggests the macOS FileVault encryption for you. Bitlocker encryption only works on NTFS and FAT file systems that are compatible with both Mac OS and Windows.
- QWhy can't I encrypt the startup partition?
-
A
The startup partition contains the operating system, so it can't be encrypted.
- QCan I terminate the encryption process?
-
A
No, once the encryption begins, you can't cancel it. That's because the termination may result in data loss or partition corruption.