If you are using a Mac as a workstation, you will inevitably store confidential documents on your Mac. To prove them from unauthorized visiting, knowing how to password protect a file on Mac is a must for you.
This article from iBoysoft gives you 6 easy and effective ways to lock your secret files with a password or an encryption manner on your device so the files are only accessible to trusted and authorized users. Let's get started then!
How to password protect files and folders on Mac?
Files stored on your Mac contain different file formats including folders, images, audio, and videos. If you have to share a Mac with other people, a password to protect your private files listed above or an encryption utility to turn your data into ciphertext is indispensable. There are a slew of ways to protect your files and each of them is elaborated here, just choose one or more as you like.
1. How to password protect files by creating a dmg folder on Mac?
DMG is a compressed copy of the contents of a disk or a certain folder. You can make the files or disks into a dmg file and then lock it with a password. Therefore, only the people who have the correct password can unlock the dmg file and then access the content in it.
Here I'm gonna show you how to password protect a dmg file on Mac in detail. You can definitely complete this task whether you're a noob or an old hand to macOS computer.
- Create a new folder and move all items into it for protection.
- Open Disk Utility on your Mac.
- Head over to the menu bar and click on File.
- Select New Image > Image from Folder.
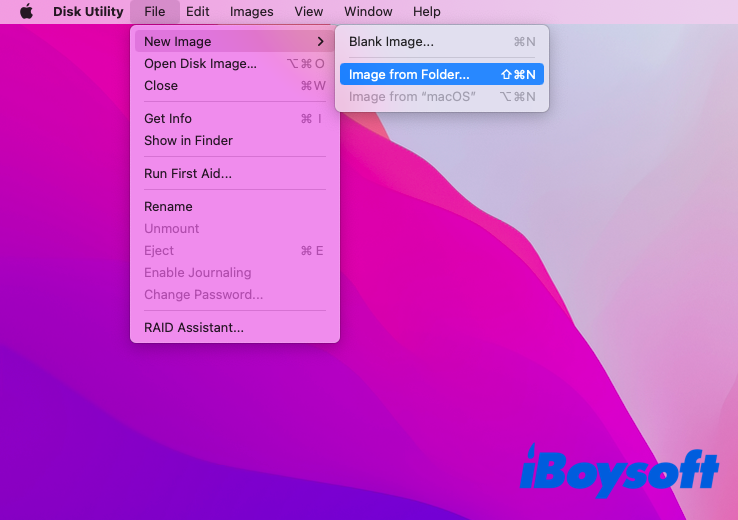
- Select the folder you created and wanted to add a password to and click the Choose button.
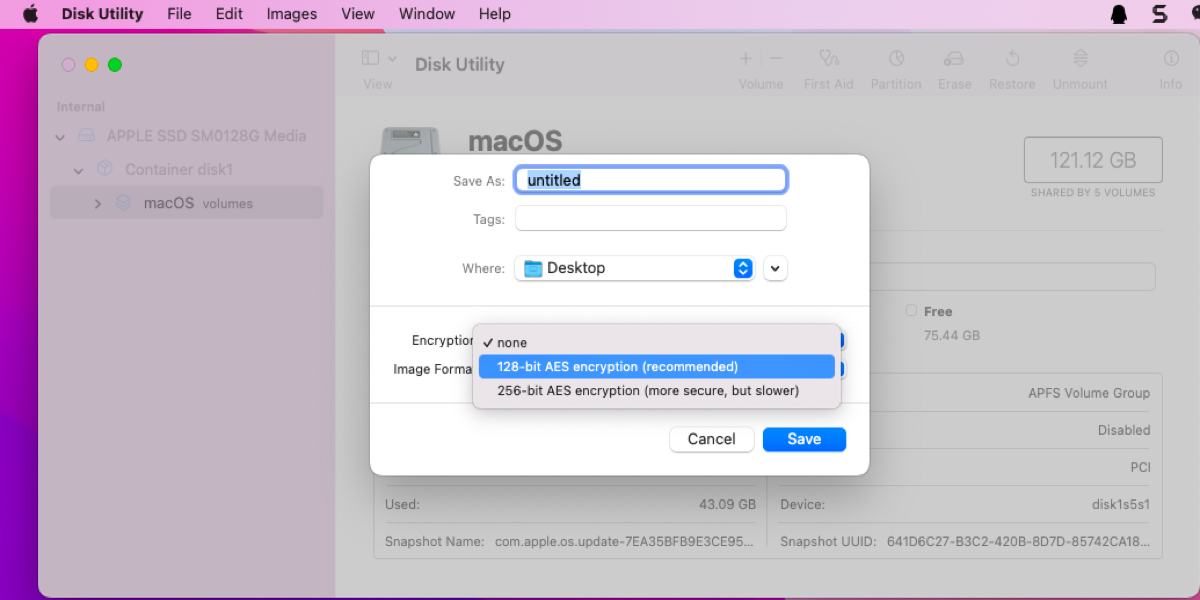
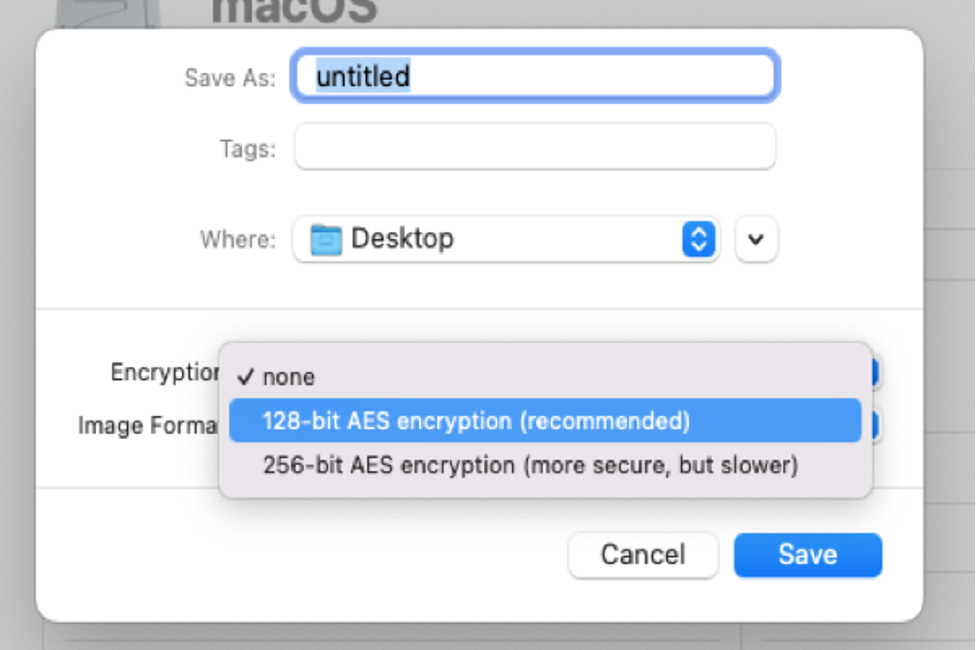
- Choose the 128-bit AES encryption (recommended) option in the Encryption section.
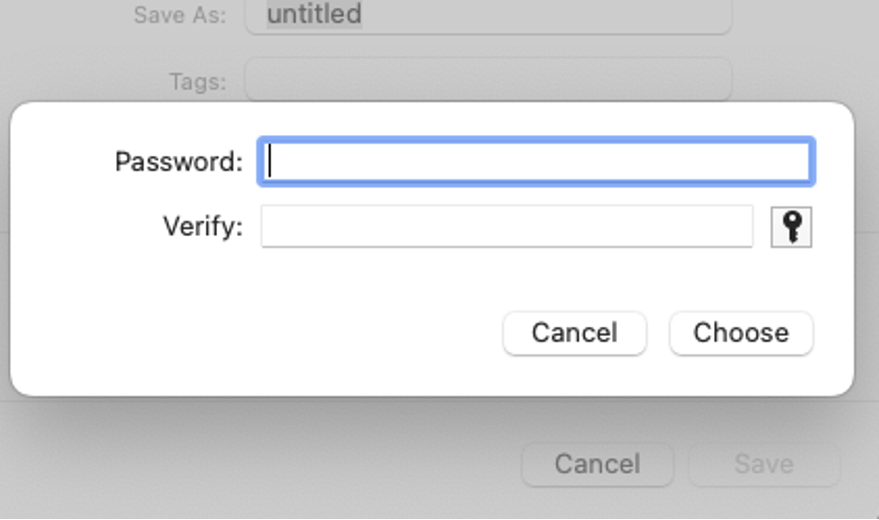
- Enter your password and re-enter it again to verify, and then click Choose button.
- Select the read/write option for later re-editing in the Image Format menu.
- Click Save to confirm your action.
Don't forget your password. Otherwise, you cannot access the information and files in the locked DMG folder anymore.
2. How to zip a file and password protect it on Mac?
You can either zip your files with a built-in zipper on your Mac computer and then protect them with a password. Zipping files is just a piece of cake as long as you follow the instructions below.
- Create a new folder and put all the files you want to zip in it.
- Right-click the folder you want to zip.
- Click Compress “folder name” in the context menu. The zipped file will have the same name as your folder, but with a “.zip” file extension. You will find your zip file in the same location as your original folder.
The process to password protect a zip file is identical to the process to password protect a dmg file. What you need is a native utility on Mac -- Disk Utility.
- Open Disk Utility.
- Click File in the top menu bar and select New Image > Image from Folder.
- Select the zip file and follow the wizard to password protect the zip file. Remember to choose 128-bit AES encryption (recommended) as an encryption method.
After locking the zip file, you need to enter the password when you want to unzip the zip file on Mac. As for RAR files, if you want to know, cannot be opened or created due to copyright issues, not speaking of password protect a RAR file on Mac. But you can convert RAR to ZIP on Mac and then protect it with a password.
3. How to Password Protect PDF Files on Mac?
A PDF file is a widely used file format that is able to contain kinds of information and data as well. Here you can gain how to prevent your PDF files from unwanted access with a password.
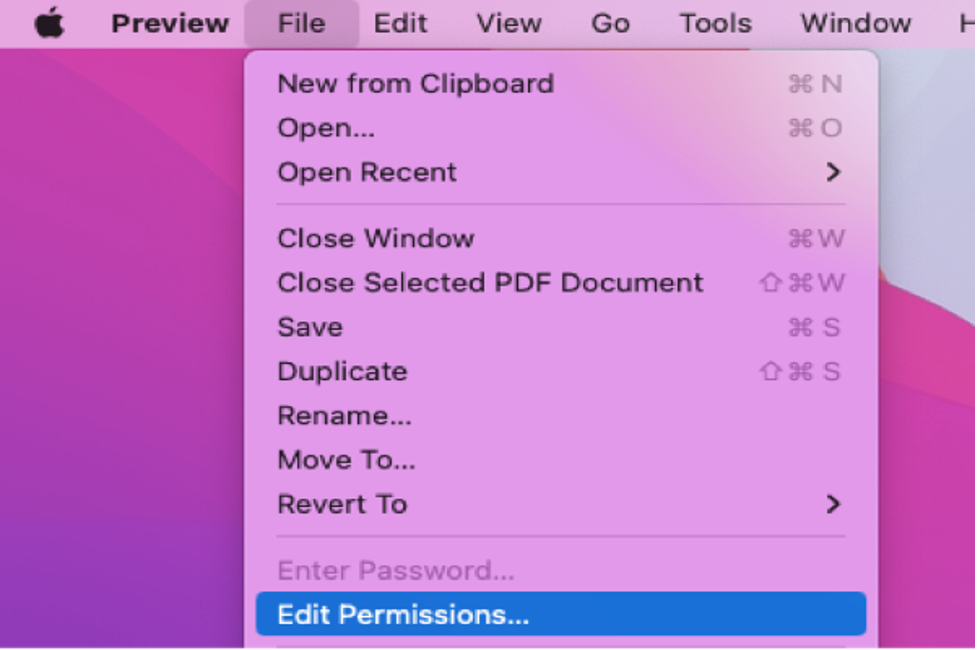
- Open the PDF file you want to secure and click File in the top taskbar of the screen.
- Choose Edit Permissions in the drop-down menu bar.
- Choose the Require Password To Open Document option. No one can open the file unless he has the correct password.
- Enter the password and re-enter it again to verify it.
- Enter the password and re-enter it in Owner Password. It is essential when you want to change the Permissions of the PDF file and the Owner Password can be different from the password used to open the document.
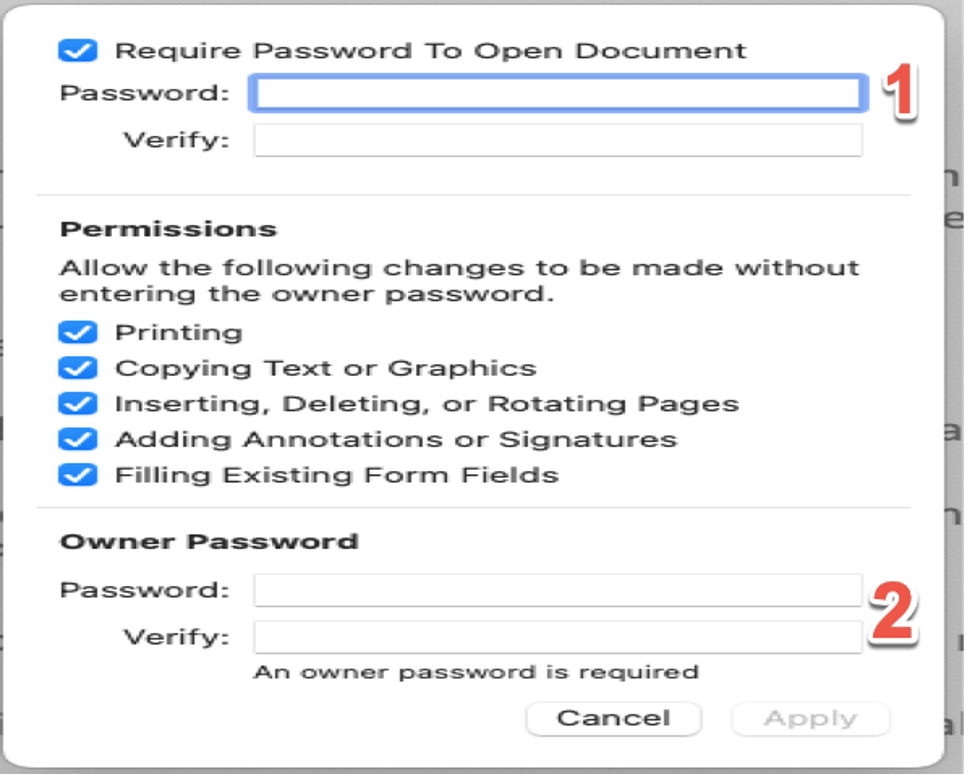
- Click Apply to apply a password to the PDF file.
4. How to password protect Apple Notes on Mac?
Apple Notes is a wonderful utility that serves some functions of Microsoft Word in some cases. On top of that, you can write down something private or confidential in case you forget them sometimes. This article teaches you how to password protect Apple Notes so that you can feel at ease to type anything on it.
- Launch Apple Notes on your device via Spotlight Search or Mac Launchpad.
- Select the note that you want to lock and click the padlock icon on the top menu bar of Apple Notes.
- Select the Lock Note option and then enter your password in the new popup.
- Click Ok to confirm your changes.
Once you want to access the locked note, a correct password is necessary. If you want to delete the lock, just click the padlock icon and then click the Remove Lock button from the context menu.
Think this article useful? Then try it to protect and secure your Mac right now!
How to password protect a folder with Terminal?
An old hand to macOS computer might want to complete the file protection in a more advanced manner. That's why methods to password protect a file or folder with Mac Terminal come. Please follow the guidelines carefully because any misoperation might cause damage to your Mac.
Step 1: Right-click on the folder you want to protect and select Get Info.
Step 2: Find the Where section and copy the folder's path.
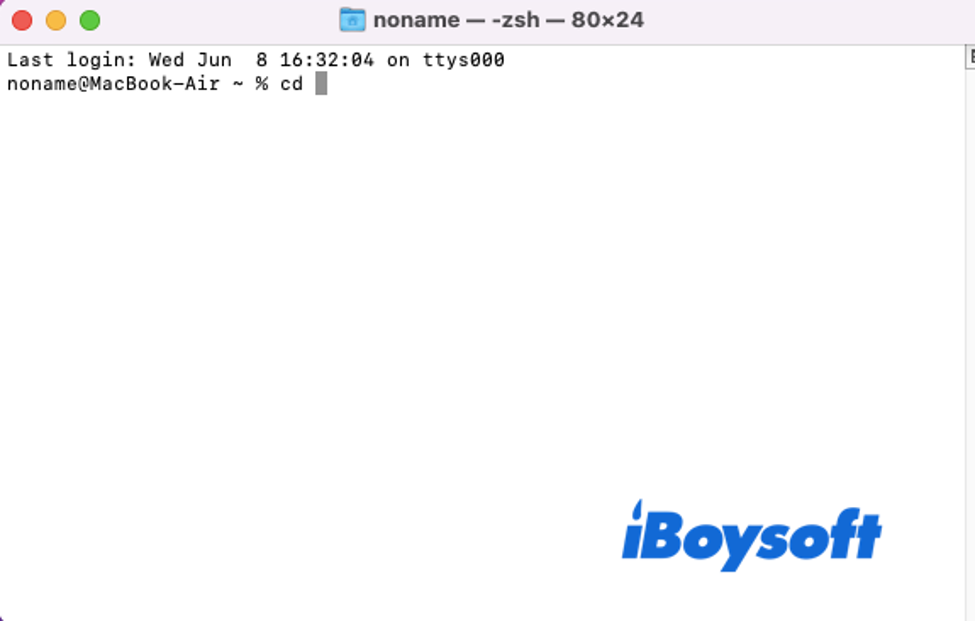
Step 3: Launch the Terminal app on your Mac through Launchpad > Other.
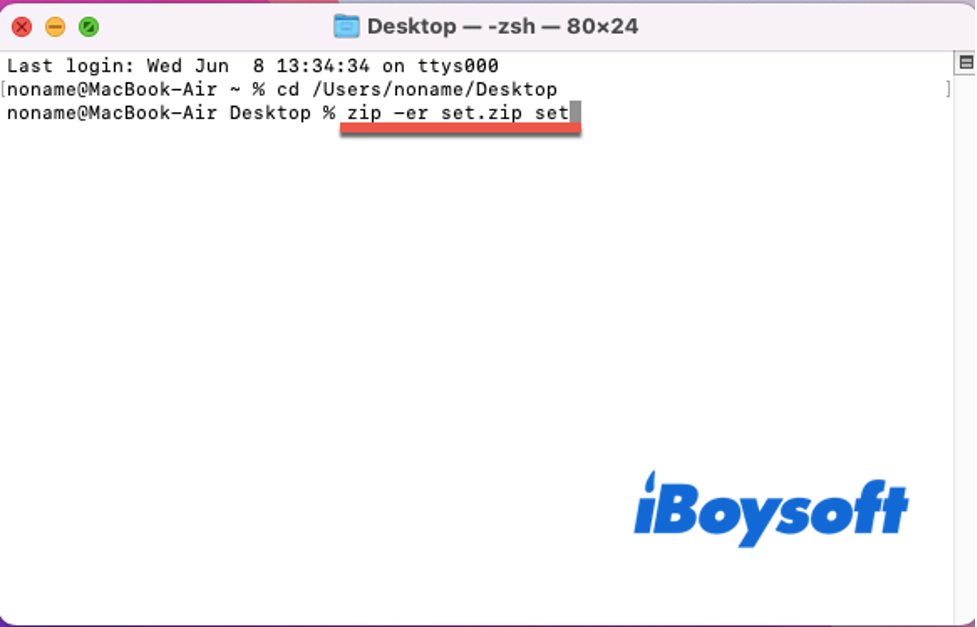
Step 4: Enter the cd and add a space.
Step 5: Paste the path to the Terminal window.
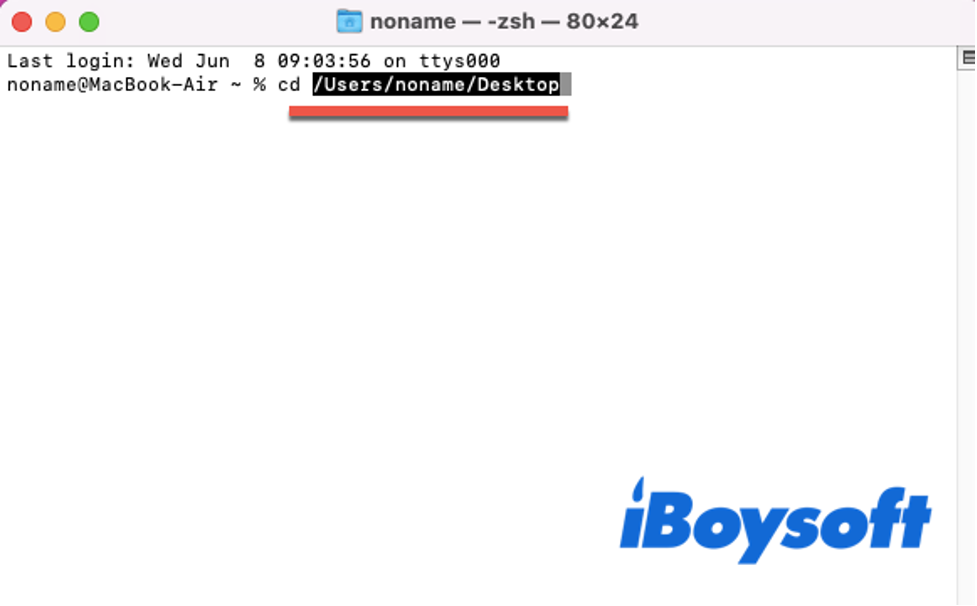
Step 6: Type the following command and hit Return.
zip -er FolderProtected.zip “set”
Note: the FolderProtected.zip is the name you give to the zip file. “set” is the folder name you want to protect.
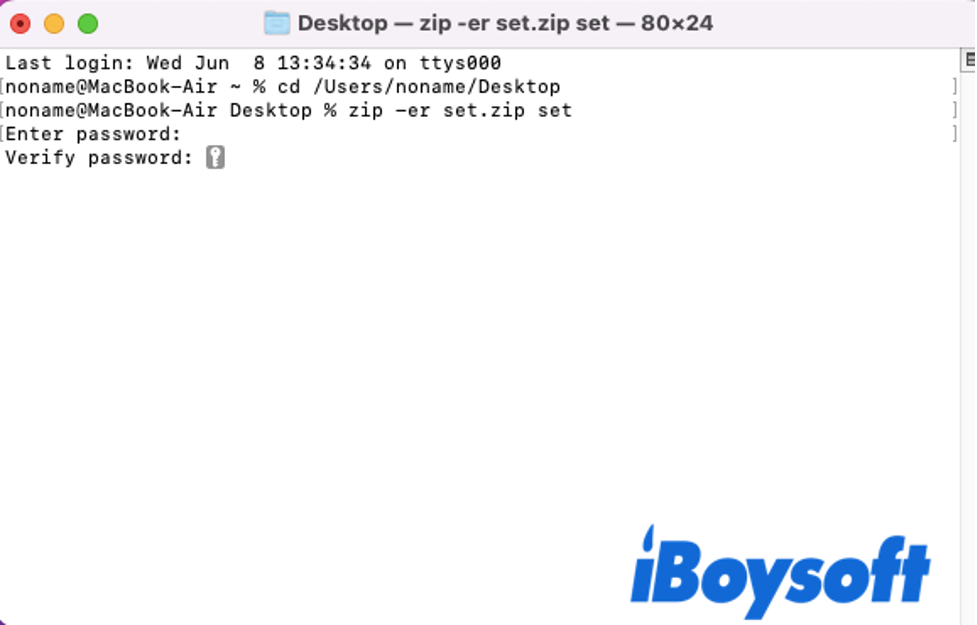
Step 7: You will be asked to enter your admin passwords twice and you won't see anything while you are entering the password.
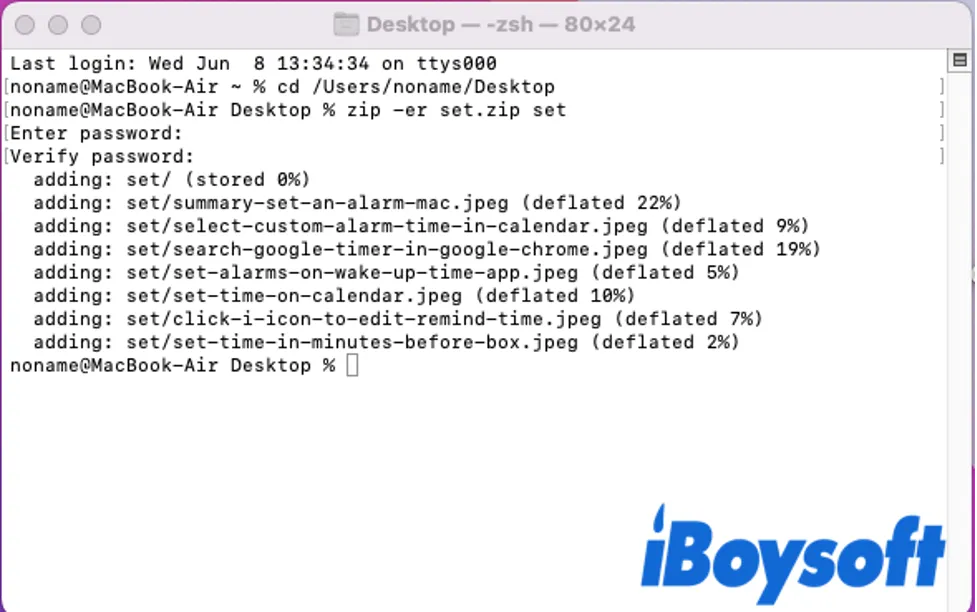
Step 8: Hit Enter key to confirm and wait. Your folder is compressed and protected with a password. If you want to open the folder, the password is a must.
Note: iBoysoft DiskGeeker has a useful feature called USB Defender, which can lock your Mac USB port with a password, and stop the macOS from detecting/mounting USB drives of unknown sources. After enabling USB Defender, all the connected USB drives will be unmounted on your Mac until you enter the password to mount them manually. This way, you will not worry about someone stealing your confidential data from your Mac with an unauthorized USB.
How to encrypt files or folders on your Mac?
Password protection means only authorized users can access the information with the correct password. Data encryption is a level-up for data security because it converts your information to cipher text.
iBoysoft DiskGeeker is an ideal tool that encrypts an internal/external drive on Mac with FileVault or BitLocker. It turns your sensitive data into unreadable ciphers and asks for a password to decrypt data. It is able to protect your graphics, movies, music, and Time Machine backups sort, which maximizes your data privacy and security.
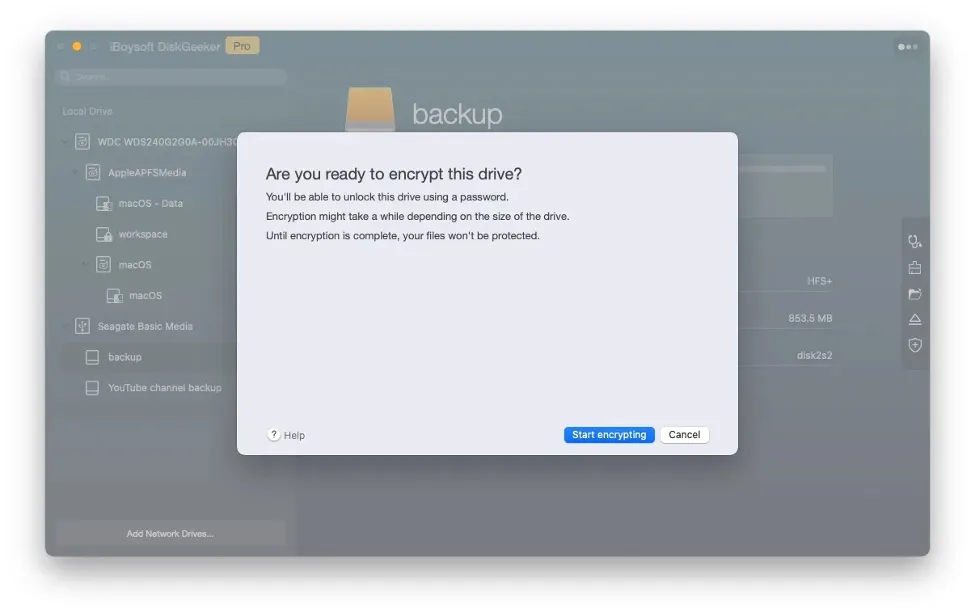
Here is how to encrypt files on Mac with iBoysoft DiskGeeker:
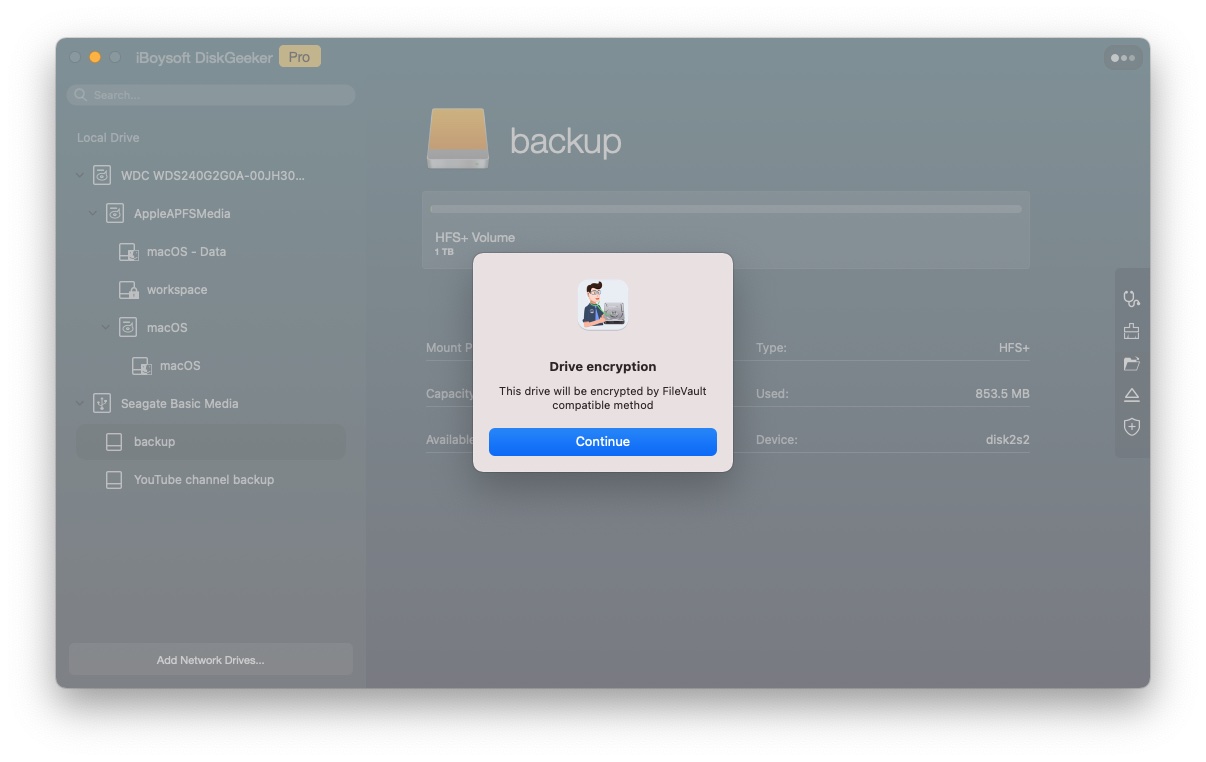
- Select a partition or entire disk that you want to encrypt from the left panel.
- Click the "Encrypt" button from the right-side toolbar.
- Click "Continue" to proceed. The software will recognize your file system and decide either FileVault or BitLocker will be applied to your disk.
- Enter your password and re-enter it again. For first-time encryption, both FileVault and BitLocker will generate a recovery key in case you forget your password. Keep the recovery key in a safe place.
- Click "Next".
- Click “Start encrypting”. The encryption cannot be terminated by a user.
Conclusion
Data safety and security matter nowadays. You can never emphasize the importance of file and data protection too much. This article from iBoysoft gives you 6 detailing ways on how to password and encrypt the files and data on your macOS computer. Never feel too late to protect your files with a set password or encrypt them into ciphertext.
Share this article with others right now!
FAQ about how to password protect/encrypt files and folders on Mac
- Q1. How to Password Protect a Folder on macOS Monterey?
-
A
1. Open Disk Utility on your Mac.
2. Click the File on the top taskbar of
3. Select New Image > Image from Folder.
4. Locate the ZIP folder you want to lock and click the Choose button.
5. You can rename the folder from the window or keep it origin.
6. In Encryption section, choose 128-bit AES encryption (recommended) option.
7. Enter your password, re-enter it to verify, and click the Choose button.
8. From image format, select read-only option.
9. Click Save to confirm your action.
- Q2. Can I Password Protect a Folder on Mac without Disk Utility?
-
A
Yes, you can password protect a folder on Mac with Terminal. You can follow the steps:
1. Find the folder that you want to lock Right-click it and select the Get Info option.
2. Under General, select Where and copy the Path.
3. Launch Terminal on your Mac.
4. Enter cd and add a space, paste the Path, and hit Enter.
5. Allow Terminal to access your Folder document.
6. Type zip -er FolderProtected.zip “set” in Terminal.
7. Enter and re-enter the password, then hit Enter to confirm your actions.