ZIP is a file format that works to compress one or more files together for less storage space consumption and faster transportation. So, you can find that files or folders you've downloaded from the Internet or received from Mail are often in a ZIP format.
By default, you need to extract the compressed files before accessing the content. If you are puzzled about how to open a ZIP file, this article can help you. It will tell you how to unzip files or folders on Mac. Additionally, it shows you how to zip a file on Mac if you need to share some files with colleagues or friends.
Does Mac automatically unzip files?
No. Usually, the ZIP file you've downloaded from the browser or other sources won't automatically unzip on Mac. You need to decompress it manually.
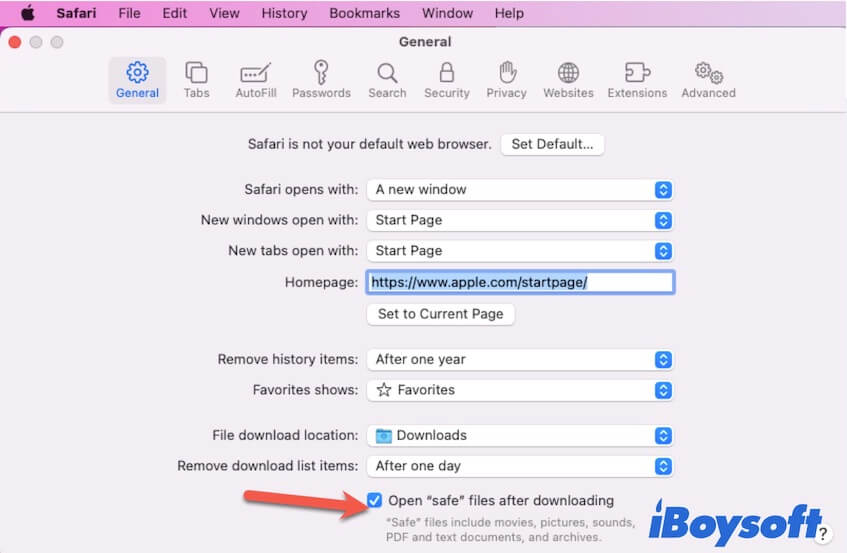
But if you've set the browser preferences like Safari, it can automatically unzip the packed or zipped files or folders that are downloaded from the web pages.
How to unzip files on Mac for free?
To open a ZIP file on a Mac is not a complicated job. Here are four ways to try.
Double-click to unzip a file on a Mac
- Double-click the zipped file to extract it.
- Click the icon of the unzipped file or folder to access files in it.
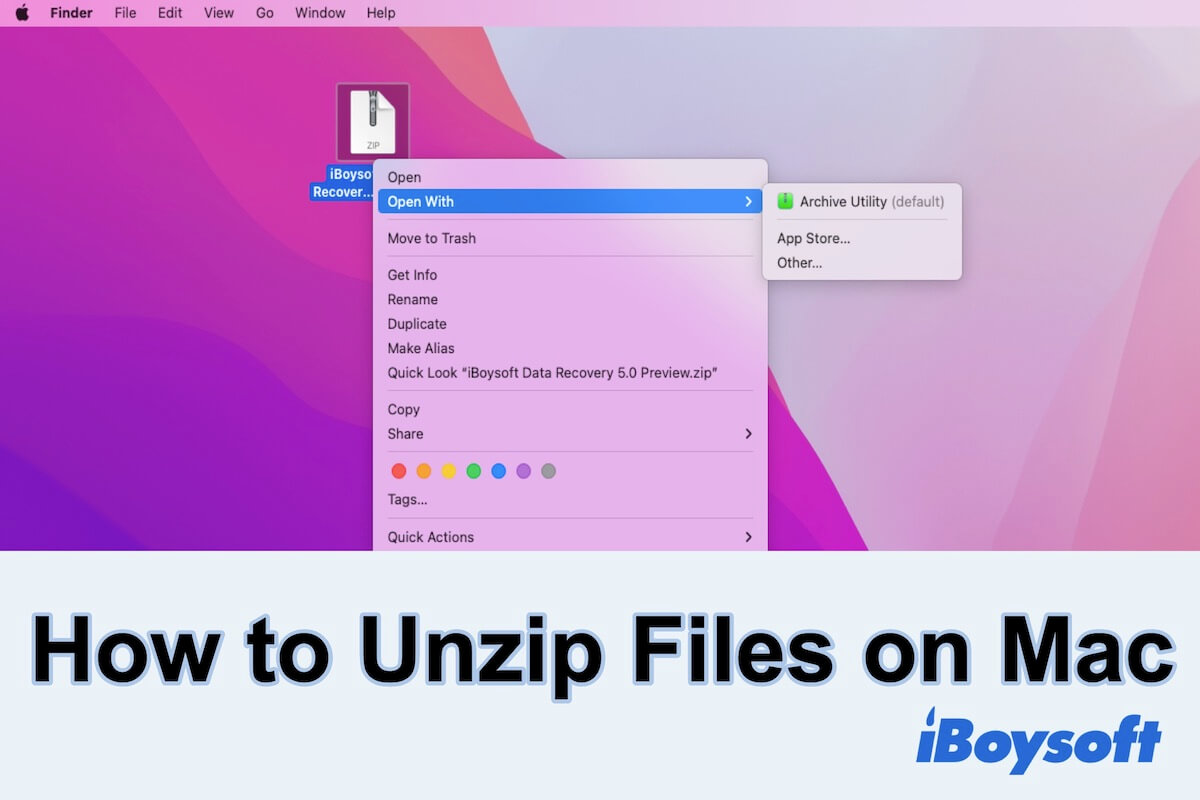
Right-click to unzip a file on a Mac
- Right-click the zipped file.
- Choose Open (or Open With > Archive Utiltity).
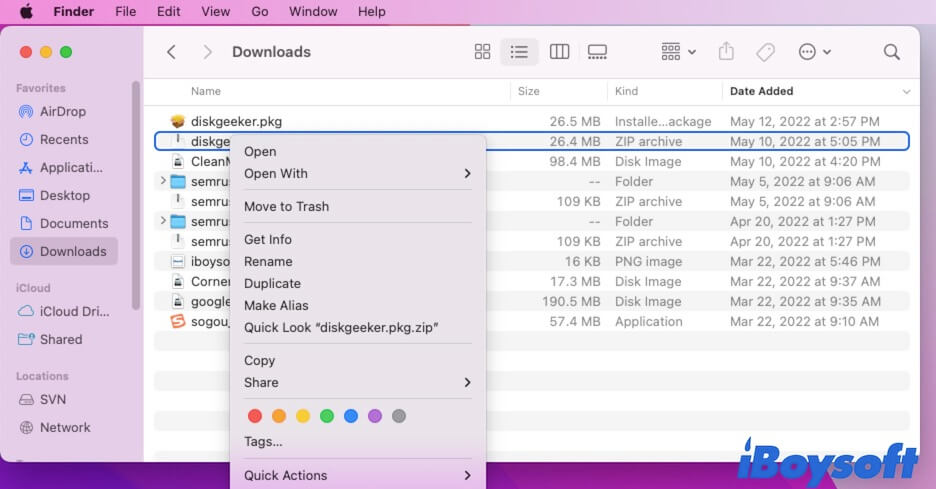
- Click the unzipped file to get the files.
Use Terminal to unzip a file on Mac
- Press Command and Space keys together to open Mac Spotlight Search.
- Type Terminal in the search box and click to open it.
- Type unzip and a space, then drag and drop your ZIP file into the Terminal window.
- Press Return/Enter.
Now, you can find that the compressed file is unzipped for your access. This way is useful for you to unzip multiple files and folders on your Mac.
Unzip files on Mac with third-party software
If you have a RAR (Roshal Archive) file or another compressed file that macOS doesn't support, you can't unzip it on Mac by double-clicking or right-clicking it. Even using Terminal can't help you out. But if you need to convert RAR to ZIP on Mac, the Terminal and third-party apps are at your service.
Why can't you unzip a file on Mac?
Unfortunately, your operation to unzip a file on Mac gets stuck or fails. And you receive the error message "Unable to expand zip" on Mac like:
- Unable to unarchive into Desktop (Error 1 – Operation not permitted.)
- Decompression Failed
Perhaps, that's caused by the corrupted ZIP file. You can download the file again and then try to decompress it. If the compressed file or folder is RAR formatted, you can't unzip it on Mac. To extract a compressed file that's not supported by macOS, you need to use a third-party tool.
Moreover, since Apple uses the built-in Archive utility that's a core service of macOS to unzip and zip files if the system occurs any errors or has temporary bugs, the unzip process may fail.
How to make a ZIP file on Mac?
Conversely, you can also create a compressed file or folder on Mac. Zipping your large files or folders can boost your transferring speed and simplify transferring operations.
Here's the way to create a ZIP file on Mac for a single file or folder:
- Open Finder and find the file or folder you want to compress.
- Right-click the file and then click Compress "the file name" from the drop-down menu.
The zipped file or folder that has the same file name as the original file but in a .zip extension will show up there.
If you have multiple files or folders that need to compress, follow this way:
- Open Finder and find the files and folders that you prepare to zip.
- Choose the files or sub-folders in a folder. You can drag your cursor to select all the items that contain in a folder. Or, you can press and hold the Command key on your keyboard, and simultaneously choose files or folders that are in a nonadjacent display.
- Right-click on any one of the selected items and choose Compress from the drop-down menu.
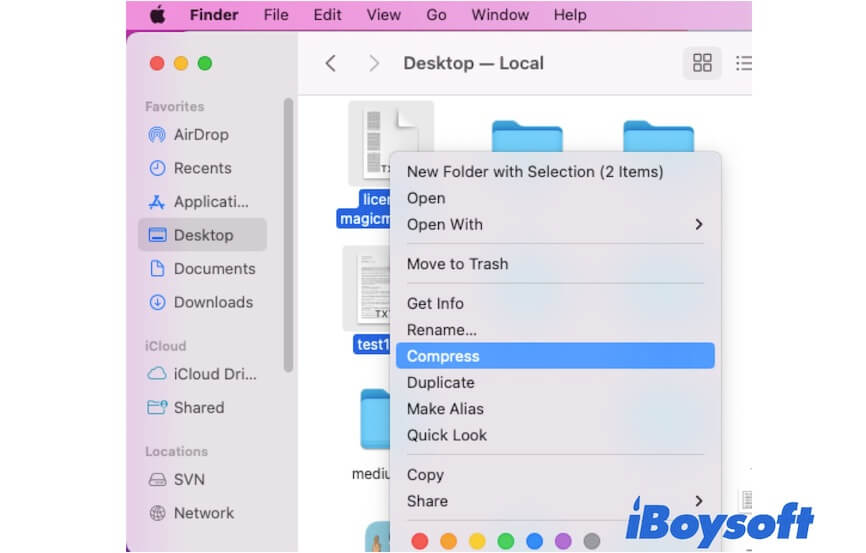
- The compressed files or folders will be stored in a file named Archive.zip and displayed in the same location as the original items.
If you think it is complicated to zip files with the above ways, or want to password-protect ZIP files on your Mac, you can use a professional tool. That is iBoysoft MagicMenu. This software allows you to right-click to compress files and folders and set a password to protect the zipped files.
Verdict
Zipping or unzipping a file or folder on a Mac is a simple job. Apple offers the Archive utility to allow users to compress and decompress files easily and quickly. You can follow the ways mentioned in this article to learn how to unzip files on a Mac in different ways and select the one you'd prefer to use. Also, the ways to zip a file or multiple files are offered.
Also read:
Decompression Failed on Mac: What Does it Mean & How to Fix

What Is a .7z File & How to Open It on Mac
This article explains what is a .7z file to you, and lists several reasons why you should use it. Also, the way to open 7z files on Mac is covered. Read more >>
FAQ about how to unzip files on Mac
- Q1. Where is the Unzip button on a Mac?
-
A
Right-click the compressed file or folder on your Mac. Then, you can see Open With. Select the Archive Utility option under Open With to unzip the file or folder. The default Archive Utility is the default unzip button on a Mac to extract a zipped file.
- Q2. How do I unzip a downloaded file?
-
A
To unzip a downloaded file on Mac, you can double-click the file to decompress it. Or, you can right-click it to select Open or Open With > Archive Utility to unzip it.
- Q3. What application opens ZIP files on Mac?
-
A
The built-in feature Archive Utility on Mac is used to open ZIP files.
- Q4. How do I auto unzip a file?
-
A
To auto unzip a file that is downloaded from Safari, you can check the Open safe files after downloading option in Safari Preferences from the top menu bar. If you want to auto-open zipped files downloaded from other sources, you may need a third-party unzipping tool.