Zipping files and folders on your Mac can help you organize files better, free up more Mac storage space, and share or send files easier and quicker.
So, if you want to know how to create a ZIP file on Mac, read this post. It lists various ways to zip a file or folder on Mac, including the free and online ones.
Overview of the 4 ways to zip a file/folder on Mac:
| Ways | Steps | Difficulty level |
| Compress a file/folder with iBoysoft Magic Menu | 1. Free download and install iBoysoft MagicMenu on Mac. 2. Right-click the target file/folder and choose Compress at the bottom of the context menu. 3. Set a password for the zipped file and choose a compression level. (Optional). | Easy |
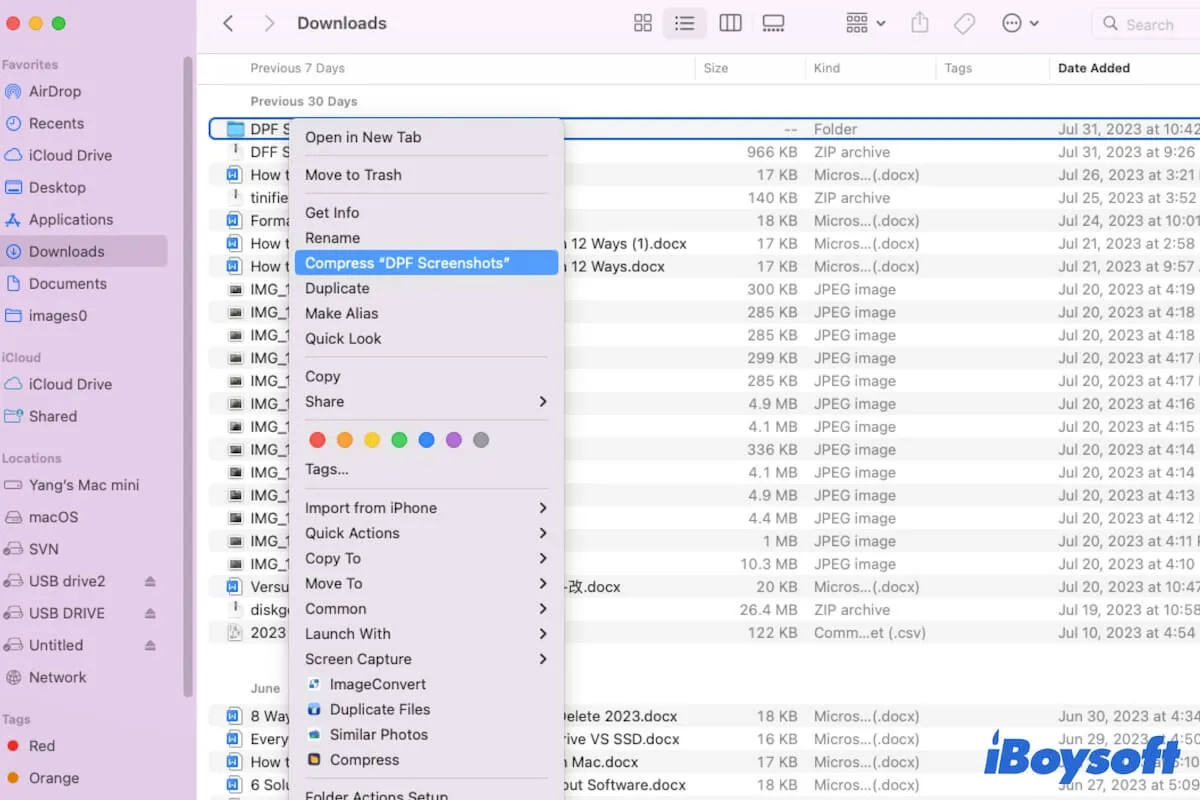
| Zip a file/folder with macOS native function | 1. Right-click the file you want to zip. 2. Select Compress "file name". | Easy |
| Create a ZIP file using online compressors | 1. Search for an online file compressor in the browser. 2. Choose an online service. 3. Upload the files or folders you want to zip. 4. Wait until the zipping process finishes and download the archive. | Medium |
| Zip files/folders with Mac Terminal | 1. Open Terminal. 2. Enter cd ~/file location (replace file location with the location your file/folder locates), such as cd ~/Desktop. Then, press Return. 3. Enter zip archive_name.zip file_to_zip (replace archive_name with the name that you want the ZIP to be named and replace file_to_zip with the name of the file). Then, press Return. | Hard |
Free download iBoysoft MagicMenu to help you zips files on Mac with customizable settings.
Share the ways with others.
What is a ZIP file?
A ZIP file is a kind of compressed file or folder that is reduced in size. It occupies less storage space on your Mac and is easier for file sharing or transport. When you compress a file or folder, the ZIP file will locate in the same location by default.
The ZIP file is also called an archive in macOS. And it is the typical format for files downloaded from App Store and browsers, like the software installer.
How to create a zip file on Mac?
Using the built-in tool on your Mac is the most common way to compress files and folders. Apart from this, you can also use third-party software, online tool, or Terminal to make ZIP files on your Mac. Each way has its advantages and disadvantages. You can compare them and pick up one that caters to your needs.
Make a ZIP file with iBoysoft MagicMenu
If you need to transfer certain private files or folders to someone, you are suggested to use iBoysoft MagicMenu for security considerations. This advanced file compressor allows you to password-protect ZIP files on a Mac. When you send the compressed file to others, only the one who knows your password can open the ZIP file.
Besides, it supplies three compression levels that give you the option to zip the target file smaller than that done by the built-in archive function; the higher level you choose, the smaller size of the file will be compacted.
Here's how to create a zip file on Mac with iBoysoft MagicMenu:
- Free download, install, and open iBoysoft MagicMenu on your Mac.
- Right-click your target file or folder in Finder and choose Compress under Similar Photos on the context menu.
If you want to compress multiple files or folders, select all of them and then right-click to select Compress.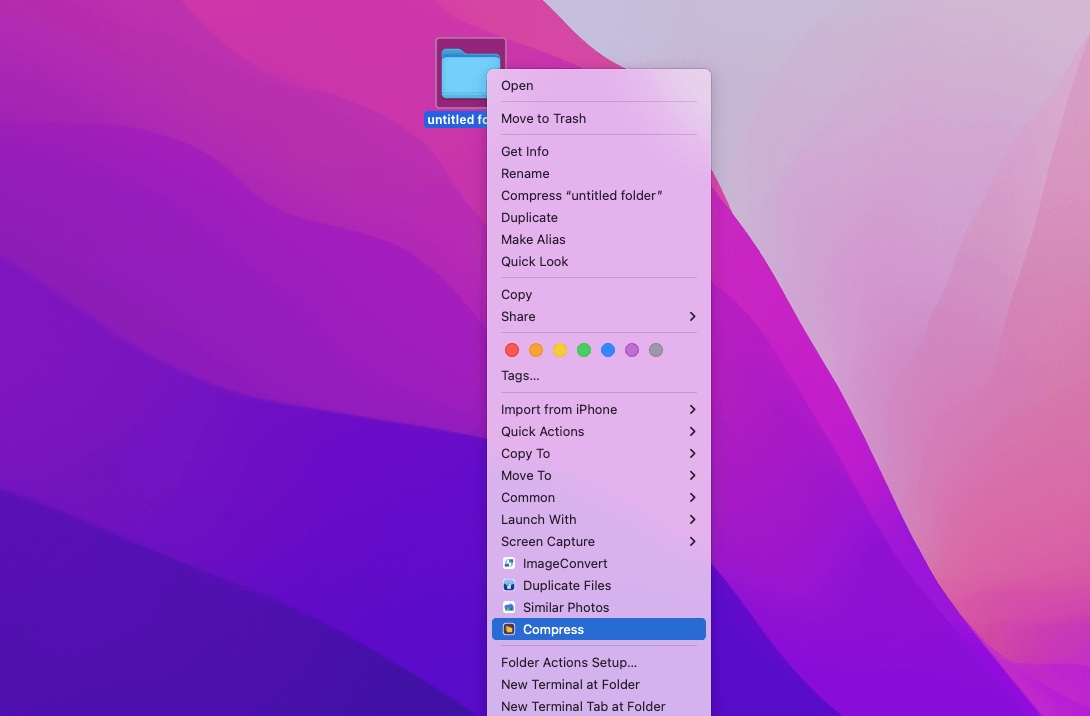
- Choose your desired compression level and set a password for your archive. (Optional)
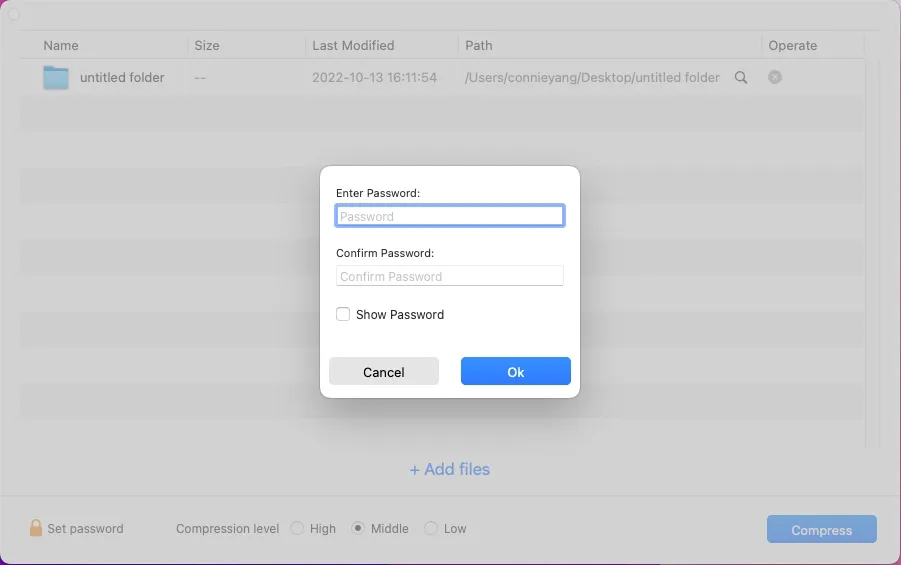
- Click Compress to start zipping your files or folders into a ZIP file.
Create a ZIP file with the built-in Compress function
The free way to zip files for Mac is to use the Compress option on the context menu.
- Open Finder.
- Right-click on the file or folder you want to zip. If you want to compress multiple files, you can create a new folder and then put all of the files into it.
- Click on Compress "file name" on the right-click menu.
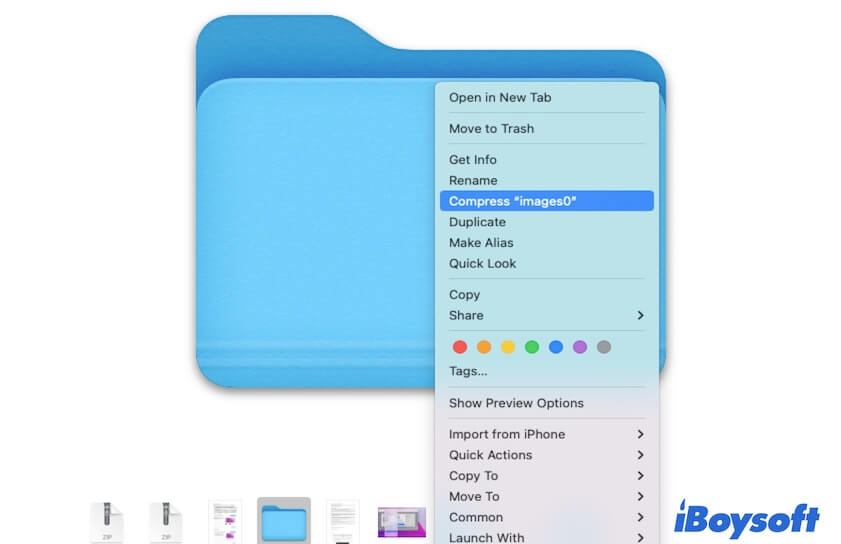
Then, the ZIP file will appear at the same location as the original file.
Compress a file with online tools
There are also online file compression services. Some of them are free while some are paid. Although you don't need to waste time downloading and installing the online file compressor, it requires you to upload the files or folders you want to zip. That needs a stable internet connection and may leak your personal files.
To compress a file online, you need to:
- Search for an online file compressor on the browser and choose the one you prefer to use.
- Upload the files or folders you want to compress.
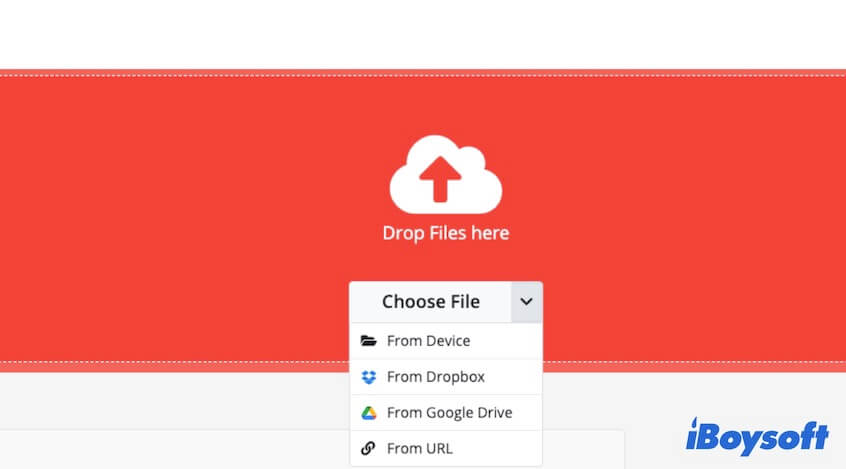
- Click the zip button to start the process.
- Wait until the archiving process completes and download the compressed file to your Mac.
Zip a file/folder with Mac Terminal
If you are familiar with Mac Terminal, you can also run commands to zip a file on your MacBook. If aren't, you are suggested to use the easy-to-operate iBoysoft MagicMenu or macOS built-in tool. Or else, any incorrect operation in the Terminal may lead to your file being corrupted or certain system errors.
Here are the steps of how to use the zip command to create an archive on your Mac.
- Enter the command below to navigate to the directory where the target file is stored. Replace file location with the location where your target file is located, for instance, cd ~/Desktop or cd ~/Documents. cd ~/file location
- Put the following command to zip the file.
Here you need to replace archive_name with the name that you want the compressed file will have and replace file_to_zip with the file's name. For example, if you want to zip test.txt in the Desktop folder, you need to type: zip test.zip test.txt zip archive_name.zip file_to_zip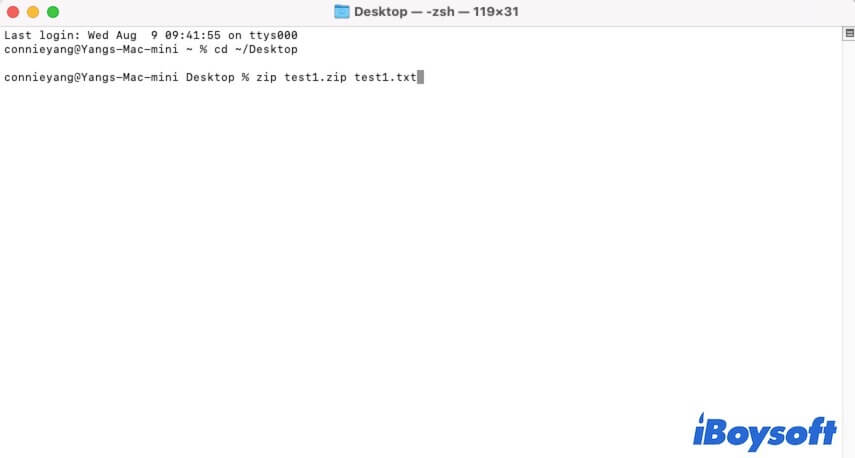
- If you want to zip a folder containing multiple files, you need to offer the names of these files after the archive name, for example, zip folder_name.zip file1.txt file2.txt folder_name
Share the ways to compress files and folders on Mac.
Why can't you zip a file/folder on Mac?
If you fail to create a ZIP file on Mac, you need to try the following checks or tricks:
- Check whether you have full read-write access to the file or not. To check that, right-click the file and choose "Get Info", then click the arrow next to "Sharing & Permissions" to check your permission to this file. If you don't have the read & write privilege, change your permission to the file on Mac.
- Change the way to compress the file or folder on your Mac. Perhaps, the native Compress option on the context menu is not workable due to unknown system errors. You can try to use the compress functionality in iBoysoft MagicMenu to zip the file.
- Restart your Mac. If even a third-party tool can't help you make an archive, restart your Mac to get rid of the temporary bugs that block you from zip files.
How to open ZIP files on Mac for free?
To access a ZIP file on Mac, you need to unzip the file on your Mac first. Just open Finder and find this ZIP file, then double-click it to make a decompression. The unzipped file will appear at the same location as the archive. You can access and edit the file freely.
Final words
Creating a ZIP file on your Mac is not a complicated task. This post supplies you with 4 methods to compress files on Mac. You can choose the one that you prefer to use. Among the ways, iBoysoft MagicMenu is worth trying as its compression functionality is designed with password settings and offers different compression levels.
If you like this post, share it to let more people know.
FAQs about how to create a ZIP file on Mac
- QHow do I put multiple files into one zip file on a Mac?
-
A
You can select all the files you want to zip and then right-click on them. Next, choose Compress on the context menu. These files will be zipped into a file on your Mac. Or, you create a folder and move these files into it, then right-click to compress the folder.
- QHow do you zip all files in a folder on a Mac?
-
A
Select all the files you want to compress.
Right-click on them.
Choose Compress on the right-click menu.
- QHow do I zip multiple files into separate files?
-
A
To zip multiple files into separate files, you need to compress them one by one. Right-click on a file and then choose “Compress file name”. Then, repeat the operation on each file.