On a Mac, deleted music files are not always immediately erased. In most cases, they are first moved to the Trash. However, when the Trash is emptied — especially on modern Macs using SSDs with TRIM enabled — recovery becomes significantly more complex.
In this guide, we'll walk you through practical steps to retrieve your music—whether they're still in the Trash or lost permanently. And also show you when the data recovery tool helps nothing. Plus, we'll share tips to avoid losing your music collection in the future.
Note: Avoid writing new data to the affected drive before recovery, as this may overwrite deleted files.
Identify how the music files were deleted
Before starting recovery, determine how the music files were removed. Different deletion methods affect the recovery approach and success rate.
Music files are moved to the Trash
In most cases, music files are not immediately erased from your Mac. Instead, they are moved to the Trash and remain recoverable until the Trash is emptied.
Common ways this happens include:
- Pressing Command + Delete
- Clicking the Move to Trash option
- Dragging files or folders directly into the Trash
- Deleting songs from Finder while keeping the media file option enabled in the Music app
- When music files are only moved to the Trash, recovery is usually quick and straightforward.
Music files are permanently deleted
Music files may be permanently deleted :
- The Trash has been emptied
- You used Option + Command + Delete
- Files were deleted from an external hard drive
- The drive was formatted or corrupted
- The files were removed from iCloud, and no backup exists
In these cases, the files are no longer visible on the system, and recovery depends on backups or specialized data recovery software.
On modern Macs with SSD storage, the TRIM feature automatically clears deleted data blocks to optimize performance. Once TRIM is executed, the original file data may be permanently erased, significantly reducing the chances of recovery.
However, external hard drives for traditional HDDs do not always apply TRIM in the same way, which may increase recovery success rates.
How to recover music files on Mac
The recovery method depends on whether the files are still in the Trash, backed up, or permanently deleted.
Recover music files from Trash
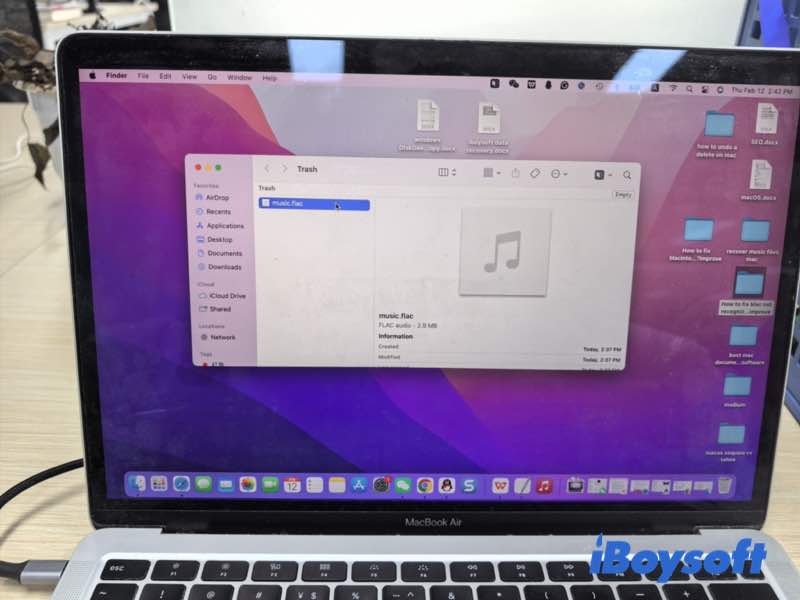
If the music files were recently deleted:
- Open the Trash from the Dock.
- Locate the deleted music files.
- Right-click the file and choose Put Back.
- The file will return to its original folder.
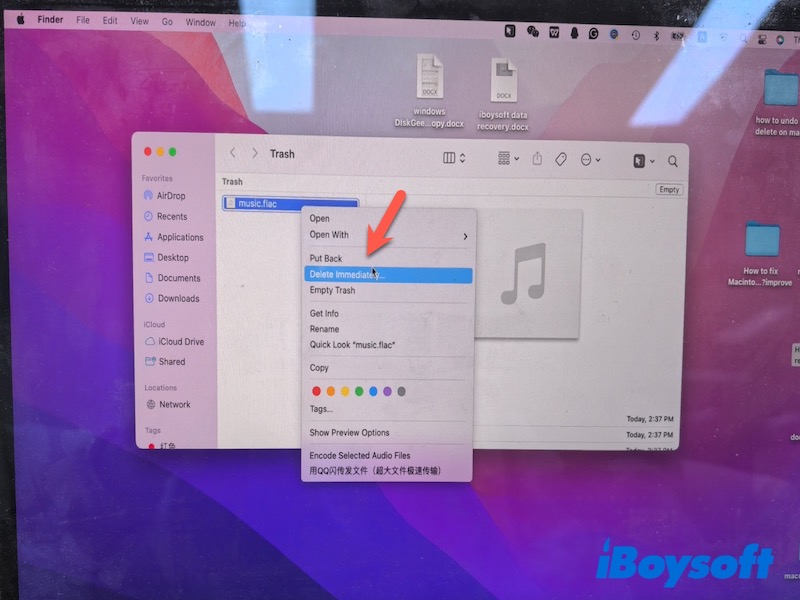
If you cannot find the file, use the search bar inside the Trash and search by file name or file extension (such as .mp3, .m4a, .aac, .wav). If you still can't find your music files, your files are being permanently deleted.
Restore music files by using Time Machine
If you regularly back up your Mac with Time Machine, you can restore deleted music files from a previous backup.
Note: this method only works if Time Machine was enabled before the files were deleted. If you have never turned on Time Machine or created a backup, you won't be able to recover files using this method. You can turn to the next method below.
- Connect the external hard drive that you use for Time Machine backups to your Mac.
Tip: If you cannot remember the exact folder location, use Finder search before entering Time Machine to narrow down the directory. Time Machine restores files to their original path, so knowing the location improves efficiency. - Click the Time Machine icon in the menu bar.
- Enter Time Machine.
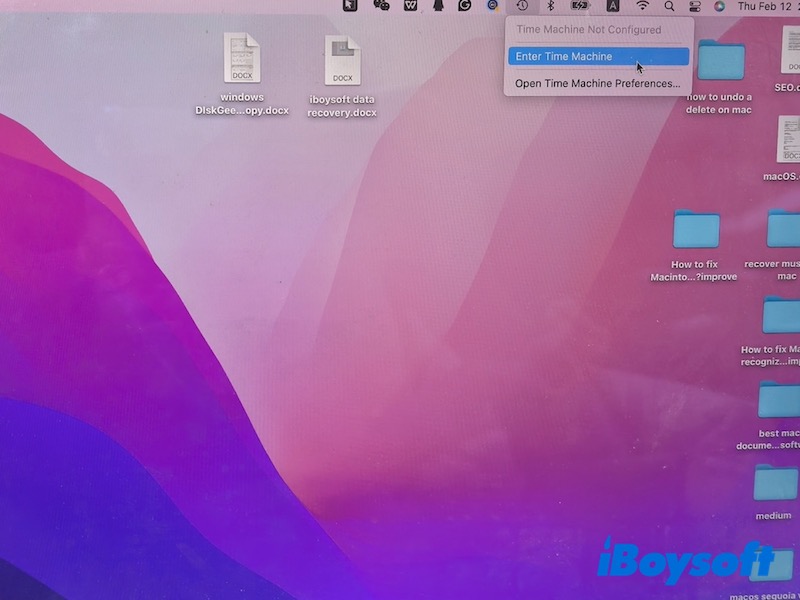
- Browse previous backups and select the version containing your music files.
- Click Restore.
This method restores the files to their original location.
Restore music files from iCloud and Sync Library
If you use iCloud Drive or Sync Library in Apple Music:
Note: This method only works if iCloud Drive or Sync Library was enabled before the files were deleted, and the music files had been successfully synced. If these features were never turned on, the files will not be available in iCloud for recovery.
- Open iCloud.com and sign in with your Apple ID.
- Check iCloud Drive for deleted files.
- Review the Recently Deleted section.
- Restore the files if available.
For Apple Music purchases:
- Open the Music app.
- Go to your purchased items.
- Re-download previously purchased songs.
If you only stream music via Apple Music without downloading local copies, the files are not stored on your Mac as traditional audio files. In that case, recovery is not required — simply re-download them within the Music app.
Use data recovery software
If music files are permanently deleted and no backup is available, professional data recovery software may help.
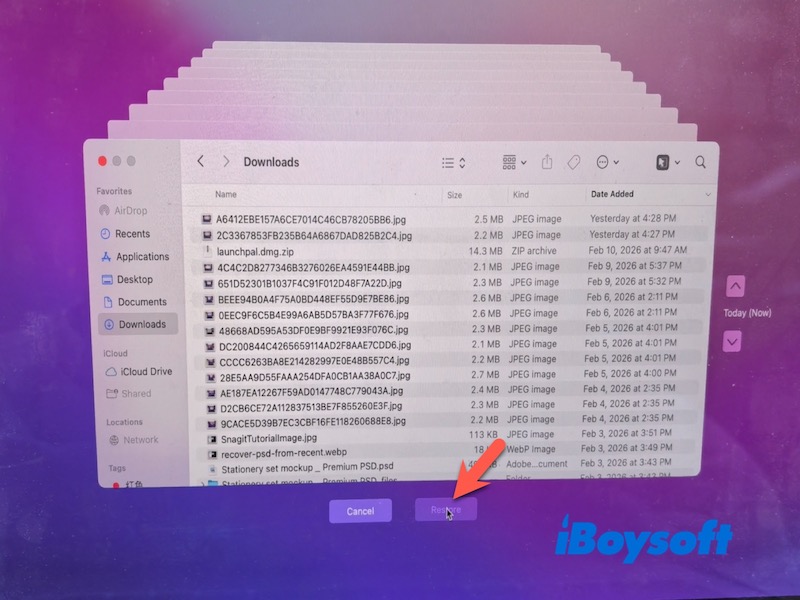
I once put my music file into the Trash, and after a month I tried find it back. But I only see an empty Trash. So I tried iBoysoft Data Recovery for Mac, after scanning, I found a lot of files, through the Type of Audio, I previewed the music file, that's one I wanna find back. This software restores it successfully. If you wanna have a try, you can follow the steps below.
- Install and launch iBoysoft Data Recovery for Mac.
- Select the drive where the music files were stored.
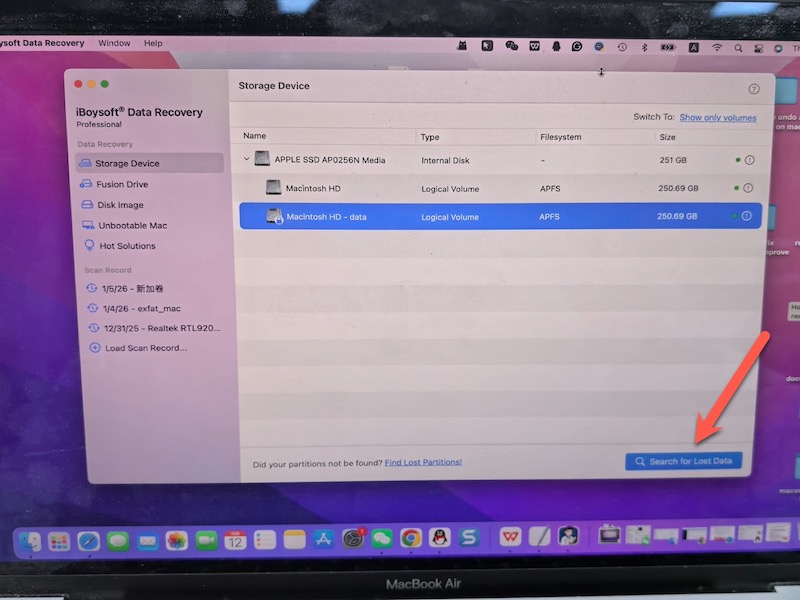
- Run a scan.
- Preview recoverable audio files after scanning.

- Recover them to a different location.
However, if the files were deleted from an internal SSD with TRIM enabled (which is the default on most modern Macs), the deleted data may be automatically erased by the system, making recovery impossible. In such cases, professional data recovery software is unlikely to restore the files.
What data recovery software can do is to find hidden copies of music files or local snapshots on your Mac. If you still want to try, you can have data recovery tools scan your Mac to see if it can find these files.
What to do if music files cannot be recovered
If recovery attempts fail, consider alternative solutions.
Download again
If the music was purchased or downloaded legally:
- Open the Music app (Apple Music or iTunes).
- Sign in with your Apple ID and go to your purchase history.
- Re-download the songs.
You can also revisit the original purchase or download platforms, such as online music stores or official artist websites.
Streaming service downloads may require re-downloading through the app.
Backup Strategies and Organizing Music Files to Prevent Future Loss
To reduce the risk of losing music files again:
- Keep at least one offline backup
- Avoid editing music files directly from external drives without backup
- Export Apple Music library file regularly
Maintaining consistent backups and structured file management significantly reduces data loss risks.
FAQs
- Q1.How to recover permanently deleted music files on Mac?
-
A
If your music files were permanently deleted, you generally have three options:
1. Restore from a backup – Use Time Machine or iCloud if you had backups before deletion.
2. Use data recovery software – Tools like iBoysoft Data Recovery for Mac can scan internal or external drives and recover permanently deleted audio files.
3. Re-download purchased music – For songs bought via Apple Music or iTunes, check your purchase history and download them again.
- Q2.How to recover deleted music files on Mac free?
-
A
If the files are recently deleted but not permanently erased, you can try these methods:
1. Check the Trash – Open Trash, locate the music file, right-click → “Put Back.”
2. iCloud or Music app – If Sync Library or iCloud Drive was enabled, check the Recently Deleted section or re-download purchased tracks from your account.
If the files are permanently erased, you can :
Restore from Time Machine – If you had Time Machine backups, you can restore files without paying.