Meeting the "Convert to APFS" option not available or greyed out in Disk Utility drives Mac users nuts especially when they intend to convert a volume to APFS. Luckily, this post gathers all effective workarounds to make this "Convert to APFS" button functional as normal.
Additionally, it's crucial to grab the files stored in the volume before implementing any professional methods or they will be wiped during the repair process. If you are out of luck to lose the files, try iBoysoft Data Recovery Software to recover them immediately!
Overview of Apple File System (APFS)
It's hard to believe that Apple's speedy Macs have used a file system developed more than 30 years ago. In 2017, Apple released macOS 10.13 High Sierra. One of the notable features of macOS High Sierra is the introduction of the APFS file system, which has replaced HFS+, also known as Mac OS Extended (Journaled ), as the default file system of Apple Macs.

The difference between APFS vs. Mac OS is that it is extended in speed, encryption, Time Machine backup format, etc. Which one is better for disk format?
APFS is a modern file system for all Apple products, such as Macs, iPhones, and iPads. Yeah, pedal to the metal. APFS has a plethora of features that set it apart from older file systems, including clones, volume, full disk encryption, space sharing, sparse files, etc. It is also optimized for future use, like smarter backups and faster updates.
Kindly share this post with more people on your favorite social platform!
How to convert to APFS?
Many people want to convert HFS+ to APFS and enjoy its benefits. There are two ways to convert to the APFS file system and all is up to the macOS your device is running.
If your device supports upgrading to macOS Monterey, High Sierra, Mojave, or Catalina, your internal disks will automatically convert to APFS.
If the automatic conversion fails on the internal hard disk or you want to convert the external hard drive to APFS without losing data, you need to take some additional measures via Disk Utility to convert to APFS manually.
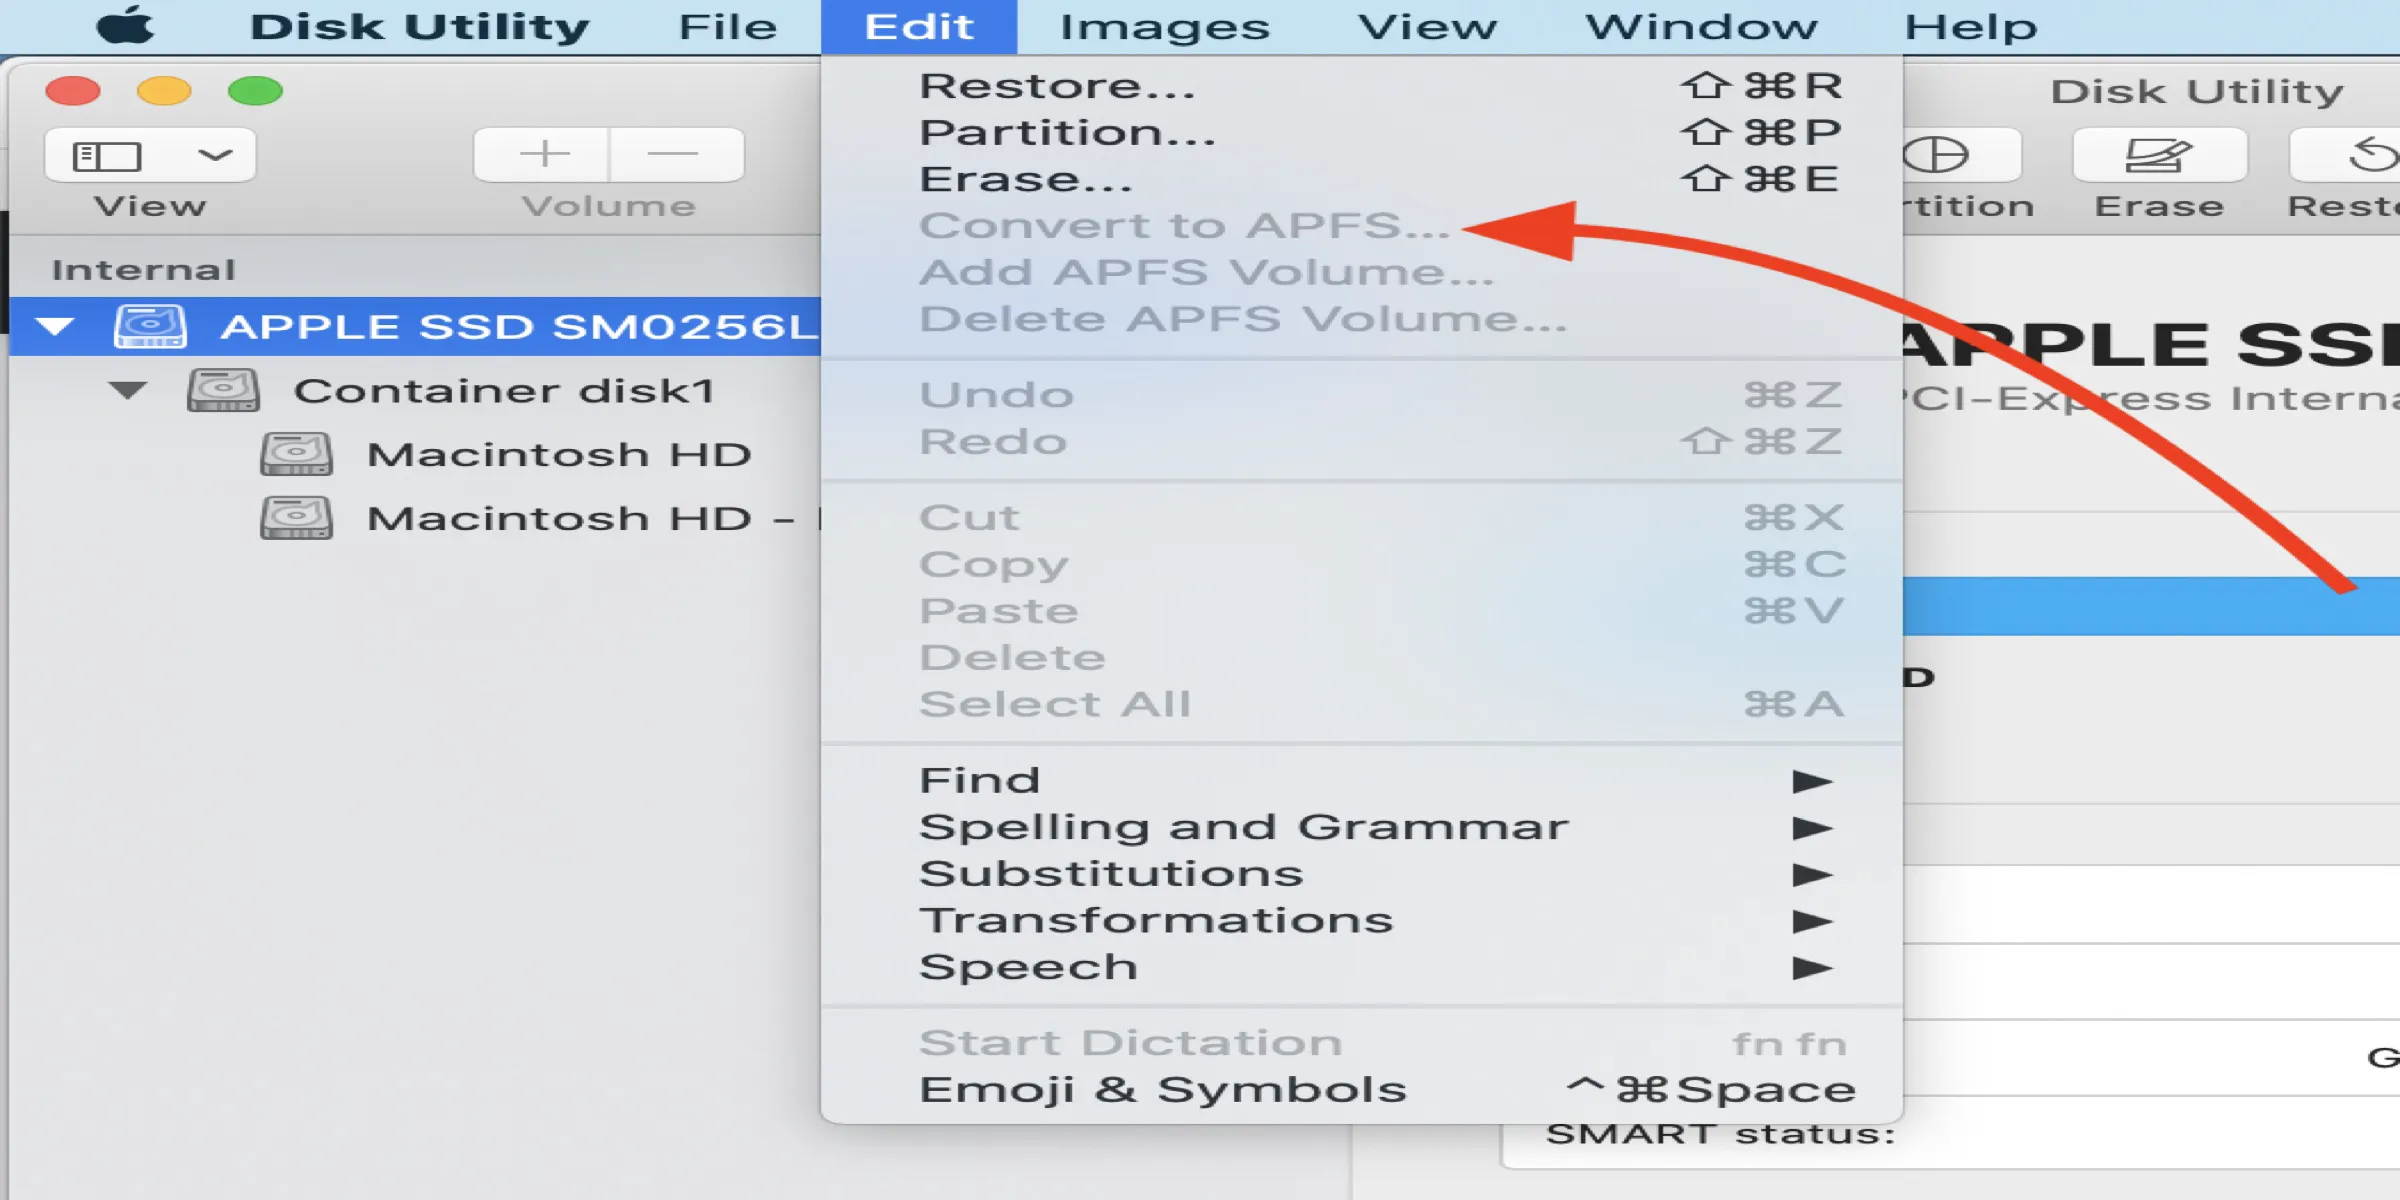
You can simply select the targeted volume > click the Edit menu on the upper left corner of the Mac desktop > choose the "Convert to APFS" option in the dropdown menu.
How to fix the Convert to APFS is greyed out or not available issue?
There are times when the “Convert to APFS” is greyed out on Mac, or there is no "Convert to APFS" option in Disk Utility. Let's start with a true example:
Hi, I installed High Sierra on a 2012 Mac Mini this morning and it did not convert SSD to APFS. Did a few searches and found that if you restart with Command + R and select Disk Utility the Edit sub-menu offers the chance to convert. Unfortunately in my case, the Convert to APFS option is greyed out and (obviously) can't be selected. Anyone have any ideas what to do to convert the SSD to APFS?
In all honesty, there are numerous reasons that the "Convert to APFS" is not available or greyed out in Disk Utility.
Some restrictions do exist when users plan to convert drives or volumes to APFS on Mac. To say it simply, the "Convert to APFS" option is not available for all types of drives/volumes, or, the "Convert to APFS" button turns greyed out for certain kinds of drives or volumes since it has its own basic rules. Let's explore them in detail.
Case 1: The "Convert to APFS" option is not available for a disk conversion
Apple enables us to format or erase the entire disk to APFS, but when comes to the Convert to APFS feature, we are talking about the single volume in that drive. So, the "Convert to APFS" feature is only available when you right-click on a volume, otherwise, the “Convert to APFS” will be greyed out or not available.
Solution: Select volumes one by one rather than a whole disk to convert it to APFS.
Step 1: Insert the disk you want to convert to the APFS file system.
Step 2: Launch Disk Utility on your Mac.
Step 3: Locate the disk you inserted in the left menu bar of Disk Utility.
Step 4: Right-click one volume of the disk, and select Convert to APFS… in the dropdown menu.

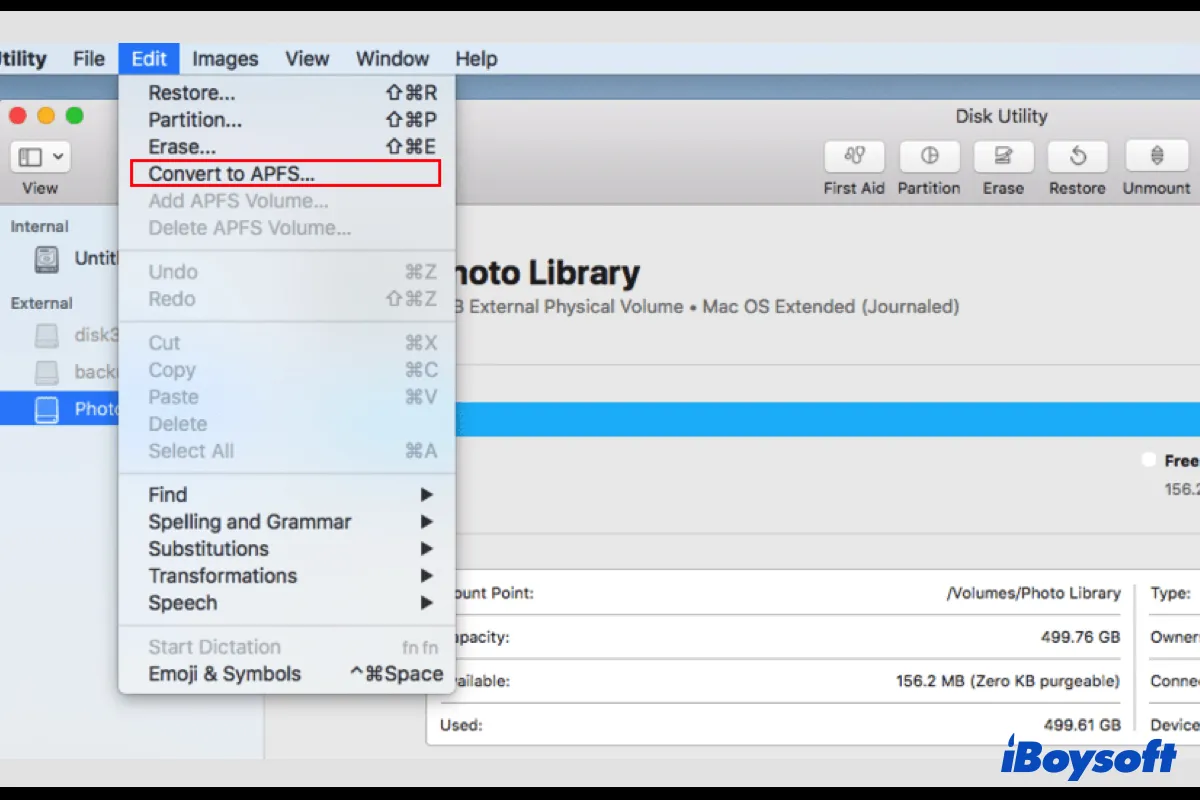
Case 2: The "Convert to APFS" option is available for Mac OS Extended (Journaled) volumes
Until now, Apple only supports converting Mac OS Extended to APFS, i.e. converting HFS+ to APFS. If your drive is formatted with other file systems, such as NTFS, FAT, and exFAT, there is no Convert to APFS option or the APFS format option on Mac is not available consequently.
Solution: Format the drive's file system to Mac OS Extended before running "Convert to APFS".
To fix the "Convert to APFS" not available or greyed out issue, you need to first confirm whether the target drive is formatted with Mac OS Extended. If not, you need to format it to Mac OS Extended and then implement the APFS format to work.
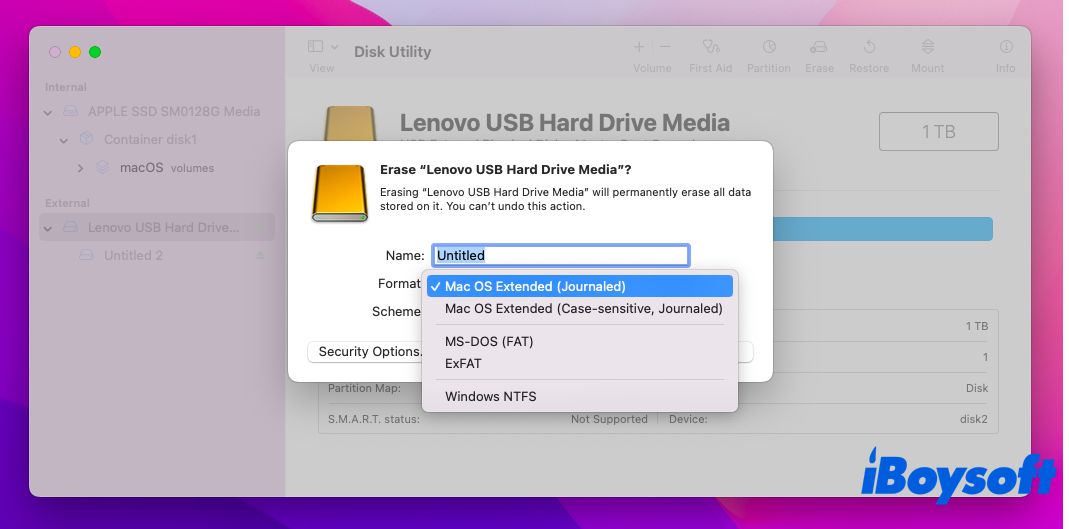
- Insert the disk and launch Disk Utility on your Mac.
- Locate the right-click volume you want to erase to Mac OS Extended.
- Select the Erase… button in the dropdown menu.
- Enter the volume name and select Mac OS Extended (Journaled) in Format.
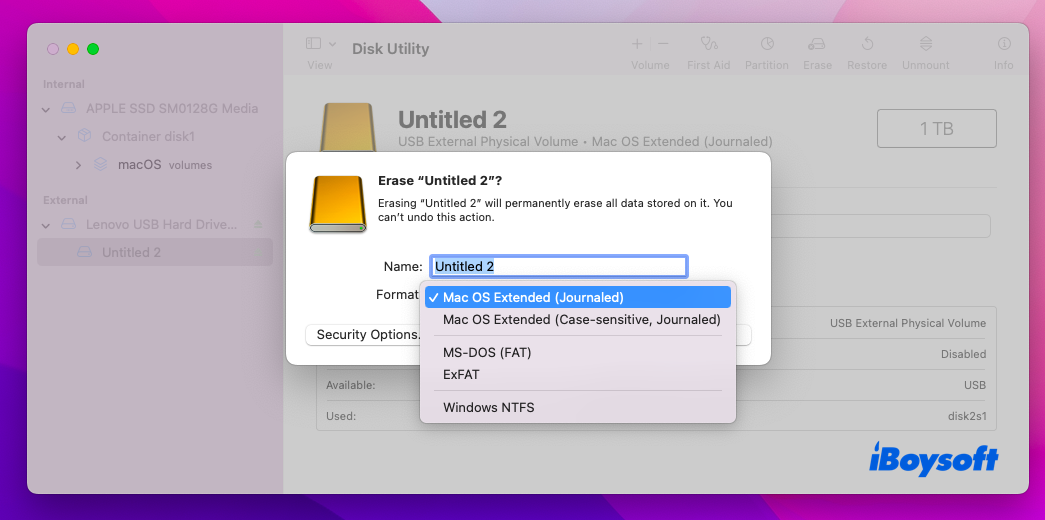
- Click Erase to proceed with your action.
Note: Formatting a volume will permanently erase all data stored on it, please make sure you have backed up all important information before formatting. If you format the volume before backing up, iBoysoft Data Recovery for Mac is a superior tool to rescue your data.
Case 3: Convert to APFS is available for GPT drives
HFS+ can exist on both MBR and GPT drives, but APFS is only for GPT drives. So if you have an HFS+ drive with the MBR schedule, there is no "Convert to APFS" option on your Mac when you want to convert one of the volumes of the drive to APFS.
Solution: Reformat the MBR drive to a GPT drive.
Under this circumstance, you will have no choice but to reformat the MRB drive to a GPT drive and then convert the volumes of the external drive to APFS.
- Insert the external drive and back up your all crucial files.
- Run Disk Utility on your Mac computer and right-click the external drive.
- Select Erase… in the dropdown menu.
- Type the name and choose Mac OS Extended (Journaled) in the Format box.
- Select GUID Partition Map in Scheme.
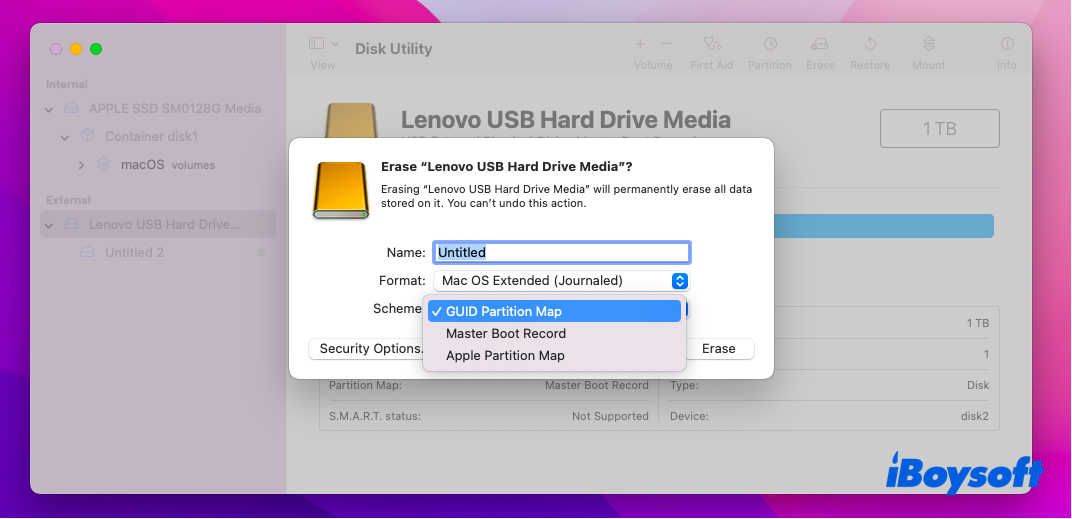
- Click Erase to confirm your action.
Case 4: Convert to APFS is available for mounted volumes
If one volume can't be mounted, its file system might have been corrupted and the drive cannot be recognized by the Mac operating system. As a result, the "Convert to APFS" option will be not available or greyed out, and you are shut down to convert to APFS. In this case, you need to erase or reformat the volume to APFS, which will wipe out all the data stored on it.
Solution 1: Reformat your drive to APFS directly
If you have no important data in that volume, you can reformat it to APFS directly.
Step 1: Open Disk Utility. And then click the "View" menu in the upper left corner and choose "Show All Devices".
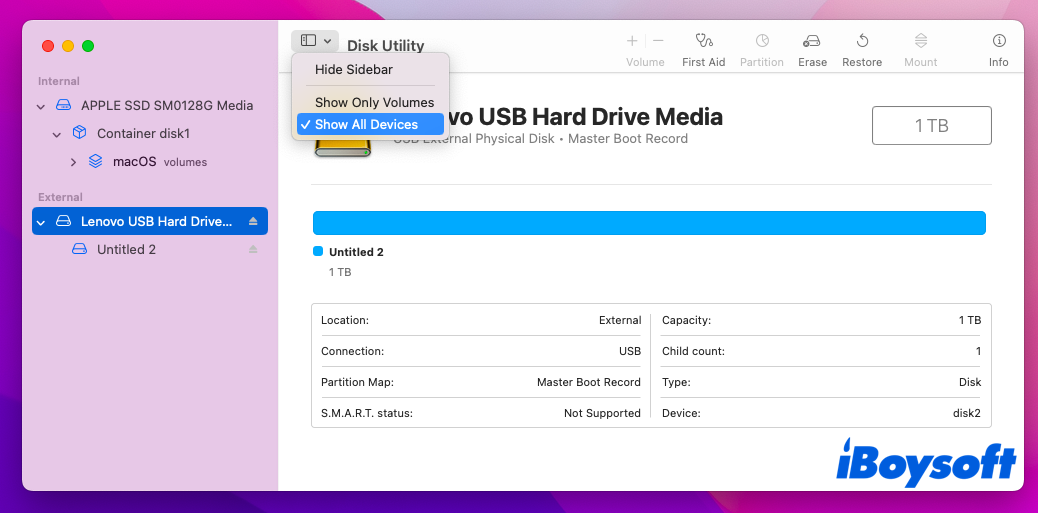
Step 2: Find the drive that you want to format to APFS and select it. Click "Erase" at the top of the window.
Step 3: Select "GUID Partition Map" in Scheme, then complete the name and choose the Format (APFS).
Step 4: Click "Erase" and wait until the conversion process finishes.
Solution 2: Recover lost data and then reformat it to APFS
If you have important data in that volume that is not mountable, or unfortunately you have lost data in the process of repair, here is the solution to recover the data.
iBoysoft Mac Data Recovery deserves the best APFS data recovery software which offers the most comprehensive solutions for APFS data recovery. This all-in-one data recovery software can recover lost data from encrypted, formatted, unmountable, unreadable, inaccessible hard drives, external hard drives, and USB flash drives. It also works fine in recovering lost data from deleted/lost partitions.
Tutorial to recover lost data from APFS drives with iBoysoft Data Recovery for Mac
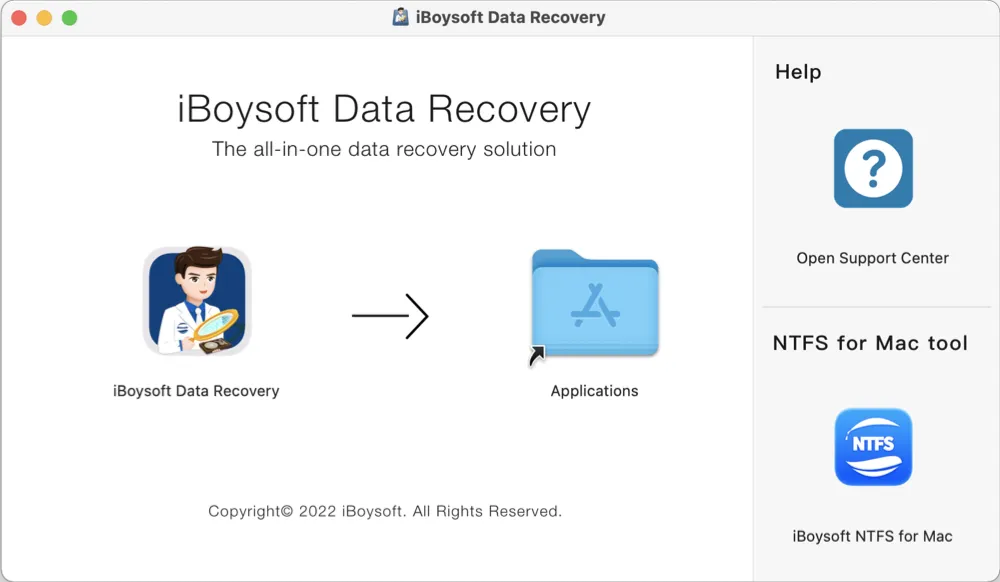
Step 1: Download, install, and launch iBoysoft Data Recovery software on your Mac.
Step 2: If you want to recover lost data from an external APFS hard drive, connect the drive to your Mac computer. If you want to recover lost data from the internal disk, move on to the next step.
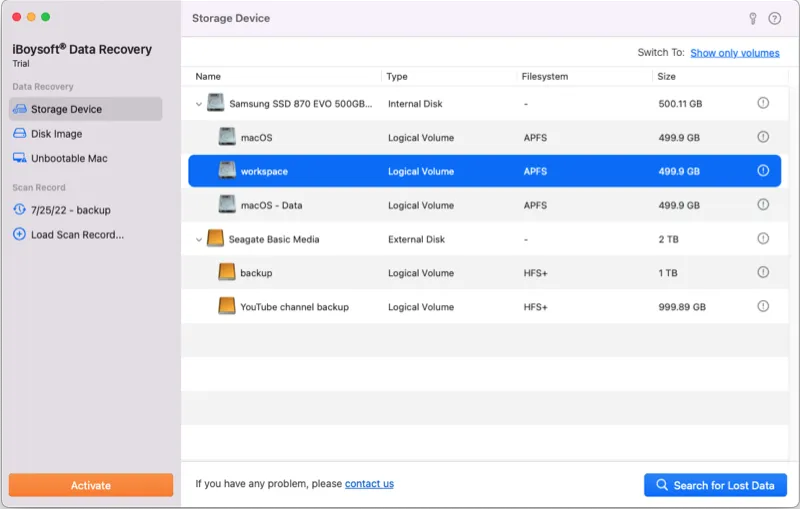
Step 3: Select the APFS drive you want to recover lost files from in the user interface of iBoysoft Data Recovery for Mac, and click the Search for Lost Data button. Wait until the scanning process is completed.
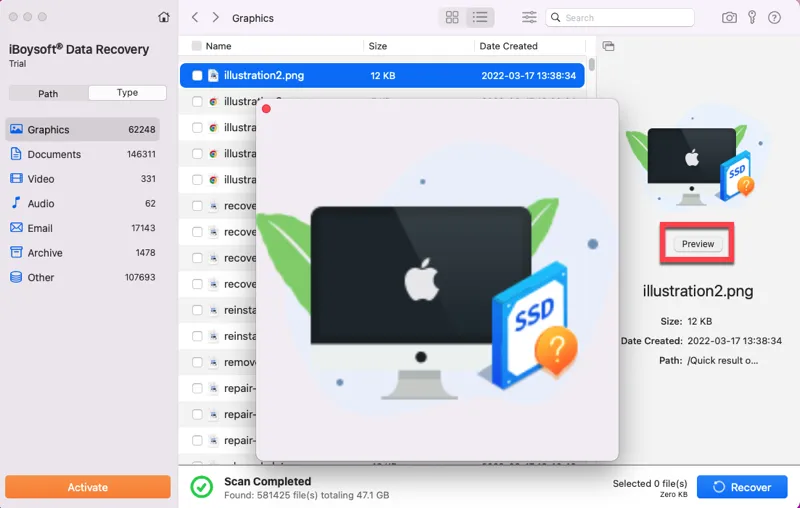
Step 4: Sort found files by different parameters if necessary and click the Preview button to preview the wanted file.
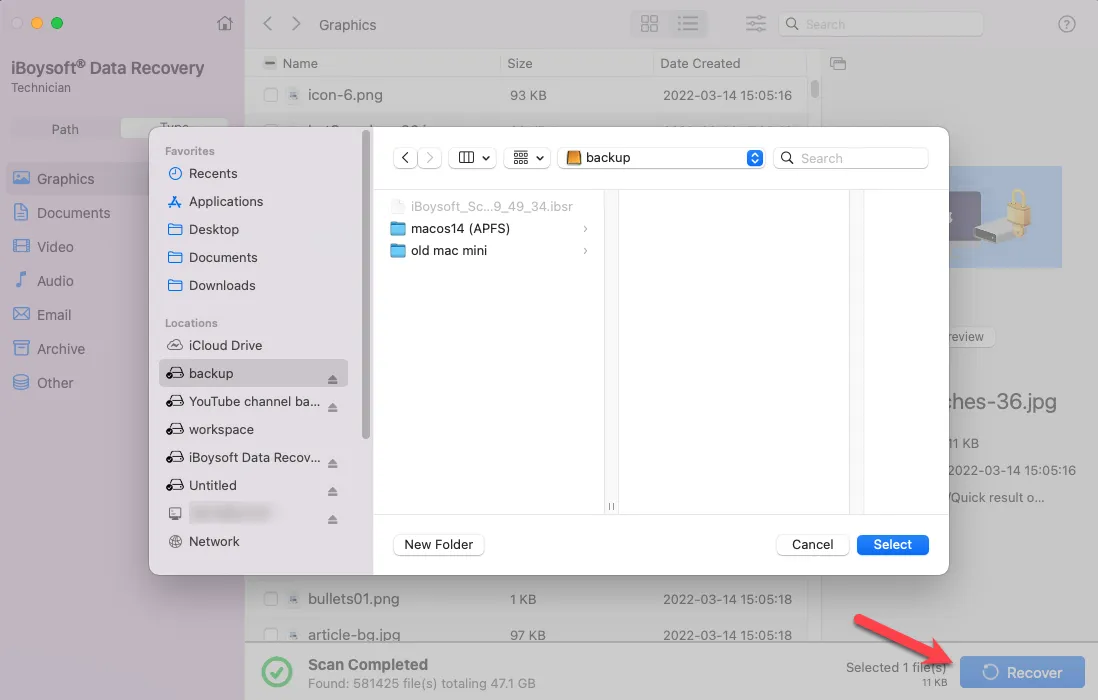
Step 5: Tick the checkboxes next to the files you want to recover, and click the Recover button. Save recovered files to another destination. If you are recovering data from the internal disk, you should save recovered files to an external storage device. If you are recovering files from an external APFS drive, you can save them to your Mac's internal disk directly.
In addition, iBoysoft Data Recovery for Mac can also recover deleted/lost documents, videos, audio, emails, and pictures from HFSX, HFS, HFS+, exFAT, and FAT32 drives on macOS Sequoia/Sonoma/Ventura/ Monterey/macOS Big Sur 11/10.15/10.14/10.13/10.12 and OS X 10.11/10.10/10.9/10.8/10.7 and works fine on M1, M1 Pro, and M1 Max Mac.
Case 5: Hardware restrictions (not confirmed)
Technically, APFS conversion doesn't have any hardware restrictions. Apple developer claims in the FAQ: "Apple File System is optimized for flash/SSD storage, but can also be used with traditional hard disk drives (HDD) and external, direct-attached storage". But it's still controversial as many people have complained the "Convert to APFS" option is only available for SSDs, instead of fusion drives or HD.
[Proven Fixes!]Grayed Out Folders/Files on Mac
This post explains why there are grayed-out files or folders on Mac, and then provides practical methods to troubleshoot grayed-out Mac files/folders to make the contents kept in the folders/files accessible again. Read more >>
Conclusion
This article has analyzed why the "Convert to APFS" option is not available or greyed out and how to solve this issue. This is not a transcending issue but it happens with a disk from any manufacturer.
Although APFS has been the current and primary file system of Mac lineups, iPads, and iPhones for years, it inevitably runs into troubles sometimes. When you encounter any issue, you can always find pertinent solutions. If you cannot, file Apple a report to discuss your trouble then they will arrange for professionals to deal with your trouble!
If this article helped you solve this problem or you have any other solutions to fix this issue, then please share them with us. Thanks a lot!