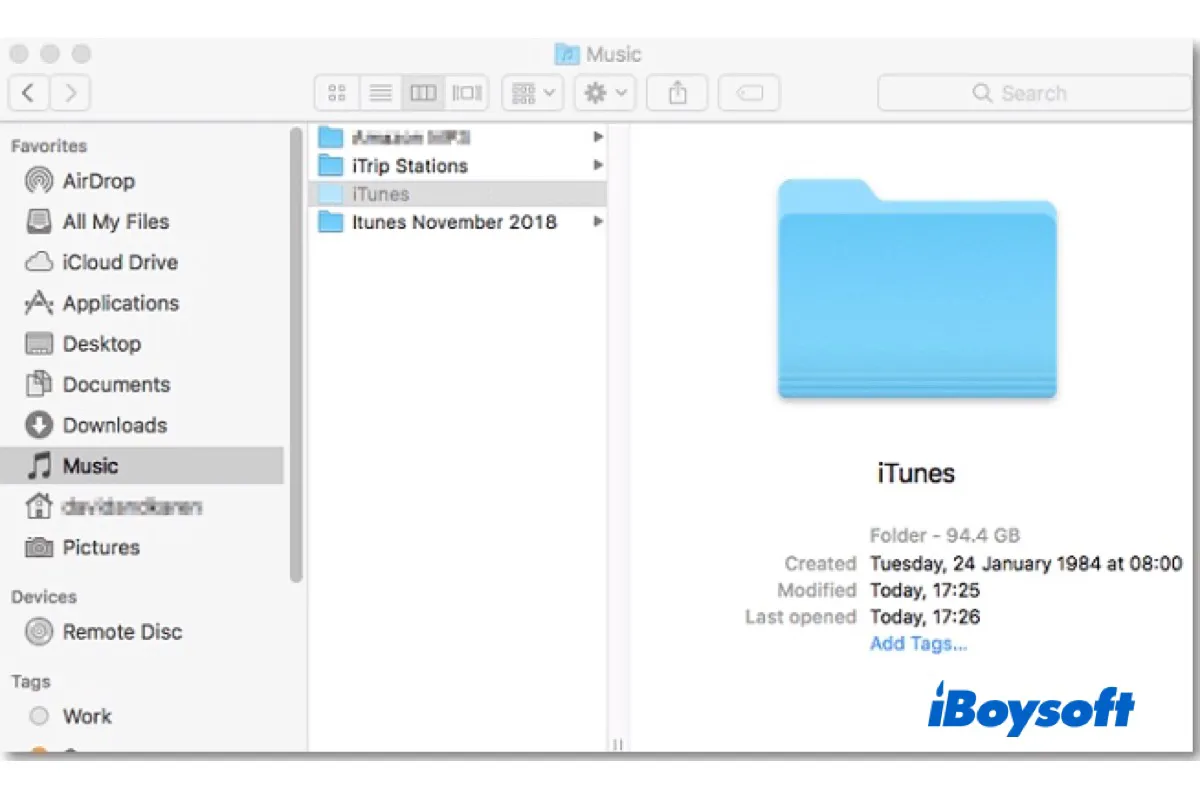
Normally, any files and folders are displayed on the Desktop and in Finder with the standard front and icons. So, it is obvious when a file/folder becomes grayed out, distinguished from other files and folders. The real issue is that when the folder (except the hidden files) turns to gray out on your Mac, you can not open it by clicking, let alone access the contents kept in it.
And some Mac users also find that these grayed-out files and folders' filing dates typically change to January 24, 1984, the day the Mac was first introduced instead of their real dates. When the same scenario befalls you, reading this post could know how to fix grayed-out files and folders on Mac.
Why are folders grayed out on Mac
Quite a few Mac users encounter grayed-out folders on their Mac after interrupting the transferring process when transferring files between Mac and other storage devices or changing the file from one location to another. In addition, many other factors can also cause the problem such as an error with the file system entry for the file, formatting of the Mac hard disk, a power outage, a Mac OS crash, and more.
Whatever the reason, the result is the same: those files/folders grayed out and become inaccessible, posing a risk of data loss on your Mac. Therefore, the priority is to rescue your data and fix grayed-out files/folders on Mac.
Is the "New Folder" option grayed out on your Mac? Learn how to enable it so that you can create a new folder on your Mac's internal and external drives.
Share this informative post with more people!
Recover data from grayed-out folders on Mac
Given that it is hard to identify the exact cause of grayed-out files and folders on your Mac, these items may be corrupted as we have explained above. If so, any continuing operations on your Mac could further damage the inaccessible files and folders. That's why you'd better recover data from those grayed-out folders on your Mac in the first place.
Here, we would like to recommend the professional data recovery software - iBoysoft Data Recovery for Mac. It delivers excellent performance in recovering corrupted files, deleted files, unsaved Words documents, etc., from the Mac internal startup disk, external HDD, SSD, SD card, USB flash drives, and so forth. iBoysoft Data Recovery provides a high recovery rate, a risk-free and read-only environment, and a Finder-like UI.
Here's how to recover grayed-out files/folders on Mac with iBoysoft Data Recovery:
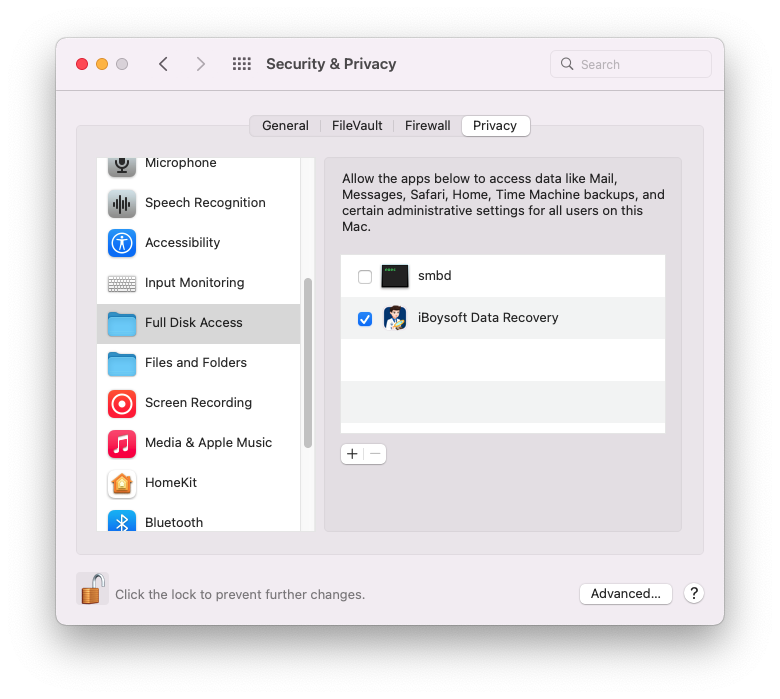
- Click the download button to free install iBoysoft Data Recovery for Mac. It needs to enable Full Disk Access to allow system extensions for the first-time installation. Then, open it from Finder > Applications.
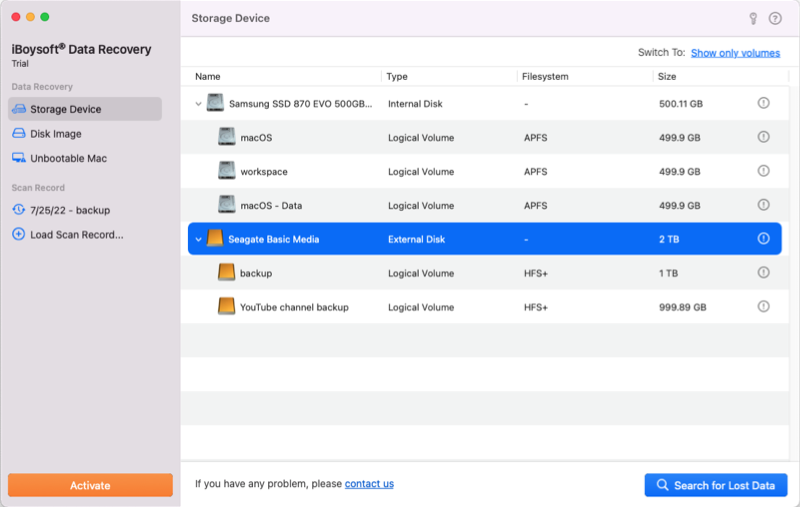
- Connect the external hard drive to your Mac if it is where the grayed-out folders appear. On the left sidebar of the recovery software, select Storage Device under the Data Recovery tab and choose the target drive.
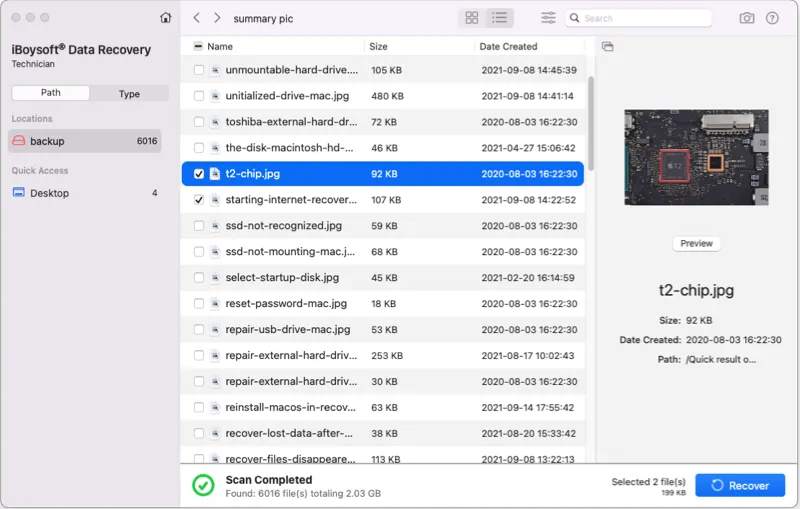
- Click on the Search for Lost Data button located at the right-bottom to start scanning for lost, deleted, and corrupted files on the selected storage device.
- Wait for the process to complete. Then you can filter files using various categories and preview recoverable files.
- Click the Recover button after selecting the files you want, then save the retrieved files to a different location.
If you have successfully recovered grayed-out files with iBoysoft Data Recovery, share to let more people know it!
Solutions for grayed-out files on Mac
After recovering data from grayed-out files/folders on Mac, you can move to fix these items to make this accessible again. We conclude several working solutions for you, let's dive into the details together.
1. Change the date of grayed-out folders
An accompanied phenomenon of those grayed-out files is their dates are altered to 24 January 1984. Then you can try to change the date of the files or folders to fix grayed-out folders on Mac. This is a feasible way. Here's how:
- Open Finder and locate the grayed files or folders with the 24 January 1984 Date error.
- Go to Applications and open the Terminal App.
- Type the command below and press Return to run it. SetFile -d 17/02/2023 /Path/to/grayed-out-folder/
After running the command, the date of the grayed-out files and folders should be changed to the designated one, and you can also set the time to any day you prefer.
2. Open grayed-out files with Terminal
You can directly drag-drop any file or folder into the Terminal app, and it will open the item for you. This method may work when you can't open the grayed-out files and folders and view the content. Just follow the steps below:
- Open Launchpad and find Terminal with the search box, open Terminal.
- Type open and hit the space bar.
- Then drag-drop the grayed-out file or folder from the desktop/Finder onto the Terminal window. The whole path is automatically filled in for the folder address.
- Press Return and it opens the item, copy the content, and save them to a new folder.
3. Make an alias folder for the grayed one
An alias in macOS is a tiny file that dynamically links to another item in a local, remote, or removable file system. Making an alias for the grayed-out file or folder on your Mac may enable you to access the same data from the alias folder.
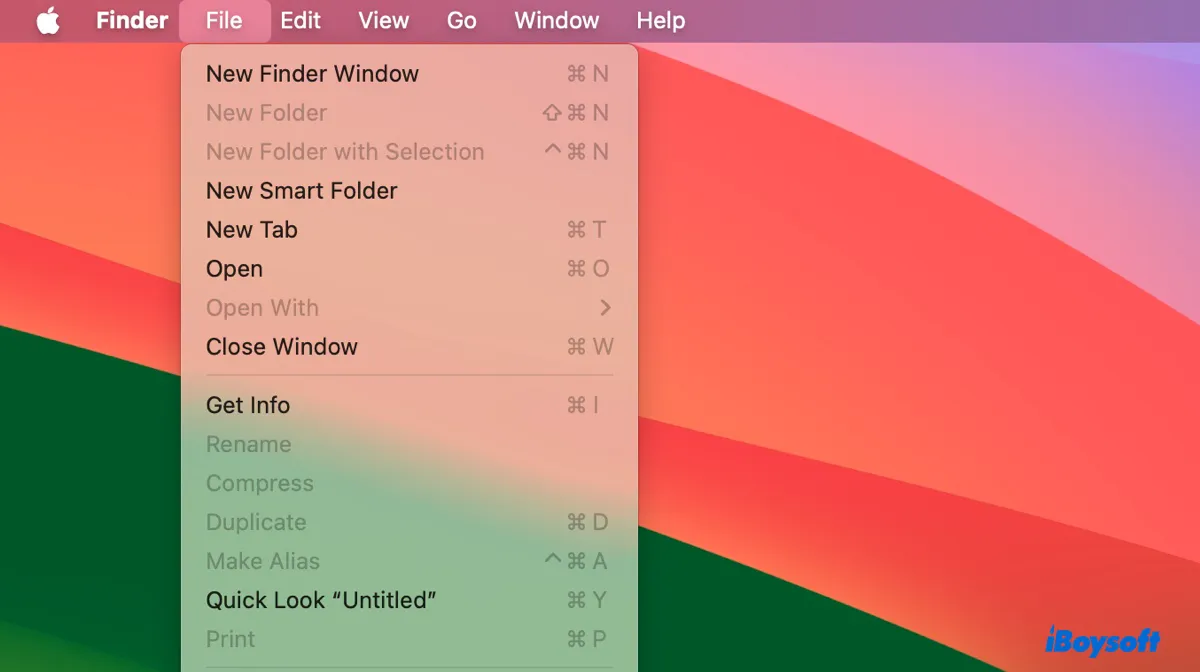
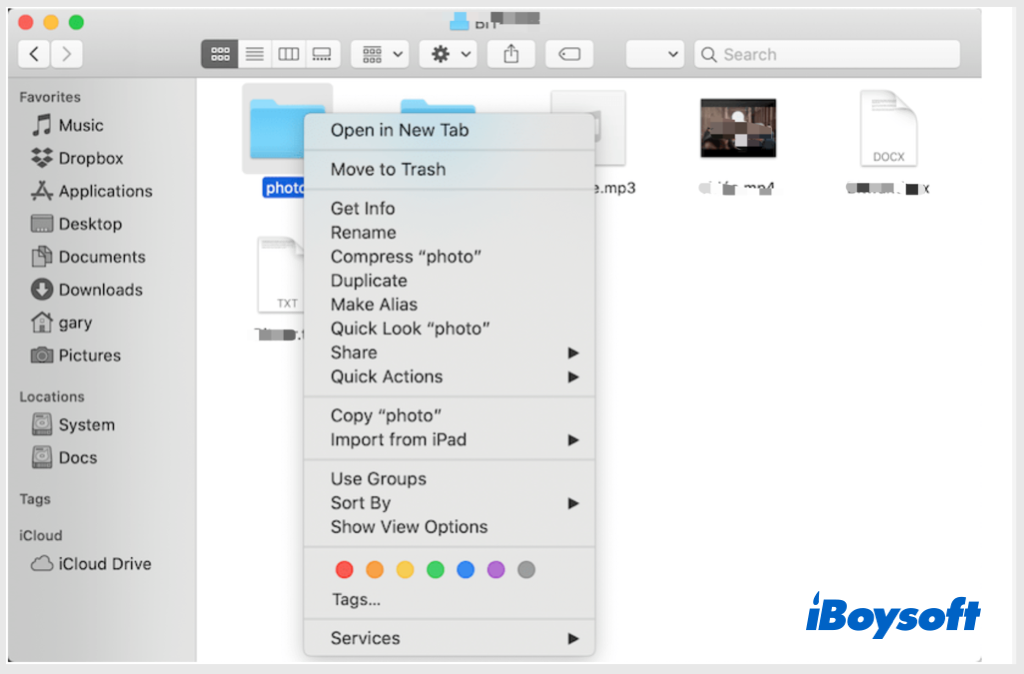
- Select the grayed-out file or folder.
- On the top menu bar, select File > Make Alias.
- Open the alias folder to access your data, then save them to a fresh one.
4. Repair the disk with First Aid
When there are bad sectors or logical errors on your hard drive, it may cause the files/folders to corrupted and turn to be grayed-out and inaccessible. Then, running Disk Utility's First Aid may successfully repair it and fix the grayed-out files and folders on Mac. If you want to repair the startup disk, you can only do it inmacOS Recovery Mode.
- Open Disk Utility from Finder > Applications > Utilities.
- Click the View button and choose Show All Devices.
- Select the drive where the grayed-out files store and click First Aid on the toolbar.
- Click Run to begin check and repair.
5. Restore grayed-out files with Time Machine
If you have turned on Time Machine on your Mac, you may possibly have created a backup for the grayed-out file or folder. Then you can restore the grayed-out file or folder to a version in which the target item is normal and accessible.
- Connect the Time Machine backup drive to your Mac. Enter your password if prompted.
- Open a window for the folder containing your file. (optional)
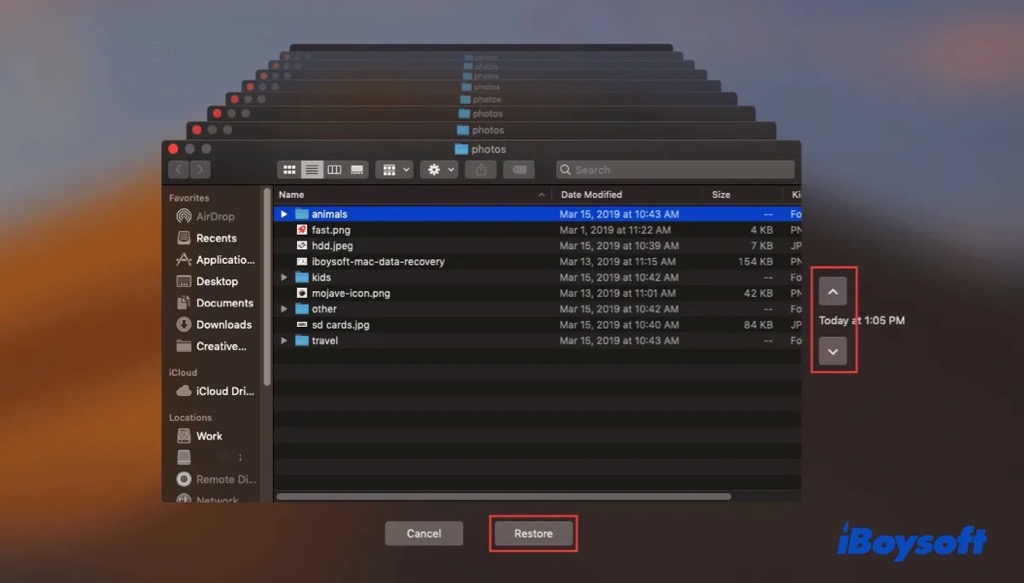
- Enter Time Machine by clicking the Time Machine icon in the menu bar.
- Use the Up/Down arrows or scroll over to find the precise file you want to restore from the Time Machine.
- Select it and press the space bar to preview.
- Tap Restore. Then check the file in its original location.
Conclusion
When you unexpectedly find the files or folders on your Mac grayed out, you can first recover them with iBoysoft Data Recovery for Mac, and then apply the 5 effective solutions provided by iBoysoft to fix grayed-out files and folders on Mac. Share this post if you think it is helpful!