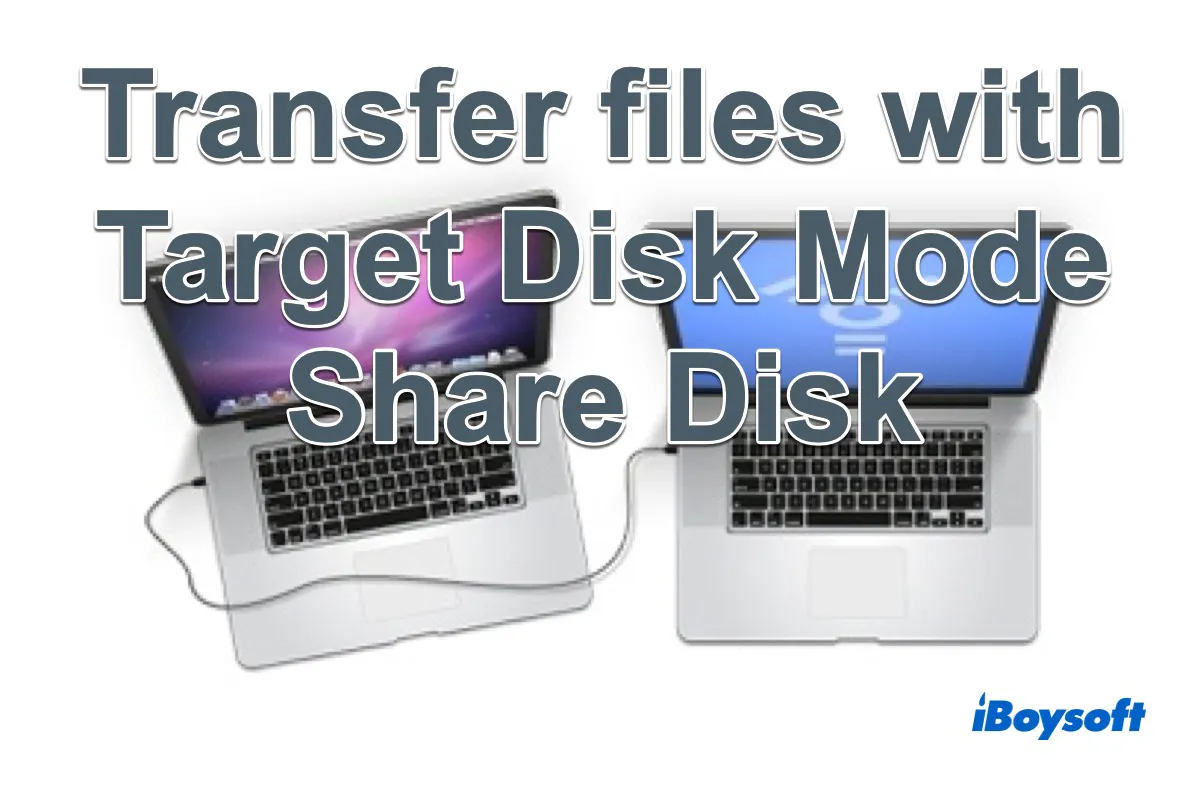
Mac provides some tools to help boost productivity and troubleshoot problems, such as repairing hard drives in Disk Utility and restoring Mac from Time Machine. Target Disk Mode is another practical program that we are going to dig deep into. Stay tuned to know more.
Target Disk Mode Overview
Target Disk Mode is a boot mode on Intel-based Macs that helps data transfer through Thunderbolt Bridge when Migration Assistant doesn't work. Intel Mac Target Disk Mode does not boot Mac's operating system but makes the Mac's drive behave as an external storage device on the destination Mac, where you can mount, access, format, and partition the drive of the Mac booted into Target Disk Mode.
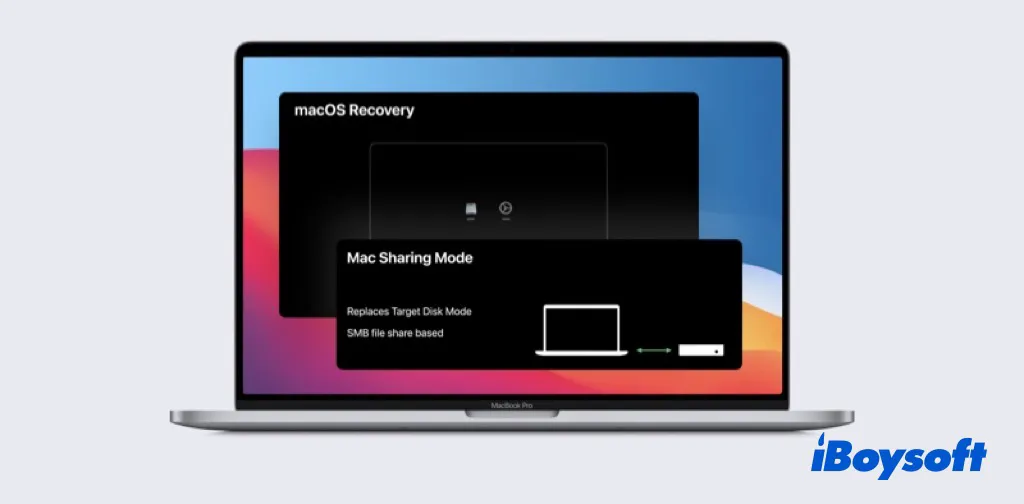
It should be noted that there is no Target Disk Mode on Apple silicon Mac. The previous Target Disk Mode is replaced by Share Disk (also called Mac Sharing Mode), a new startup option on M1 Macs. Similarly, M2/M3/M4/M5 Mac Target Disk Mode offers a way for you to access the startup disk of your Mac from another connected Mac.
So, what can you do after entering Mac Target Disk Mode? Now that this feature can mount your Mac's drive as an external drive on another Mac, you can view, edit, move, and copy files stored on the drive just like any other external drive. But far more than that, Target Disk Mode works to:
- Transfer loads of files from one Mac to another.
- Migrate your data from an old Mac to a new Mac.
- Run Mac First Aid to repair the disk of the unbootable Mac.
- Boot one Mac from another Mac.
- Get files off when MacBook won't turn on.
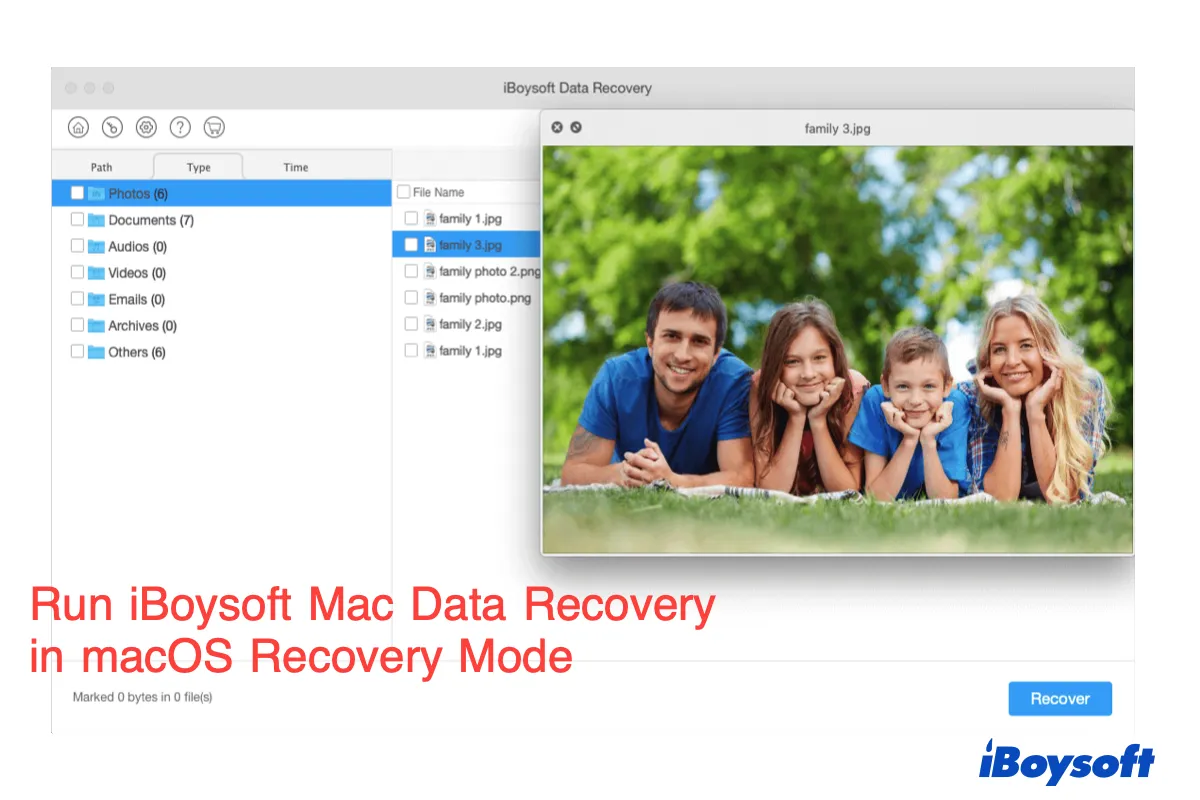
How to run iBoysoft Data Recovery in macOS Recovery Mode?
If there is no other Mac available to us, Target Disk Mode to rescue files from a not-turning-on Mac, you can straightforwardly run iBoysoft Data Recovery in macOS Recovery Mode to recover data from an unbootable Mac. Read more >>
Prepare to use Target Disk Mode
Before proceeding to enter Mac Target Disk Mode, you need to make preparations for a smooth and successful data transfer.
- Two Mac computers. The host Mac used for macOS Target Disk Mode should run in macOS High Sierra or later if the drive of the source Mac is formatted as APFS.
- A compatible cable. A FireWire or Thunderbolt cable for Intel Macs. A USB, USB-C cable, Thunderbolt 3, or Thunderbolt 4 (MacBook Pro 2021) for Apple silicon Macs. It's best to use the same port on both Macs if possible. If not, an adapter also works.
- A Power charger. An AC power source is necessary for MacBooks, in case the Mac runs out of power when using macOS Target Disk Mode.
Note: If either of the two computers has macOS 11 Big Sur or macOS 12 Monterey installed, you must connect the two computers using a Thunderbolt cable to get into Mac Target Disk Mode.
Mac Thunderbolt Not Working: Cannot Use Thunderbolt Accessory
If you connect a Thunderbolt device to a Mac with the Thunderbolt port but it doesn't work, such as the Thunderbolt display not working, you can read this post to learn the fixes for malfunctioning Thunderbolt on Mac. Read more >>
How to start a Mac in Target Disk Mode
In the first place, you need to identify the model of your Mac, whether it is equipped with an Intel chip or an Apple Silicon processor. Then you can follow the corresponding steps to boot an Intel Mac in Target Disk Mode or boot an Apple silicon Mac into Mac Sharing Mode - M1/M2/M3 Target Disk Mode.
How to boot into Intel-based Mac Target Disk Mode
- Connect two Macs, both through the FireWire or Thunderbolt cable mentioned above.
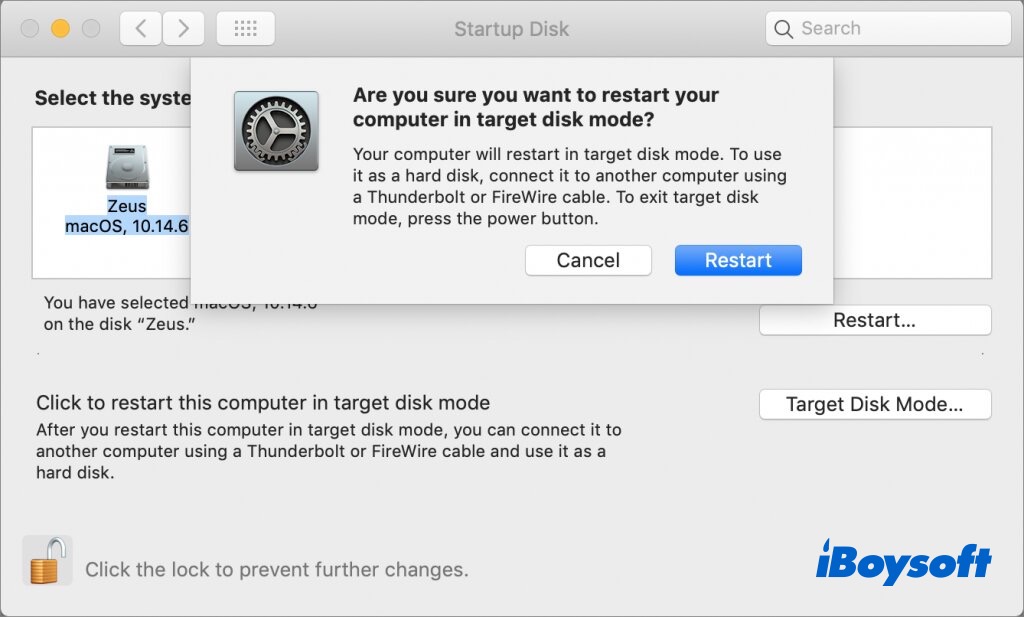
- If your target disk Mac is turning on, click the Apple logo and go to Apple Menu > System Preferences > Startup Disk, and click the Target Disk Mode button from the startup disk preference pane. It will restart your Mac and enter macOS Target Disk Mode.
If your Mac won't turn on right now, you can force your Mac to shut down by holding the power button, and then reboot your Mac with the T key pressed. For Macs with T2 or FileVault enabled, enter the password when asked. - Then you'll see a Thunderbolt or FireWire icon on the screen, which means that the Mac is in Target Disk Mode.
- Wait until the second Mac detects your Mac and recognizes its startup disk as an external drive.
- Then you can go ahead to copy or transfer files from the target Mac to the connected Mac easily.
If this post helps you to get into the Target Disk Mode, you can share it to help more people!
How to boot into M1/M2/M3/M4/M5 Mac Target Disk Mode(Mac Sharing Mode)
There is a video tutorial to follow.
- Connect the M1/M2/M3 Mac with the second Mac with a USB, USB-C, or Thunderbolt cable.
- Shut down your M1/M2/M3 Mac, then press and hold the power button until you see the "Loading startup options" on your screen.
- Click Options, then click Continue with the requested password for your administrator account.
- From the top menu, select Utilities > Share Disk, and click the disk or volume that you want to share, then click on the Start Sharing option.
- On the second Mac, click Finder > Locations > Network.
- In the Network window of the second Mac, double-click your M1/M2/M3 Mac that is sharing a disk or volume, click Connect As, select Guest in the Connect As window, then click Connect.
After entering Target Disk mode on an Intel Mac or Mac Sharing Mode on an Apple silicon Mac, you can transfer all the files stored on the target disk, including folders, movies, music, documents, etc. For other info, such as apps, user accounts, and macOS, you need the help of Migration Assistant.
Think this post is helpful? Share it with more people!
How to fix Target Disk Mode not working
Sometimes, the Target Disk Mode does not show up on the host computer, or the target disk Mac doesn't appear as an external hard drive on the connected Mac. Don't worry. There are some remedies to fix the Mac Target Disk Mode not working issue.
Solution 1. Check the cables and ports
With the wrong ports or bad cables, the two Macs can not be connected successfully to use macOS Target Disk Mode. Change different ports or cables to check if there is a connection problem, causing the Target Disk Mode not working.
Solution 2. Disable the Firmware password
With the Mac firmware password turned on, you will not be able to enter Target Disk Mode from a cold boot. You can boot your Mac into macOS recovery mode and choose Utility > Firmware Password Utility to disable it with your password.
Solution 3. Update macOS
If the hard drive on the host Mac is in APFS format, then the destination Mac must run in macOS High Sierra or later. Earlier versions of macOS couldn't read APFS, so it won't recognize and mount your Mac's drive. Therefore, updating macOS from the Apple Menu > System Preferences > Software Update may make the Target Disk Mode function well.
Solution 4. Check the Preferences in Finder
When the external hard drive not showing up on Mac, it might be that the Finder is set to hide the drive. In this case, the target disk will not show up. You can check by navigating to Finder > Preferences > Sidebar > Locations. Check if the boxes next to Hard disks and External disk are ticked.
Solution 5. Mount the hard drive
If the target disk fails to appear after making changes in Finder Preferences, you can try to mount the disk manually when the external hard drive not mounting on Mac. Open Disk Utility on the connected Mac and find the target disk. If it is grayed out, select it and click the Mount button. Then, try to access Mac Target Disk Mode again.
Unfortunately, the approaches mentioned above can not make the Target Disk Mode work on your Mac; the reason may be related to the Mac's hardware malfunctions. You can contact Apple Support for further help.
Get Target Disk Mode working again? Share it with more people!
To sum up
With the detailed steps in this post, you can boot an Intel Mac into macOS Target Disk Mode, and boot an Apple Silicon Mac into Mac Sharing Mode(M1/M2/M3 Target Disk Mode). If the Mac Target Disk Mode functions abnormally, you can try the fixes above to get it to work again.