
If you're a Mac user, then you may notice that there's an application named Migration Assistant installed on your Mac computer. Have you ever used it? If you don't, you can read our post to know what Migration Assistant is and how to use it to transfer your data.
What is Migration Assistant on Mac
Migration Assistant, a utility software developed by Apple Inc. , is used to transfer all your documents, user accounts, computer settings, and applications from a Mac, a Windows PC, computer, or a full drive backup to a new Mac through Thunderbolt Bridge. You may use it during the initial setup of a new Mac or run it manually on a system that has already been set up.
You can find Migration Assistant by opening Launchpad> Other > Migration Assistant.
Benefits of using Migration Assistant
High efficiency: Migration Assistant duplicates the contents and configuration of an existing computer user account on a new one. By using the Migration Assistant utility, you don't have to set up email, bookmarks, passwords, and other settings from scratch. You can use it easily to transfer your accounts, including the desktop, movies, music, pictures, messages, and fonts. Even transferring all settings of your applications is possible.
Intelligence: Migration Assistant is smart enough to copy files without replacing software that's already present (or newer) on the old computer (e.g. operating system and other applications bundled with it). When data migration has finished, the new computer is ready to use, and nothing from the old computer is erased or changed.
How to connect two Macs to use Migration Assistant
Normally, there are 4 ways to connect your two Macs to use Migration Assistant:
- Thunderbolt is the fastest method and is available on all Macs since 2011 and later. Expect to transfer at least 3 GB per minute. You'll need a Thunderbolt cable.
- Ethernet is available on desktop Macs, Windows PCs, and older Mac laptops. Expect to transfer 2 GB per minute. A Thunderbolt to Ethernet adapter (or USB 3 to Gigabit adapter) adds a network port to Macs that don't have one. You'll also need an Ethernet cable.
- Firewire was common on older Macs (2008-2011). Use a Thunderbolt to Firewire adapter and Firewire cable for 2 GB per minute transfers. Stuck with an old Mac (2002-2008)? You might need a Firewire 800 to Firewire 400 6-pin cable for 1 GB per minute transfers.
- Wi-Fi is the last resort. You'll want to put the computers as close as possible to the wi-fi hotspot and try to shut down any other computers that may compete for bandwidth. If both computers and wi-fi routers are 2013 or later (with 802.11ac), you can achieve almost 1 GB per minute. Older systems with 802.11n may take 3 minutes to transfer 1 GB.
How to use Migration Assistant to transfer data from Mac to Mac
Fortunately, we've posted a video on our YouTube channel to display how to use Migration Assistant easily. This video can help you know the usage of Migration Assistant more quickly and instinctively than the pale text tutorials. It covers almost every step you should do when using Migration Assistant to transfer your data from one Mac to another.
Also, if you need a text tutorial, read below to transfer your data from the old Mac to the new one:
On your new Mac:
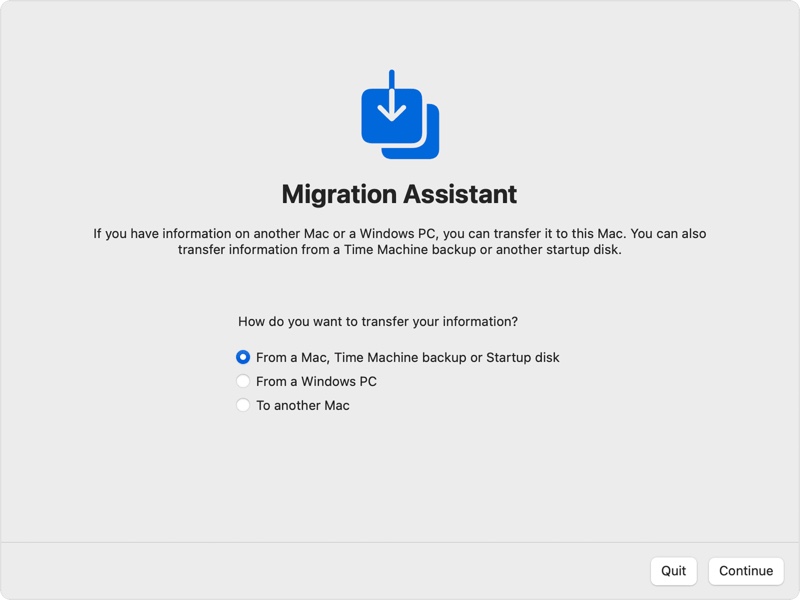
- Launch Finder, open Applications > Utilities > Migration Assistant, then click Continue.
- When Migration Assistant asks you for permission to make changes, enter your administrator password, then click OK.
- When asked how you want to transfer your information, select the option to transfer from a Mac, Time Machine backup, or startup disk. Then click Continue.
Source from: Apple.com
On your old Mac:
- Still open Migration Assistant, then click Continue.
- When asked how you want to transfer your information, select the option to transfer to another Mac. Then click Continue.
On your new Mac:
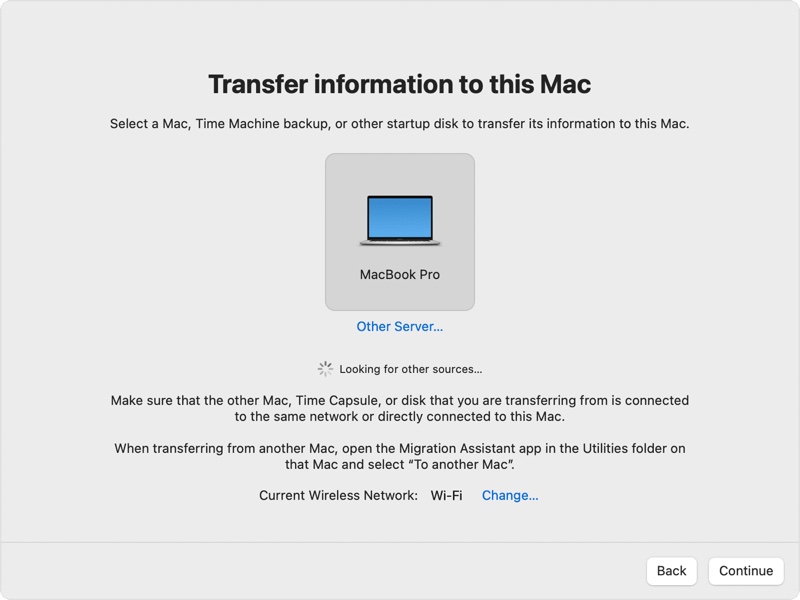
When asked to select a Mac, Time Machine backup, or other startup disk, select the other Mac. Then click Continue.
Source from: Apple.com
On your old Mac:
If you see a security code, make sure that it's the same code shown on your new Mac. Then click Continue.
On your new Mac:
- Select the information to transfer.
- Click Continue to start the transfer. Large transfers might need several hours to complete.
- After Migration Assistant is done, quit Migration Assistant on both computers.
And here are some tips when using Migration Assistant:
- Before using Migration Assistant, make sure two updated Macs boot normally on the same Wi-fi.
- Be clear about the different steps on your old Mac and new Mac in case of being confused by the switch between the two Macs.
- After Migration Assistant finishes data transfer, log in to the migrated account on your new Mac first to see its files.
Note: If Migration Assistant doesn't work, please read: Troubleshooting Migration Assistant Problems on Mac.
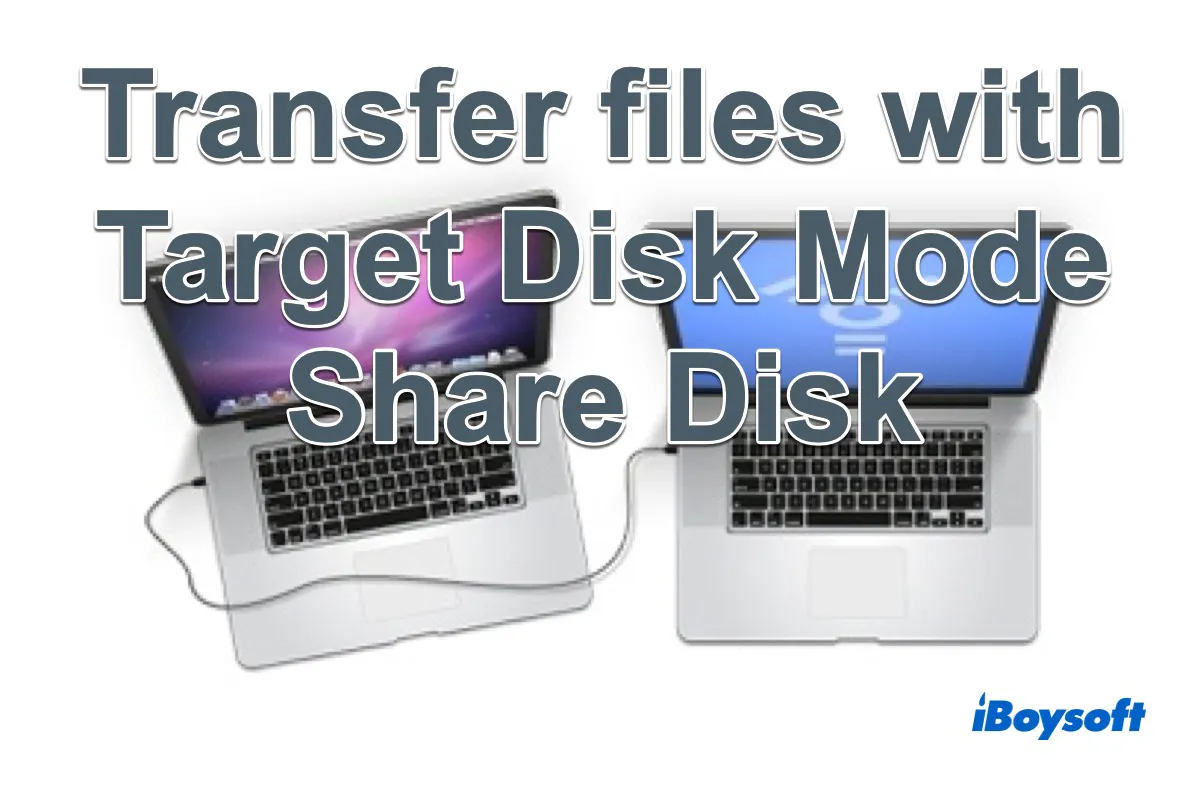
Transfer files between two Macs with Target Disk Mode/Share Disk
If you can't start up your Mac to use Migration Assistant, or you don't need to transfer apps or settings, use Target Disk Mode or Share Disk to transfer data from one Mac to another. Read more >>
FAQs about Migration Assistant
- QDoes migration transfer everything on Mac?
-
A
Migration Assistant transfers everything except macOS itself. Your transfer files are grouped by applications. user files, other files, and folders.
- QDoes Migration Assistant wipe the old Mac?
-
A
Apple's Migration Assistant makes no changes to your old Mac, so you don't need to worry about the data loss on your old Mac.