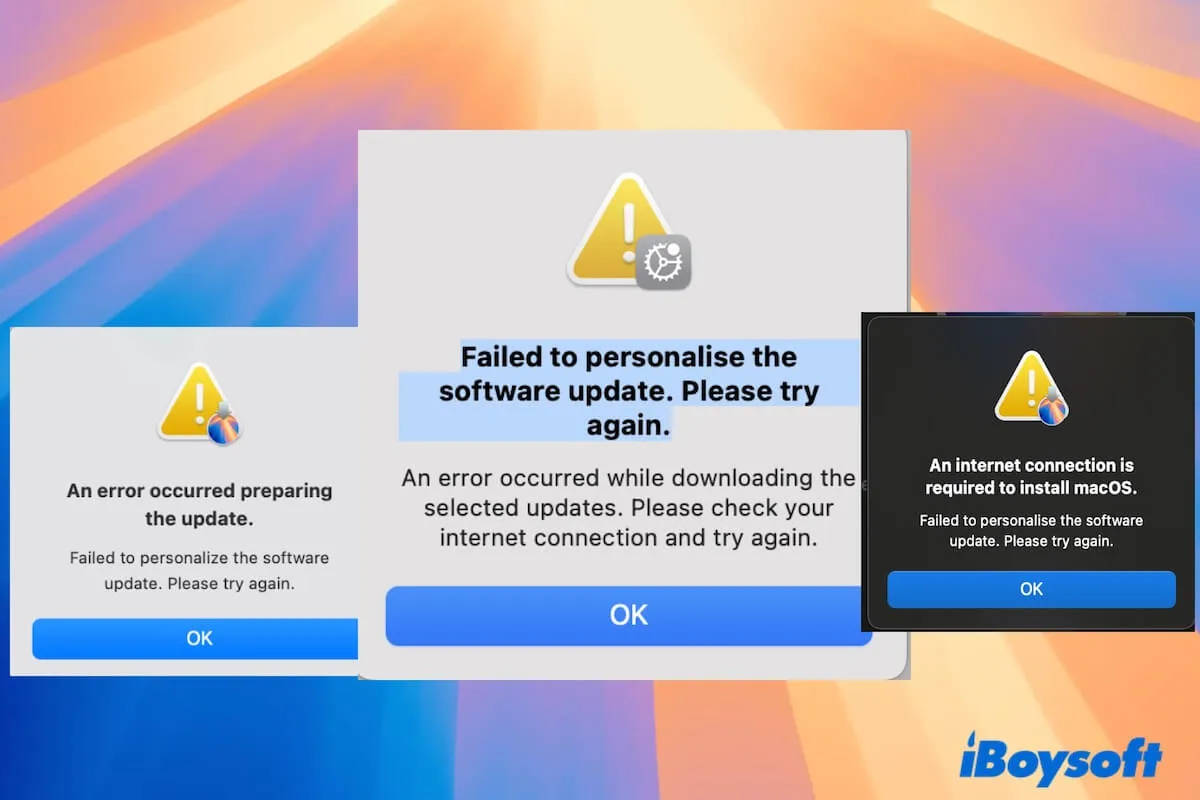
Cannot wait to get a taste of the new-coming Mac operating system -- macOS Sequoia? That's perfectly normal. Following its traditions, Apple releases a Mac operating system with noticeable new features and highlights annually, raising the attention of Apple's users and fans who are keen to experience this stunning macOS already.
However, new macOS always brings new issues before installing Sequoia on your Mac computer. Yet do not worry, this post guides you to complete some crucial steps before installing macOS Sequoia to make the whole install process successful and obstacle-free. Let's get started then!
How to prepare Mac to upgrade to macOS Sequoia?
Although expecting to install macOS Sequoia on your Mac computer, you'd be better off fully preparing your Mac for the new operating system stay, or the install process may go wrong. Follow us to make a perfect cradle for the macOS Sequoia.
1. Check if your Mac model is officially supported by macOS Sequoia
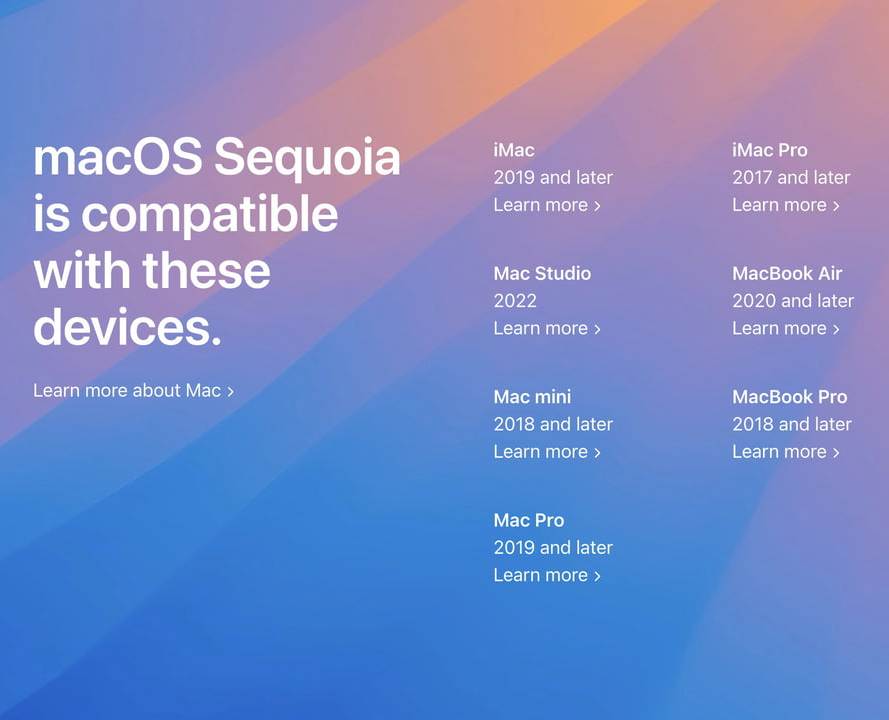
Apple drops support to a series of Mac lineups every year to ensure the best performance of a macOS, and it follows this custom this year also. Check if your Mac is officially supported to run macOS Sequoia by reading the table below:
- iMac (2019 and later)
- Mac Studio (2022)
- Mac mini (2018 and later)
- Mac Pro (2019 and later)
- iMac Pro (2017 and later)
- MacBook Air (2020 and later)
- MacBook Pro (2018 and later)
If Apple drops your Mac model, the only two ways for you to experience this amazing OS include running a bootable installer or installing macOS Sequoia on an unsupported Mac. Note that you cannot get all the highlights of macOS Sequoia if you run it on an unsupported device.
2. Check if the Mac has enough space to run macOS Sequoia
It's been acclaimed that macOS Sequoia takes up 14.74 GB of space, while for smooth running speed and incomparable performance, your Macs better have free space over 14.74 GB. You can check the available space on your computer first:
Go to Apple Menu > System Settings > General > Storage > All Volumes, then move the pointer over a color to see the space each category uses.
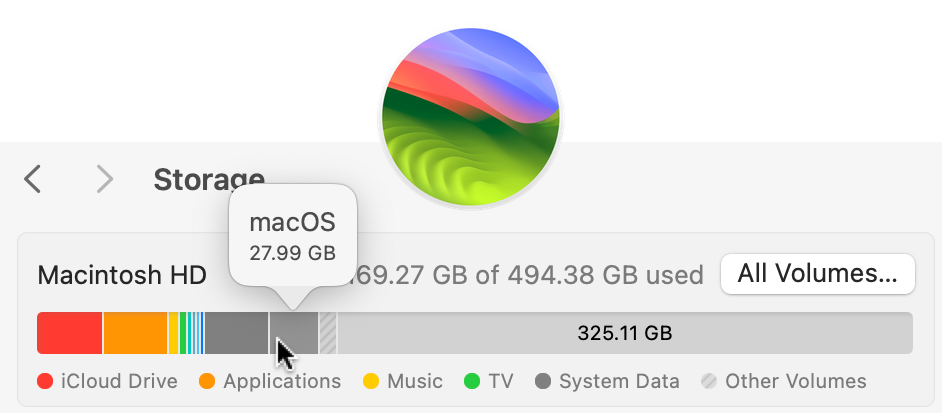
If there is insufficient free space to install macOS Sequoia, you will receive a message saying "Your disk does not have enough free space. Updating requires 14.74 GB of disk space".
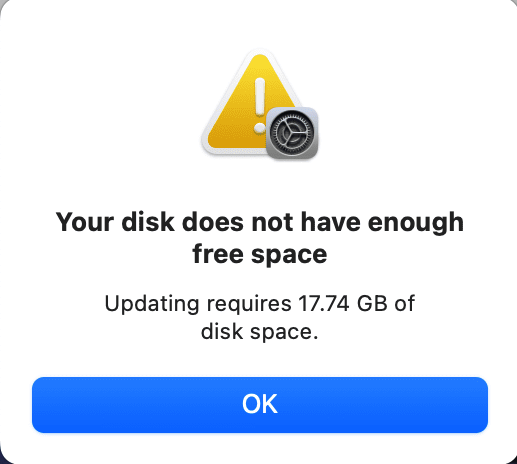
Under this circumstance, you can free up Macintosh HD for more available space beforehand. Put simply, you just need to clean all the useless large files, junks, caches, apps, extensions, etc. from your Mac.
iBoysoft DiskGeeker is highly recommended here which features an excellent space-analyzing function. It allows you to analyze the space usage detail of every partition, volume, and hard drive and list the scanned results in a directory structure when the scanning process is stopped. After that, you can delete the selected folders including the subfolders and subfiles with a few clicks.
Here's how to use iBoysoft DiskGeeker to clean junk files for more available space on Mac:
- Download, install, and open iBoysoft DiskGeeker on your Mac.
- Select your startup disk (or other target disk you want to place macOS Sequoia) and click the Clean Junk button from the right-side toolbar.
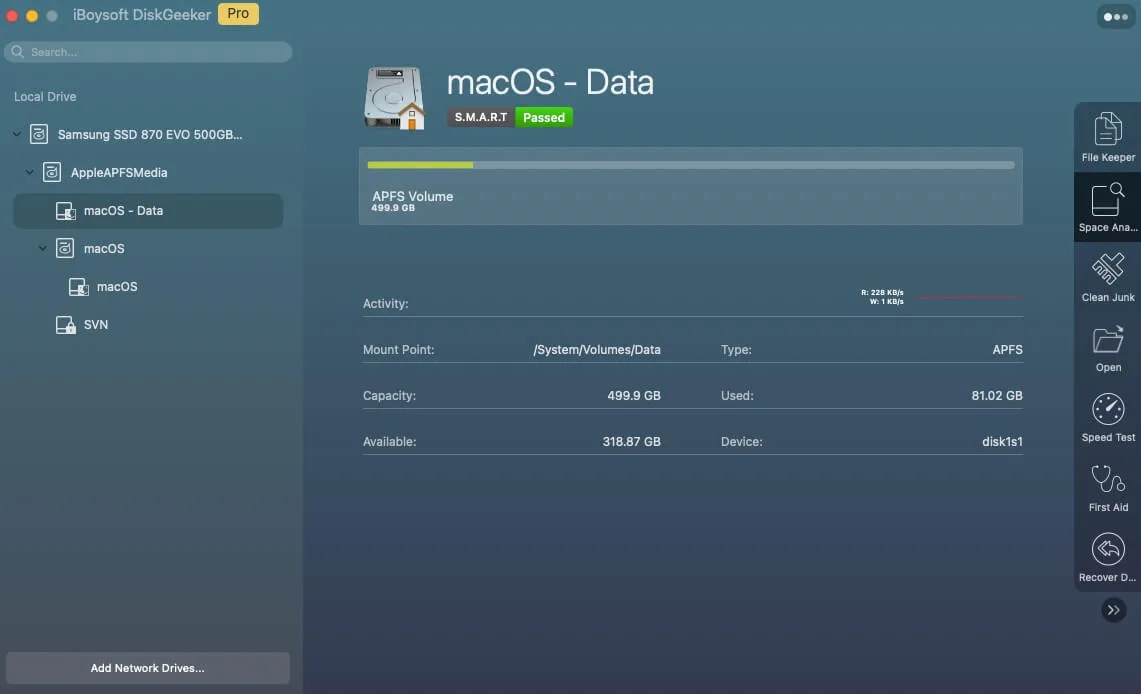
- Select a folder from the left sidebar to show up all the files and folders under this junk file type.
- Choose the files and folders you want to delete and then click Clean > OK.
3. Check if apps are compatible
Commonly, some apps working fine on macOS Sonoma might be incompatible with macOS Sequoia, and the most direct case is that NTFS for Mac not working on macOS Sequoia.
Two final culprits can be blamed here, one is that Apple stopped updating these apps making them incompatible with the new OS, and the other one is that the app developers (third-party) don't release app updates in time.
To tackle this issue, you can check updates on your Mac computer by Apple Menu > System Settings > Software Update > Update Now.
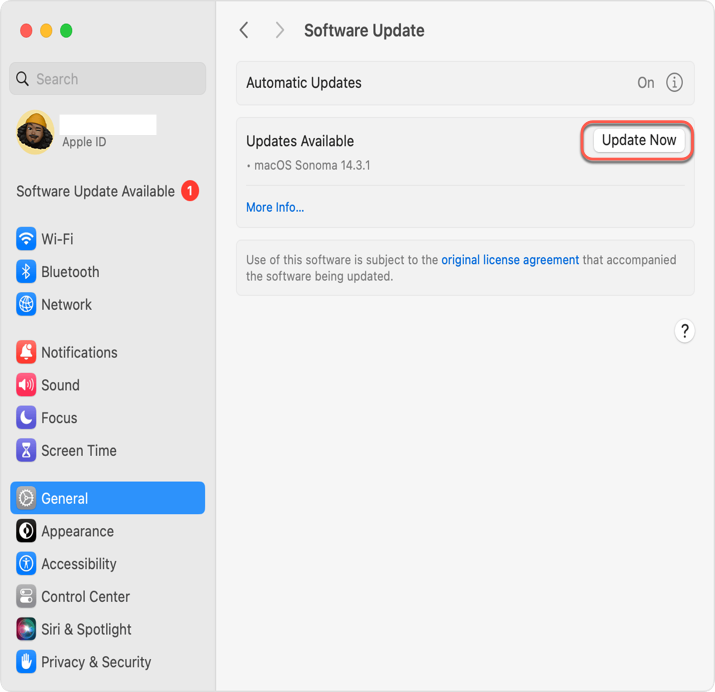
Or, you can find an alternative app to replace the incompatible one for lasting the normal working state on your computer machine.
4. Back up your Mac computer
No matter if you install macOS Sequoia on your Mac via Software Update, the external bootable installer, or any other tricks, you're recommended to fully back up your computer in case anything goes wrong in the middle of installation causing data unaccessed.
To back up your Mac, Time Machine is a nice choice that backs up every file and the modifications made to it on your Mac as long as you enable it to do so. Just connect external storage to your Mac and determine what you want to back up, and then Time Machine will automatically the selected files and data to the external hard drive.
Alternatively, you can use cloud storage to back up all crucial files you need later, like OneDrive, Google Drive, Dropbox, etc.
On top of these workarounds, you can even clone the whole hard drive including the OS, system settings, root files, user preferences, etc. as the final backup. This way is quite more convenient and direct which saves lots of effort and time.
5. Ensure the internet connection is smooth and secure
The internet connection is quite a significant part when preparing the Mac for macOS Sequoia installation. Without it, the installation even cannot start! To check the internet quality, you can complete some download tasks on your Mac or run macOS NetworkQuality to get to know the upload/download capacity, upload/download flows, and upload/download responsiveness.
If your Mac is connected to Ethernet, please make sure the connection is firm and steady. If you run a Wi-Fi connection, confirm the Wi-Fi is safe and secure. Or your data will be stolen and spread!
6. Make sure the Mac is connected to power
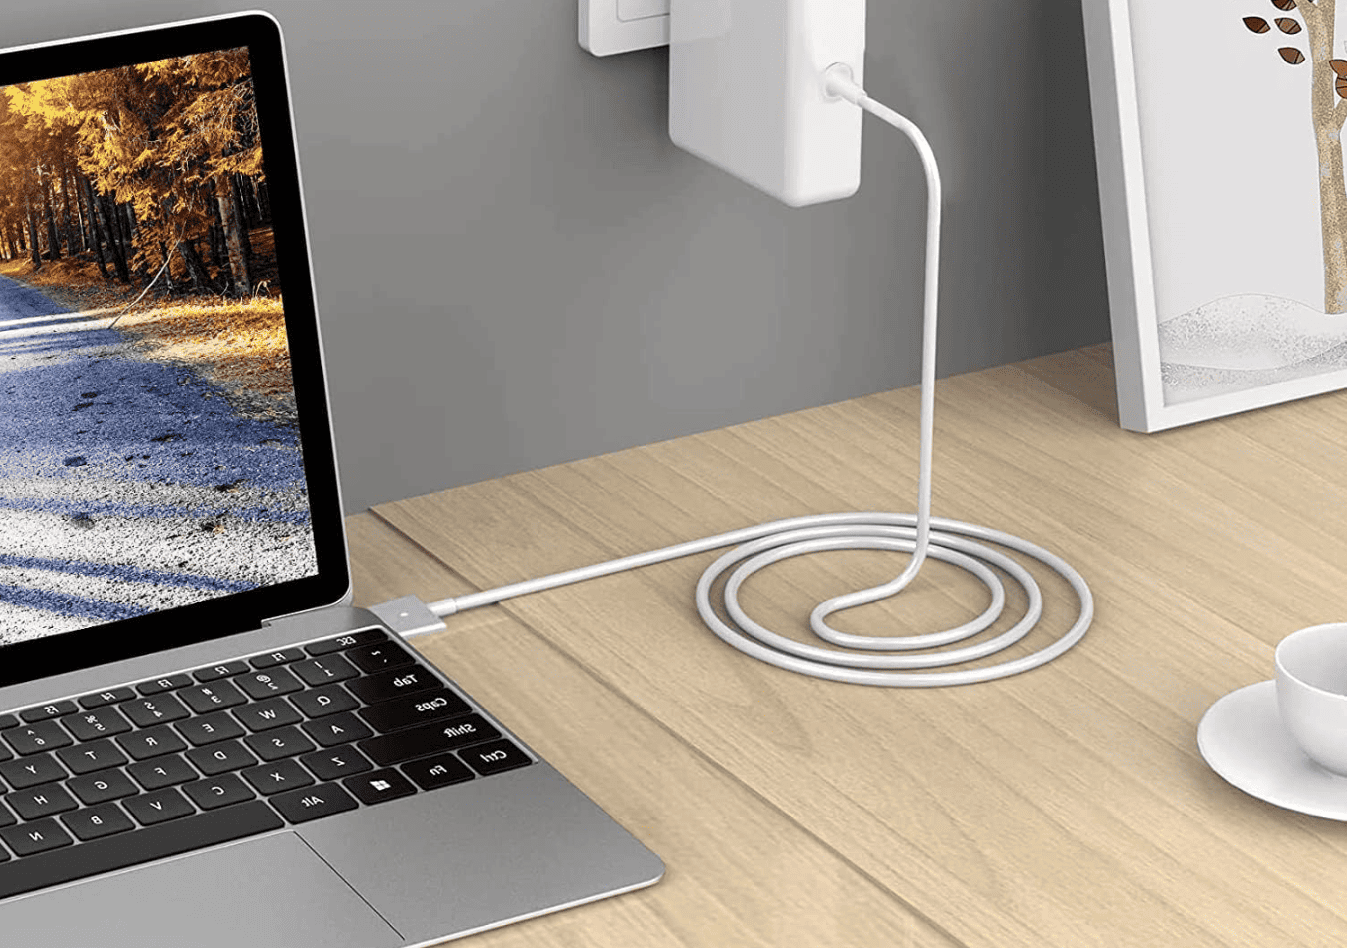
Before you proceed with the macOS Sequoia installation, make sure your computer is connected to the power or the installation will be interrupted due to low battery. What's worse, it even results in system crashes, Mac being broken with a black screen, data loss, and so on.
So please do make sure your Mac is connected to the power so that it has enough battery to complete this installation.
If you find this post informative, please share it with more people on your social platform!
When will macOS Sequoia be released?
After the WWDC 2024 keynote, macOS Sequoia beta was released on June 20, 2024, and beta 2 was released on June 24, 2024. If you get an Apple developer account, you can experience the new features and highlights on your Mac computer.
Based on former years' custom, however, the official macOS Sequoia versions will come to the public in September 2024!
Here we gathered 16 known macOS Sequoia problems including the macOS Sequoia download issues, macOS Sequoia install issues, macOS Sequoia battery heating and draining, etc., and iBoysoft provides effective solutions to fix these macOS Sequoia update issues. Free up space with iBoysoft DiskGeeker to ensure successful macOS Sequoia downloading and installation.
Conclusion
This post gathers all preparations you ought to complete before you download macOS Sequoia and install it on your Mac computer, ensuring you update to the new macOS without a hitch! You're highly suggested to read them and carry out one by one to make the macOS Sequoia installation obstacle-free!
If you're hesitant on whether to upgrade to macOS Monterey or Sonoma, check this article for their comparison: macOS Sequoia vs Sonoma: Features/Performance/Battery Life Compared
