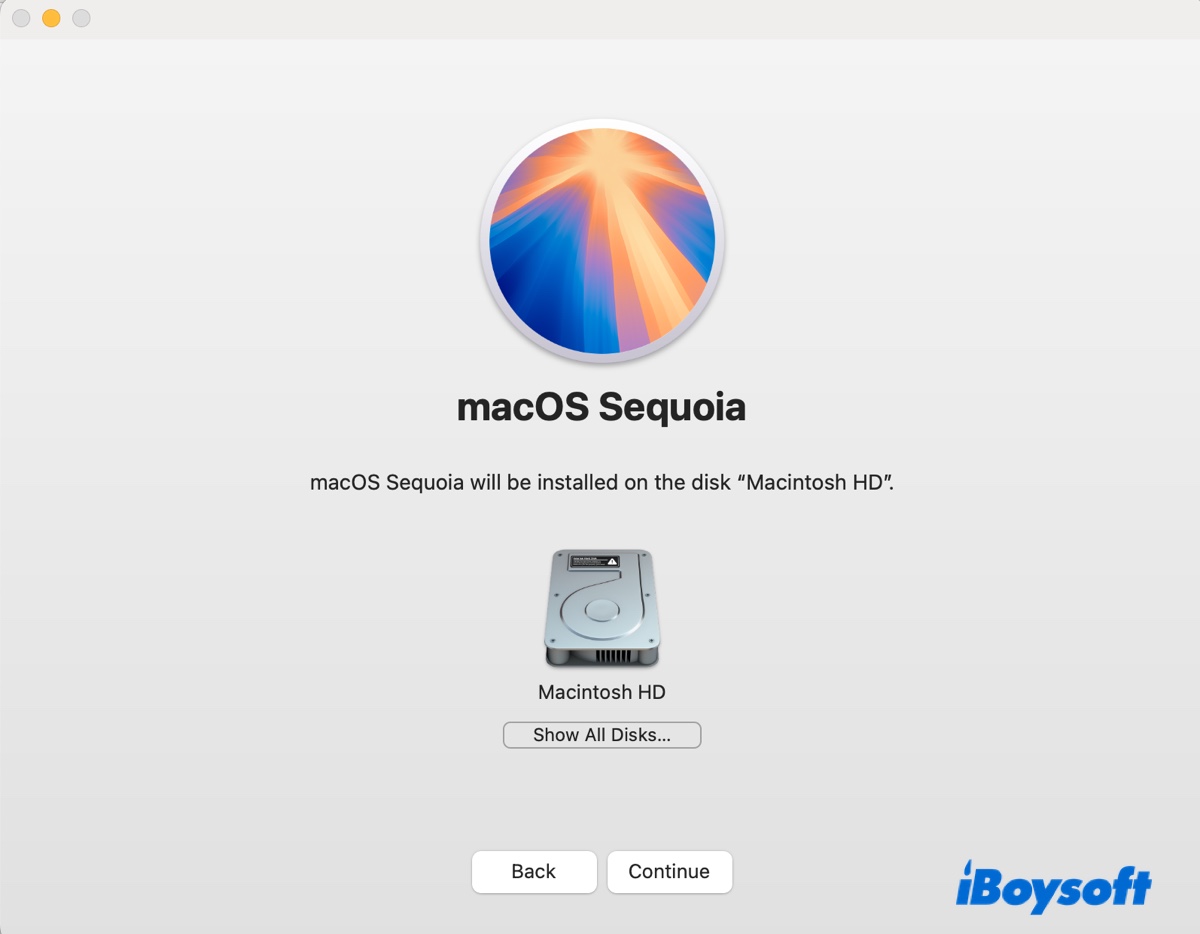
The latest macOS 15 Sequoia was officially released on September 16, 2024. This is the first macOS version to incorporate AI into the system. Although it's exclusive to Mac models with the Apple Silicon chip, Intel-based Macs can still benefit from other new or enhanced features.
If you want to upgrade to macOS Sequoia, you'll find the four ways detailed in this guide helpful. In each method, we'll explain how to download and install macOS Sequoia step by step.
Suppose the macOS Sequoia update gets stuck halfway or encounters the error "macOS could not be downloaded", then you can try directly downloading the macOS Sequoia update or another method mentioned in this post.
| How to update to macOS Sequoia | Difficulty Level |
| Upgrade macOS Sequoia from Software Update | |
| Download and install macOS Sequoia from App Store | |
| Install macOS Sequoia from Terminal | |
| Install macOS Sequoia from bootable USB |
Before installing macOS Sequoia on your Mac
While updating to macOS Sequoia is straightforward, it's easy to encounter issues that may prevent it from installing. To avoid potential update failures, it's good practice to make sure the following are checked:
1. Ensure your Mac is compatible with macOS Sequoia
First of all, ensure your Mac is supported by macOS Sequoia. Check if your Mac computer falls into the list of models compatible with macOS Sequoia below:
- MacBook Pro (2018 and later)
- MacBook Air (2020 and later)
- Mac mini (2018 and later)
- iMac (2019 and later)
- iMac Pro (2017 and later)
- Mac Studio (2022 and later)
- Mac Pro (2019 and later)
2. Make more free space by deleting unnecessary files
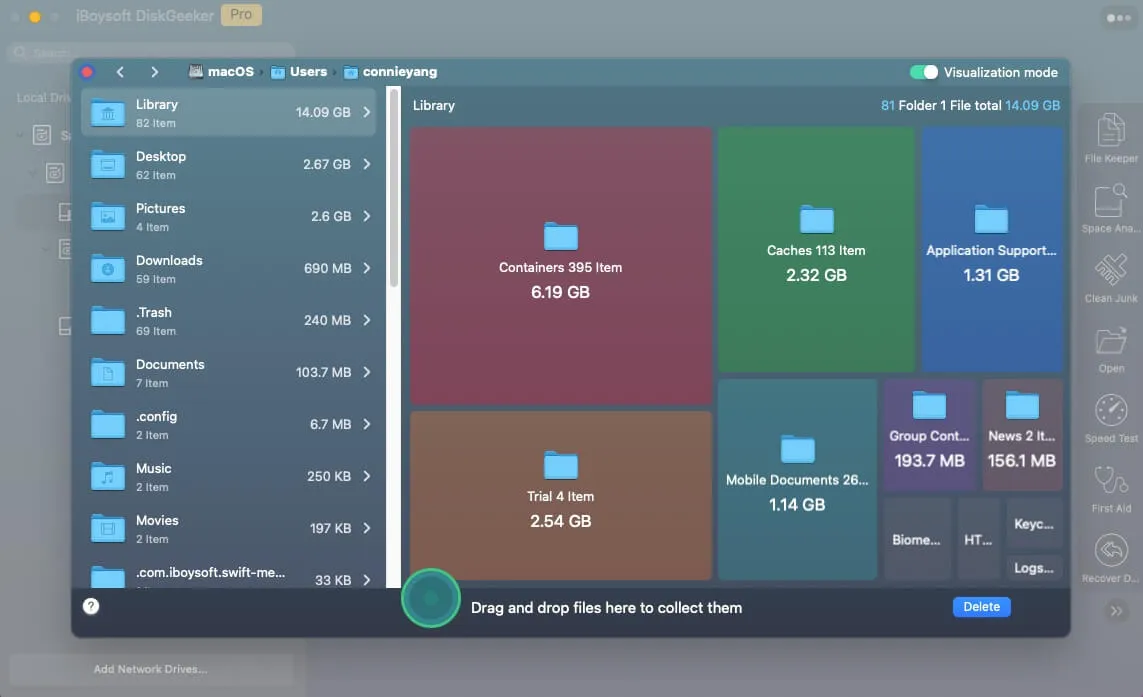
If your Mac is a supported device, the next step is to clean it up and make as much free space as possible. This will spare you the errors related to insufficient space and ensure a smooth installation.
Instead of manually browsing all the folders for possible files you don't want, we recommend you use iBoysoft DiskGeeker to analyze the internal hard drive and quickly remove the unwanted files. It gives you an overview of your Mac's storage usage and helps you easily find and permanently delete large files that have become unnecessary.
3. Back up your Mac
The third preparation you need to do is to back up your Mac. Although upgrading to macOS Sequoia won't remove your data if it runs properly, it's always best to be cautious in case of accidents. You can use Time Machine if you want to back up not only files but also settings. Or, you can simply transfer files from your Mac to an external drive to save a copy.
With all three things covered, you should be ready to get macOS Sequoia on your Mac!
① Update to macOS Sequoia from Software Update
The fastest and easiest way to update to macOS Sequoia is by using Software Update. It takes less storage space than the other three methods and only shows macOS Sequoia to compatible Macs. To do this:
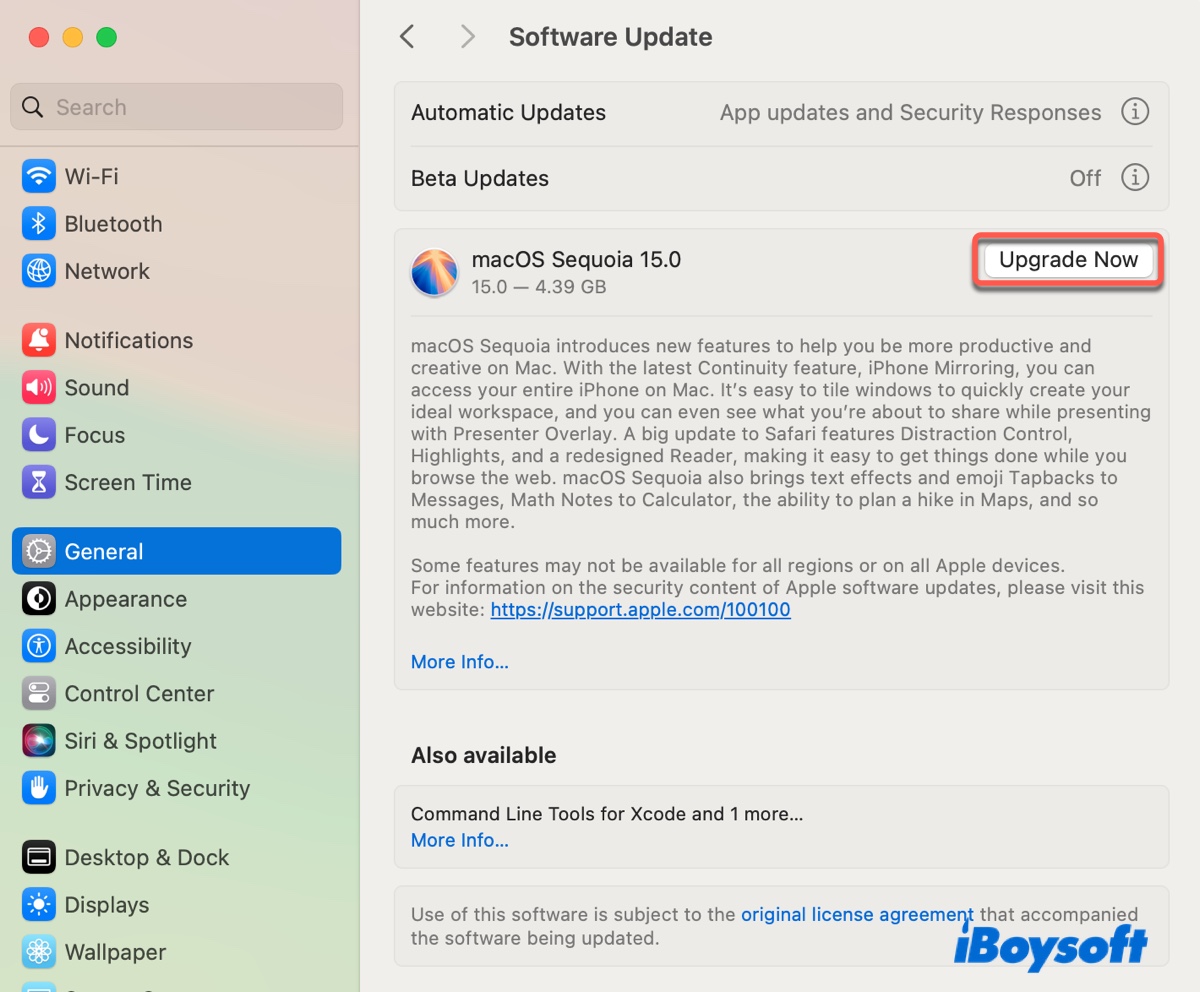
- Open Software Update. (On macOS Ventura and later, go to the Apple menu > System Settings > General > Software Update; on macOS Monterey and earlier, open the Apple menu > System Preferences > Software Update.)
- When it opens, it'll automatically check for new updates.
- Wait while the system is looking for updates.
- When macOS Seqoia shows up, click Upgrade Now to download the installer.
- Enter your administrator password when required.
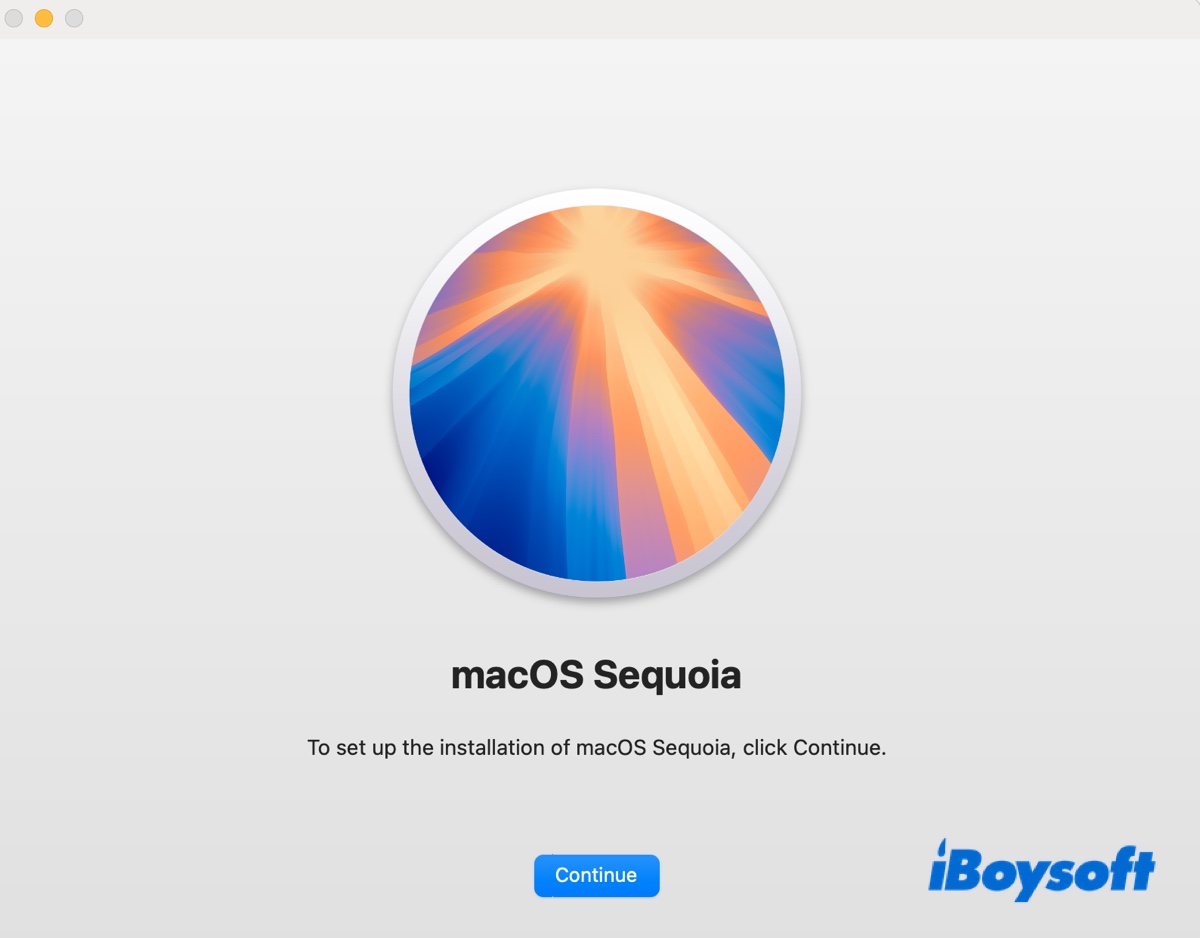
- Follow the installer to install macOS Sequoia.
② Upgrade to macOS Sequoia from App Store
If macOS Sequoia won't download or install from Software Update, you can upgrade to it from the Mac App Store. Here's how to do it:
- Open the Mac App Store.
- Search for "macOS Sequoia."
- Click View > Get.
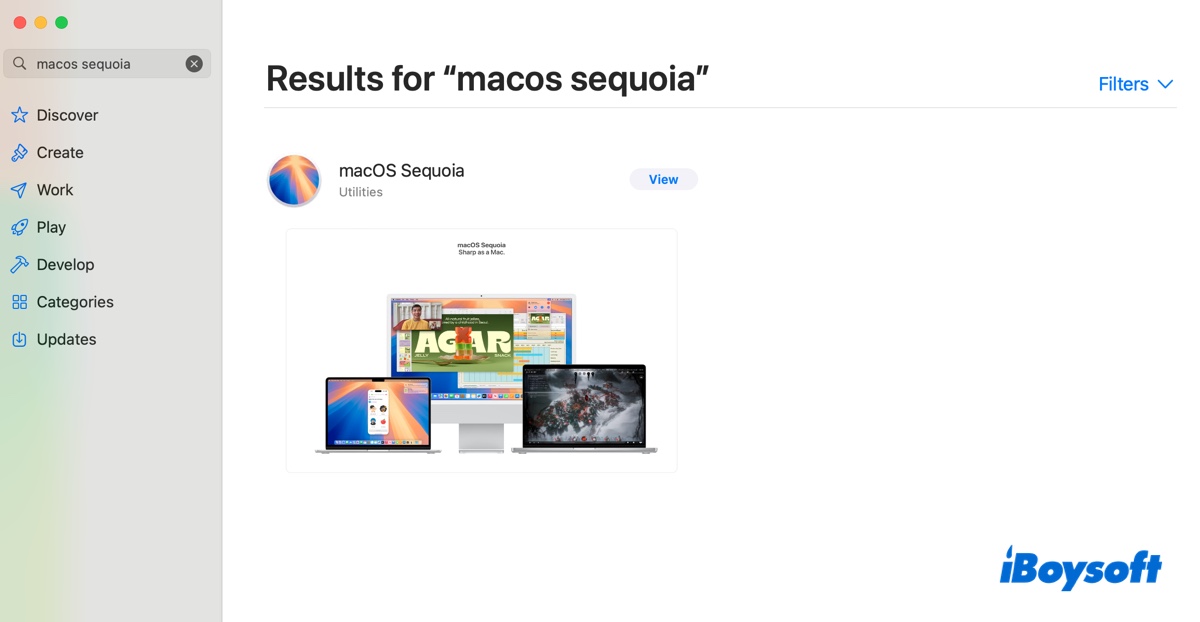
- It then opens Software Update and checks for new software updates.
- When it finds macOS Sequoia, click Upgrade Now to get the installer. (This downloads a full macOS Sequoia installer to your Applications folder.)
- After the Sequoia installer is downloaded, it'll open automatically.
- Follow the instructions to upgrade to macOS Sequoia. Or press Command + Q to close the installer and reopen it later to install macOS Sequoia.
Help others download and update to macOS Sequoia by sharing this guide!
③ Install macOS Sequoia from Terminal
Another way to download and install macOS Sequoia is through Terminal. It's slightly more complex than previous methods, as it requires command-line knowledge. But as long as you follow the steps below carefully, you're good to go.
- Open Finder, then launch Terminal from the Applications/Utilities folder.
- Type the following command and hit Enter to check the updates available on your Mac.softwareupdate --list-full-installers
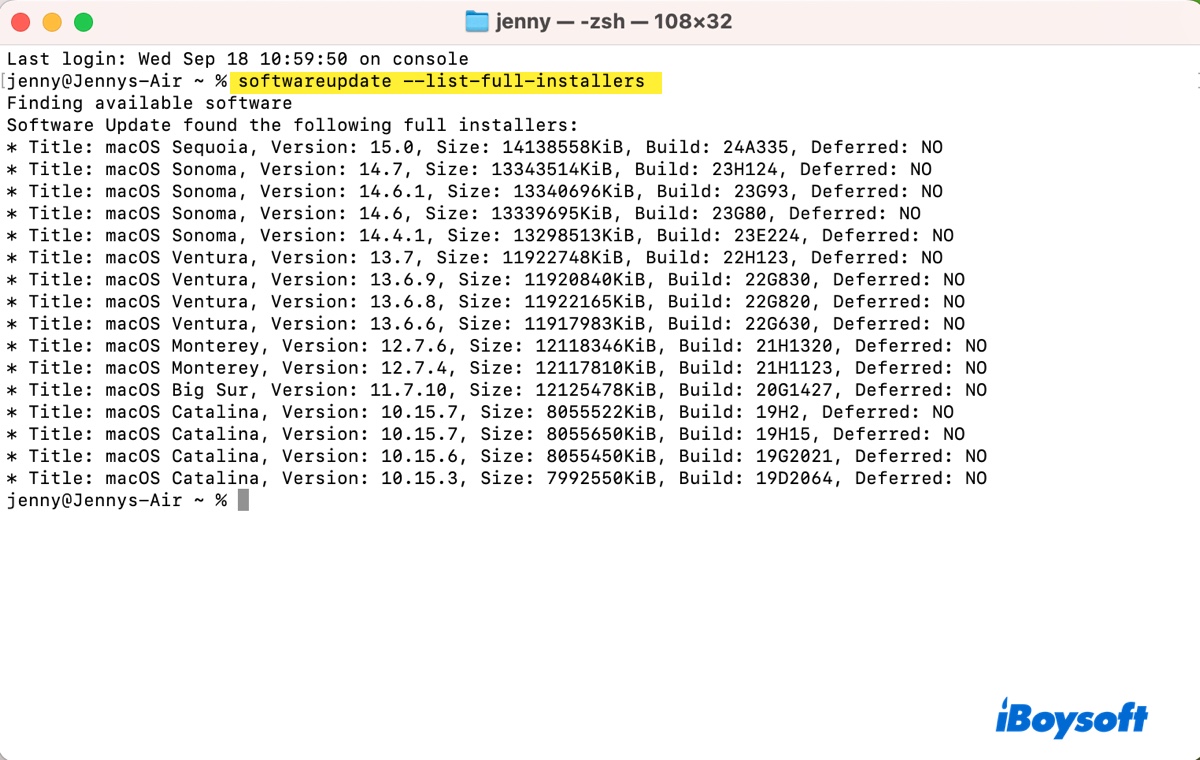
- Take notes of the version number of the latest macOS Sequoia. For example, 15.0.
- Replace version_number and run the command below to download macOS Sequoia.softwareupdate --fetch-full-installer --full-installer-version version_number
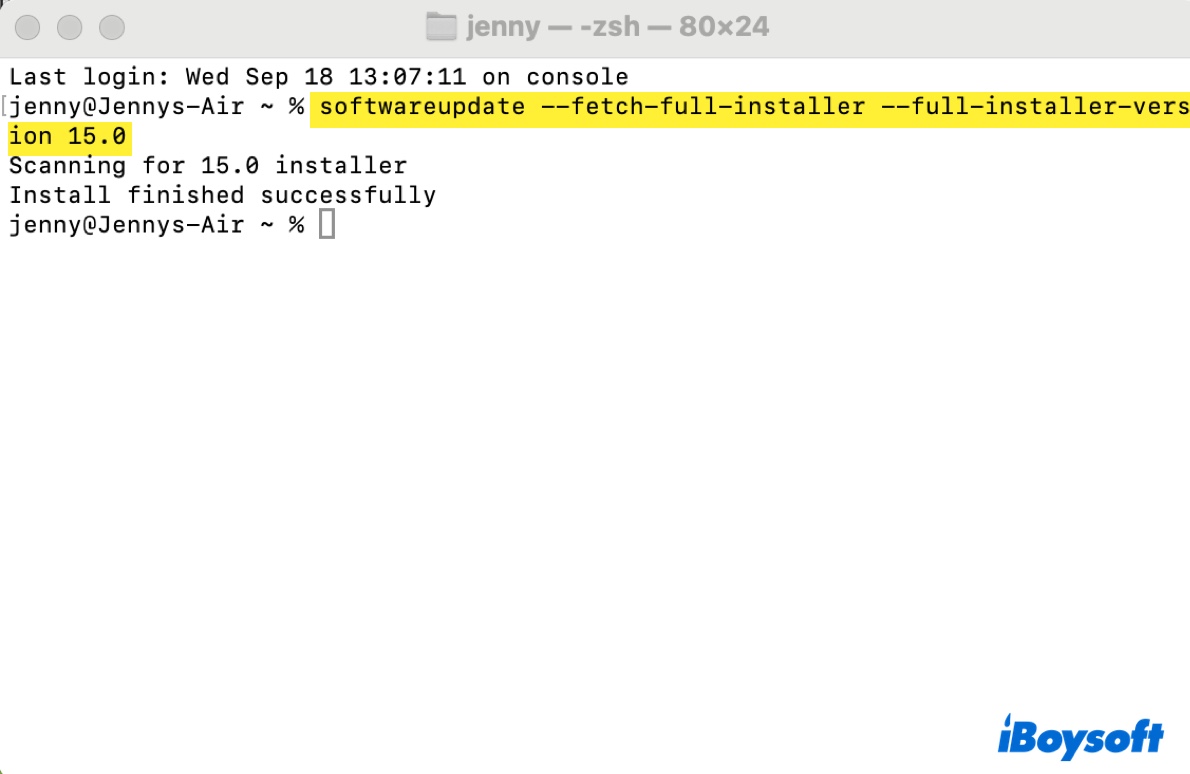
- Wait until the download is finished.
- Open the macOS Sequoia installer from your Applications folder.
- Follow the instructions to update to macOS Sequoia.
④ Install macOS Sequoia from bootable USB installer
If none of the above works, you can install macOS Sequoia from a bootable USB installer. This needs you to prepare a spare USB drive, such as a USB flash drive, an SSD, an HDD, etc, and make it bootable. Check out the following guide for more details:
How to Install macOS Sequoia from USB? [Step-by-Step]
Is this guide helpful? Share it with more people!
