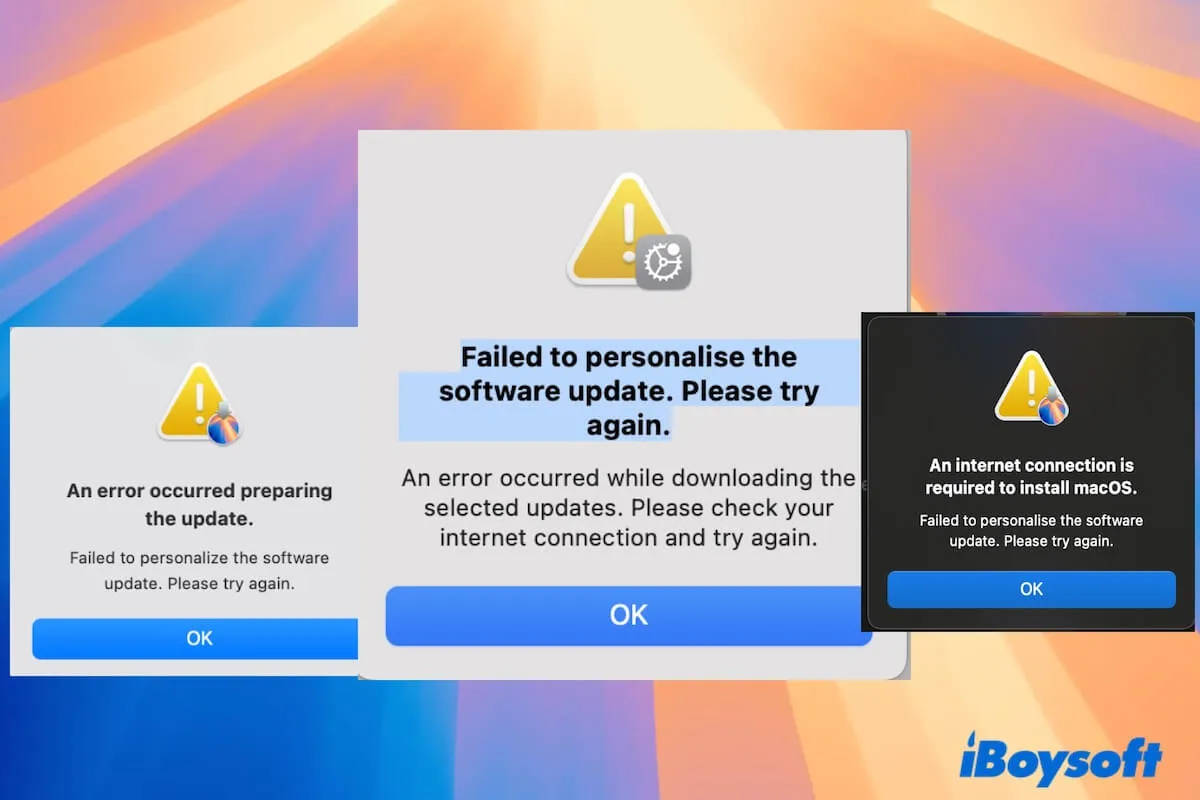
Updating macOS looks as easy as ABC, but when you get down to do it on your MacBook Pro/Air or Apple Silicon MacBook, the process is fraught with problems. One of the common update issues is "Failed to personalize the software update" when updating to macOS Sequoia.
Here we find the common macOS Sequoia update issues from Mac users:
I can't update my MacBook that in good condition to Sequoia with the error message "Failed to personalize the software update. Please try again." I've checked everything but no luck. - A user from Apple Discussions community
I keep getting the "failed to personalize the software update" window whenever I try to update my M1 MacBook Pro to macOS Sequoia. - A user from MacRumors forums
Unable to install macOS Sequoia. An error occurred while downloading the selected updates. - A user from reddit.com
No matter what macOS Sequoia update issues you face, we'll help you diagnose the causes and offer quick solutions.
Also, you can follow the direct links in "Mac OS updates download" to update to the latest version of macOS Sequoia.
Tips: If you are updating to macOS Tahoe and experiencing any troubles, read: Fix macOS Tahoe update stuck or failed.
'Failed to Personalize the software update' when updating macOS Sequoia
Fix 1: Check the internet connection
From the error's description, the network problem is undoubtedly the first consideration. Maybe you have already done this job, but how did you do that?
It is not the wisest way to just disconnect and reconnect Wi-Fi. You are suggested to:
- Move closer to the wireless access point.
- Try a less busy Wi-Fi.
- Power off and then restart your router.
- Use tools like Ping to check your network stability.
- Reset your router.
If there's no internet connection issue, move on to the next method.
Fix 2: Restart your Mac
Rebooting your Mac is the quickest way to fix the "Failed to personalize the software update" error when updating to macOS Sequoia. Sometimes, the temporary system bugs result in the update fault. A simple restart may drive away the errors and bring your Mac to the best state to be updated.
If you've tried this way, jump to the next.
Fix 3: Free up storage space on your Mac
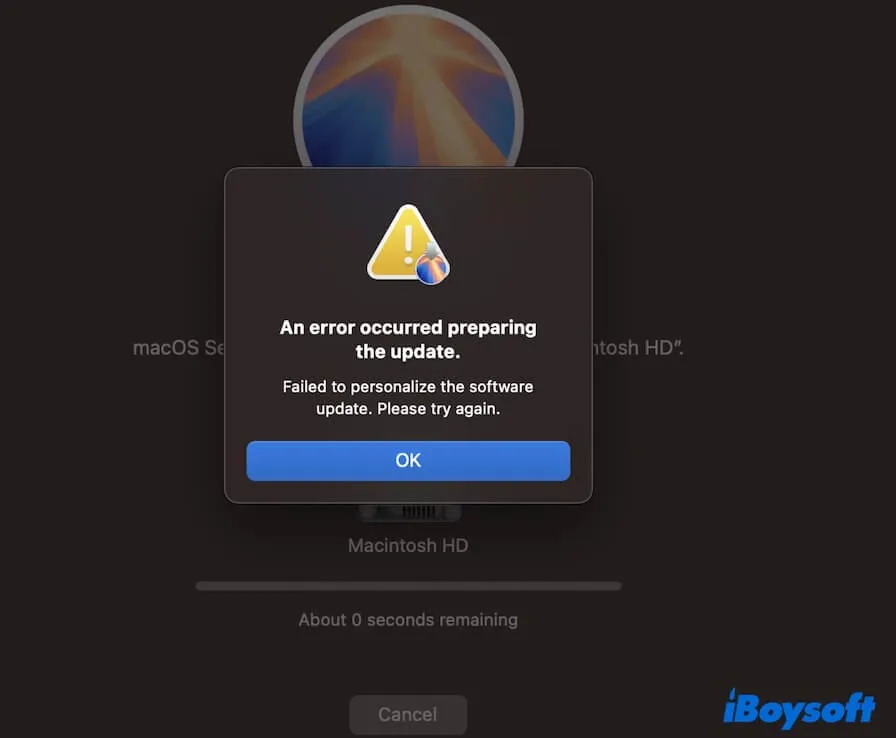
The "Failed to Personalize the software update. An error occurred preparing the update." error message often pops up when 0 seconds are remaining to update macOS Sequoia. It probably arose from insufficient disk space.
You can exit the current update and clean up your Mac. Those system caches, user caches, trash, app caches, outdated downloads, etc. are the acknowledged junk files that always eat your disk space. Notably, system caches may bring unnecessary trouble when updating Sequoia.
Thus, remove them from your Mac to free up more space for the Sequoia installer. However, these files are scattered in different locations on your Mac. If you don't want to manually delete them one by one, you can use a Mac cleaner like iBoysoft DiskGeeker.
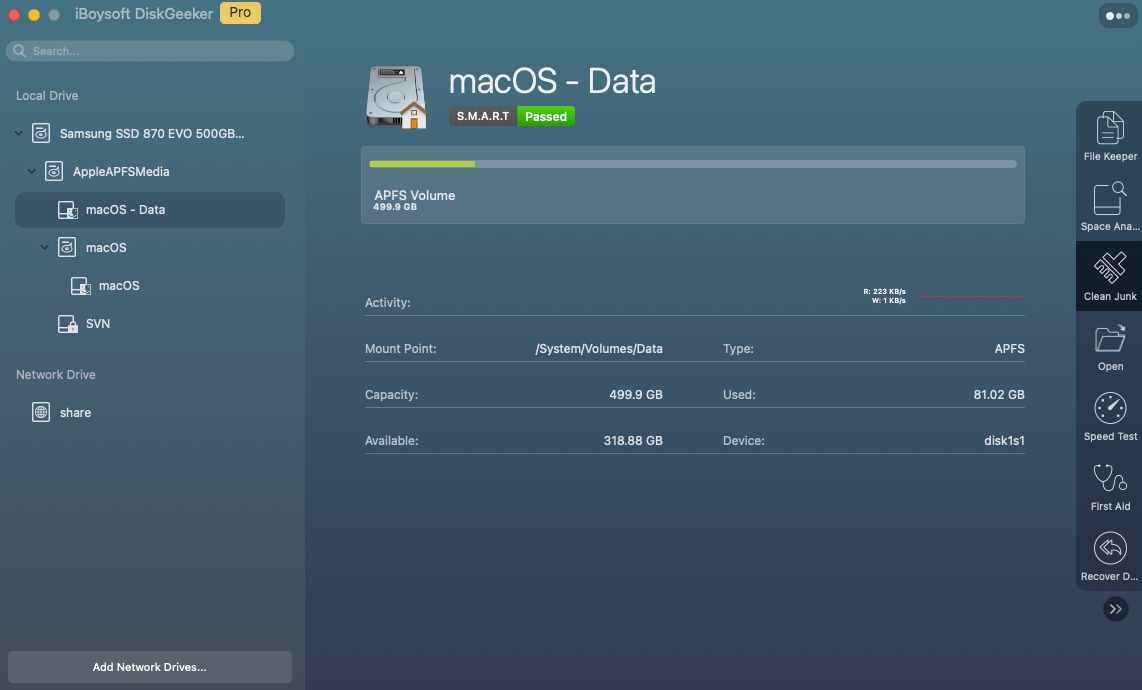
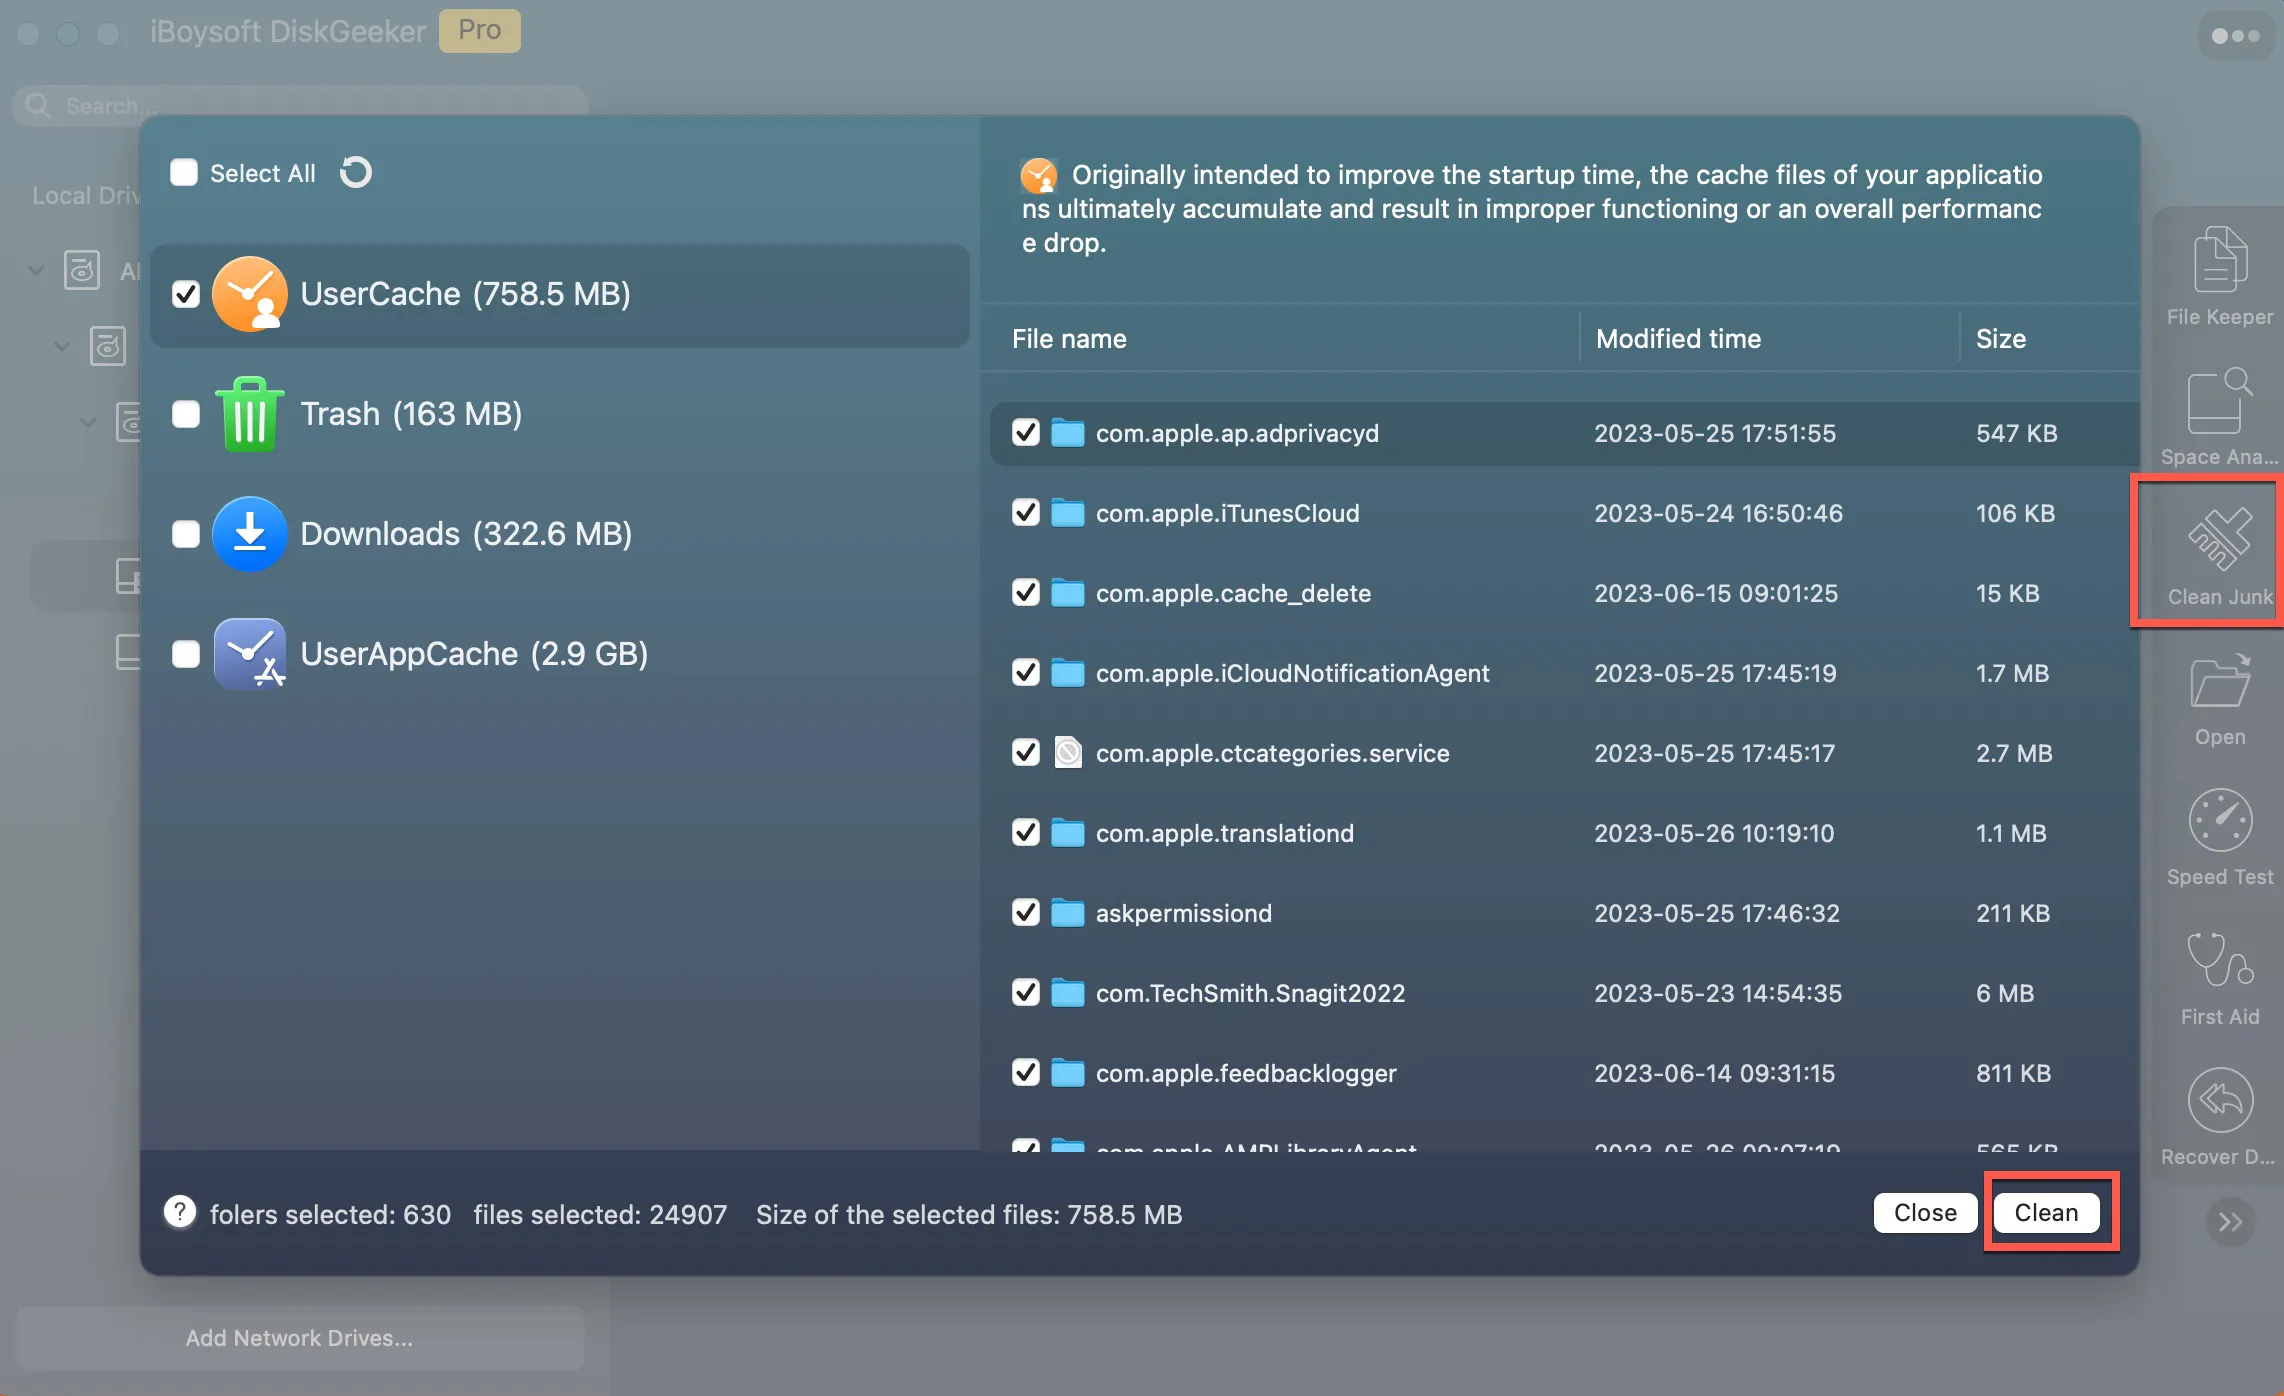
This disk management tool is featured with the Clean Junk feature. It can quickly search all the junk files on your Mac and allow you to delete them with one click.
- Download, install, and open iBoysoft DiskGeeker.
- Select the user data volume (Macintosh HD - Data or macOS - Data) and click Clean Junk on the right side toolbar.
- After scanning, choose the junk files you want to delete.
- Click Clean to directly remove them from your Mac and immediately release the space where these junk files take.
Fix 4: Update macOS Sequoia in Safe Mode with Apple ID signed out
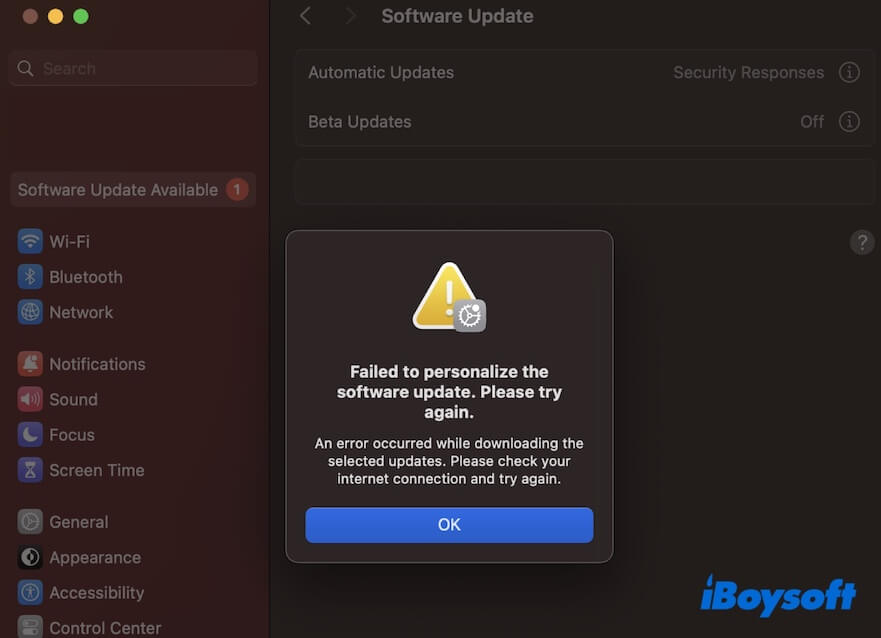
Using Terminal to download macOS Sequoia is an alternative when the error "Failed to Personalize the software update. An error occurred while downloading the selected updates" occurs. Then, install Sequoia in Safe Mode with Apple ID signed out to exclude interference from the third-party software and user Apple ID.
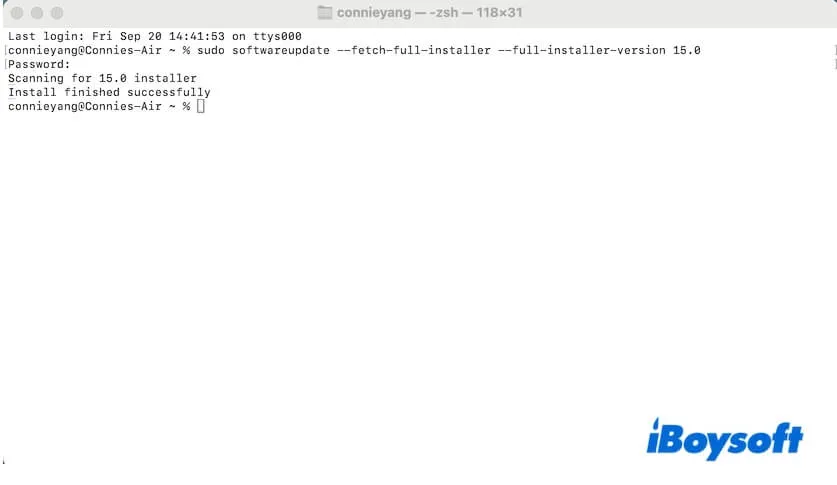
- Open Terminal on your Mac.
- Enter the following command to download the macOS Sequoia full installer sudo softwareupdate --fetch-full-installer --full-installer-version 15.0
- Quit installing macOS Sequoia at the current.
- Go to System Settings and sign out from Apple ID.
- Boot your Mac to Safe Mode.
- Launch the Sequoia installer from the App folder in Finder.
- After installation, restart your Mac and log in with your Apple ID again
Fix 5: Upgrade to macOS Sequoia from Recovery Mode
When you fail to upgrade macOS Sequoia in normal mode, try to do that in macOS Recovery Mode.
- Enter macOS Recovery Mode.
On an Apple Silicon Mac, press down the power button until you see the startup options and the gear icon. Ensure your Mac is well-connected to the Wi-Fi. Select Options > Continue and enter your admin password.
On an Intel-based Mac, restart your Mac and immediately press Command - Option - R until you see the startup screen. Make sure your network connection is well. Select the startup disk and enter the admin password. - Click on Reinstall macOS Sequoia.
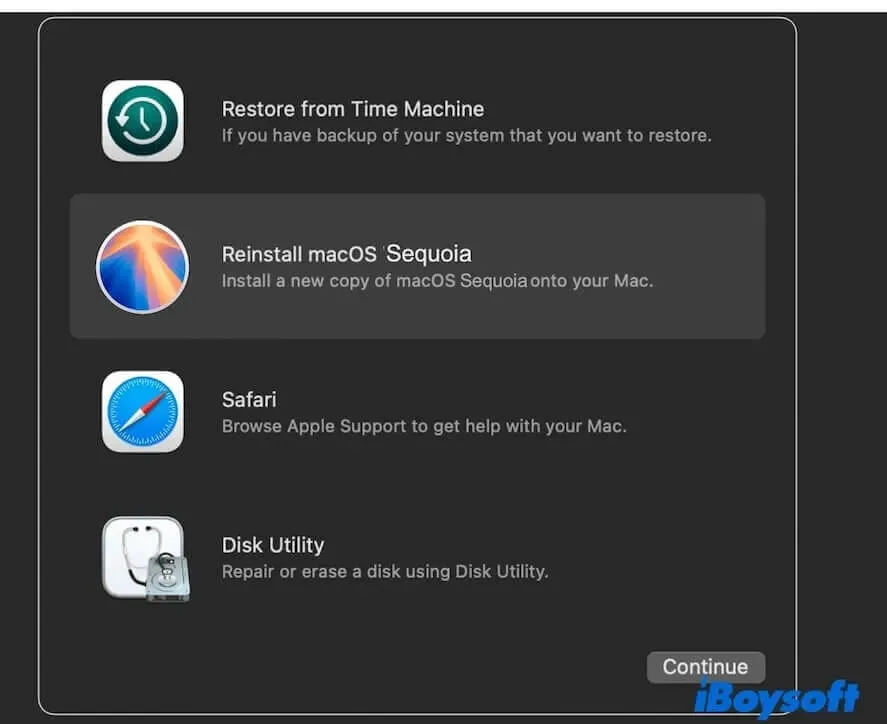
- Follow the onscreen guide to install macOS Sequoia.
Fix 6: Update to macOS Sequoia with a bootable USB installer
If the macOS Sequoia update is stuck yet after trying the above ways, you can try to create a macOS Sequoia bootable USB installer and use it to update to macOS Sequoia.
Refer to: How to install macOS Sequoia from a USB?
Share these ways with others who also run into the "Failed to personalize the software update." error when updating to macOS Sequoia.
macOS Sequoia is not available in Software Update/App Store
You search for macOS Sequoia in the App Store but find no results, or Software Updates on MacBook Pro not showing Sequoia as an upgrade option. Even if no macOS Sequoia in macOS Recovery Mode.
Where can you find macOS Sequoia for download? You can follow these methods.
Fix 1: Check macOS Sequoia compatibility
Here's the list of Mac models that support macOS Sequoia:
- MacBook Air (2020 and later)
- MacBook Pro (2018 and later)
- Mac mini (2018 and later)
- iMac (2019 and later)
- iMac Pro (2017)
- Mac Pro (2019 and later)
- Mac Studio (2022 and later)
If your Mac is incompatible with macOS Sequoia, it probably won't display in Software Update of your Mac's System Settings or the App Store.
If you insist on installing macOS Sequoia, you can follow: How to install macOS Sequoia on an unsupported Mac?
Fix 2: Download macOS Sequoia with the direct link
Perhaps the unstable Wi-Fi makes the latest macOS 15.0 won't be loaded in the App Store or Software Update.
You can reconnect the Wi-Fi and then try again. If Sequoia still does not appear in the two places on your Mac, click the direct link below to download the full macOS Sequoia installer.
Tell others what to do if they can't find macOS Sequoia in Software Update or App Store.
Mac won't restart after macOS Sequoia update
It is also the common macOS Sequoia update problem for the Mac to fail to boot after completing the macOS Sequoia upgrade.
If you are struggling with the question "Why won't my MacBook restart after the update?", let's dig out the reasons.
- Errors are generated during the macOS Sequoia installation.
- Restarting an old Mac after a new macOS installation finishes requires more time.
- macOS Sequoia update failure.
Whatever the scenario you are in, follow our tips to resolve it.
Fix 1: Wait it out with the battery charged and the screen on
Although your Mac is compatible with macOS Sequoia, it is an old machine that may take a longer time to start from macOS Sequoia. Or, your Mac almost runs out of storage, making the device slow to run the new system.
You can wait a moment to let the Mac fully boot from macOS Sequoia. If your Mac is taking forever to restart after the update, jump to the next way.
Fix 2: Enter macOS Recovery Mode
When a Mac won't restart after an update, Recovery Mode can be the rescue. In macOS Recovery Mode, you can:
1. Run Disk Utility First Aid to check the startup disk and then reboot your Mac to see if it can be restarted successfully.
2. Cleanly install macOS Sequoia from Recovery Mode. In other words, erase your startup disk and then reinstall macOS Sequoia in Recovery Mode again.
However, a clean install of macOS Sequoia will result in data loss. If you haven't backed up your Mac before upgrading, use iBoysoft Mac Recovery Mode to rescue files from the unbootable Mac to avoid permanent data loss.
If you think that this post about macOS Sequoia update issues and fixes is comprehensive, share it with more people.