When You Need to Recover Data in Mac Recovery Mode

macOS Crashed and Won't Boot Up

The macOS experiences a critical error that causes the system to become unresponsive or shut down unexpectedly and it cannot be loaded back up.

Mac Password Not Working Couldn't Login

The macOS operating system freezes at the login screen or refuses to log in after a correct password input.

How to Get Data Back When macOS Won't Turn On

STEP1. Start Mac in macOS Recovery Mode

Different Mac models have different methods for entering macOS Recovery mode to achieve the maximum success rate for data recovery. Check your Mac model and follow the instructions to start your Mac in macOS Recovery mode.

Intel-based Mac Apple Silicon Mac T2 Mac
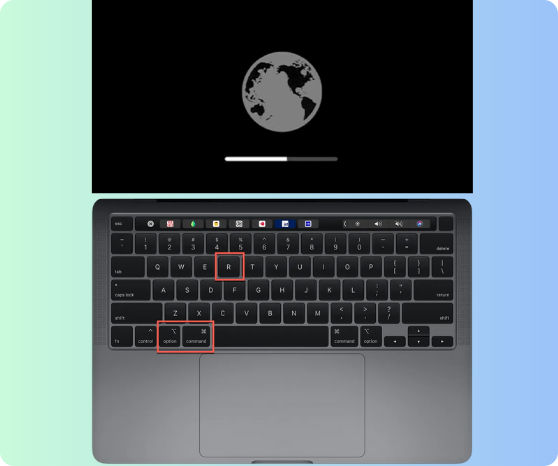
  • Intel-based Macs:
  • 1. Completely turn off the Mac.
  • 2. Turn it on and immediately press down Command + Option + R keyboard keys together.
  • 3. Hold them until you see a spinning globe on your screen.
  • Apple Silicon M1/M2/M3/M4/M5 Macs:
  • 1. Completely turn off the Mac.
  • 2. Press and hold the power switch (Touch ID) until you see Loading startup options.
  • 3. Click Options and Continue to enter the macOS Recovery mode.

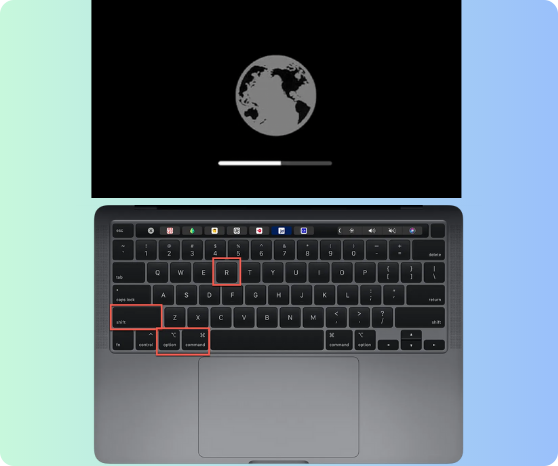
  • T2-secured Macs:
  • 1. Completely turn off the Mac.
  • 2. Turn it on and immediately press down Command + Option + Shift + R keyboard keys together.
  • 3. Hold them until you see a spinning globe on your screen.
Step 2: Run iBoysoft Data Recovery in macOS Recovery Mode

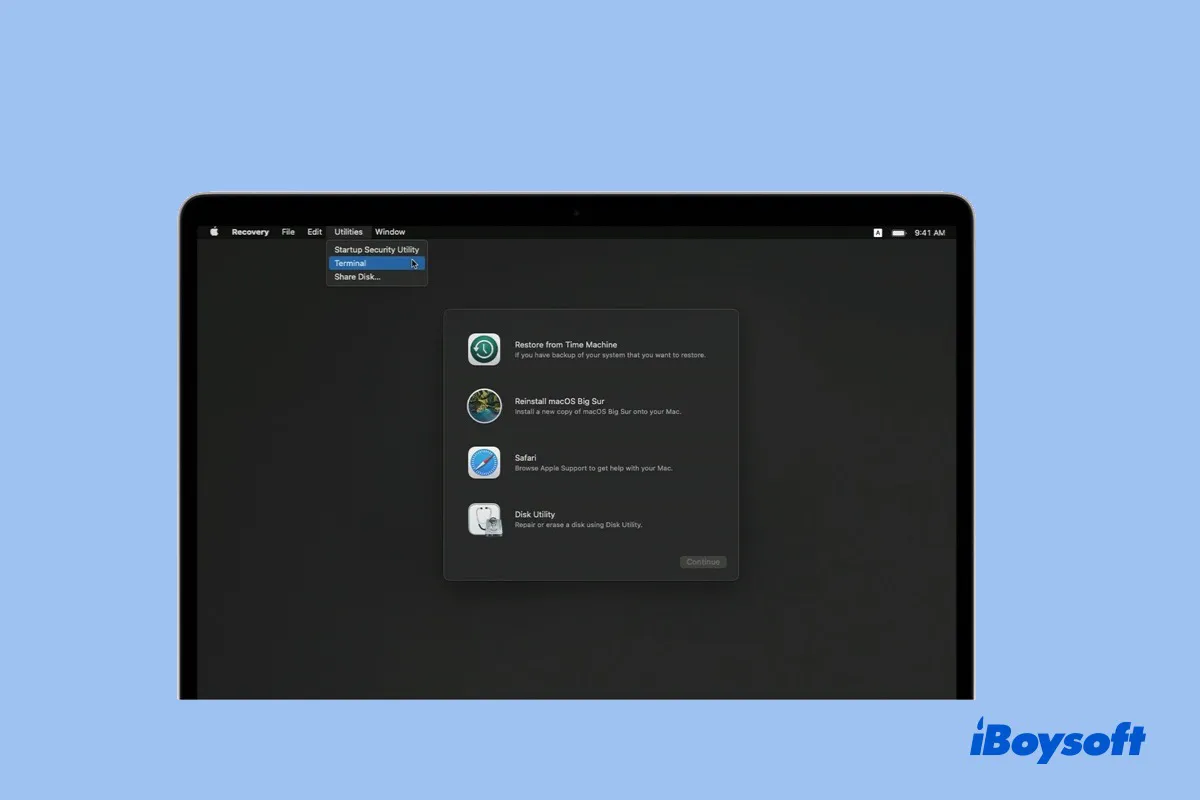
Connect your Mac to a Wi-Fi or Ethernet network as iBoysoft Data Recovery requires an internet connection for fetching the software from its server. Launch Terminal in the Utilities from the top menu bar. Enter the following command and press Return.

Command:

sh <(curl http://boot.iboysoft.com/boot.sh)

If you lost data from Fusion drive, please enter the command: sh <(curl http://boot.iboysoft.com/fdboot.sh)

Also, if the Fusion drive is split to SSD and HDD, please select 'Fusion drive' from the left side of iBoysoft Data Recovery.
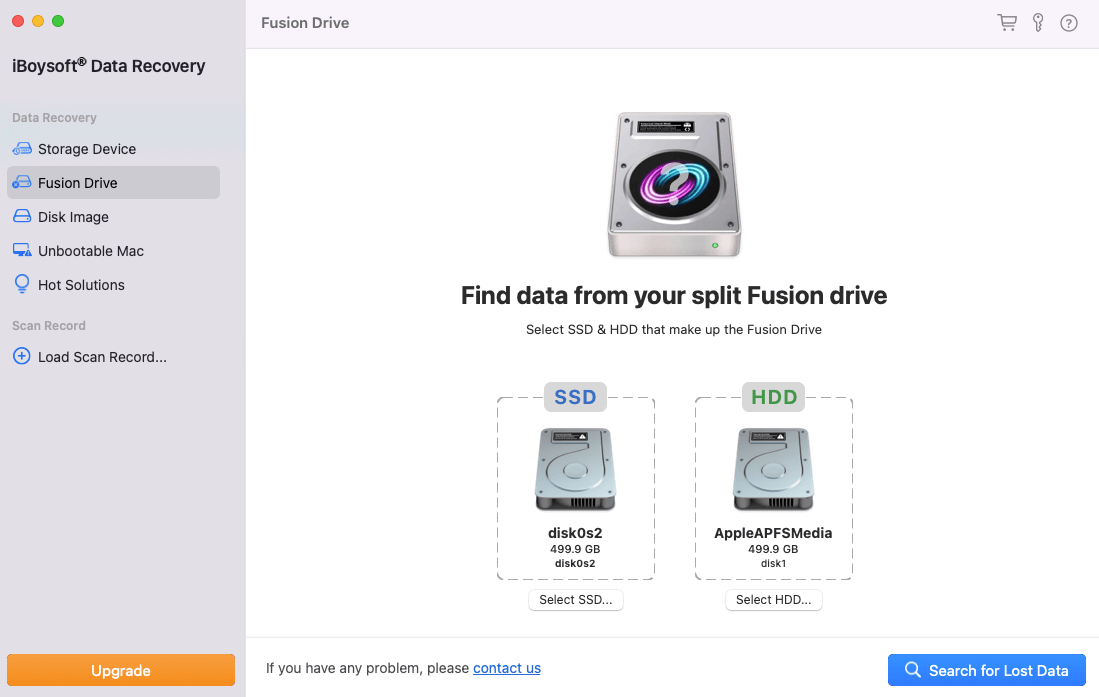
scan lost data from Fusion drive

Tips: If an unstable or unavailable Internet connection fails the launch of the iBoysoft Data Recovery
in macOS Recovery mode, there is still another way to run the program for data recovery. Please refer to
Use iBoysoft Data Recovery in macOS Recovery mode (No Internet)

Stpe 3: Recover or export files

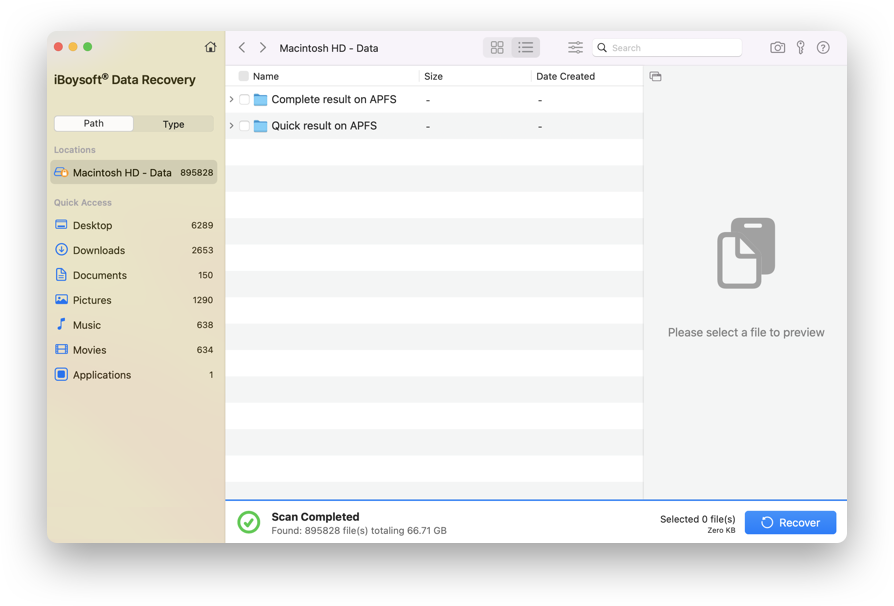
Select the Mac hard drive and click Search for Lost Data. Tick the checkbox of wanted files and click Recover. Connect an external storage device to your Mac and select the device as the destination for recovered files.

FAQs on iBoysoft Mac Recovery Mode

A

No, you cannot install any third-party applications, including iBoysoft Data Recovery, within macOS Recovery mode. iBoysoft data recovery software can only be launched through Terminal commands in macOS Recovery.

A

No, running iBoysoft Data Recovery in macOS Recovery mode does not affect your existing data. The software only scans and recovers data from the selected drive or partition. It does not modify or write any data to your drive during the recovery process.

A

Yes, iBoysoft Data Recovery allows you to preview the recoverable files before initiating the actual recovery process. This feature helps you verify the integrity and quality of the recoverable files, ensuring you can selectively recover the necessary data and avoid unnecessary file restoration.

A

Yes, iBoysoft Data Recovery for Mac is capable of recovering data from corrupted drives. Whether your drive has encountered file system errors or suffered from logical issues, it can scan and retrieve your lost data.

Tips for Recovering Data on Mac

how to boot Mac to macOS Recovery Mode

How to Boot into macOS Recovery Mode & Use It Correctly

Learn how to boot into macOS Recovery Mode safely when your Mac won't boot. Understand what to do and what to avoid with it, and how to protect your data.

EaseUS Data Recovery Wizard for Mac alternative

EaseUS Data Recovery Wizard for Mac Alternative: 3 Best Pick

I compare EaseUS Data Recovery for Mac alternatives' features, limitations, and practical testing procedures to help you decide which one is worth trying before purchasing a license.

fix the disk you attached was not readable by this computer on Mac Monterey

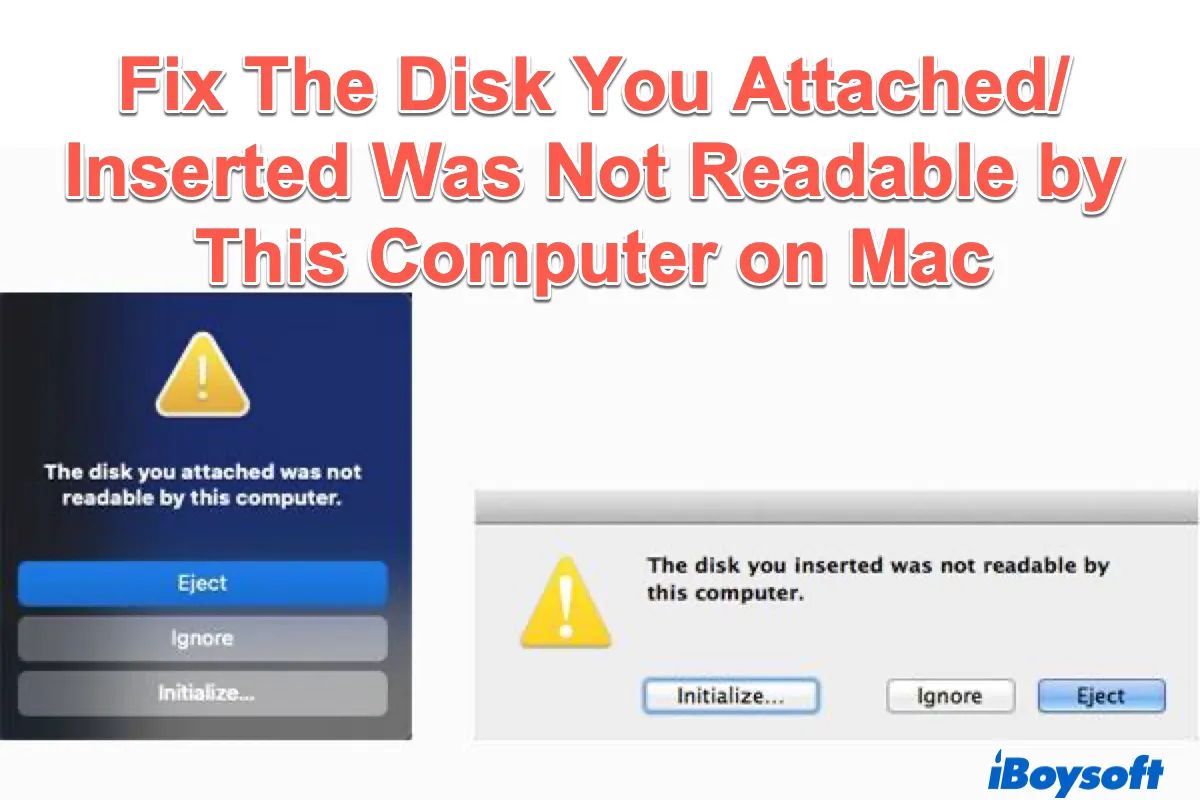
The Disk You Attached Was Not Readable By This Computer

7 solutions to fix 'The disk you attached was not readable by this computer' on Mac without losing data

Convert to APFS option not available

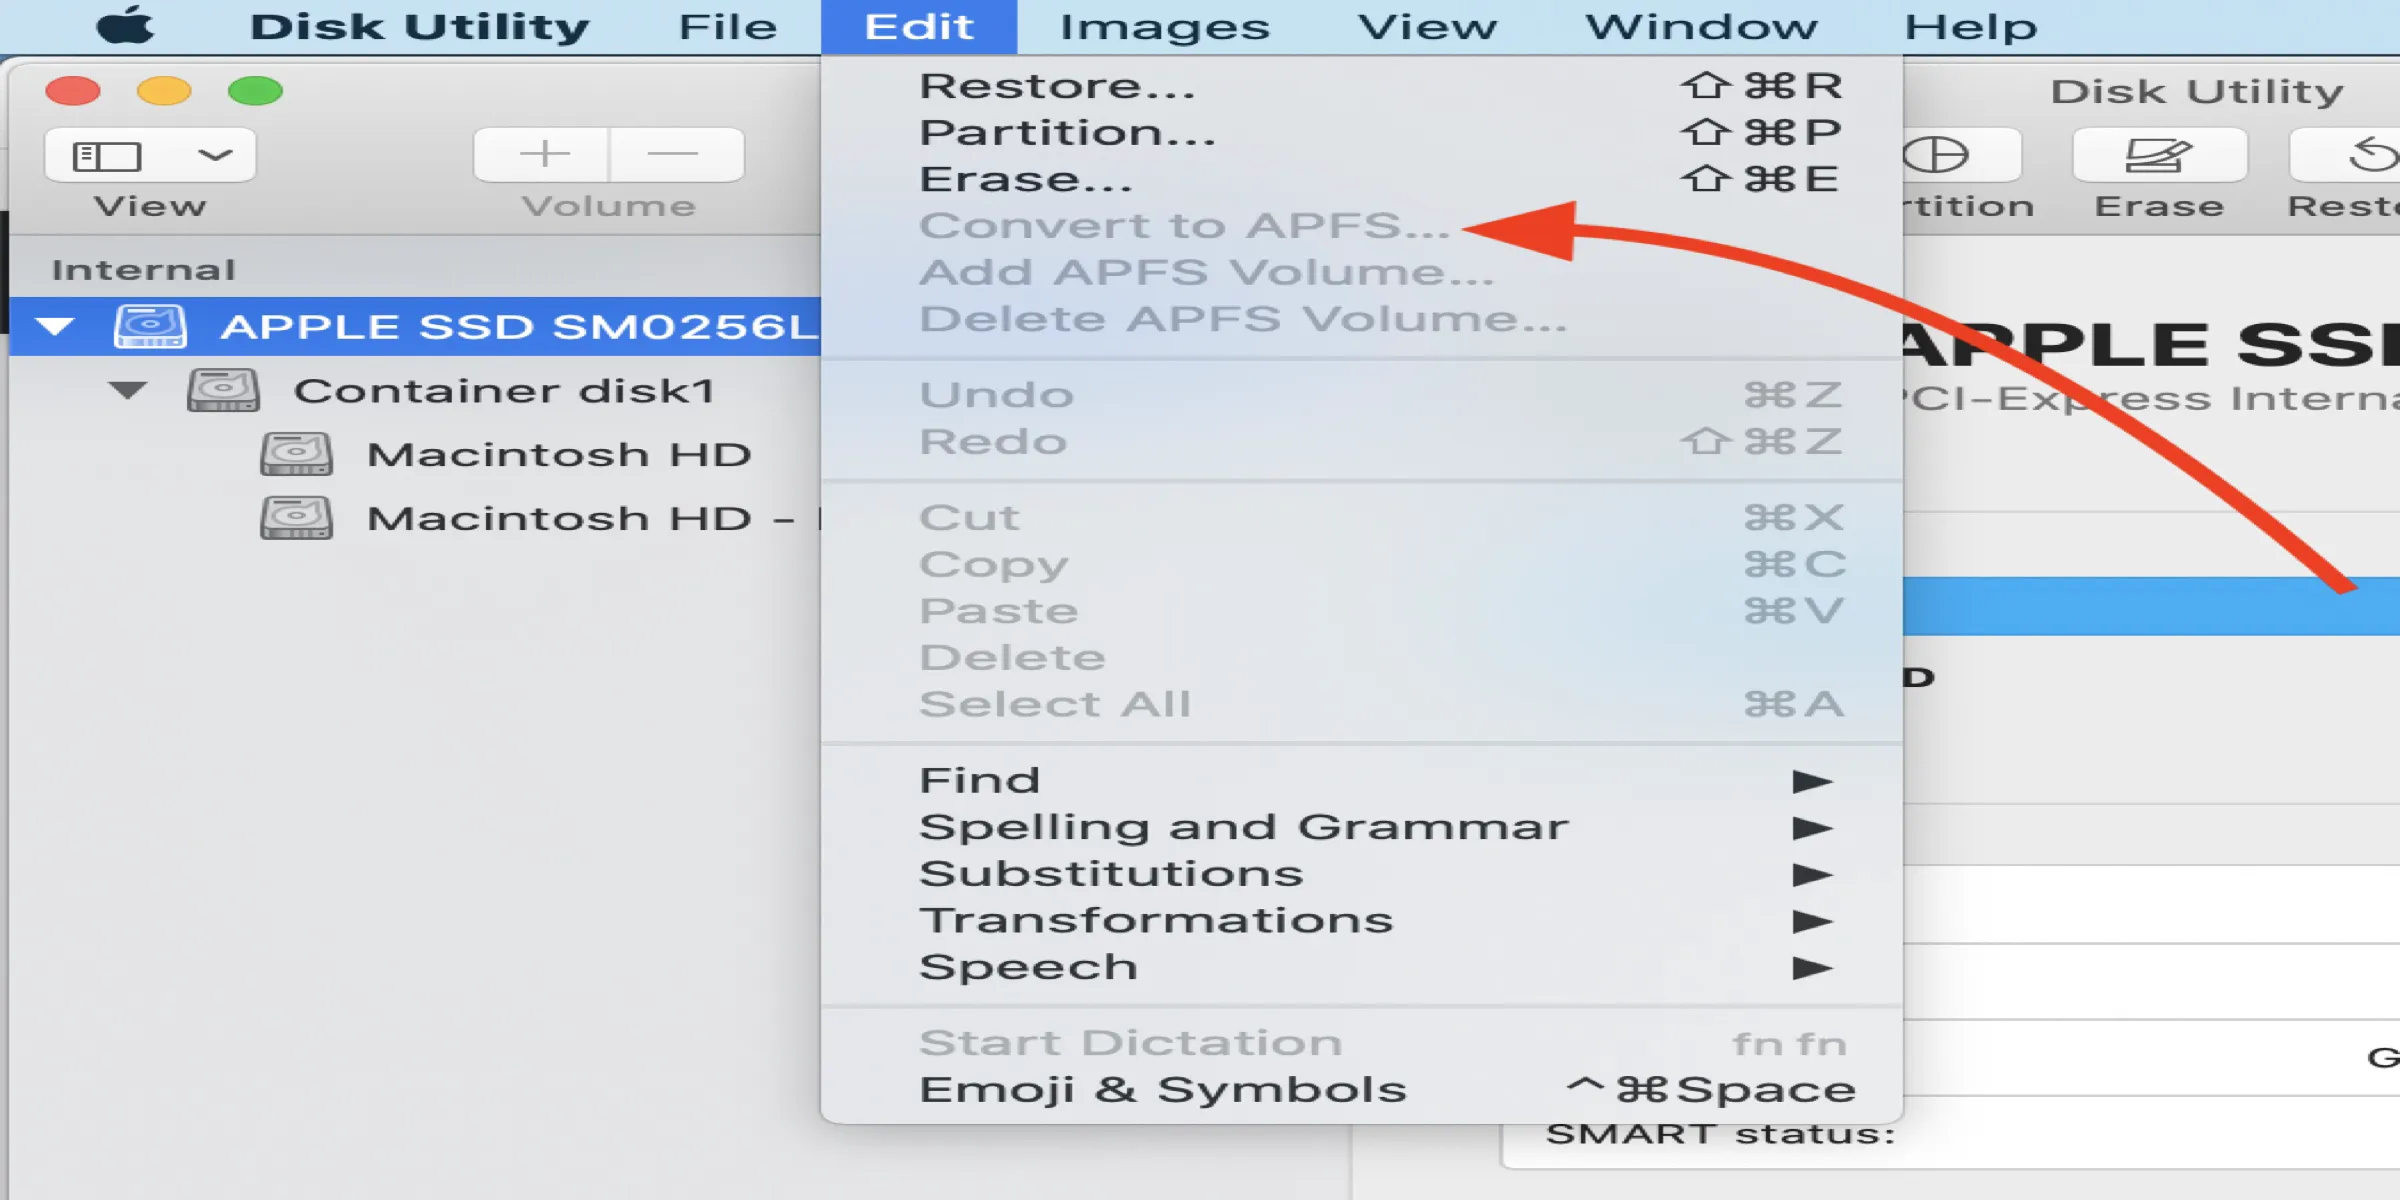
Convert to APFS Option is not Available or Greyed Out in macOS

Can't convert your HDD/SSD/USB drives to APFS on macOS because the Convert to APFS option is not available or greyed out in Disk Utility?

com.apple.diskmanagement.disenter error 0

Fix 'com.apple.DiskManagement.disenter error 0' [Verified]

Guide to fix 'com.apple.DiskManagement.disenter error 0' via proven ways. Also, help you find out the causes of this error and avoid data loss.

recover unsaved Excel file Mac

Recover Deleted/Unsaved Excel Files on Mac [Proved 8 Ways]

Guide to recovering deleted, disappeared, or unsaved Excel files on Mac in 8 ways. Recover unsaved Excel files that are not in the Recovery folder.