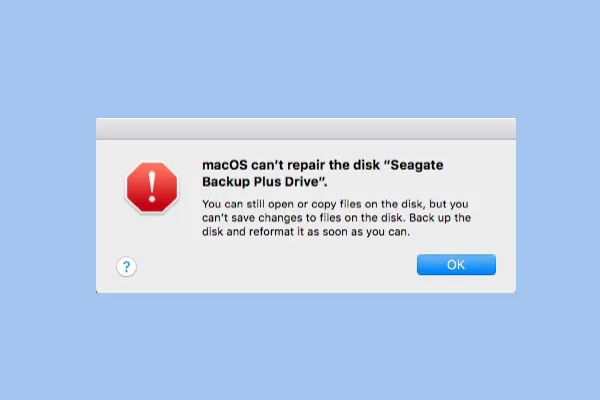
When a disk is not working properly on a Mac, most users would go to Disk Utility and run First Aid to repair this disk. However, the error "Disk Utility can't repair this disk" usually appears when Disk Utility First Aid fails to repair this disk.
What does “Disk Utility Can't Repair This Disk" Mean?
In a nutshell, when First Aid is unable to repair the file system, Disk Utility will return this error. And sometimes, it would be followed up with these error messages:
- The First Aid process has failed.
- macOS can't repair this disk. You can open or copy files on this disk, but you can't save changes to files on this disk. Back up the disk and reformat it as soon as you can.
- Disk Utility stopped repairing your disk.
- Invalid B-tree node size.
- File system check exit code is 8.
Should You Worry? Check the Data Risk First
If First Aid fails to repair the file system, don't panic or repeatedly run the repair process. Your top priority should be data security. Evaluate the potential risk to your hard drive data based on your specific case before taking further action.
| Situation | Data Risk |
| Disk still readable | Low |
| Disk read-only | Medium |
| Disk not mounting | High |
| Clicking noises | Hardware failure |
If your hard drive is experiencing any of the issues listed above, take the following steps to minimize the risk of data loss and ensure your data security:
- Stop writing to the disk
- Back up Mac files or back up external drive on Mac
- Attempt repairing disk
Why Disk Utility First Aid Fails
In general, Disk Utility First Aid failure can be attributed to five primary causes. The possible causes and the specific examples are:
| Possible Causes | Examples |
| File system corruption | APFS object map invalid |
| Directory corruption | B-tree errors |
| Physical bad sectors | Failing sectors |
| Disk is mounted and in use | File system check exit code is 8 |
| Improper disk removal | FAT/exFAT corruption |
Quick Fixes to Disk Utility Not Repairing Disk Issue
Once you understand the possible causes, try the following quick fixes to troubleshoot the “Disk Utility First Aid failed to repair the disk" problem.
Fix 1. Run First Aid Again
One of the most tried-and-tested solutions is to repair this disk one more time. To do First Aid again, follow these steps.
- Finder > Applications > Utilities > Disk Utility.
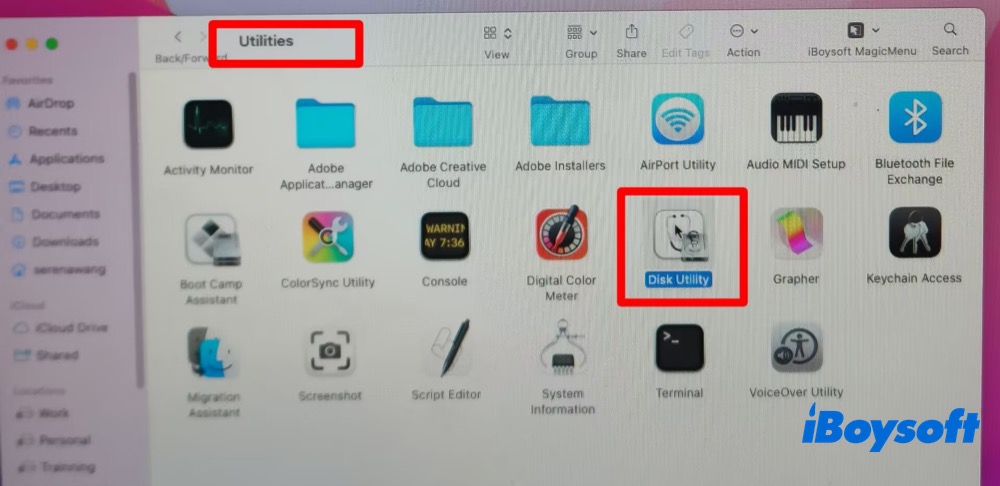
- Choose View and choose Show All Devices at the upper left of this app.
- Select the disk or volume you want to repair in the left sidebar, and then click First Aid at the top.
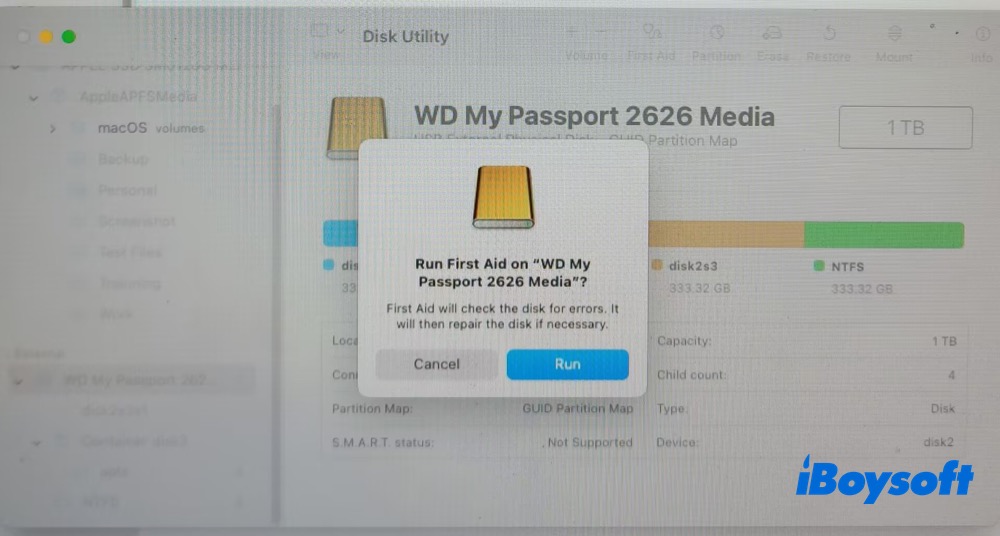
- Click Run to check and repair for disk errors.
If Disk Utility still can't repair your disk, or you receive a report that the First Aid process has stopped or failed, and it's asking for backing up and reformatting, you'd better first follow its suggestion to back up files on that disk to avoid further data loss.
Fix 2. Run FSCK Command
If First Aid still doesn't work, repair your disk by running fsck command on Mac. FSCK is a powerful command line to verify and repair external hard drive in Terminal.
For Intel-based Macs users, restart your Mac and, before the Apple logo appears, hold down Command + S keys to boot into Mac Single User Mode.
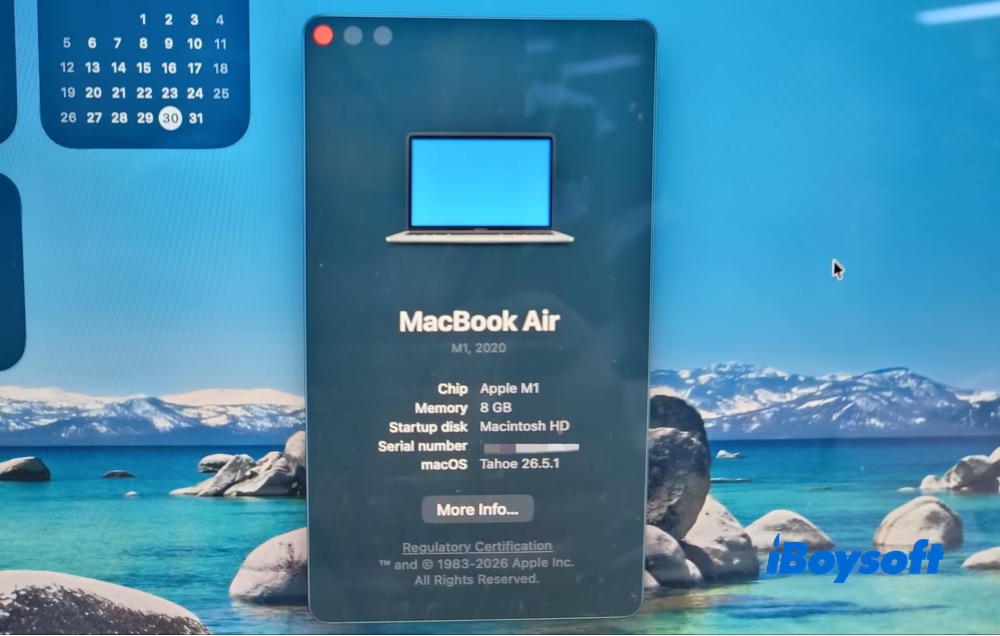
Note: Traditional Single-User Mode accessed through the Command-S (⌘-S) key combination is no longer available on Apple Silicon M-series Macs. Instead, you can access Terminal directly from macOS Recovery Mode to perform command-line troubleshooting and repairs.
For Apple Silicon M1-M5 users, directly boot the Mac to macOS Recovery Mode.
- 1. Select Terminal from the Utilities menu at the top of the screen.
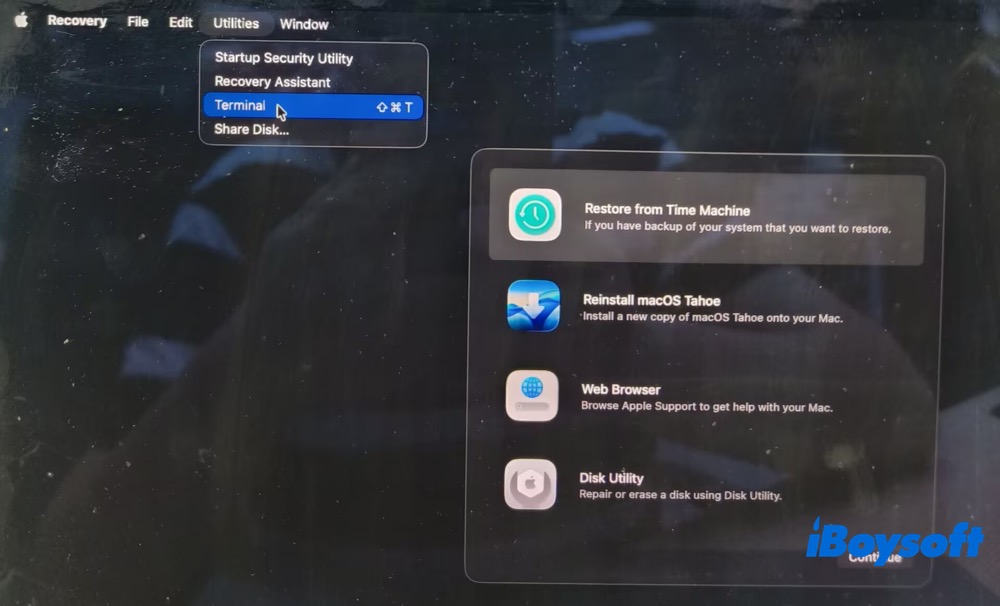
2. Unmount your disk or volume. fsck usually requires the filesystem to be unmounted. To unmount:
diskutil unmount /dev/diskX
or
diskutil unmountDisk /dev/diskX
3. Type in:
fsck_apfs -y /dev/diskX
Replace diskX with your specific disk or container identifier (such as disk2 or disk2s1)
Which command should you use?
| File system | Recommended command |
| APFS | fsck_apfs -y or diskutil repairVolume |
| HFS+ | fsck_hfs -fy |
4. If you see "File system was modified", then re-type the above command again until you see "The volume _ appears to be OK".
Note: The message "File system was modified" means that FSCK found errors in the file system structure and successfully made changes to repair them.
5. To restart your Mac, type in:
reboot
Like this post? Please share it~
Fix 3. Repair Disk from macOS Recovery Mode
If the issue persists, entering macOS Recovery Mode and repairing the disk from there is a practical alternative.
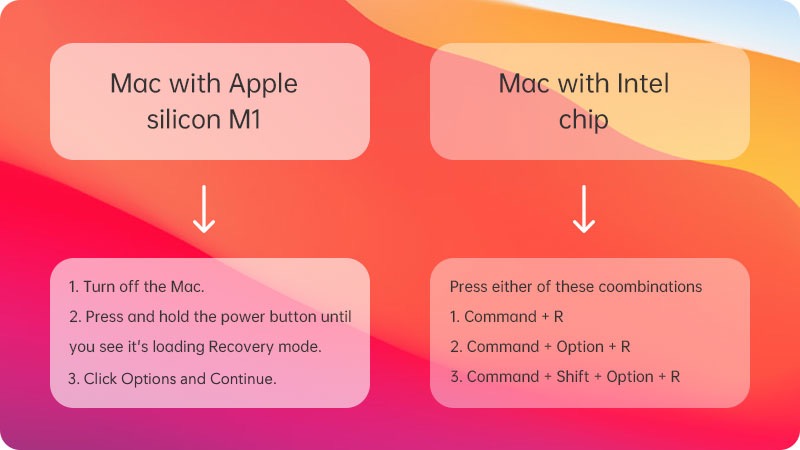
1. Enter macOS Recovery Mode
- Apple Silicon (M1/M2/M3/M4/M5) Macs: power off your Mac, then press and hold the power button until the startup options screen appears. Click Options, then select Continue to enter macOS Recovery.
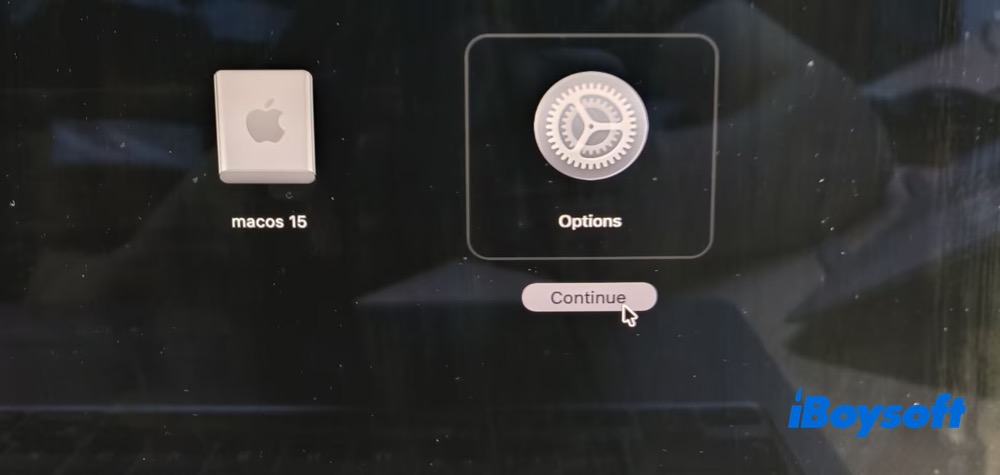
- Intel-based Macs: after shutting down your Mac, restart it while holding Command (⌘) + R until the Apple logo or a spinning globe appears to enter macOS Recovery.
- Select a user account, click Next, and type in your administrator password.
2. Choose Disk Utility from the Recovery window and click Continue.
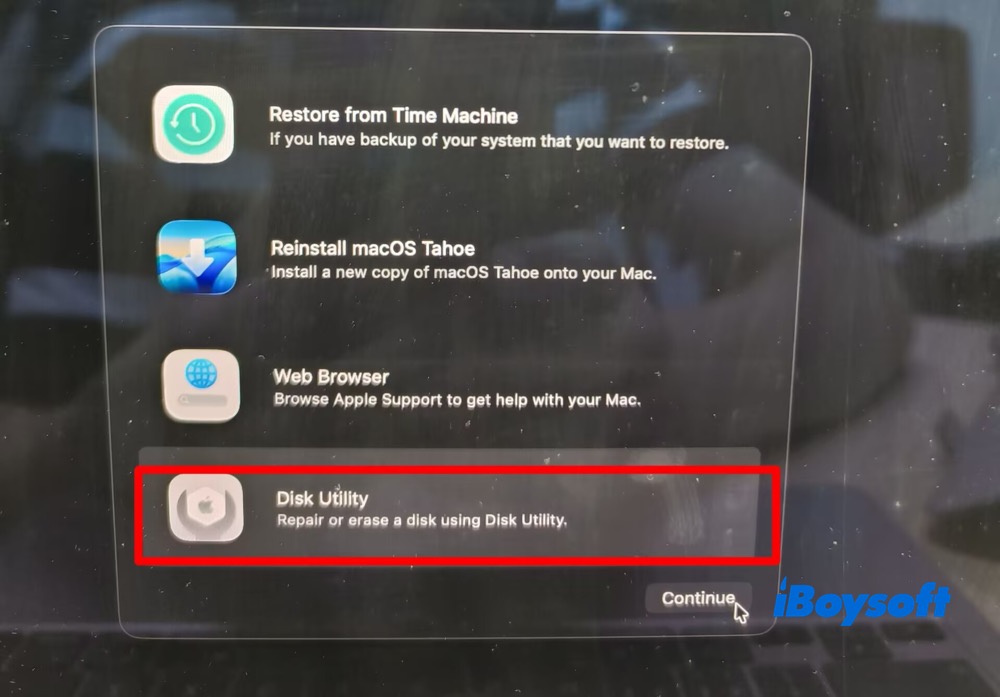
3. In the sidebar, select the last volume on the disk you want to repair first (for example, Macintosh HD - Data).
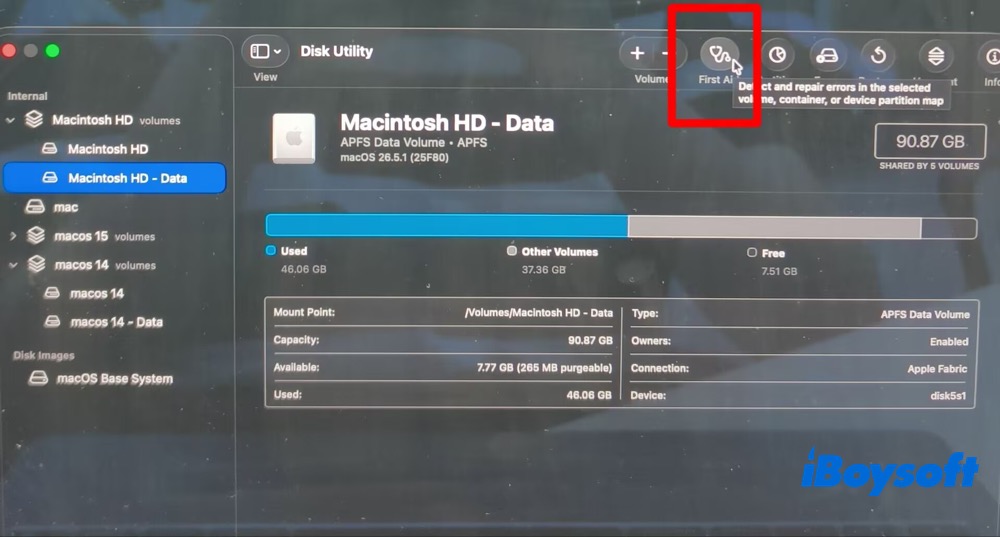
4. Click First Aid, then click Run (or Repair Disk) to start the repair process. Wait until First Aid finishes checking and repairing the disk.
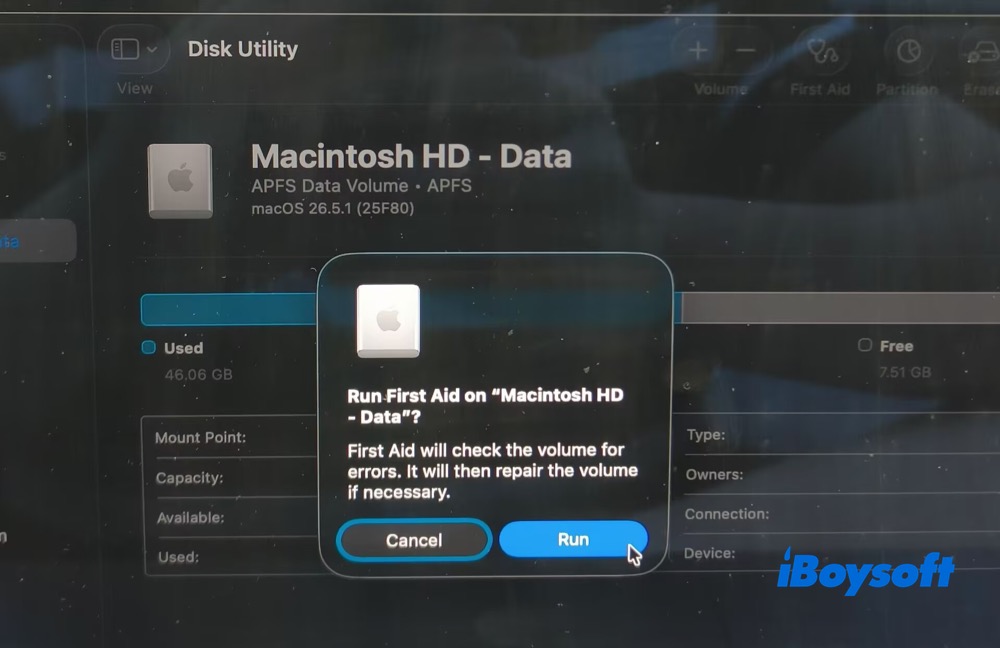
What if the disk still can't be repaired? Back up files immediately if the disk still mounts. Or turn to a data recovery software to recover files if the disk won't mount.
Recover Data from an Unrepairable Disk
Why is a data recovery program needed? A Disk Utility repair failure typically indicates file system corruption. When your Mac cannot even mount the drive, the disk may be beyond repair, making data recovery software necessary to retrieve your files.
iBoysoft Data Recovery for Mac is a reliable data recovery utility for Mac, helping you recover data from unmount disk, a corrupted drive, an inaccessible/formatted drive, internal hard drives, Macintosh HD, external hard drives, and even an unbootable Mac.
- Download, install, and open iBoysoft Data Recovery for Mac (version 5.2.4).
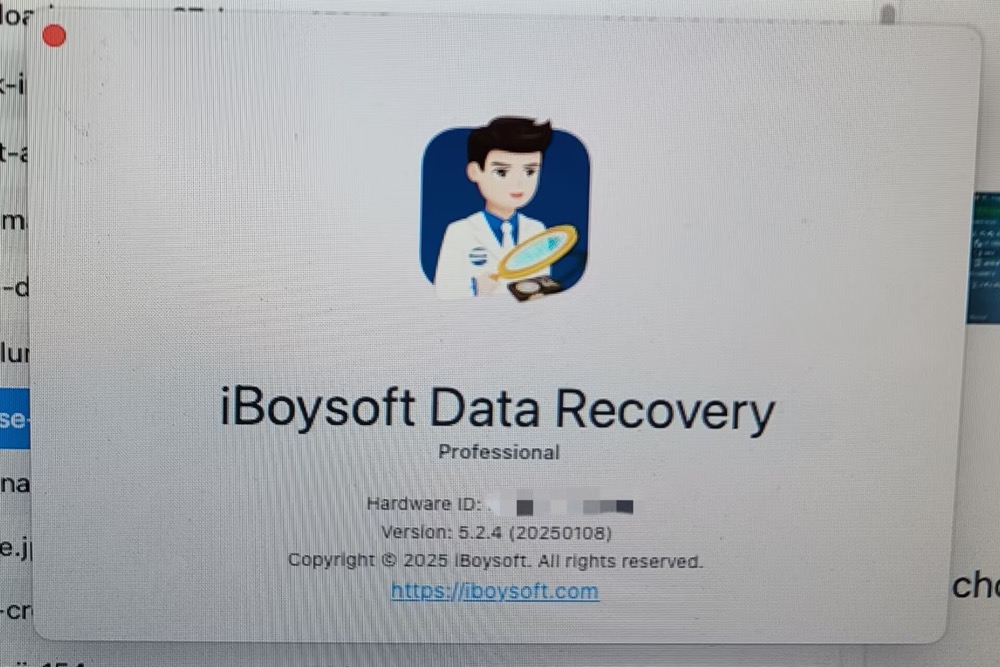
- Select the disk (Internal or external disk) or volume.
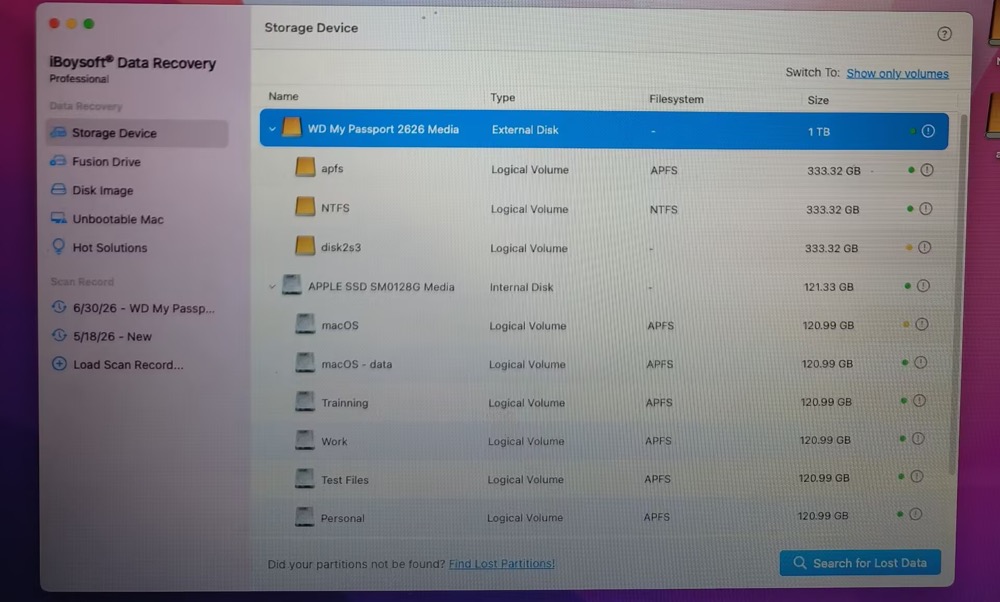
- Click the Search for Lost Data button to begin scanning all lost data.
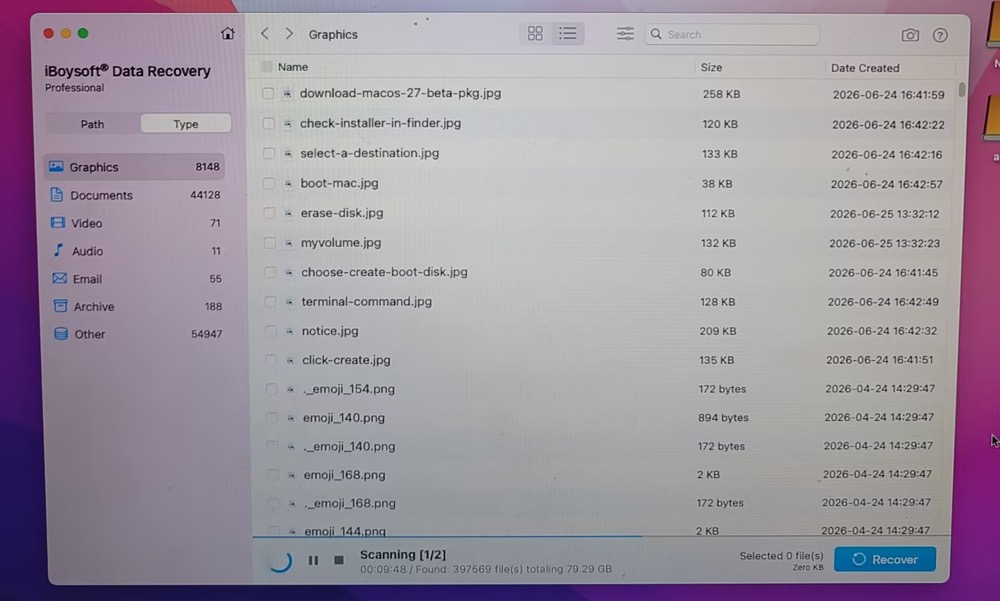
- Preview the files you want to restore.
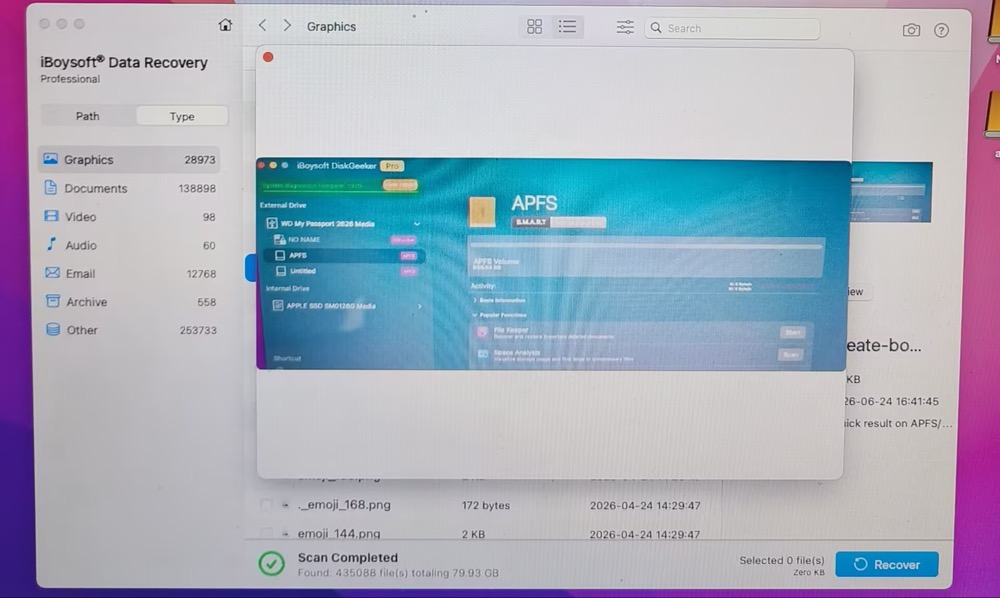
- Choose the files you need, and click Recover to get them back.
(Remember to recover files to another drive.)
Last Resort: Reformat the Disk
The last solution to repair your disk is reformatting the disk. Before you go, you'd better read the warning tip below to know its risks.
Warning: Reformatting will wipe all your files from this disk, so please make sure you have backed them up to an external drive or have retrieved your files from this corrupted drive with iBoysoft Data Recovery for Mac.
- Go to Finder > Applications > Utilities > Disk Utility.
- Select the external hard drive and click Erase on the top.
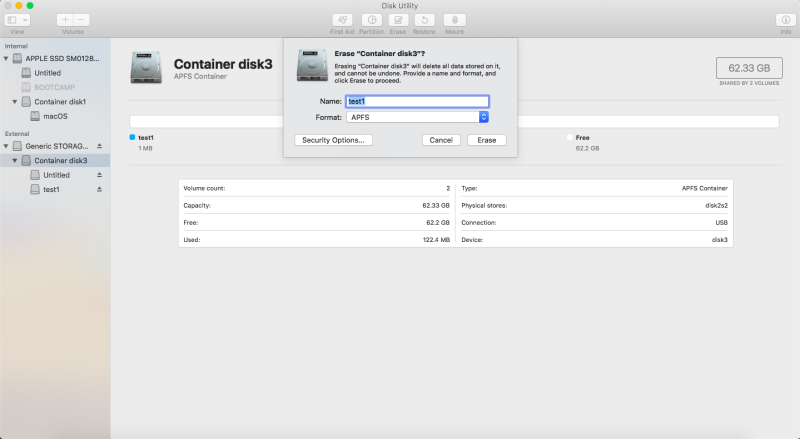
- Provide a name and a format to format the drive.
- Wait until the process finishes.
After reformatting this disk, you can restore your backed-up or recovered files to the disk again. If Disk Utility First Aid still failed on external hard drives, and you receive the info like "This drive has a hardware problem that cannot be repaired" on your Mac, send it to a local repair center or replace it with a new disk drive.
Prevent This Error in the Future
To reduce the risk of file system corruption, follow these preventive measures:
- Always eject external drives before disconnecting them
- Keep regular backups with tools like Time Machine, cloud service
- Avoid force shutdowns since it may interrupt disk operations
- Monitor your drive health regularly.
These simple practices can help protect your data and prevent unexpected disk failures in the future.
FAQs
- Q1. Can Disk Utility repair corrupted disks?
-
A
Disk Utility can repair file system-corrupted disks if the corruption is not severe. It can't repair physically corrupted disks.
- Q2. Does this error mean the disk is dead?
-
A
No, the error does not always mean the disk is dead. It often means the file system is corrupted, the directory is corrupted, the drive has bad sectors, the disk is mounted and in use or improper disk removal.
- Q3. Can I fix the disk without formatting?
-
A
Yes. Try using Disk Utility to repair again, run FSCK in Single User Mode, or repair the disk from macOS Recovery Mode.