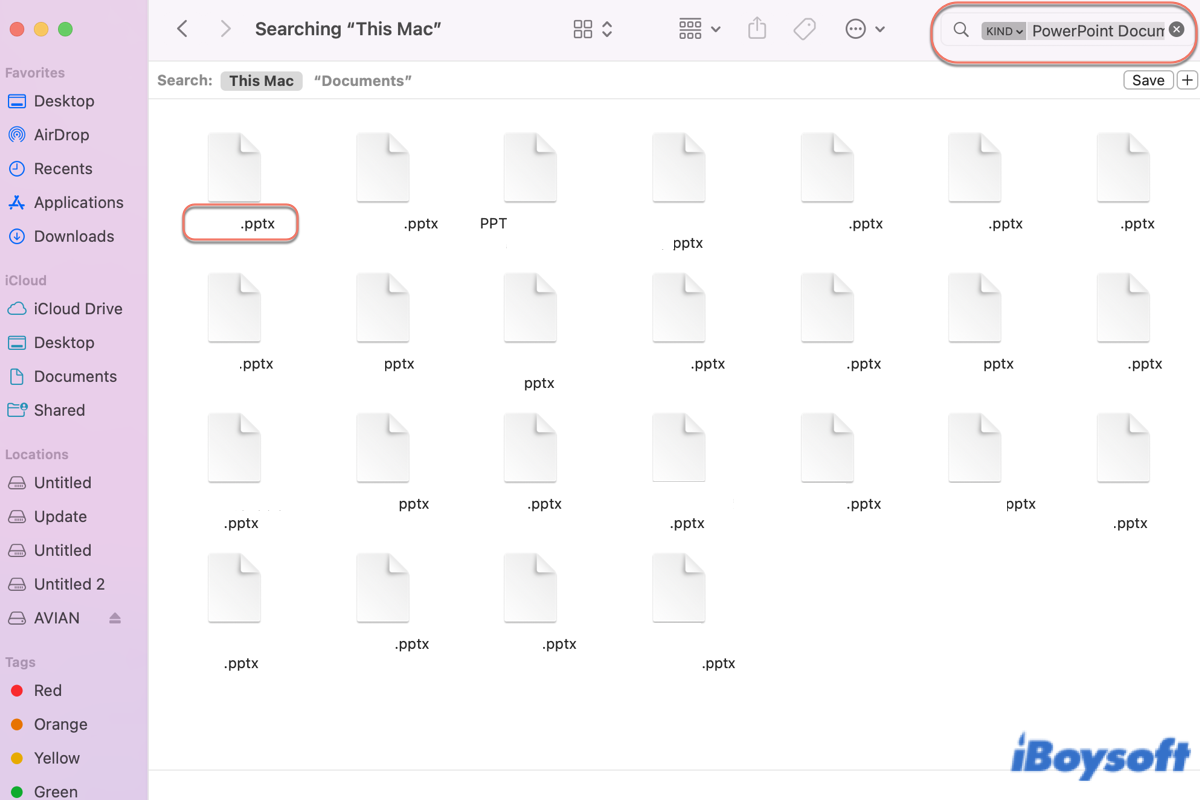
PowerPoint file plays an important role in our daily work or study. However, it is not rare that some people shut down the Microsoft PowerPoint application without saving it or deleting it accidentally. Meanwhile, presentation file loss also hits you if your drive goes wrong sometimes.
No matter what you're suffering from, these cases really drive you crazy. Calm down, this article presents you with useful methods to recover your unsaved or deleted PPT files back on your Mac.
How to find a PowerPoint file on your Mac?
When you notice that your PowerPoint disappears, don't worry, disappearing doesn't mean that you lose it. You can follow the instructions below to show it up first:
You can take advantage of Spotlight Search to look for your PowerPoint files:
- Launch Spotlight Search with Command + Space keys on your keyboard.
- Type in your PowerPoint file name and then Spotlight Search will list it.
- You can also type PPT in the Spotlight Search box if you have no idea of the file name.
Meanwhile, if you have signed in to your OneDrive account on your Mac which has synced with your device, you can launch this app to search for the PowerPoint file.
Or, you can launch Home Folder on Mac to locate your presentation files. The Home Folder is a default folder containing all your account files on Mac, you can launch it by launching Finder > pressing Command + Shift + H shortcuts, then type your presentation's name or ppt in the search box to find your wanted file.
If these 3 methods above cannot search your PowerPoint file out, the following part will walk you through to recover your lost PPT file back with specific ways. Just keep reading!
If you find your PPT file back with the approaches mentioned above, then share this article on your social platform!
How to recover the unsaved or deleted PPT file on Mac?
If mentioned approaches fail to show your presentation file up, then you need to recover it in professional solutions. This part walks you through how to recover the unsaved or deleted PPT files on your Mac with both native and third-party fixes.
Fix 1: Recover PowerPoint files in Open Recent
If the sudden or abrupt shutdown, freezing, or crash of the PowerPoint app leaves you no time to save your PowerPoint files, you can head to Open Recent to recover your files back. Here are how to do:
- Launch the PowerPoint app on your Mac via Launchpad or Finder.
- Head to the File tab on the upper left corner of your Mac screen.
- Scroll down to move your mouse cursor on the Open Recent option, then it will list all PowerPoint files there.

- Open the unsaved PowerPoint file and click the File tab, then tap Save or Save As to keep your PowerPoint file well.
- You're also allowed to click More to know specific PowerPoint files in detail.
Fix 2: Recover PowerPoint files through Terminal
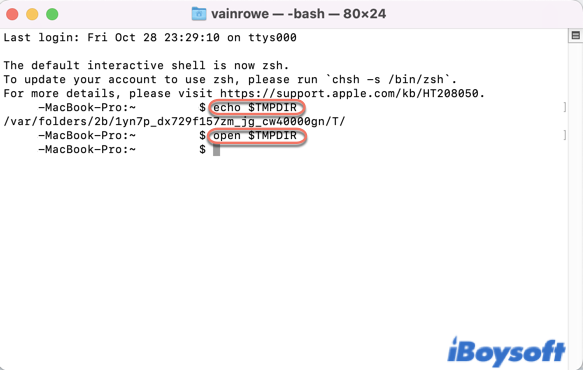
The Terminal app is a versatile built-in toolset on Mac, which can recover your unsaved or deleted PowerPoint file in the temporary folder by running strings of command lines.
- Launch the Terminal app on your Mac.
- Type the following command line in the Terminal window, and then hit Return/Enter key on your keyboard.echo $TMPDIR
- Type the command line below and hit Enter/Return to open the temporary folder on your Mac.open $TMPDIR
- Type the TemporaryItems folder in the search box in the new window.
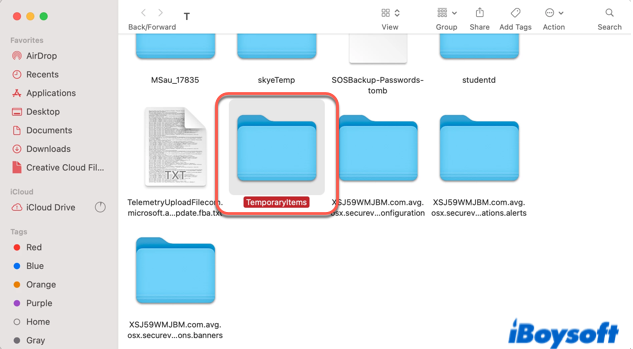
- Locate the com.microsoft.Powerpoint folder and find your unsaved or deleted PowerPoint file.
Fix 3: Recover PowerPoints through Time Machine backup
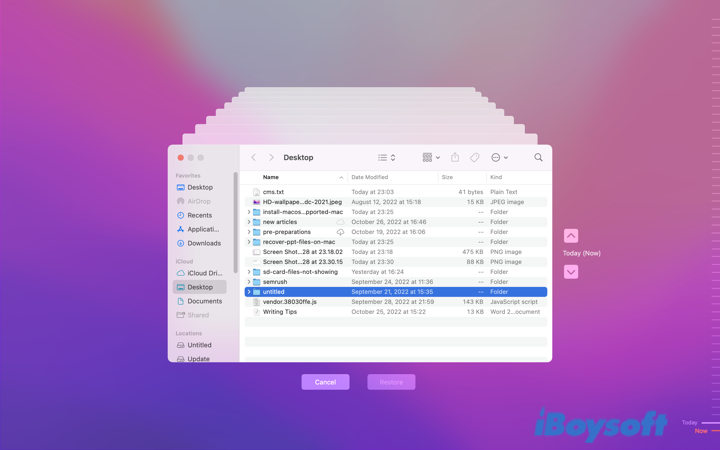
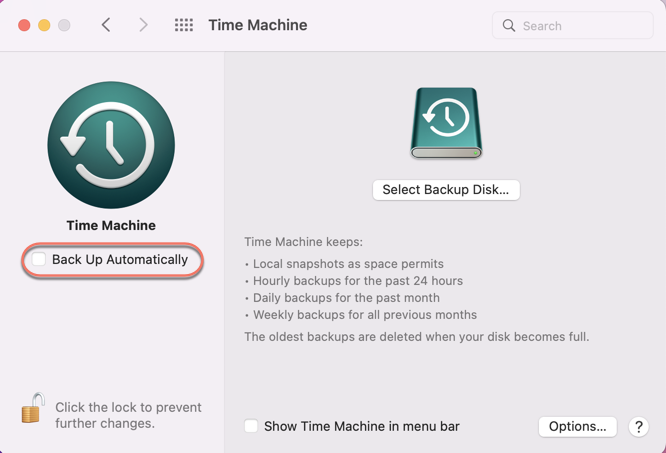
Time Machine is a native backup software in Mac that always back up pictures, videos, audio, Word document, and PowerPoints automatically if you tick the Back Up Automatically option on its main interface. Recovering the PowerPoints in Time Machine backup, therefore, is worth trying.
- Connect the Time Machine backup drive to your Mac. If you have your internal hard drive (Macintosh HD) as the backup drive, just skip this step.
- Launch Time Machine on your Mac.
- Click the Time Machine clock icon on the upper left corner of your Mac desktop.
- Choose the Enter Time Machine option from the dropdown menu.
- Head to the folder that places your deleted PowerPoint file.
- Hit the arrow keys to find your wanted file. If you want to preview the PowerPoint file, just click it and press the Space key.
- Once you find your deleted PPT file, click the Restore button to put the lost PPT back into the folder where it is stored.
Fix 4: Apply data recovery software to recover deleted or lost PPT files
If all mentioned methods fail to recover your PowerPoint file, it is a better choice to take advantage of iBoysoft Data Recovery software.
iBoysoft Data Recovery software is a professional and Apple-trusted software toolset that enables you to recover deleted photos, videos, and any other files on your emptied Trash or from unreadable, inaccessible, formatted, or corrupted SD cards, external hard drives, USB flash drives, digital cameras, memory cards, and so on.
- Connect the drive that you lose your PowerPoint file to your Mac. Skip this step if you put the file on the internal drive.
- Download and launch iBoysoft Data Recovery software on your device. For the first-time installation, you need to allow Full Disk Access and enable system extensions on Mac for the software if your Mac is running macOS 10.13 or later.
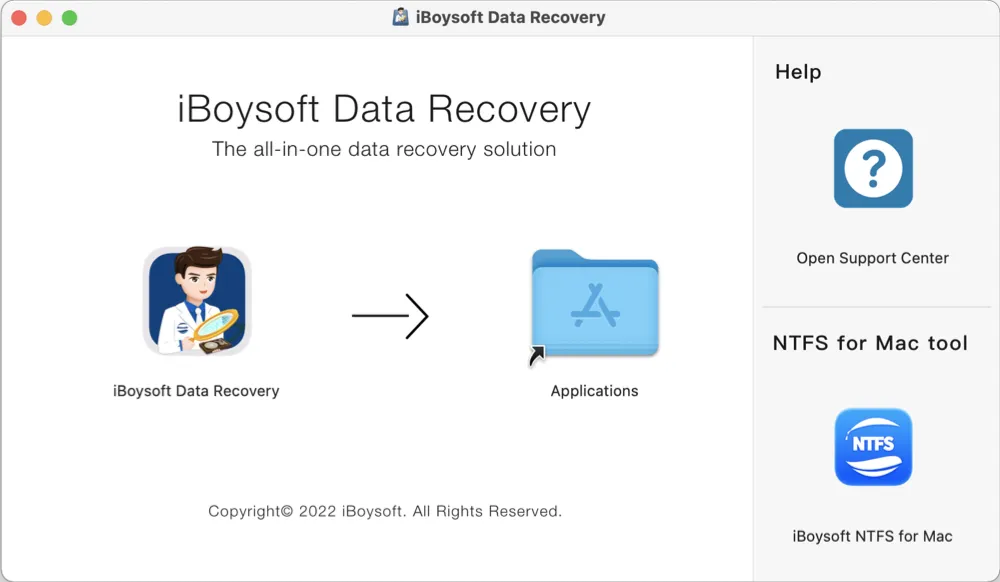
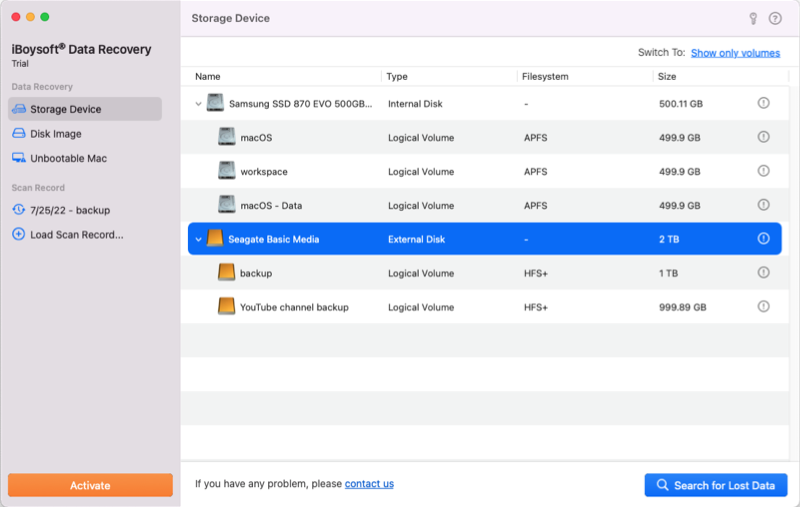
- Select the disk or partition you encounter PPT file lost and click the Search for Lost Data button.
- Wait until the scan is completed, and then click Preview to check the recovered PPT file in advance.
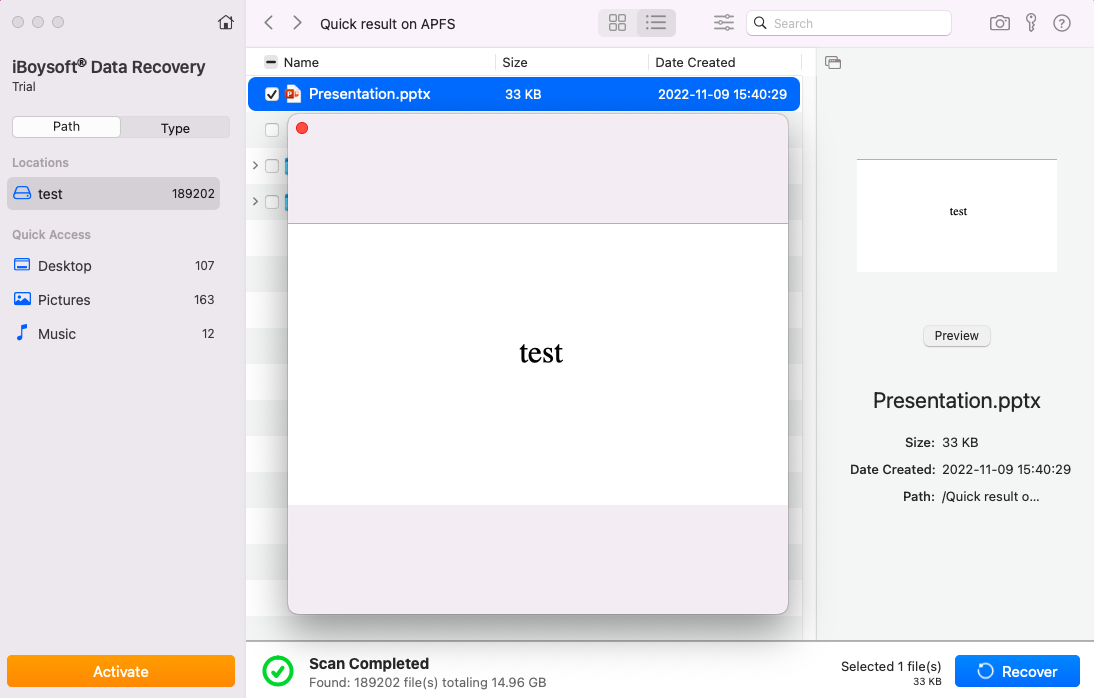
- Select wanted PPT file you want to recover and click the Recover button. You can't save the recovered files to the same drive or partition you scanned, so connect another storage device to your Mac if necessary.
This wonderful data recovery software is also compatible with the new-coming macOS Ventura. If you're running macOS Ventura on your Mac, apply this data recovery toolset to recover your deleted PPT files right now!
If you have recovered your PPT files back, why not share your happiness with more people?
Bonus tips to keep your PowerPoint file well-saved all the time
You will suffer from PowerPoint file miss or loss anytime if the Mac keeps crashing following the SOCD error code. While over and over PowerPoint file recovery is troublesome and annoying. Here are 2 tricks that you can take into practice to keep your PowerPoint file always saved.
Trick 1: Take advantage of AutoSave on your Mac
If you have run Microsoft Office for Mac on your device, you might not be strange to AutoSave. AutoSave is a new feature available in Excel, Word, and PowerPoint for Microsoft 365 subscribers that saves your file automatically, every few seconds, as you work.
It is enabled by default in Microsoft 365 when a file is stored on OneDrive, OneDrive for Business, or SharePoint Online. Therefore, if you want to use AutoSave, just store your PPT file on OneDrive straightforwardly. Every change in your PPT file will be synced on OneDrive. 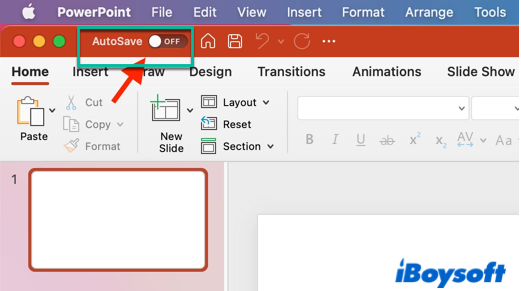
Trick 2: Tick Back Up Automatically on your Time Machine
You might stop your Time Machine backup to leave more available space and free up Macintosh HD. However, you are more likely to fail to recover the deleted files if you have suspended Time Machine backup.
Hence, it is necessary to tick the Back Up Automatically option in your Time Machine interface.
You're recommended to transfer the Time Machine backup to a new drive for more available space on your Mac and a full backup of your files and data at the same time. During the backup process, iBoysoft DiskGeeker is the best choice for it can clone your disk with a stable and fast speed, which obviously shortens the backup time.
Final thoughts
Having PowerPoint file miss or deletion or loss really annoys you, but you need not worry for this article offers you 4 feasible ways to recover it back.
If you recover your presentation back on your Mac, share this article to help more people!
FAQ about recovering PowerPoint files on Mac
- QCan I recover deleted PowerPoints on Mac?
-
A
Yes, you can recover deleted PowerPoints on your Mac through the Open Recent of PowerPoint app, launch the temporary folder on your Mac by Terminal, recover the PowerPoints in Time Machine backup, and download and install iBoysoft Data Recovery software to save your deleted PowerPoints back to your Mac.
- QWhere are PowerPoint autosave files stored on Mac?
-
A
Go to the autosave folder location by navigating to: /Users/Library/Containers/com. Microsoft. Powerpoint/Data/Library/Preferences/AutoRecovery.
