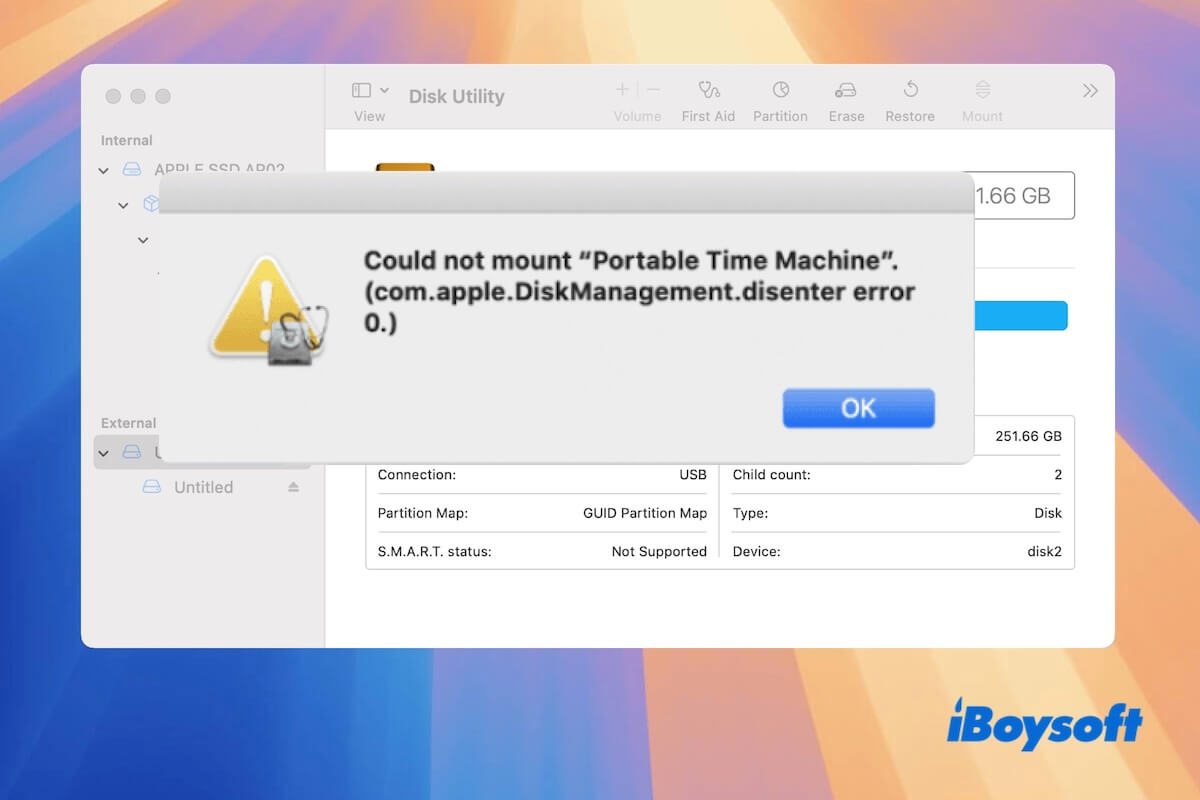
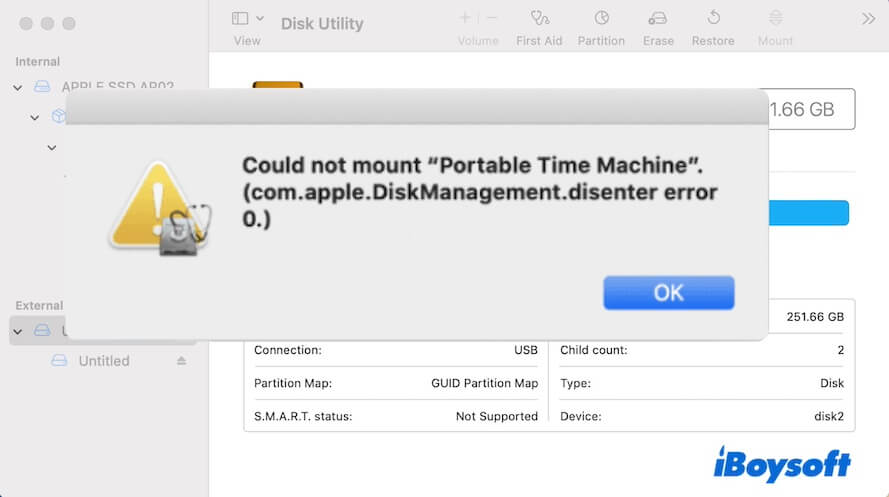
The message "Could not mount disk2s2 (com.apple.DiskManagement.disenter error 0)" in Disk Utility means that your Mac has trouble mounting the external hard drive. This issue can stem from errors on the drive itself or within the system.
Fortunately, it is not a complex problem. In this guide, we walk you through a series of testified solutions, starting with simple ones like restarting your Mac and progressing to more advanced fixes, such as using Terminal to mount the drive or reformatting it. Then, you will regain access to your external hard drive.
Let's take a glance at the solutions for the external hard drive not mounting issue on Mac:
| Way | What problems it solves |
| 1. Restart Mac | Temporary system bugs |
| 2. Check the compatibility of the drive's file system | File system incompatibility |
| 3. Uninstall Paragon or Tuxera NTFS for Mac | Paragon NTFS for Mac's or Tuxera NTFS for Mac's system compatibility bug |
| 4. Check the connections | Bug in connection process or faulty cable or USB port |
| 5. Run Disk Utility First Aid to check the disk | Errors on the hard drive |
| 6. Mount the hard drive with the Terminal | The Mount option in Disk Utility is not working |
| 7. Force quit fsck_ext from the Activity Monitor | The fsck that you use to check the unmountable drive is stuck in the checking process |
| 8. Reformat the hard drive | The hard drive is corrupted |
Free download iBoysoft Data Recovery for Mac to get files off the unmountable hard drive before fixing it. This will protect your data from loss resulting from your accidentally improper operations.
What is disenter error 0?
The "com.apple.DiskManagement.disenter error 0" error message indicates that there are some problems on the drive or macOS, making the disk even cannot be mounted by the Mount feature in Disk Utility. Consequently, you can't access photos, videos, documents, or other files on the external hard drive.
The com.apple.DiskManagement.disenter error can appear with different codes depending on your macOS version and the type of hard drive you're using. So, instead of seeing error code 0, you might encounter a different number alongside the message, such as com.apple.DiskManagement.disenter error 49244, com.apple.DiskManagement.disenter error 49153, or com.apple.DiskManagement.disenter error -119930868.
How to fix com.apple.DiskManagement.disenter error 0
Sometimes, the unsuccessful mounting is caused by a temporary system bug. You can restart your Mac and re-click the Mount button in Disk Utility. If still no changes, try the following tricks to fix the com.apple.DiskManagement.disenter error 0 or with other codes.
Note: Based on our experience, the corrupted format of the hard drive is the primary culprit. If you want to resolve this issue ASAP, you can recover data from the drive with iBoysoft Data Recovery for Mac and then reformat the disk.
We understand maybe you don't like to read the words. Go to watch this intuitive video guide to fix the com.apple.DiskManagement.disenter error 0 issue.
Check if the drive's file system is compatible with macOS
If the macOS can't read the drive, therefore it can't be mounted. For a Linux hard drive, it can't be read on a Mac. At present, macOS only supports these file systems:
- APFS
- HFS+ (or Mac OS Extended)
- exFAT
- FAT32
- NTFS (read-only support)
However, some users find that when they insert an NTFS or exFAT drive into a Mac, this error also appears. That's because they format the drive on Windows but for cross-platform use. Not all Windows allocation unit sizes (block sizes) are supported by macOS.
You can try to update your macOS to fix this issue or reformat the drive on Mac. Remember to recover data from the unmountable drive with iBoysoft Data Recovery for Mac before formatting to avoid permanent data loss.
Uninstall Paragon/Tuxera NTFS for the Mac application
A special case is that if you have an NTFS external drive and use Paragon/Tuxera NTFS for Mac to make it read-write access on Mac, you can try to completely uninstall the NTFS driver.
Some users have reported that the macOS Catalina 10.15.7 security update has created a glitch in the Drive Manager of Paragon or Tuxera NTFS for Mac, leading to the NTFS drive not being mounted on Mac.
Alternatively, try using the latest version of iBoysoft NTFS for Mac. This NTFS assistant has powerful compatibility and function that can solve the macOS Catalina 10.15.7 bug and mount your NTFS drive on Mac successfully.
Share the simple tricks to help others fix com.apple.DiskManagement.disenter error.
Check the connections
External hard drive mounting is an automatic communication process between the OS and the file system of the drive via the USB port. If there's a bug in the plugging process, something wrong with the cable, or the USB port not working, the external hard drive will fail to be connected or mounted.
You can try to:
- Eject and unplug the external hard drive.
- Replug the drive to another USB port on the Mac. If no luck, change to a new matchable cable.
If the external hard drive still doesn't mount automatically, click the Mount feature in Disk Utility to manually mount it again.
Run First Aid in Disk Utility
First Aid is a disk-checking tool on Mac. It can detect and repair errors related to the formatting and directory structure of a disk.
If there's a file system error caused by a previous incorrect ejection, sudden power off, formatting, or other reasons, First Aid may solve it, and then the drive can be mounted.
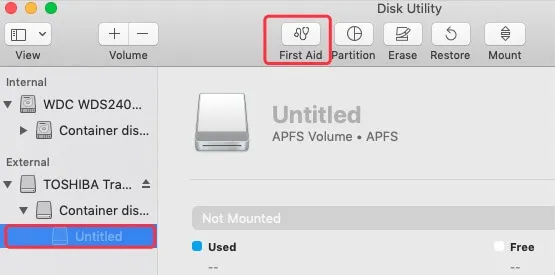
- Open Disk Utility and select the unmounted drive on the left sidebar.
- Select "First Aid" and click "Run".
After running First Aid, if the hard drive still cannot be mounted automatically, manually mount it via the Mount feature once again.
Using Terminal to mount the disk
As a command-line interface on Mac, Terminal allows you to control your operating system and make some changes. When there's a logical error in the process of mounting, the hard drive refuses to be mounted. But the Terminal can work as a bridge to let you take control of the core of the system and then mount the hard drive via command lines.
- Open Finder > Applications > Utilities > Terminal.
- Type the following command to show all the drives on Mac. Then, find the identifier of the unmountable drive. diskutil list
- Type the following diskutil command to mount the drive. Here the disk1s2 should be replaced with the identifier of your unmountable drive. diskutil mount /dev/disk1s2
Force quit fsck_ext from the Activity Monitor
If you have used fsck to check the unmountable hard drive, this error may happen when the fsck is stuck in the checking process.
Using Activity Monitor (the Mac Task Manager) can quit the process, even if it's in a loop or not responding. Thus, you can try to force quit the fsck in Activity Monitor.
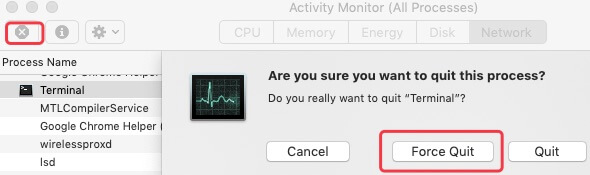
- Open Activity Monitor > search fsck in all tabs (CPU, Memory, Disk, etc.).
- When finding the fsck, select it and click the × icon in the upper-left corner.
- Select Force Quit.
Reformat the hard drive
If the mentioned ways still can't fix the com.apple.DiskManagement.disenter error 0, it indicates that the file system of the drive is probably severely corrupted. You have no choice but to reformat it.
Reformatting a drive will erase all data on it. To avoid permanent data loss, it's important to recover your files first. We recommend using iBoysoft Mac Data Recovery, a powerful tool that can help retrieve data from unmountable, corrupted, or inaccessible hard drives.
After recovering data, you can format the external hard drive on Mac. Here's how:
- Open Disk Utility.
- Select the unmountable drive from the left sidebar.
- Click "Erase" on the top toolbar.
- Select a name and choose a file system for the drive.
- Click Erase.
Problem solved? Share your joy with others!
Tips to avoid com.apple.DiskManagement.disenter error
As mentioned above, this com.apple.DiskManagement.disenter error is probably due to your wrong operations in daily life. Paying attention to these tips will reduce the risk of occurrence of this error.
- 💡 Don't directly unplug your external hard drive (You should right-click the hard drive and select Eject before unplugging it).
- 💡 Don't download untrusted third-party software.
- 💡 Don't forget to check your Mac and external hard drives with First Aid in routine.
- 💡 Don't power off your Mac suddenly before shutting it down properly.
Our final thoughts
Don't panic if you encounter com.apple.DiskManagement.disenter error 0, error 49244, error 119930878, or similar messages when trying to mount an external hard drive on your Mac.
This issue can stem from drive corruption, an incompatible format, a poor connection, or system bugs. Additionally, we've found that NTFS-formatted external drives may fail to mount on macOS Catalina 10.15.7 when using Paragon or Tuxera NTFS for Mac, especially after the security update on March 17, 2022. So, the compatibility of Paragon/Tuxera NTFS for Mac is also a possible troublemaker.
No matter what's causing the problem, our guide provides solutions to help you get your drive mounted and accessible again on your Mac.
Related articles:
Here, we've sorted out the common disenter error message you'll see:
⚠️ com.apple.DiskManagement.disenter error 49244
⚠️ com.apple.DiskManagement.disenter error 49180
⚠️ com.apple.DiskManagement.disenter error 49153
⚠️ com.apple.DiskManagement.disenter error 49223
⚠️ com.apple.DiskManagement.disenter error 49221
⚠️ com.apple.DiskManagement.disenter error 49218
⚠️ com.apple.diskmanagement.disenter error 53249
⚠️ com.apple.DiskManagement.disenter error -119930868
Share the post with others to fix com.apple.DiskManagement.disenter error together.
FAQs about com.apple.DiskManagement.disenter error 0
- QHow do you fix a hard drive that won't mount Mac?
-
A
You can follow these solutions:
1. Restart your Mac.
2. Reconnect the hard drive to another USB port on your Mac.
3. Manually mount the hard drive in Disk Utility.
4. Use the Terminal to mount the hard drive.
5. Recover data from the unmountable drive with iBoysoft and then reformat it.
- QHow do I force my Mac to mount an external hard drive using Terminal?
-
A
1. Open Terminal.
2. Enter diskutil list into the Terminal window to find the identifier of the unmountable external drive.
3. Go on typing diskutil mount /dev/disk1s2. You need to replace disk1s2 with the identifier of your unmountable external drive.