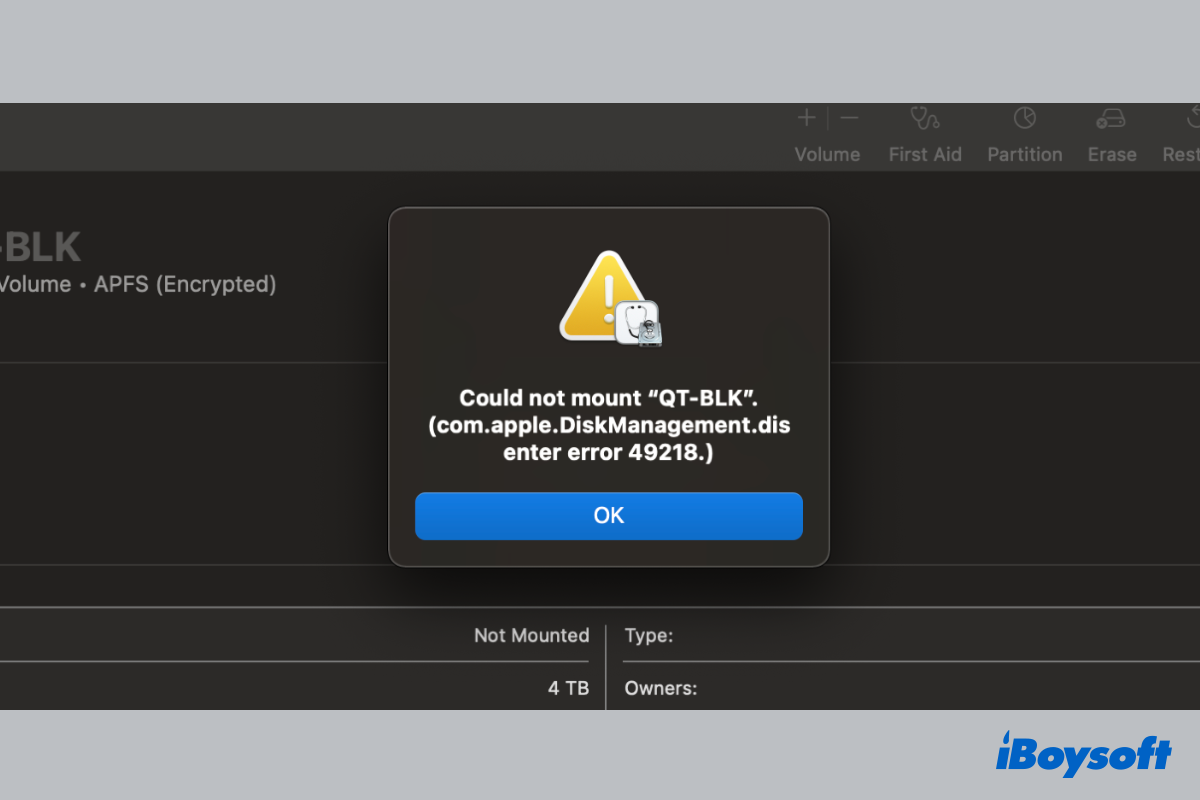
Generally, once the connected drive is connected and mounted by macOS, the drive icon shows up on the Desktop or in the Finder sidebar for further access. A problem, however, happens when the external drive is greyed out and unmounted in Disk Utility. You click the Mount button in the Disk Utility but receive the error Could not mount "drive"(com.apple.DiskManagement. dissenter error 49218).
Many Mac users have encountered this error when they attempted to mount an external hard drive on their Mac after updating to macOS Tahoe/Sequoia/Sonoma/Ventura/Big Sur/... Here, you will find proven solutions to fix com.apple.DiskManagement.disenter error 49218.
I connected my external drive to my Mac, but found it was unreadable. I tried First Aid on it and received the error com.apple.DiskManagement.dissenter error 49218. How to fix? -reddit.com
What causes com.apple.DiskManagement.disenter error 49218?
com.apple.DiskManagement.disenter error 49218 is a type of com.apple.DiskManagement.disenter error that displays when you manually mount the external hard drive with the Mount button in Disk Utility, but fails, when the external hard drive is not mounting on Mac, all your data is inaccessible.
The reasons behind the error are various. Commonly, this could not mount drive issue results from system glitches, external drive corruption, file system incompatibility, problematic fsck process, etc.
First step: Recover data from the drive with error 49218
Any further steps to fix the diskManagement.disenter error 49218 may pose a risk to your drive content, and reformatting the drive will erase all of your data. If you haven't created a backup, you can try iBoysoft Data Recovery for Mac to get files off the unmountable drive in the first step.
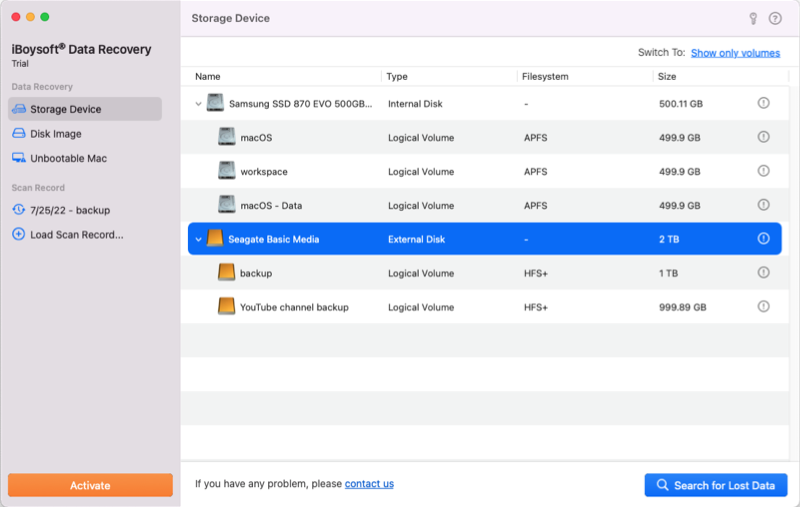
iBoysoft Data Recovery for Mac is a professional data recovery tool, which is user-friendly with a Finder-like UI, and fully supports the latest macOS 26 Tahoe and M1/M2/M3/M4 Macs. This data recovery tool works on various data loss situations, including recovering data from an unmountable drive. Free download it to have a try now!
Steps to recover data from an unmountable drive on Mac:
- Download, install, and launch iBoysoft Data Recovery for Mac.
- Head to Storage Device on the left side.
- Choose the unmountable drive and click Search for Lost Data.

- Filter and preview the scanned results.
- Select the wanted files and click Recover to save them to a different location.
Now, you can follow the methods below to fix com.apple.DiskManagement.disenter error 49218 without data loss.
How to fix com.apple.DiskManagement.disenter error 49218
Many Mac users face the "com.apple.DiskManagement.disenter error 49218", often when trying to mount a drive in Disk Utility or repair it with First Aid. When this happens, the drive won't mount, meaning it won't appear in Finder or on the Desktop.
If restarting your Mac, testing the drive on another Mac or macOS, or switching USB cables doesn't work, you'll need to try other methods to fix the error and make the drive usable again.
Fix 1: Repair the drive with First Aid
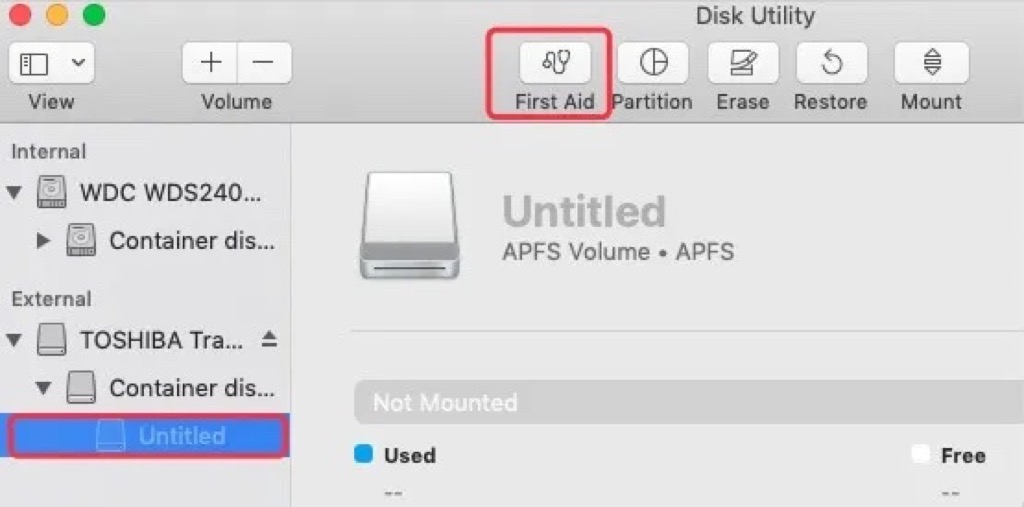
Disk errors, such as file system corruption, could make the drive unmountable on a Mac. You can run First Aid, a feature in Disk Utility, to check and repair the detected minor errors in the disk formatting and directory structure. If it fails, keep trying it several times.
- Head to Disk Utility from Launchpad.
- Click View > Show All Devices.
- Select the unmountable external drive on the left and click First Aid on the toolbar.

- Click Run to begin the process.
- Wait for the process to complete, and click Mount to mount the drive.
If First Aid fails to repair the unmountable drive, or it returns the same message com.apple.DiskManagement.disenter error 49218. You can run First Aid repeatedly, as some Mac users find it works after multiple attempts.
Fix 2: Force mount the drive using Terminal
When you can't mount it manually in Disk Utility, you can still try to force-mount the drive on a Mac via Terminal. Here's how:
- Launch Terminal from Finder > Applications > Utilities.
- Type the following command and press Enter to find the identifier of the unmountable drive. diskutil list
- Type the command below to mount the drive(Replace the disk1s2 with the identifier of your unmountable drive).diskutil mount /dev/disk1s2
Fix 3: Kill the fsck process
Fsck is a tool used to check the consistency of a file system. If the fsck process is stuck during the checking, it may cause the drive to be unmountable with com.apple.DiskManagement.disenter error 49218 on your Mac. Then, killing the fsck process may help fix it. Here's how:
- Open Disk Utility from Applications > Utilities.
- Select your external hard drive and click Mount.
- Launch Terminal and type the command below to kill the fsck process.sudo pkill -f fsck
- Type your admin password and press Enter. (The password won't echo to your screen.)
- Check if your drive is mounted now. If not, select it and run First Aid again.
- Restart your Mac.
Have you fixed the DiskManagement.disenter error 49218 with our methods? If you have, share it with more people!
Fix 4: Change the disk allocation size
The drive might not be able to be mounted on some older Macs if the allocation size is more than 1024. In this case, you may need to reformat the drive on a Windows computer in exFAT and select 1024 as the allocation size. exFAT on Mac is fully compatible; you can reconnect the drive to Mac, and it should be automatically mounted.
Fix 5: Log out and log back in
When the com.apple.DiskManagement.disenter error 49218 occurs on the external hard drive; you can try to log out of your user account and log back in; this is proven by Mac users. The steps are pretty simple; just give it a shot. You'd better save the working projects before logging out.
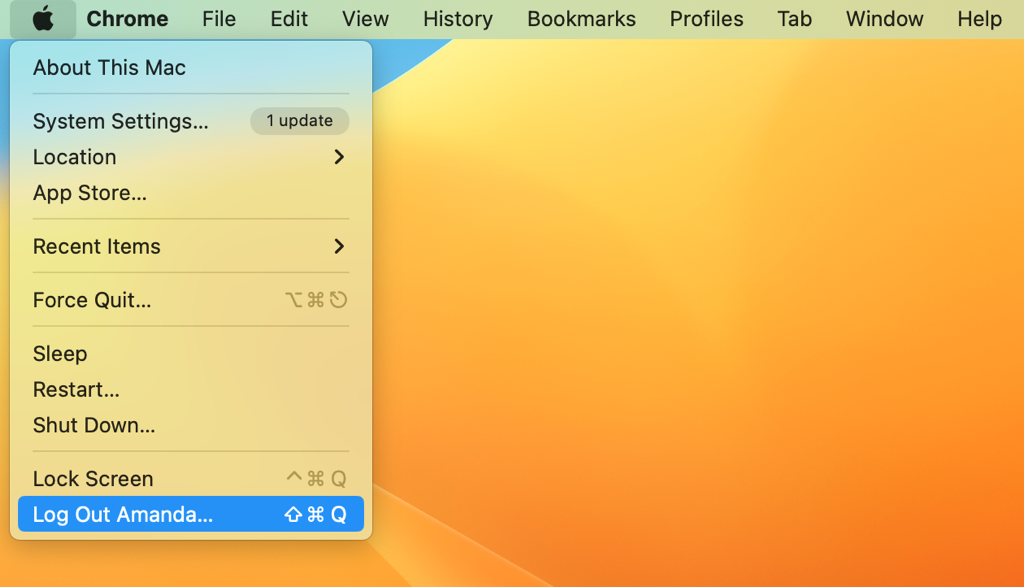
- Click the Apple menu and choose Log Out (username).
- Tap Log Out on the pop-up window to confirm.

- Select your user account and enter the password on the login screen.
Fix 6: Partition the external disk
Another possible fix for com.apple.DiskManagement.disenter error 49218 is partitioning the external hard drive on Mac using the Partition button in Disk Utility. This operation shouldn't erase the drive data. But it is recommended to recover data from the unmountable drive before you take such a major operation.
Fix 7: Reformat the drive on Mac
Unluckily, all of the above methods don't work to fix com.apple.DiskManagement.disenter error 49218 on the external hard drive, and the drive is still unmountable, then there could be some serious errors on the drive. The last resort you can apply is to reformat the drive.
Reformatting will delete all drive content; therefore, make sure you have already recovered the wanted files from the unmountable external drive with professional data recovery software like iBoysoft Data Recovery for Mac. Then you can continue reformatting the drive without losing data.
Share the method that works to fix the DiskManagement.disenter error 49218!
FAQs about DiskManagement.disenter error 49218
- QHow to fix a hard drive that won't mount?
-
A
Recover data ASAP with a professional tool like iBoysoft Data Recovery for Mac, then use Disk Utility's First Aid, check the drive on another Mac, replace the cable or port, or reformat the drive if needed.
- QCould not mount One Touch com.apple.DiskManagement.disenter error?
-
A
Try First Aid in Disk Utility, reset NVRAM/SMC, use Terminal ('diskutil' commands), or reformat the drive.
- QHow do I fix no mountable file system on Mac?
-
A
Reformat the drive to a macOS-compatible file system (APFS or Mac OS Extended) after backing up data.
