Keeping your Mac updated to date is essential to make it run smoothly and securely. Generally, you navigate to the Software Update panel, check for available updates, download the updates from the Apple server, install the new macOS version, and restart the Mac. Then, you can enjoy the latest macOS verson with its new features.
Unexpectedly, the Software Update not working on MacBook Air/Pro/iMac, it disables you from successfully updating macOS to a newer version. And the specific scenarios vary when the Software Update is out of order. Sometimes, it pops up error messages on the screen illustrating the problem, or it doesn't give you any explanations.
Tips: Never miss these feasible fixes when you fail to update macOS Tahoe:
Fix "can't download macOS Tahoe"
What to do if you can't update to macOS Tahoe
There are some common situations when MacBook Software Update not working:
- Mac stuck on checking for updates.
- Update not found. The requested version of macOS is not available.
- The macOS Ventura update download is stuck.
- macOS Ventura installation failed.
- The request timed out. An error occurred while installing the selected updates.
- The Update Now/Upgrade/Restart button is not working.
Quite a lot of reasons can lead to the Software Update not working problem on macOS Sonoma, Ventura, Monterey, and earlier, including the internet connection, date and time settings, status of Apple Software Update server, compatibility between the macOS and the Mac model, and so forth.
Here are some proven solutions to get rid of MacBook Software Update not working. Let's dive into the details.
Check the macOS compatibility
The first step to preparing Mac to upgrade to macOS Ventura is the check whether the macOS is supported by your Mac Model. Given that with every release of macOS, Apple phases out the support for some old models. You can not install macOS Ventura on unsupported Mac by default.
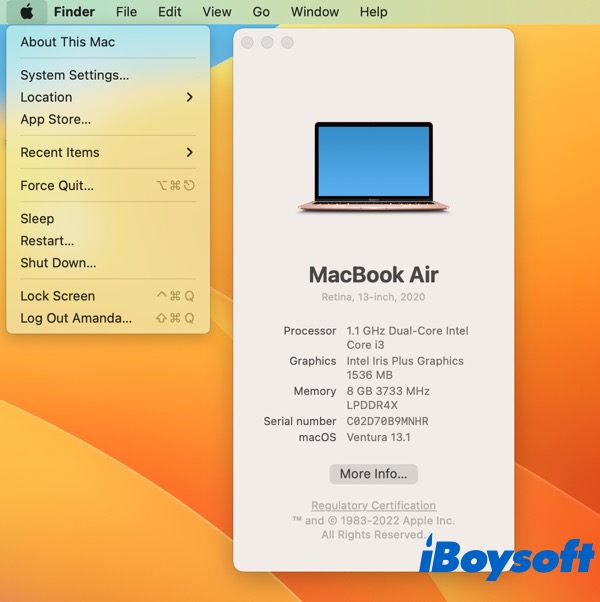
Therefore, you should know what macOS/OS X can your Mac run with two steps. You should identify the Mac model info from the Apple menu > About This Mac, then check whether the wanted macOS is compatible with your Mac by visiting Apple's support page.
Ensure enough disk space
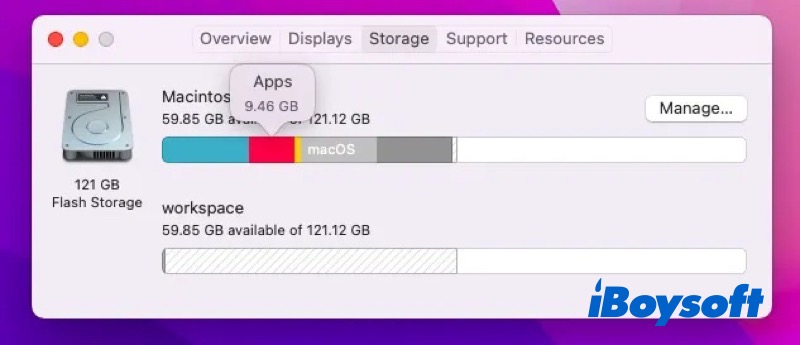
It needs gigabytes of storage space to update macOS to the latest version such as from macOS 13.0 to macOS 13.1. And it requires more when you upgrade from one generation to another, such as from macOS Monterey to macOS Ventura, the installer is 12 GB. What's more, it is recommended to double that space available.
In case the disk space is tight, and no sufficient storage for the update installer, then it will fail to download and install the macOS update on your Mac. To fix this issue, you should check the free space on Mac and free up space on Macintosh HD.
Try iBoysoft DiskGeeker to clean junk files on Mac with ease!
Ensure a good network connection
A quality network connection is important for updating macOS. You should make sure the network connection is in good condition, secure, and stable, otherwise, it may fail the macOS update. It is better to use an Ethernet connection compared with WiFi. Restart the router if you find the networking is poor or not working.
Why Won't My Mac Connect to Wi-Fi? 10 Fixes to Get Back Online
This post states why your Mac won't connect to Wi-Fi and how to fix it in 10 feasible ways when Mac or MacBook can't connect to Wi-Fi. Read more >>
Set Mac date and time correctly
Incorrect date and time on your Mac could also cause the Software Update not working issue. When you click the "check for updates" button, your Mac will send the request and load the available update from the Apple server. If the date and time are not synced with that of Apple, you cannot update macOS successfully.
Set date and time on macOS Monterey and earlier:
- Go to the Apple Menu > System Preferences.
- Select Date & Time with a clock icon on the pane.
- Unlock the padlock at the bottom with your admin password or Touch ID.
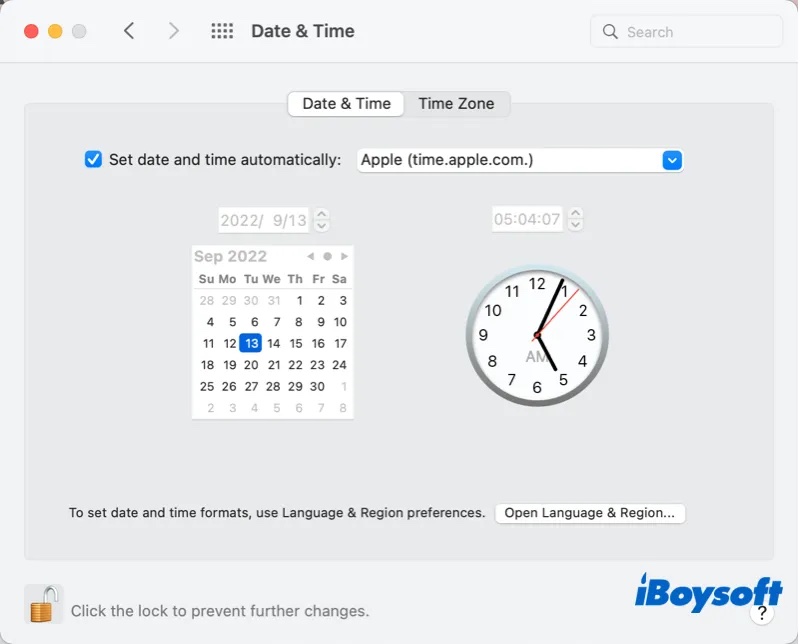
- Choose the Date & Time tab, check the box "Set date and time automatically" and choose the Apple network time server.
- Choose the Time Zone tab, and choose "Set time zone automatically using current location."
- Click the lock to save the changes and quit System Preferences.
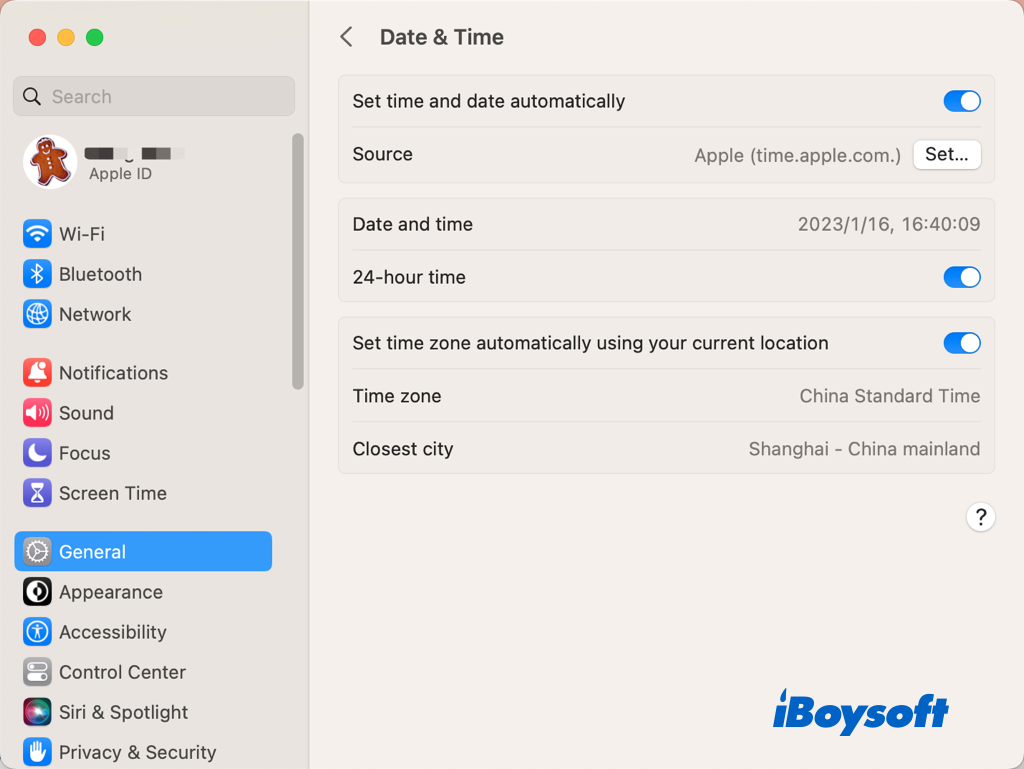
Set date and time on macOS Ventura:
- Head to the Apple menu > System Settings.
- Choose General on the left sidebar and select Date & Time on the right.
- Toggle on the button next to "Set time and date automatically" and choose the Apple server.
- Toggle on the button next to "Set time zone automatically using current location."
Relaunch the Software Update panel
After macOS find an available update for your Mac, there is an Update Now/Upgrade button, you should click it to continue downloading and installing. Or Mac automatically downloads the macOS update and prompts a notice, but if you ignore it, when you reopen the Software Update panel you will see a Restart button.
Abnormally, some Mac users click the button but it seems that Update Now not working or Restart not working. When you encounter the same situation, the possibility is that the Software Update is stuck, exactly, it is the System Preferences/System Settings getting stuck. Just close or force quit the app and relaunch it.
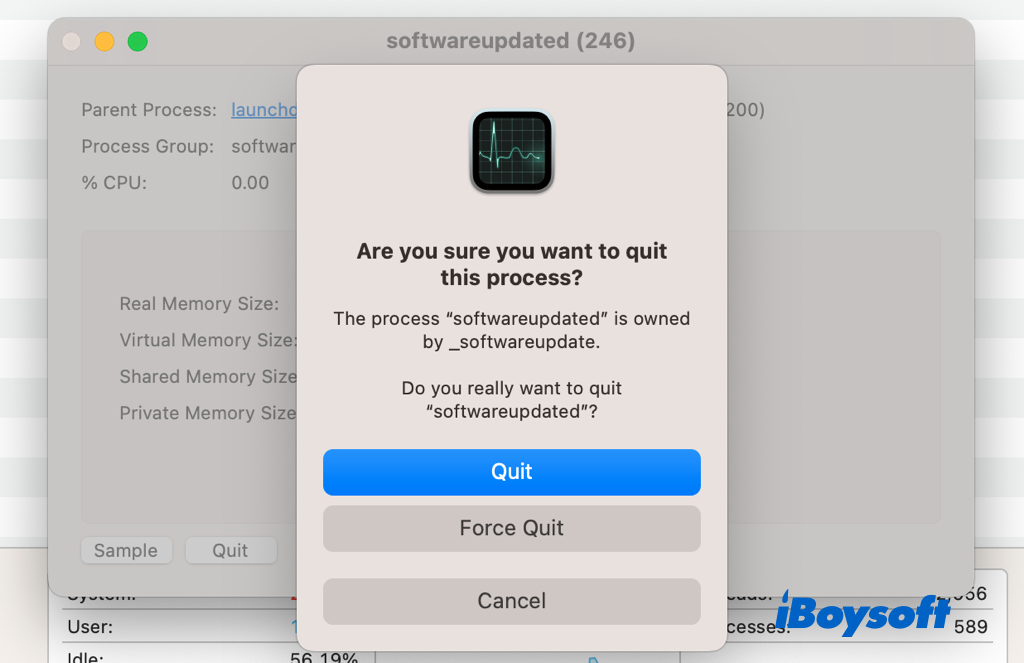
Kill the softwareupdated process
Some Mac users found that reloading Software Update helps when it is not working. It needs to manually kill the softwareupdated process in Activity Monitor. The next time you head to the Software Update panel within the System Preferences/System Settings, it reopens this process automatically.
- Open Activity Monitor from Finder > Applications > Utilities.
- Search for the softwareupdated process using the search box.
- Double-click the softwareupdated process to pop up a new window.
- Click the Quit button and choose Quit again to kill the process.
Reset software update preferences
Perhaps, the updating process is corrupted due to network connection issues or some others, then your Mac may have already downloaded part of the update files on your Mac. Hence, it may lead to conflicts when you redownload the macOS updates, resulting in update failure.
Thus, you should reset the software update preferences, also called PLIST files to let it automatically recreate. Here's how:
- Open Finder and click on "Go" on the top Finder menu bar.
- Select "Go to Finder" from the drop-down menu.
- Enter ~/Library/Preferences/com.apple.SoftwareUpdate.plist into the search box and press Return.
- Drag the file and drop it into Trash.
- Close Finder, restart your Mac and then reopen the Software Update panel.
Update macOS in safe mode
Software Update is still not working even if you have restarted the Mac. Then you can try the safe mode on Mac. It could check and repair some OS-related issues, and clear caches. When booting into safe mode, it only loads the macOS and essential apps that are needed for the Mac to run. Thus, it could isolate faulty login items, extensions, plugs, etc., which could be the culprit of malfunctioned Software Update.
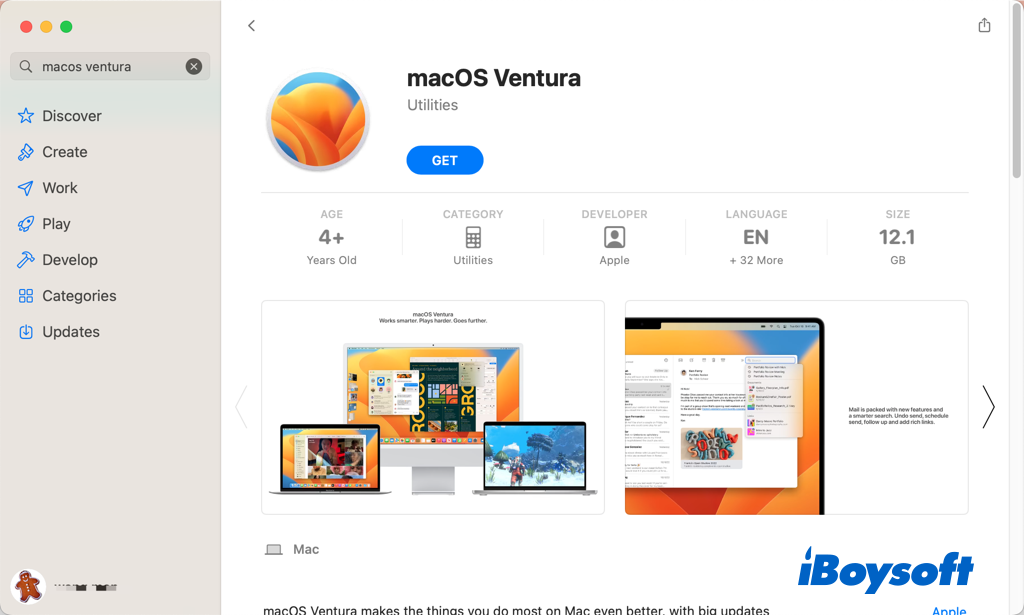
Update macOS via App Store
Mac App Store is another way you can update macOS to the latest version. The indexes of Other older macOS are hidden in the App Store that is why you can't find macOS Mojave/Catalina/Big Sur/Monterey in App Store. To update your Mac to Ventura, just open the App Store, type "macOS Ventura" and search for it, then download and install it with the onscreen guide.
Update macOS with a bootable installer
Rarely, if all the above methods fail to solve the Software Update not working issue on MacBook Air/Pro/iMac, it seems that there are severe problems on your Mac, and you'd better fix it ASAP to avoid potential data loss. The last method we recommend here is to update macOS with a bootable installer.

Complete Guide on How to Create A Bootable Installer for macOS
A detailed tutorial on how to create a bootable installer for macOS, including what you need to prepare, how to get the macOS installer, how to get the macOS installer onto your external storage, and how to use the bootable USB macOS installer. Read more >>
Read more:
How to Fix the Available Software Updates Have Changed Error on Mac?
If you think this post helps solve Software Update not working issue, just share it!