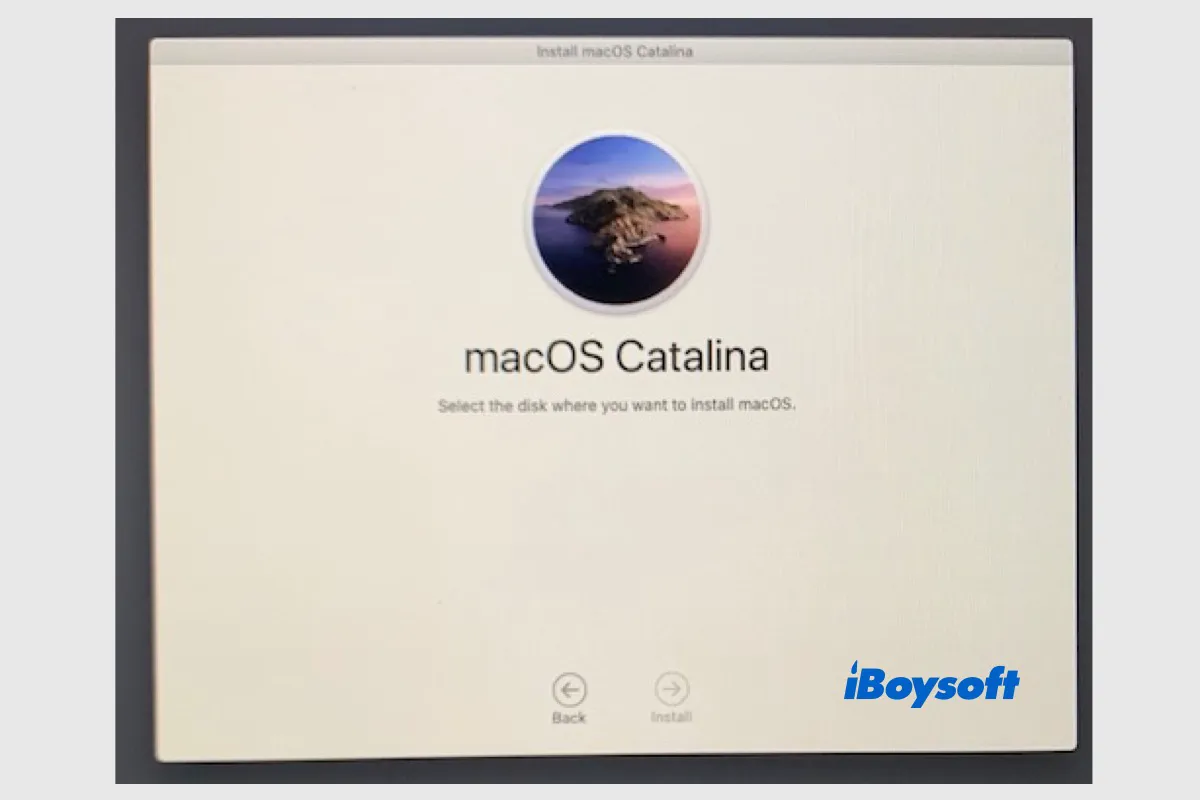
Mac users may want to update to the latest macOS Ventura for better performance, reinstall macOS to fix system errors, downgrade macOS for compatibility issues, etc. The "Select the disk where to install macOS" screen may appear if there's more than one startup disk during installation.
Generally, the internal drive and the connected external drive should appear. You need to select the disk you want to install macOS on, then follow the onscreen guide to complete the installation. Unexpectedly, select the disk where to install macOS blank, or no disk appears on the screen.
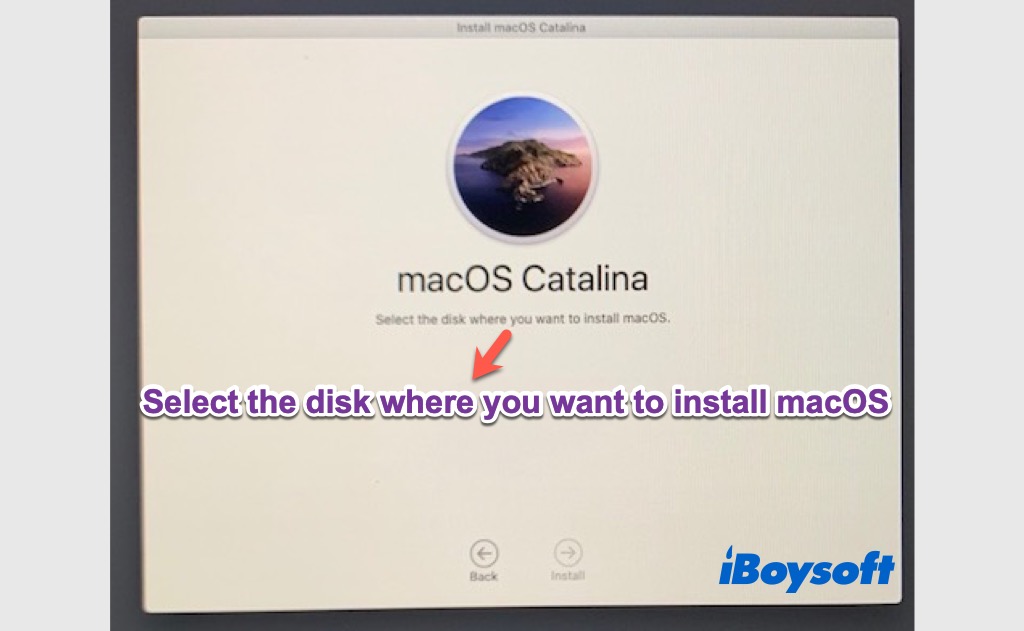
To continue to install macOS, you need to fix the issue that select the disk where to install macOS blank, stay tuned to know more!
Recover data from the disk not showing when reinstalling macOS
When the internal/external startup disk is not showing in the "select the disk where to install macOS" screen, it indicates that there could be severe disk errors, and your drive data may get lost. If you haven't backed up the drive before, you'd better recover the drive data first before proceeding to fix the issue.
You can try iBoysoft Data Recovery for Mac, professional data recovery software for Mac, to save your data from the disk not showing when reinstalling macOS. It supports Intel Macs and Apple Silicon Macs and is fully compatible with macOS Sequoia. Free download and install iBoysoft Data Recovery for Mac!
Steps to recover drive data from iBoysoft Data Recovery for Mac:
- After downloading the installer, follow the onscreen instructions to install it.
- Connect the external drive that is not showing, and launch iBoysoft Data Recovery for Mac.
- Select Storage Device from the left sidebar and choose the drive not showing to reinstall macOS.
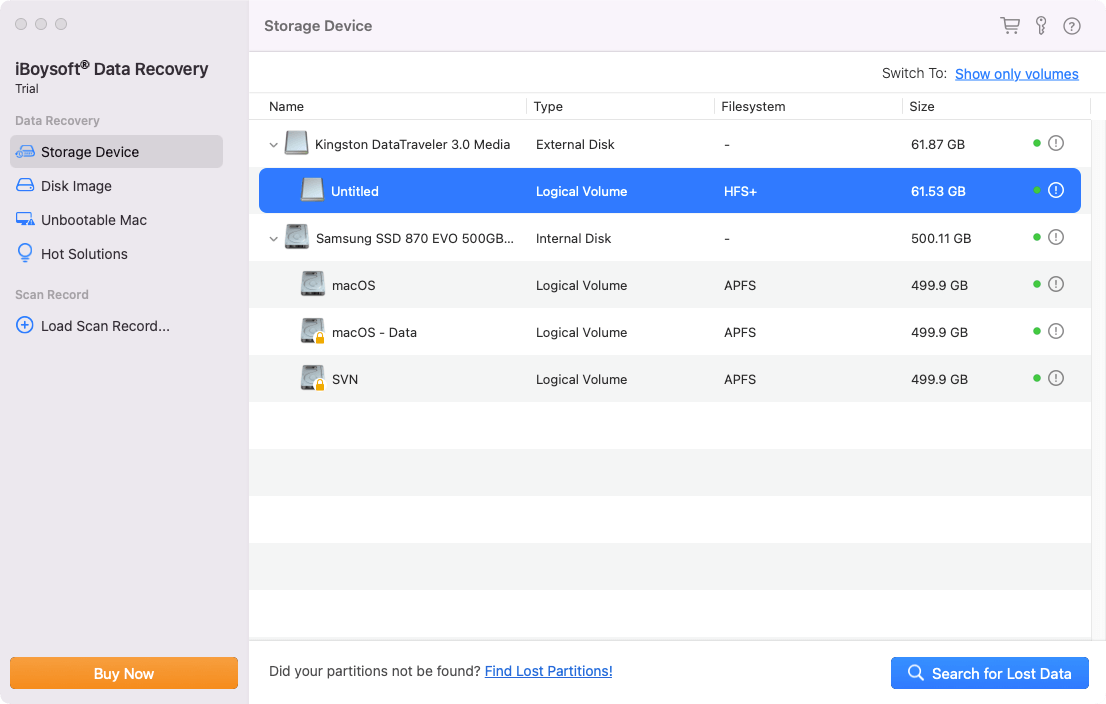
- Click Search for Lost Data to start scanning.
- Filter files by different categories and then preview recoverable files.
- Select the desired files and click Recover.
- Then save the files to a different location.
Proven fixes for no disk appears when reinstalling macOS
It is annoying when there is no disk to install macOS on the "Select the disk where to install macOS" screen, the internal drives as well as the external drives don't appear, let alone install macOS to the target volume. Therefore, we conclude some proven methods to fix the issue that select the disk where you want to install not showing. Apply them one by one until the problem gets solved.
# 1 Check the connection for the external drive
When the connected external disks don't show up on the select disk window, you should first check whether the drive is plugged correctly. The involved parts, such as the USB port, the USB cable, and the hub, should all be in good condition, otherwise, the external hard drive not showing up on Mac.
# 2 Check the file format of the drive
The incorrect file format of the target volume makes it incompatible with the installed macOS, and thus, selecting the disk where you want to install does not show the target drive. To make sure whether the incompatibility is the culprit, you can check the info in Disk Utility, macOS' built-in disk management tool.
- Open Disk Utility from Finder > Applications > Utilities.
- Click the View button and select Show All Devices.
- Select the desired volume where you want to install macOS from the left list.
- Check the info, including the partition map and file system on the right.
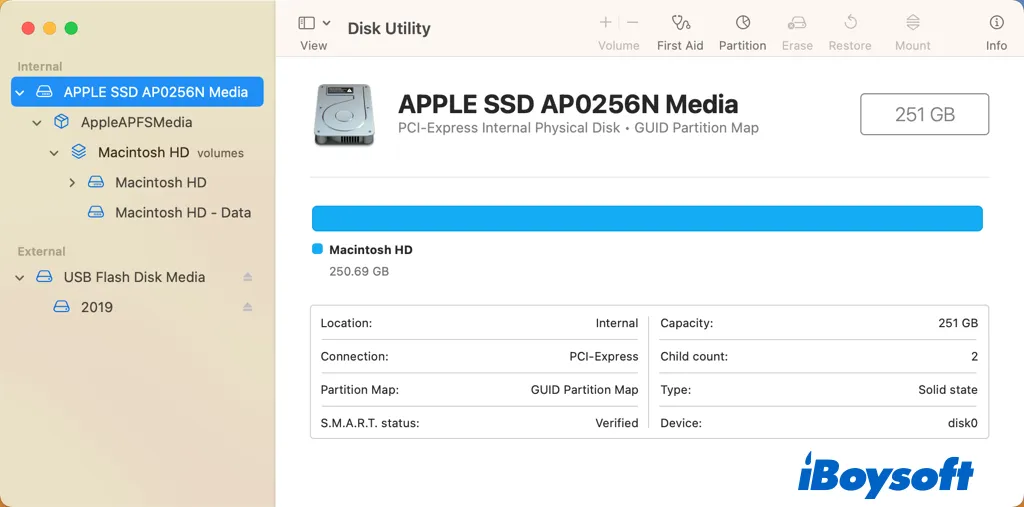
To install macOS onto a drive, the partition scheme should be GUID Partition Map and the file system should be Mac OS Extended for macOS Sierra and earlier, or APFS for macOS High Sierra and later. Thus, if the internal drive is in other formats such as FAT32, exFAT, NTFS, etc., it can't be used to install macOS. You can change a drive or format the drive for Mac.
# 3 Repair the drive with Disk Utility
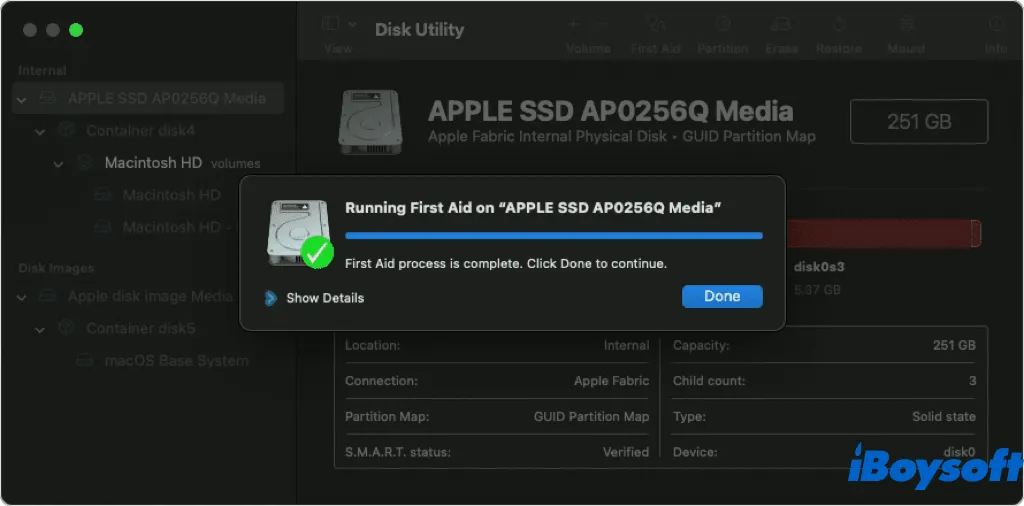
Once you encounter drive-related errors on Mac, you can try Disk Utility's First Aid feature to check and repair the drive. Sometimes, there is corruption, bad sectors, or other errors on volumes, causing no disk to appear when reinstalling macOS.
- Reboot the Mac into macOS Recovery Mode.
- Select Disk Utility from the Utilities screen.
- Tap the View button > Show All Devices.
- Choose the volumes where you want to install macOS.
- Click the First Aid button on Disk Utility's toolbar.
- Click Run when asked to confirm the operation > Click Continue.
- Try to install macOS again.
# 4 Create a partition under the drive
Some Mac users found that there is no volume under the internal physical disk, or the AppleAPFSMedia is uninitialized, when they check the drive info in Disk Utility. Such a situation could also occur on an external drive. If so, partitioning the hard drive on Mac could solve the there is no disk to install macOS error.
- Head to the Disk Utility from macOS Recovery Mode.
- Click View > Show All Devices to display all drives on the left.
- Select the drive and choose Partition.
- Choose the partition scheme as GUID Partition Map, and select the file system as Mac OS Extended/APFS.
- Follow the onscreen guide to complete the partitioning.
# 5 Reformat the problematic drive
To fix the incompatibility between the drive format and the macOS installer, you will need to format the disk. Besides, if some severe errors cannot be repaired by Disk Utility's First Aid, you can also try reformatting to eliminate all logical errors on the drive. It may work to fix the select the disk where to install macOS blank problem.
- Enter macOS Recovery Mode and access Disk Utility.
- Click View > Show All Devices.
- Select the desired drive and click Erase in the toolbar.
- Similarly, select GUID partition map and Mac OS Extended/APFS.
- Click Erase to start reformatting.
- Wait for the process to complete.
If any method helps to fix select the volume where to install macOS blank, share it!
Why is select the disk where to install macOS blank?
The "select the disk where to install macOS" blank issue may occur on the virtual machine, physical MacBook, internal disk, and external disk. Thus, the triggers behind the problem vary from these aspects, all of which are suspicious.
To be specific, when you encounter the no disk appears when reinstalling macOS error, the causes could be a problematic virtual machine, corruption on the hard drive, an unpartitioned Apple SSD, incorrect file format, a defective USB cable for an external HDD, etc.
Final words
Remember to do a data recovery and backup as soon as possible if you fail with all fixes. Perhaps the drive is physically damaged and can not be detected by the system, so it doesn't appear on the "Select the volume where to install macOS" screen. Then, you can send it to a local repair shop for further help or consider a replacement.
Share our post if you feel it is helpful.