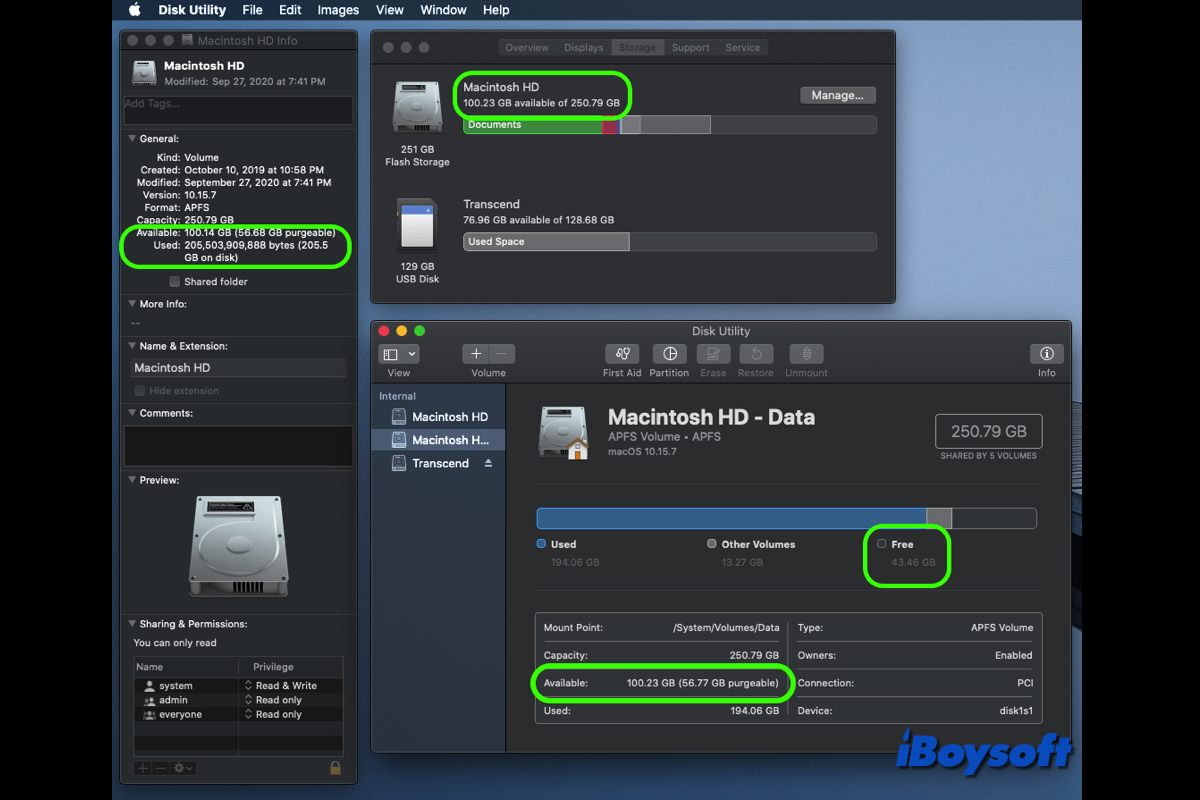
It is necessary to know how much free disk space is on the Macintosh HD or external drives before you update macOS, download apps on the Mac, install macOS on external drives, etc. Insufficient free disk space could lead to errors on your Mac.
There are several you can choose from to check free disk space on Mac either on the internal drive or on the external drive. However, some Mac users report that macOS shows incorrect free space, such as:
- Deleting files doesn't free up space on Mac
- Disk Utility showing incorrect free space
- External hard drive not showing correct free space on Mac
- Finder, Disk Utility, and Storage tab show different free space in macOS
- The Finder shows more available space than the Disk Utility
In this post, we are going to explore possible solutions to fix incorrect free space on Mac.
| Workable Solutions to Mac storage showing incorrectly | Specific steps |
| Fix 1. Empty the Trash | Right-click the Trash and choose Empty Trash |
| Fix 2. Restart your Mac | Open the Apple menu and select Restart |
| Fix 3. Remove purgeable space | The easiest and fatest way is using a third=party Mac cleaner to scan and delete the purgeable space on Mac, you can also manaly remove it by taking a series of operations, including disabling Optimize Mac Storage for iCloud Drive, removing them via Terminal, etc. |
| Fix 4. Try Safe Mode | Shut down the Mac, press Option key on Intel Mac and immediately press the Shfit key, release Shitf key when login window appears; press and hold the Option key on Apple Silicon Mac, choose the Startup disk, hold down Shift, and choose Cobtinue. |
| Fix 5. Erase local snapshots | Open Terminal and run command tmutil listlocalsnapshots /, then find the unwanted one and delete it. |
| Fix 6. Reindex Spotlight | Open the Spotlight settings, add the drive showing wrong disk space to the box to prevent Spotlight from searching, and remove it. |
| Fix 7 Repair the drive | Open Disk Utility, select the target hard drive, and click First Aid. |
Share this post with people who encounter macOS showing the wrong free space!
Why is my Mac showing the wrong free space?
I'm in the process of installing Windows 10 on my Macbook Pro (macOS 10.13.4/17E202, 256 GB of storage, no partition), but Boot Camp says I need at least 40 GB of storage.
So I freed up some space by removing some files, and "About My Mac" now shows almost 100 GB of free space on my Mac. However, the Disk Utility shows only 33 GB of free storage... 3 times less.
Generally, the free disk space on the Macintosh HD or the external drive should be the same no matter the ways you choose to check it. Unexpectedly, the amount of free space in Disk Utility is different from that of Finder, or the Storage tab. Perhaps, you know the correct free space on the drive it should be but Mac reports a wrong number.
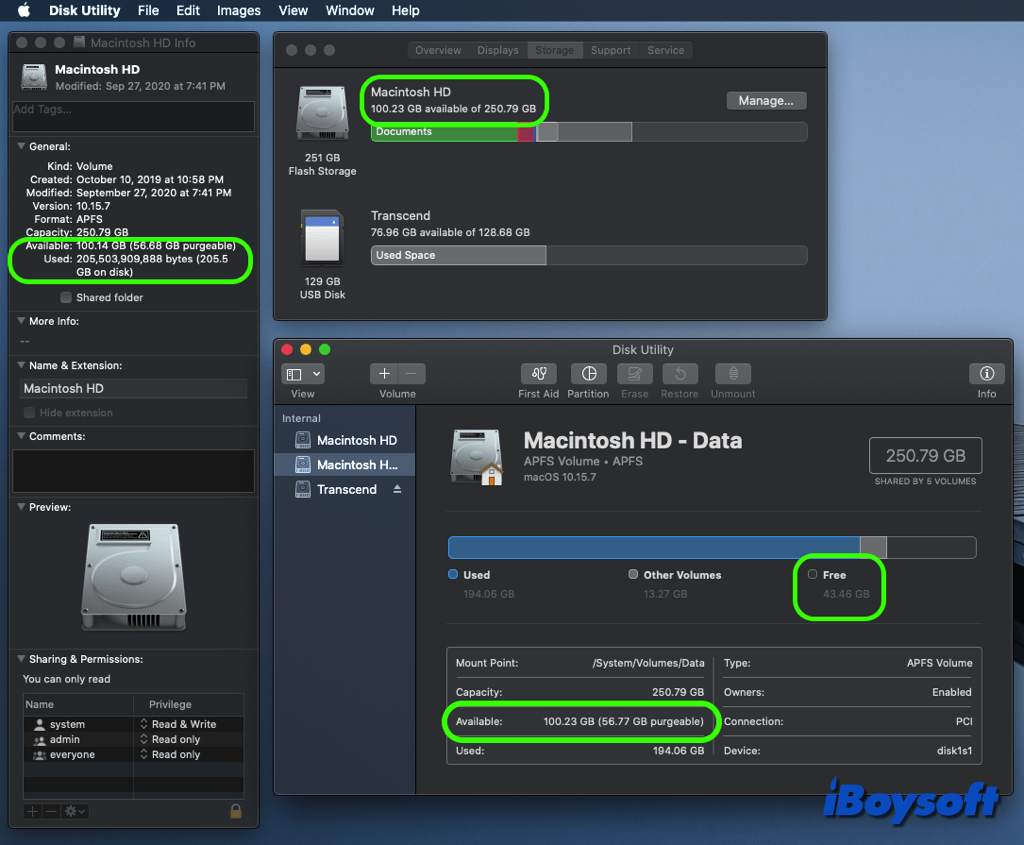
According to the discussion in forums, the reasons are mostly likely the local snapshot of Time Machine, the purgeable space on Mac, system glitches, disk errors, etc.
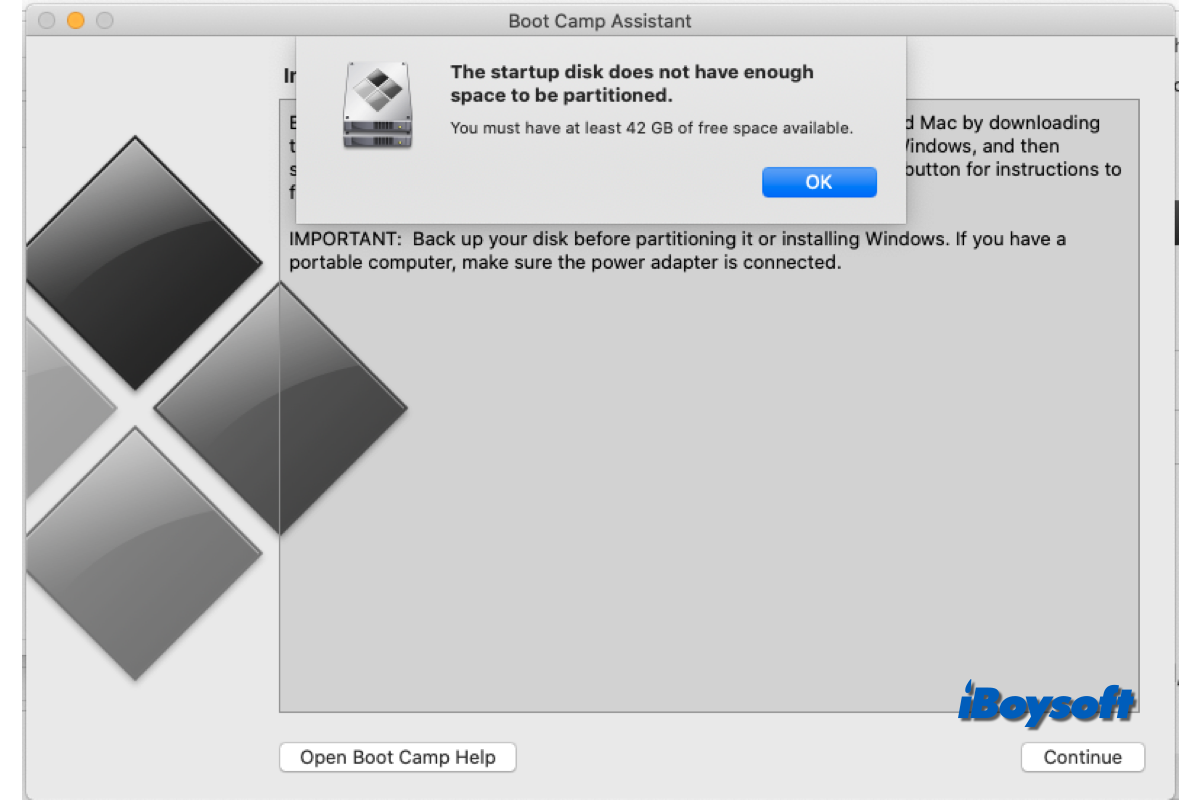
Receive the warning that the startup disk does not have enough space to be partitioned when using Boot Camp Assistant, but there is plenty of space on the Mac startup disk, read this post to learn the possible causes and effective fixes. Purgeable space is the most probable reason, clean them via iBoysoft DiskGeeker to fix the issue quickly.
Fix macOS Disk Utility showing incorrect free space
For the incorrect free space on Mac, there are many fixes. Before choosing one of the remedies, it is crucial to back up your data. Then you can proceed to fix incorrect free disk space in Disk Utility, Finder, and the Storage tab.
Fix 1. Empty the Trash
Perhaps, the culprit of the incorrect free space on the Mac hard drive is the deleted files remained in the Trash. Although you delete files on Mac, those items are just moved to the Trash folder, and they still occupy the disk space. Therefore, you find the free space doesn't increase. Just emptying the Trash to completely delete files on Mac.
Fix 2. Restart your Mac
When the Disk Utility shows the wrong free space on your Mac, it could be caused by temporary system glitches. Try to disconnect the external hard drive and reconnect it to your Mac, quit the Disk Utility app, and open it again. If it doesn't work, restart your Mac to give it a fresh start.
Fix 3. Remove purgeable space
If you find the amount of free disk space in Disk Utility is less than that in Finder and the Storage tab, there could be purgeable space on the drive, which controls less significant files and documents that can be erased automatically when additional space is required. Finder calculates the available space as purgeable space plus free space, but Disk Utility subtracts the purgeable storage from the free storage.
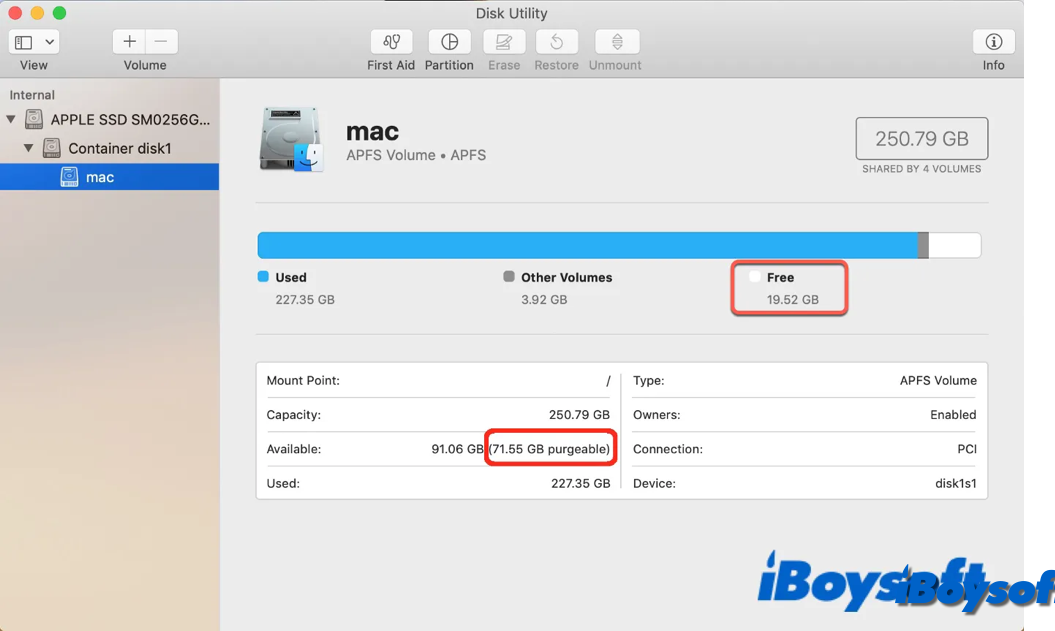
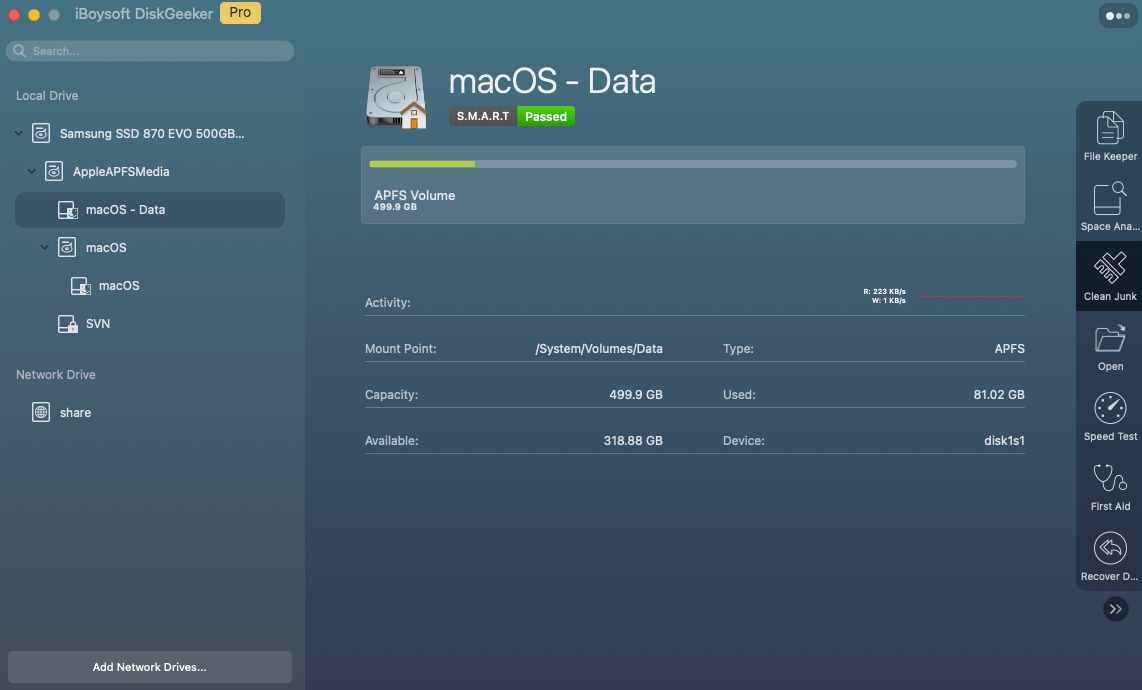
You can remove purgeable space with iBoysoft DiskGeeker:
- Download and install iBoysoft DiskGeeker.
- Select the target drive/volume from the startup disk.
- Click Clean Junk from the right toolbar.
- Select a folder from the left to view the contents inside.
- Select purgeable files and click Clean > OK.
In addition, you can also use the Space Analyze feature of iBoysoft DiskGeeker to scan all files on a volume for selective removal when you need to free up space on your Mac.
Recommend iBoysoft DiskGeeker if it helps remove purgeable files and fix the issue!
Fix 4. Try Safe Mode
Mac users can restart the computer and safely fix system problems in Safe Mode. Only the apps and files that are necessary execute when the system is in Safe Mode. Thus, you can try Safe Mode when the internal or external hard drive not showing the correct free space on Mac.
Boot an Intel-based Mac in Safe Mode:
- Shut down the Mac and wait for 10 seconds.
- Press the power button to restart your Mac and simultaneously hold down the Shift key.
- Release the Shift key when seeing the login window.
Boot an Apple Silicon Mac in Safe Mode:
- Power off your Mac completely and wait for 10 seconds.
- Press and hold the power button until the Options gear icon appears on the screen.
- Choose your startup disk.
- Hold down the Shift key and click Continue in Safe Mode. Then, release the Shift key.
Fix 5. Erase local snapshots
As some Mac users report, the local snapshots of Time Machine could be the culprit when the macOS Finder shows the wrong free space. Therefore, you can disable Time Machine local snapshots and delete them to release disk space. Here's how:
- Launch Terminal from Finder > Applications > Utilities.
- Type this command and press Enter to list all backup snapshots on your Mac:tmutil listlocalsnapshots /
- Run the following command to delete a selected local snapshot:sudo tmutil deletelocalsnapshots 2021-06-26-123740You need to replace 2021-06-26-123740 with the date and timestamp of the snapshot you want to delete.
- Enter your account password and hit Enter.
- To delete all local snapshots at once, run this command:for d in $(tmutil listlocalsnapshotdates | grep "-"); do sudo tmutil deletelocalsnapshots $d; done
Fix 6. Reindex Spotlight
When the Spotlight index is corrupted, macOS may display the free space improperly in Finder. To get rid of this issue, you can reindex Spotlight with The Terminal command. This solution also works when you can't search an external hard drive on a Mac.
- Choose Apple menu > System Settings.
- Click Siri & Spotlight in the sidebar, then scroll down and click Spotlight Privacy on the right.
- Click the add button (+) and select the disk to add.
- Select the disk that you just added. Then click the remove button (–) to remove it from the list.
- Click Done, then quit System Settings.
The drive's contents will be reindexed by Spotlight. Depending on the volume of information being indexed, this can take some time.
Fix 7. Repair the drive
If the above methods fail to fix the macOS shows the wrong free disk space, the issue may relate to the disk errors. You can try Disk Utility's First Aid to check and repair disk errors and try to check the free space again. In case, it still fails, reformatting the drive could be the last resort you can try.
If any method works to fix macOS reports incorrect free disk space, share it!
