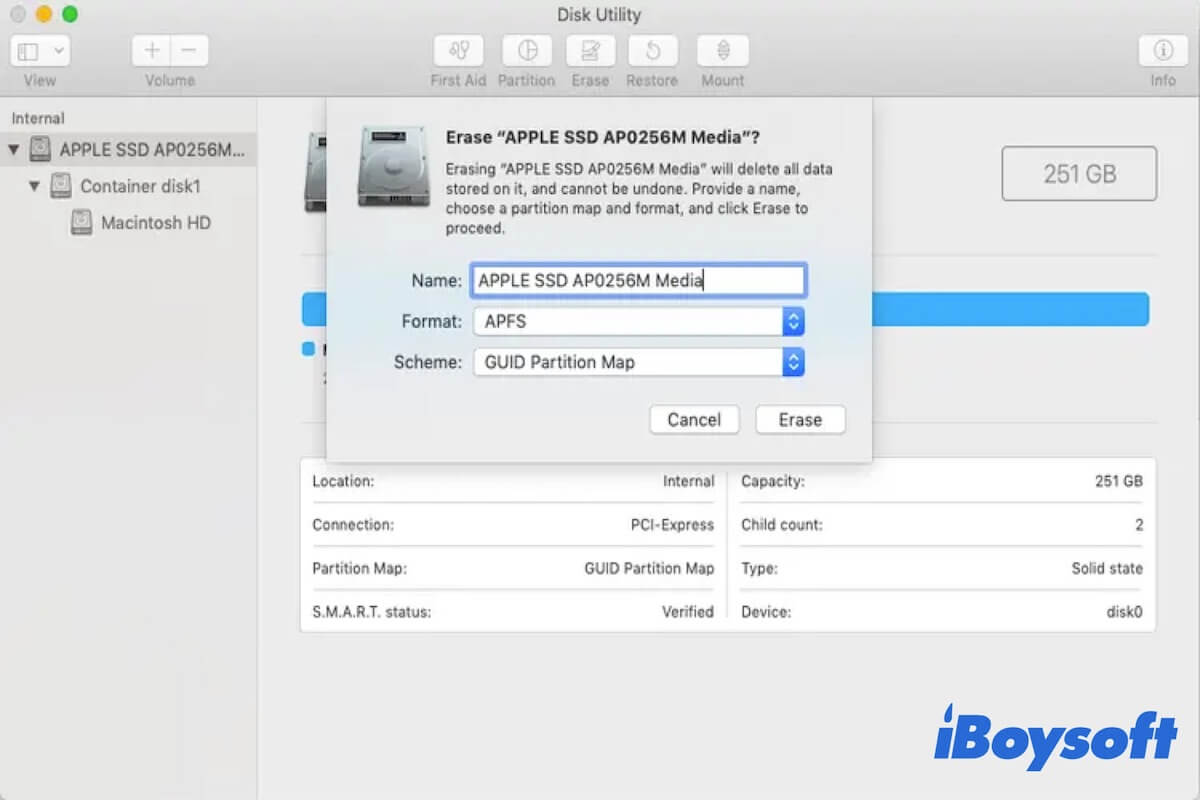
You have to wipe your MacBook when encountering certain occasions, such as:
- Prepare Mac for sale, give away, or trade-in your MacBook to someone else.
- Send it to a recycling organization.
- Reset your Mac to factory settings.
- Format your mac to make it faster.
Notably, erasing a computer cleanly doesn't mean deleting files one by one as your MacBook stores huge amounts of data.
Here, this post will guide you on how to completely wipe a MacBook Pro or MacBook Air in the right way. Here, only two steps are required to erase your Mac.
- Erase all your account information
- Wipe your MacBook hard drive in macOS Recovery mode
Back up your necessary files
Wiping a computer means that all files, including your private data, will be cleaned. So, before you get down to empty your Mac, think twice if you need to back up the necessary documents, emails, and other data in advance.
If you only need several files, you can move them to your external storage device. If you are confused about which files are useful for you later, you can back up your Mac with Time Machine, the macOS built-in utility.
How to completely wipe a MacBook Pro/Air?
After backing up your important data, you can get down to clean up all data stored on your MacBook.
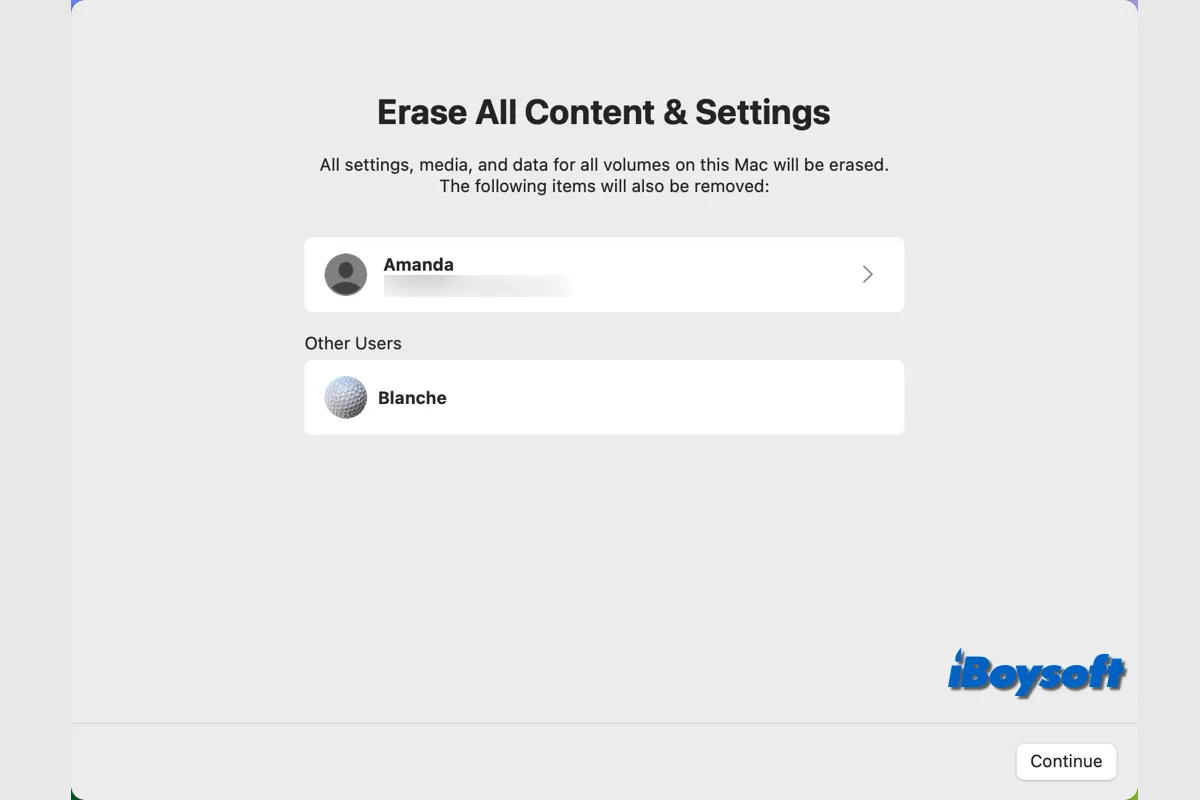
Perhaps, you use a T2-secured or Apple M1 Mac running macOS Monterey or later. Then, you can erase all content and system settings with one click to reset your Mac without reinstalling macOS. That is to use the Erase All Content and Settings button in the System Preferences menu bar.
Also, you can follow the steps below to wipe your MacBook Pro.
Step 1: Erase all of your account information
Apps on your Mac usually contain your private files. There's a chance that your account information remains after you reset your MacBook. If that happens, others will have the opportunity to access the data stored on your apps.
To erase your account information, you need to sign out of or deauthorize apps that contain important personal data.
Sign out of your iCloud
iCloud is secure cloud storage that is widely used to back up and synchronize data between Apple devices. If you've enabled iCloud on your computer, you should sign out of it.
If you have a Mac Book that runs macOS Catalina or later, you should:
- Select the Apple menu > System Preferences > Apple ID.

- Choose Overview at the sidebar, then click Sign Out on the iCloud window.
If you use a MacBook with macOS Mojave or earlier, you can follow these steps:
- Select the Apple menu > System Preferences.
- Choose iCloud > Sign Out.
When asked whether to keep a copy of the iCloud files on your Mac, you'd better allow it. Then, you can see all data stored in iCloud when signing in to your iCloud with your Apple ID on other devices.
Sign out of iMessage
Like iCloud, iMessage synchronizes messages between your Mac and other Apple devices, like iPhone. If you've signed in to iMessage on your MacBook, disable it.
- Open Messages from the Dock of your Mac.
- Open Preferences from the menu bar and then click iMessage.
- Click Sign Out.

3. Sign out of Mail
If you have a close email exchange with someone else, signing out of your Mail account can prevent the emails from being checked by others.
- Open Mail from the Dock of your Mac.
- Click Mail on the Apple menu bar and select Accounts.
- Choose your email account on the left sidebar and click the - icon on the pane.
Apart from the mentioned apps, you'd better sign out for other apps that contain your private data before wiping your MacBook hard drive, like iTunes. By the way, disable Bluetooth devices that you're keeping.
Step 2: Wipe your MacBook hard drive
Once you've signed out of the necessary app accounts, the second step to wipe your MacBook Pro is to empty your internal hard drive.
From macOS Catalina, you can see there are two volumes by default on the Mac hard drive. The one is Macintosh HD (Or macOS), which is used to store operating system files and applications. The other is Macintosh HD - Data (Or macOS - Data), which stores user data.
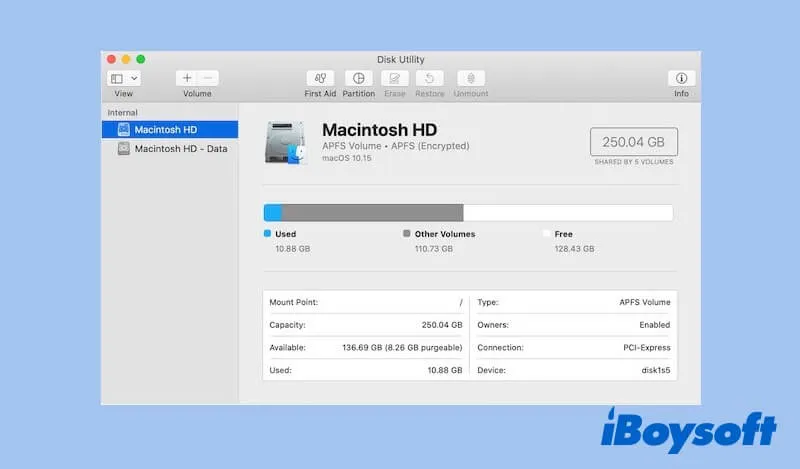
Wiping your internal hard drive is not directly to erasing the whole disk, or you'll face issues, like The Disk "Macintosh - HD" can't be unlocked. Here's the right way to wipe a Mac hard drive:
To wipe an Intel-based MacBook:
- Shut down your Mac.
- Restart your Mac and hold down the Command + R keys simultaneously until seeing the Apple logo or a spinning globe.
- Click Disk Utility when entering into macOS Recovery Mode > Continue.
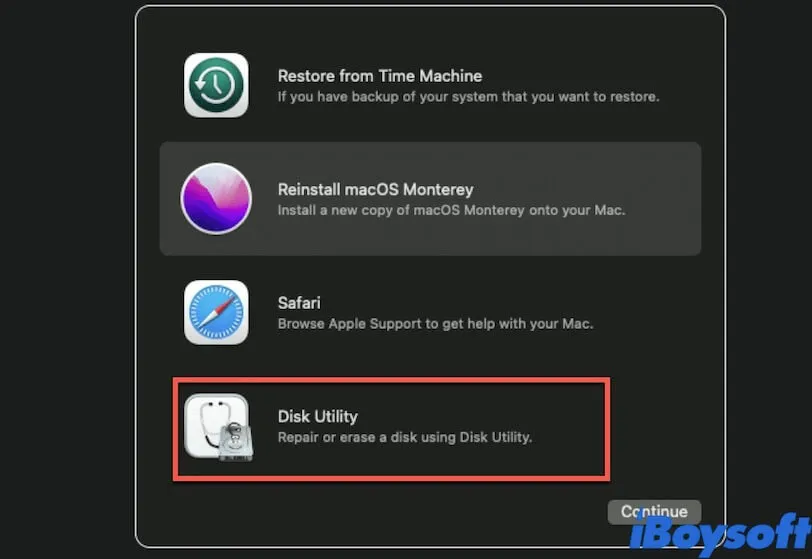
- Right-click Macintosh HD - Data (Or macOS - Data) at the left sidebar of the Disk Utility window and click Delete APFS Volume.
- Select Macintosh HD (Or macOS) and click Erase.
- Enter "Macintosh" as the drive name, select "APFS" as the format, and "GUID Partition Map" as the Scheme. Then, click Erase.
- Right-click other volumes at the sidebar if had and select the delete volume button.
Note: For macOS Mojave or earlier, there's no Macintosh HD - Data (Or macOS - Data) volume but only a Macintosh HD or macOS volume that stores both the operating system files and user data. You just need to erase this volume.
To wipe an Apple M1 MacBook:
- Shut down your computer. Then, restart your MacBook and continue holding the power button.
- Release the power button when you see the startup options.
- Select Options and enter your admin password.
- Choose Disk Utility when seeing the four options. It also means you've entered into macOS Recovery mode.
- Choose Macintosh HD (Or macOS) in the left sidebar of the Disk Utility window and click Erase. Then, type the required info as the image shows below.
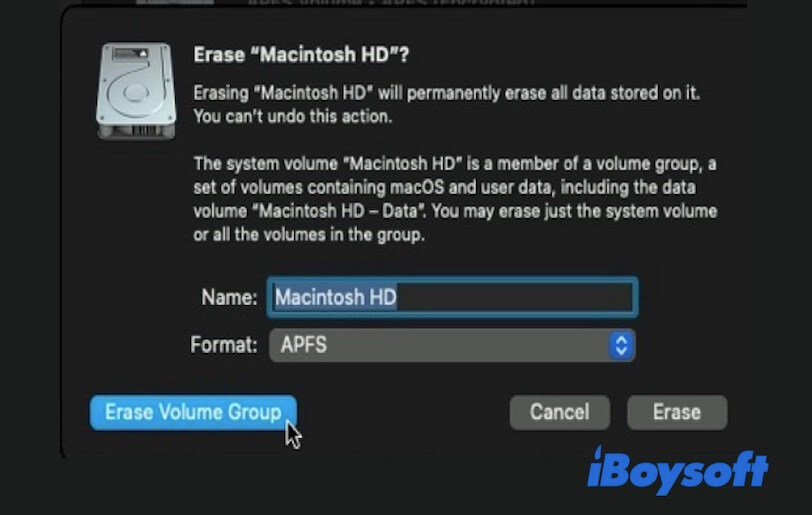
- Click Erase Volume Group.
Note: Clicking the Erase Volume Group option will erase both macOS files and user data. If you choose the Erase option, it will only wipe the system-related data. Here you should choose Erase Volume Group.
Besides, you need to right-click other volumes at the sidebar if you have them and select the delete volume button.
Then, quit Disk Utility to return to the utilities window. Now, your MacBook is completely erased. You can reset the Mac if needed or sell it or give it away directly.
Want to recover important files after factory reset your MacBook Air/Pro/iMac? Read this post to know if data can be recovered after factory reset Mac and how to recover files from factory reset Mac.
Final thoughts
Before selling or giving away your MacBook, it's essential to clean all your user data on it. That not only protects your privacy and data security but also makes it convenient for the next user.
This post is a tutorial about how to wipe your MacBook securely and fully, including MacBook Pro and MacBook Air. Hope it is useful for you.
FAQ about how to wipe MacBook Pro
- Q1. How do I wipe and factory reset my Mac?
-
A
To wipe and factory reset your Mac, you need to erase all the account information on your Mac, unpair Bluetooth devices, reset NVRAM, erase your Mac hard drive and reinstall macOS in Recovery Mode.
- Q2. Can you completely wipe your Mac?
-
A
Yes. You can completely wipe your Mac. All the personal information, like account information and system settings, and all other files stored on your Mac hard drive can be thoroughly erased.
