Updates to your macOS software are periodically released by Apple. These patches may contain significant security updates as well as updates to the built-in apps for your Mac. That's why it is always recommended to keep your Mac updated to date.
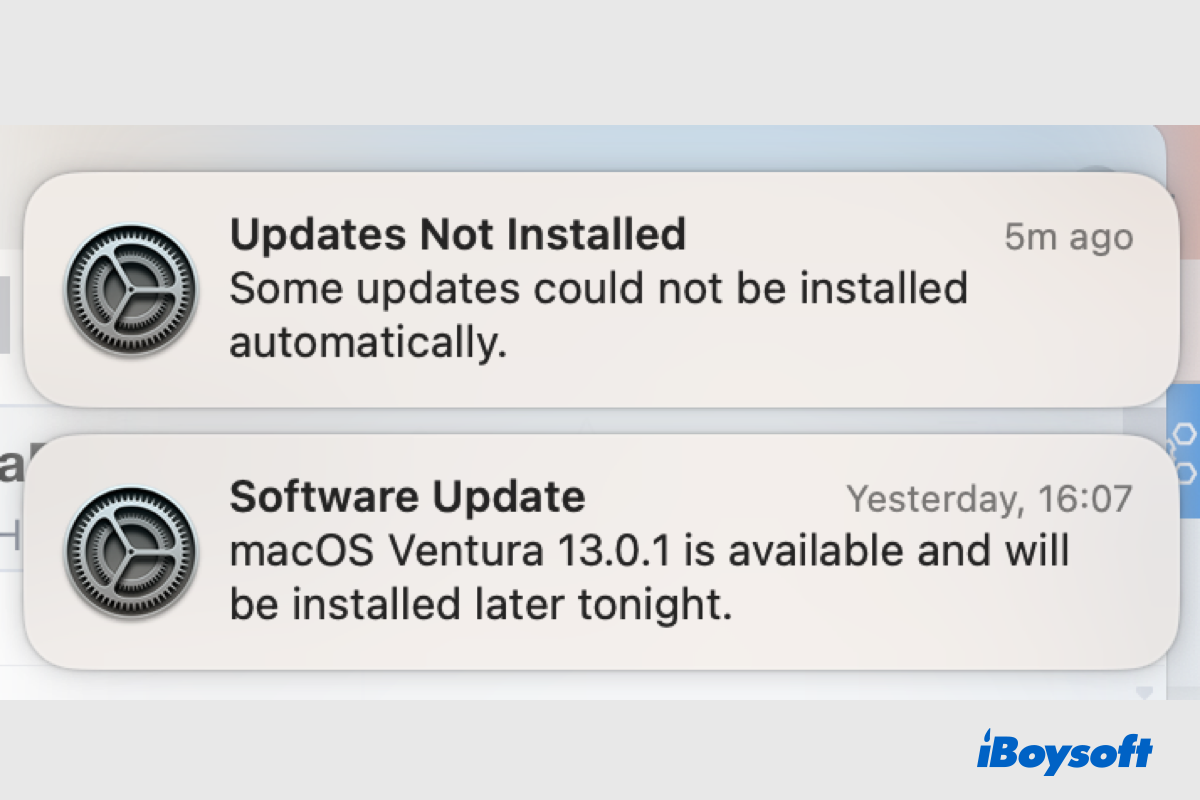
Mac users can manually check and download the macOS update. Alternatively, Apple allows users to set their Mac to update macOS automatically instead of seeing the annoying notification repeatedly. However, your Mac can't update to macOS Tahoe and receive the system notification "Updates Not Installed Some updates could not be installed automatically" prompts in macOS Ventura.
This 'updates not installed' problem is not exclusive to macOS Sequoia; some Mac users also encounter the same error in macOS Sonoma and earlier. Although you have set your Mac to update automatically, it is not working. Keep reading to know the causes and fixes.
Tips: One simple yet efficient solution is to download the macOS installer directly from Apple and then install it.
If someone around you has the same issue, share this post to help them!
Why is your Mac not automatically updating?
The constant notifications of macOS updates may pop up at inconvenient times and are seemingly not important, but you may don't want to ignore the updates containing bug fixes and security updates which are crucial for your Mac. Hence, the automatic updates feature gets you out of this dilemma.
Theoretically, after you enable the automatic updates, it automatically checks, downloads, and installs macOS updates in the background without the unpleasant notification. But unexpectedly, you receive the system notification saying that Updates Not Installed and accompanied with Some updates could not be installed automatically.

The triggers behind the Mac not automatically updating are various. It could be the incorrect settings of the automatic updates, the internet connection, the status of the Apple server, and other possible system errors. All of these are possible causes for the updates not installed issue.
Just click the button below to share this informative post with more people now!
How to fix 'Some updates could be not installed automatically'?
When such a message appears on the screen, it indicates that the Mac fails to automatically update macOS due to some reasons. To successfully update macOS to the latest one, you should fix this problem first. Thus, we provide some troubleshoots to get the updates not installed issue solved in macOS Ventura and earlier.
Fix 1. Check automatic updates settings
In case you haven't set your Mac to automatically update macOS in the right way, it may result in the "Some updates could not be installed automatically" notification. Therefore, it is necessary to check the automatic updates settings in macOS Ventura.
- Open the Apple menu with an Apple logo at the top left corner.
- Choose System Settings from the drop-down menu.
- Select General on the left menu and choose Software Update.
- Click the circle with the letter i behind the Automatic Updates.
- Check whether you have toggled on Install macOS updates.
- You can also turn on all the options and click Done.

Fix 2. Ensure a good network connection
A stable network connection is an essential element to successfully checking, downloading, and updating macOS on your Mac. If the network connection is poor or not stable, the updates not installed error may arise. You can eliminate the error of network connection in these aspects:
- Make sure your Mac has connected to WiFi.
- Disconnect and reconnect the WiFi. Mac connected to WiFi but no internet?
- Change to another working WiFi from the menu bar.
- Connect Mac with an Ethernet cable.
Fix 3. Check the Apple System Status
Every time your Mac attempts to update macOS to a new available version, it needs to establish a connection between your Mac and the Apple servers and proceed to download the update. Rarely, there may be an outage of the Apple server for system maintenance or other reasons, thus, the updates could not be installed.
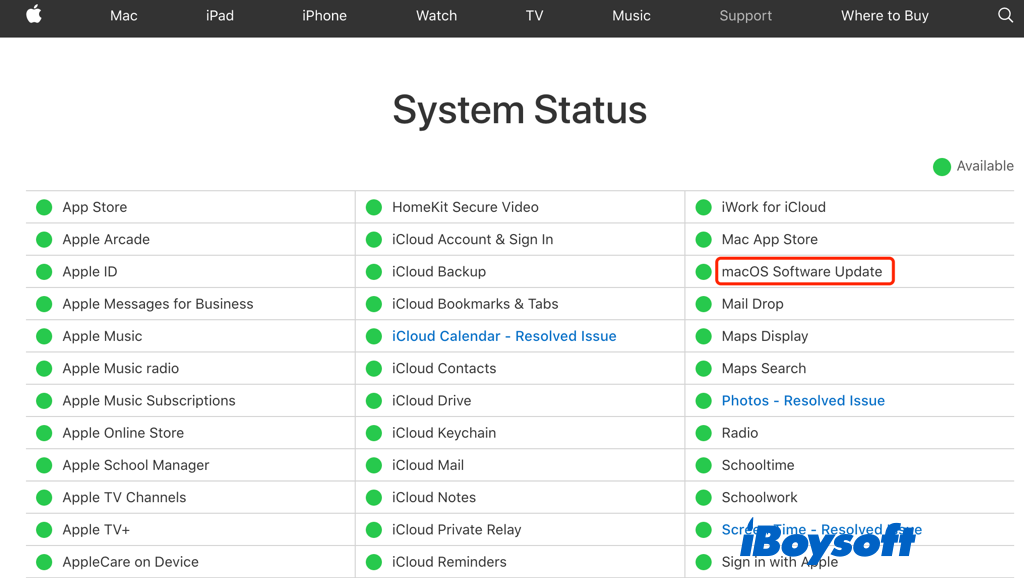
You can check whether the Apple server is to blame for the Mac not automatically updating problem by visiting the Apple System Status page to see if the macOS Software Update is available with a green circle.

Fix 4. Set date and time to automatically
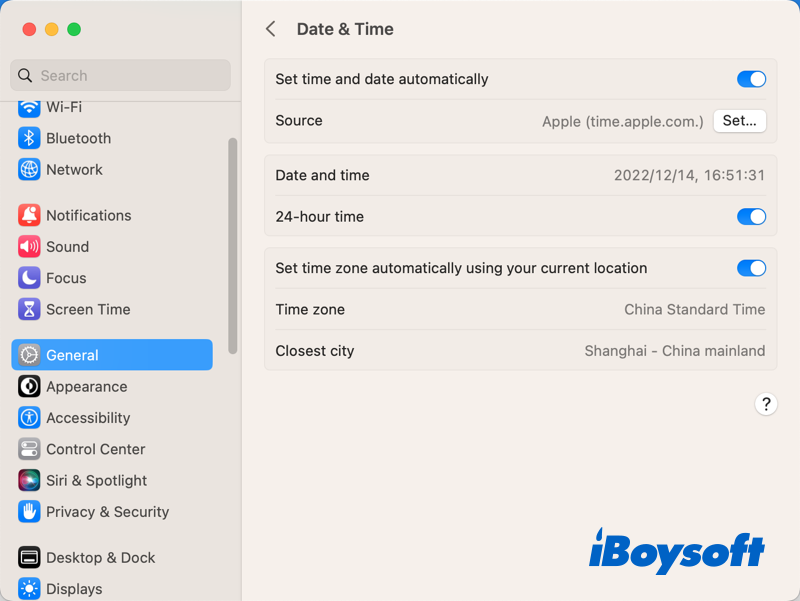
In case the date and time are incorrect and do not sync with that of Apple's server, it will also lead to the failure of the macOS update. And some Mac users found it helps to set the date and time to automatically. Here's how:
- Head to the Apple menu and choose System Settings.
- Select the General tab and choose Date & Time on the right.
- Turn on Set date and time automatically and Set time zone automatically using your current location.

Fix 5. Free up storage space
It requires enough storage space on the startup disk to install a new macOS update. Given that Apple no longer offers delta and combo updates, the macOS installer is getting large since the macOS Big Sur. Apple recommends there should be at least 12.5GB to update Monterey to Ventura, and the latest macOS Ventura 13.1 needs about 500MB.
Possibly, you are going to run out of storage space and may receive the message "Your disk is almost full." Insufficient disk space could also be the culprit of the updates not installed issue. You should first check free disk space on Mac, and then free up storage space on Macintosh HD.
Fix 6. Reset NVRAM
NVRAM is responsible for storing OS-related settings on your Mac. The settings typically have to do with the startup disk option, the most recent kernel panic, display resolution, sound volume, and time zone. When the stored information goes out of control, your Mac may function, which might cause the Mac to fail to update automatically.
If so, you can reset NVRAM to fix the updates not installed problem. For an Intel Mac, you need to shut down it, then restart the Mac and simultaneously press down and hold the Option-Command-P-R keys. For an Apple silicon Mac, you just need to restart the Mac to perform an NVRAM reset.
Fix 7. Boot into safe mode
When your Mac performs abnormally such as Mac is frozen, kernel panic, Mac won't turn on, and so forth, you can boot the Mac into safe mode, it only loads the essential files and apps which macOS needs to run. This could eliminate the effects of some faulty apps, extensions, and login items.
After booting into safe mode, check whether the Mac can automatically update macOS when you have turned on the automatic updates feature. Badly, the problem exists even in safe mode, you can try to reinstall macOS on your Mac.
Fix 8. Manually update macOS
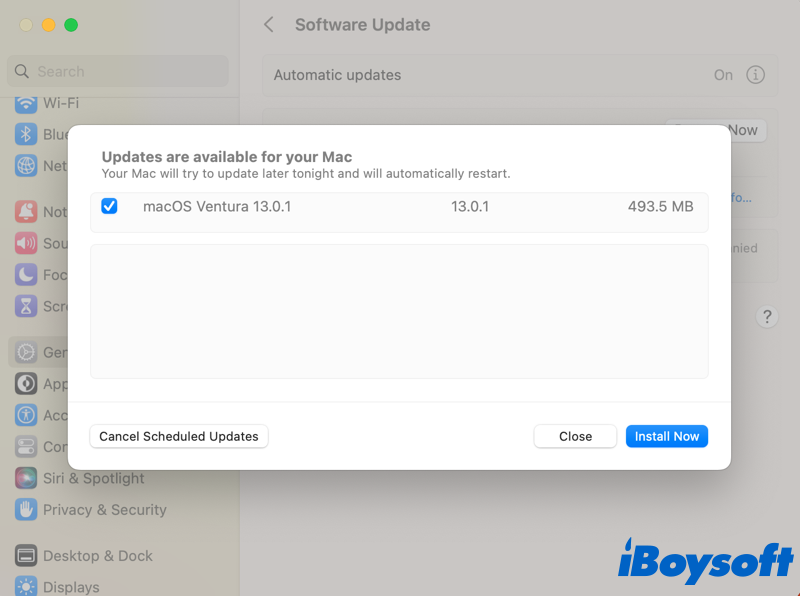
Unfortunately, the above methods can't solve the issue and the "Some updates could not be installed automatically" notification displays again, you can update macOS manually. You can click Details on the notification and it navigates to open the available updates in System Settings, click the Install Now button to start the process.

Or, you can go to the Apple menu > System Settings > General > Software Update, then click the Restart Now button next to Updates Available, it will also begin to install the updates on your Mac. In addition, Mac App Store is also a way to get the latest macOS update, you can download it here and follow the guide to install it.
If any fix mentioned above helps to fix the issue, share this post with more people!
The end
When the Updates Not Installed notification keeps showing on your Mac, it is annoying and also makes your Mac vulnerable when it hasn't keep updated to date. We conclude some potential causes of this issue and provide 8 effective fixes for "Some updates could not be installed automatically" in macOS Ventura.
