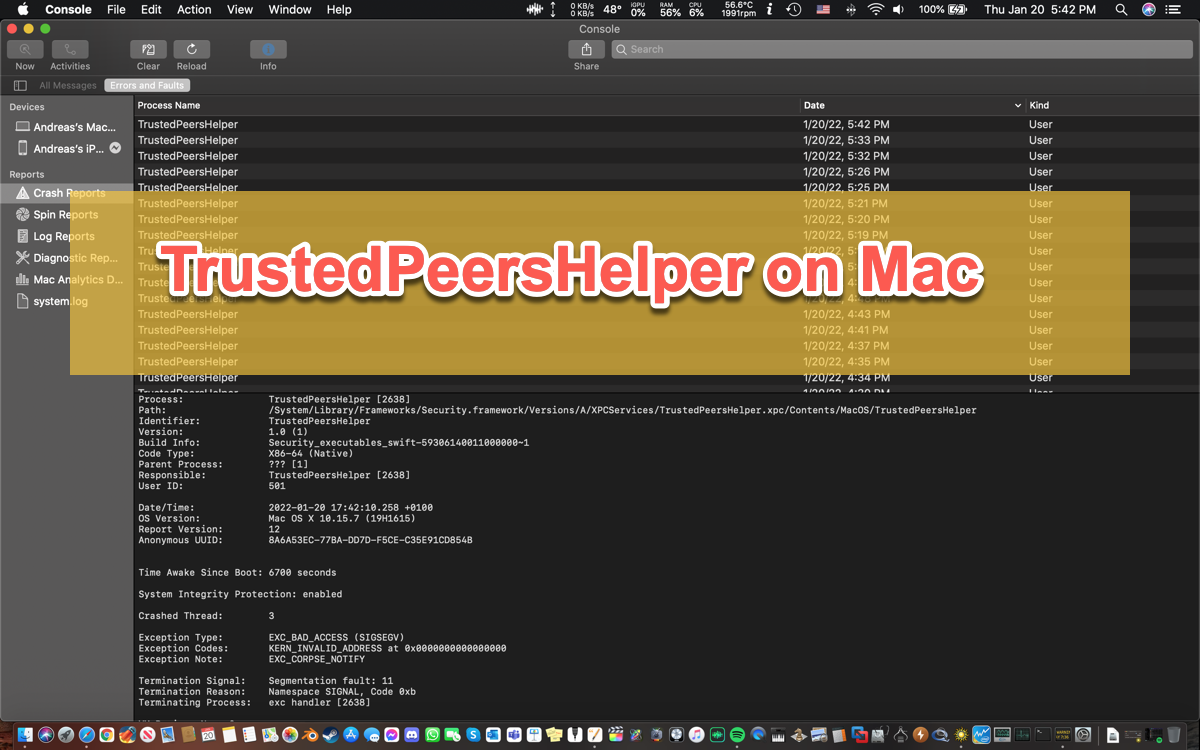
Hi all, I'm having a lot of issues with the TrustedPeersHelper process killing the CPU on my MBP, iPhone, iPad, and Watch. In turn it's killing the battery too. I've been working with Apple support on the issues. They have been helpful but I'm really hoping they are rolling a fix out soon.
Surfing the internet, you'll find that you ain't the only one who runs into the frustrating TrustedPeersHelper. Definitely, this TrustedPeersHelper process is so common that hits loads of users on different Apple platforms including macOS, iPadOS, iOS, and watchOS.
Don't worry. This post will help you understand TrustedPeersHelper and how to stop it from draining the CPU and device battery wildly. Just read on!
What is TrustedPeersHelper?
The TrustedPeersHelper process is a daemon that relates to the iCloud account that you've used. When the TrustedPeersHelper comes out, it indicates that there is something wrong with your iCloud account and it affects all the devices you've logged into with the account, including the Mac workstations, iPads, iPhones, and Apple Watches.

When the TrustedPeersHelper process shows up, it drains the CPU column wildly, leaving limited available space for the rest of the applications and processes to operate, runs out of battery crazily, spins the fan uninterruptedly, and gets your Mac warm abnormally.
All these anomalies prevent your machine from working. Therefore, it's urgent to resolve this annoying TrustedPeersHelper process and restore your device to a normal working state. Just keep reading!
If this part answers your question of "What is TrustedPeersHelper", please share it with more people on your social platform!
How to fix TrustedPeersHelper on your Mac?
In this post, we provide you with both basic checks to terminate the high CPU usage and battery eaten by TrustedPeersHelper. If these simple solutions are invalid here, you can also try a professional approach like executing command lines to make the CPU and battery usage of TrustedPeersHelper drop to a normal level.
Do some basic checks to fix TrustedPeersHelper
Check 1: Kill TrustedPeersHelper in Activity Monitor
You can end this situation manually when you find the TrustedPeersHelper madly running the Mac energy. Here we'll show you how to do that:
- Launch Activity Monitor on your Mac via Spotlight Search shortcuts.
- Locate the TrustedPeersHelper process on the process list given by Activity Monitor, which should be the top since it takes up almost 100% of the CPU.
- Select the TrustePeersHelper and click the X button to prevent it from running.

Once this process is quit from running, please monitor if it comes out with an abnormal energy consumption again.
Check 2: Try Safe Boot
macOS Safe Mode diagnoses your machine for the culprits and repairs the slight errors by default. You can boot into this mode to activate this feature. If the TrustedPeersHelper process gets normal there, then it's being fixed successfully.
Boot an Intel-based Mac in Safe Mode:
- Shut down your Mac computer and wait for 10 seconds.
- Press the power button to restart your Mac and simultaneously hold down the Shift key.
- Release the Shift key when seeing the login window.
Start a Mac with an Apple Silicon chip in Safe Mode:
- Shut down your Mac computer and wait for 10 seconds.
- Press down the power button until the startup options and the Options gear icon appear on the screen.
Choose your startup disk. - Hold down the Shift key and click Continue in Safe Mode. Then, release the Shift key.
Check 3: Try to repair the disk via Disk Utility in macOS Recovery Mode
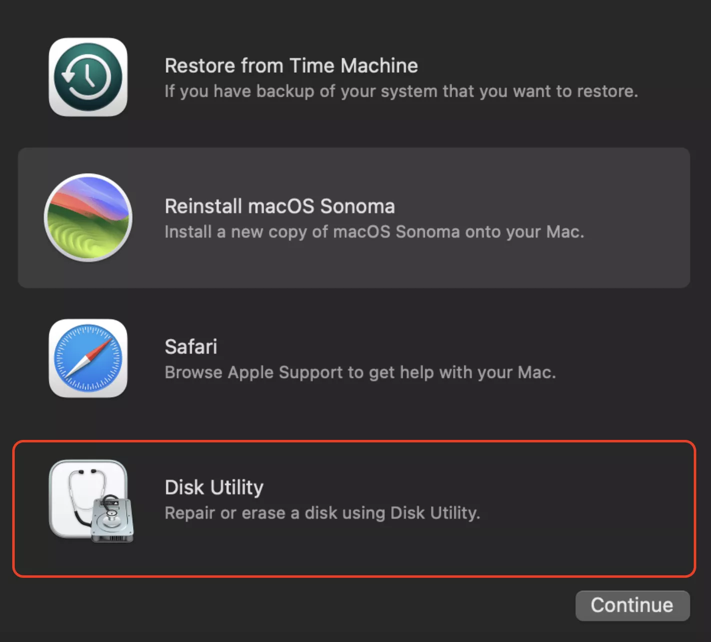
Or, you can boot into macOS Recovery Mode to launch Disk Utility to repair this hard drive running into TrustedPeerHelper. macOS Recovery Mode brings you to the root level of the OS and resolves the issue deeper and more completely. Just follow us to boot into this mode and repair the hard drive:
Step 1: Start your Mac in macOS Recovery Mode.
For Intel-based Mac:
- Completely shut down your Mac and then press the power button or Touch ID button to power on your Mac.
- Hold down the Command + R keys together as soon as Mac starts or you hear the startup chime.
- Keep holding down the keys for a few seconds until you see an Apple logo and release the keys to start your Mac in the Recovery partition.
- You successfully boot into macOS Recovery until you see the utilities window with a few recoveries and troubleshooting features.
For Apple Silicon Mac:
- Completely shut down your Mac.
- Press and hold the Touch ID (the power button) for a few seconds until you see "Loading startup options".
- Click Options next to the Mac's Macintosh HD disk and then click Continue.
- Enter your admin name and password if asked and you will arrive at the Recovery Mode screen.
Step 2: Click Disk Utility in the main window.

Step 3: Click Repair in the top menu bar to let it repair the Mac hard drive.
Professional approach to fix TrustedPeersHelper
If these basic solutions fail to end the high usage of CPU and battery, then you ought to perform certain command lines to reverse this situation. Do not worry about commands damaging your machine as long as you do the following:
- Shut down your iOS, iPadOS, and Apple Watch.
- Launch Terminal on your Mac via Finder > Go > Applications > Utilities > Terminal.
- Copy and paste this command to delete the TrustedPeersHelper database. Hit Run to execute this command line.~/Library/Keychains/*/com.apple.security.keychain-defaultContext.TrustedPeersHelper.{db,db-shm,db-wal}
- Input this command and hit Enter to reset the tpctl service: tpctl reset
- Continue to input this command and hit Enter to execute this one:tpctl local-reset
- Quit Terminal.
- Restart your Mac and open the iCloud webpage to remove the Apple ID account that's not in use.
- All devices will ask you to re-enter the Apple ID and password, just do as it requires. This will re-build the TrustedPeersHelper database and it won't burn out the CPU column and battery vastly.
After this action, check if the TrustedPeersHelper data is back to normal. If it still stays high consumption, file Apple a report and discuss your problem as detailed as you can for advice from professionals.
