
My iMac is running very slow today, and a restart didn't help, so I would like to restore from a Time Machine backup. I've found the backup I would like to use but when I try, the Restore button is grayed out. I've looked at earlier backups and the same thing is happening. Is there any way to restore it or are the backups all corrupted?
Apple's Time Machine is designed to back up the system data and your personal data. With Time Machine turned on, it enables a current duplicate of the backed-up files to be made every hour for the previous 24 hours, every day for the last month, or every week for all previous times.
You may need to use Time Machine when you:
- Accidentally format your Mac startup disk.
- Mistakenly delete files from your Mac.
- Need to restore the abnormal Mac to a happy working state.
- …
But if you find the Restore button of Time Machine greyed out, then you can't restore your Mac or certain files from the wanted Time Machine backup version. If you have been troubled with the same issue, keep reading for more.
- The Time Machine backup drive has been formatted incorrectly.
- The selected backup in Time Machine is incomplete.
- The Time machine backup drive is corrupted.
Move to the next part to know how to troubleshoot when Time Machine restore greyed out.

If you encounter the error that the volume is the wrong format for a backup while copying Time Machine backup to a new drive, read this post to know why and how to fix it.
Share this post with people facing the same Time Machine restore greyed out problem.
Solutions for Time Machine restore button greyed out
It is troublesome when you encounter the grayed-out restore button in Time Machine, it means the selected backup is not available to use. To fix this issue, you can try the following working solutions to get rid of the Time Machine restore greyed out error.
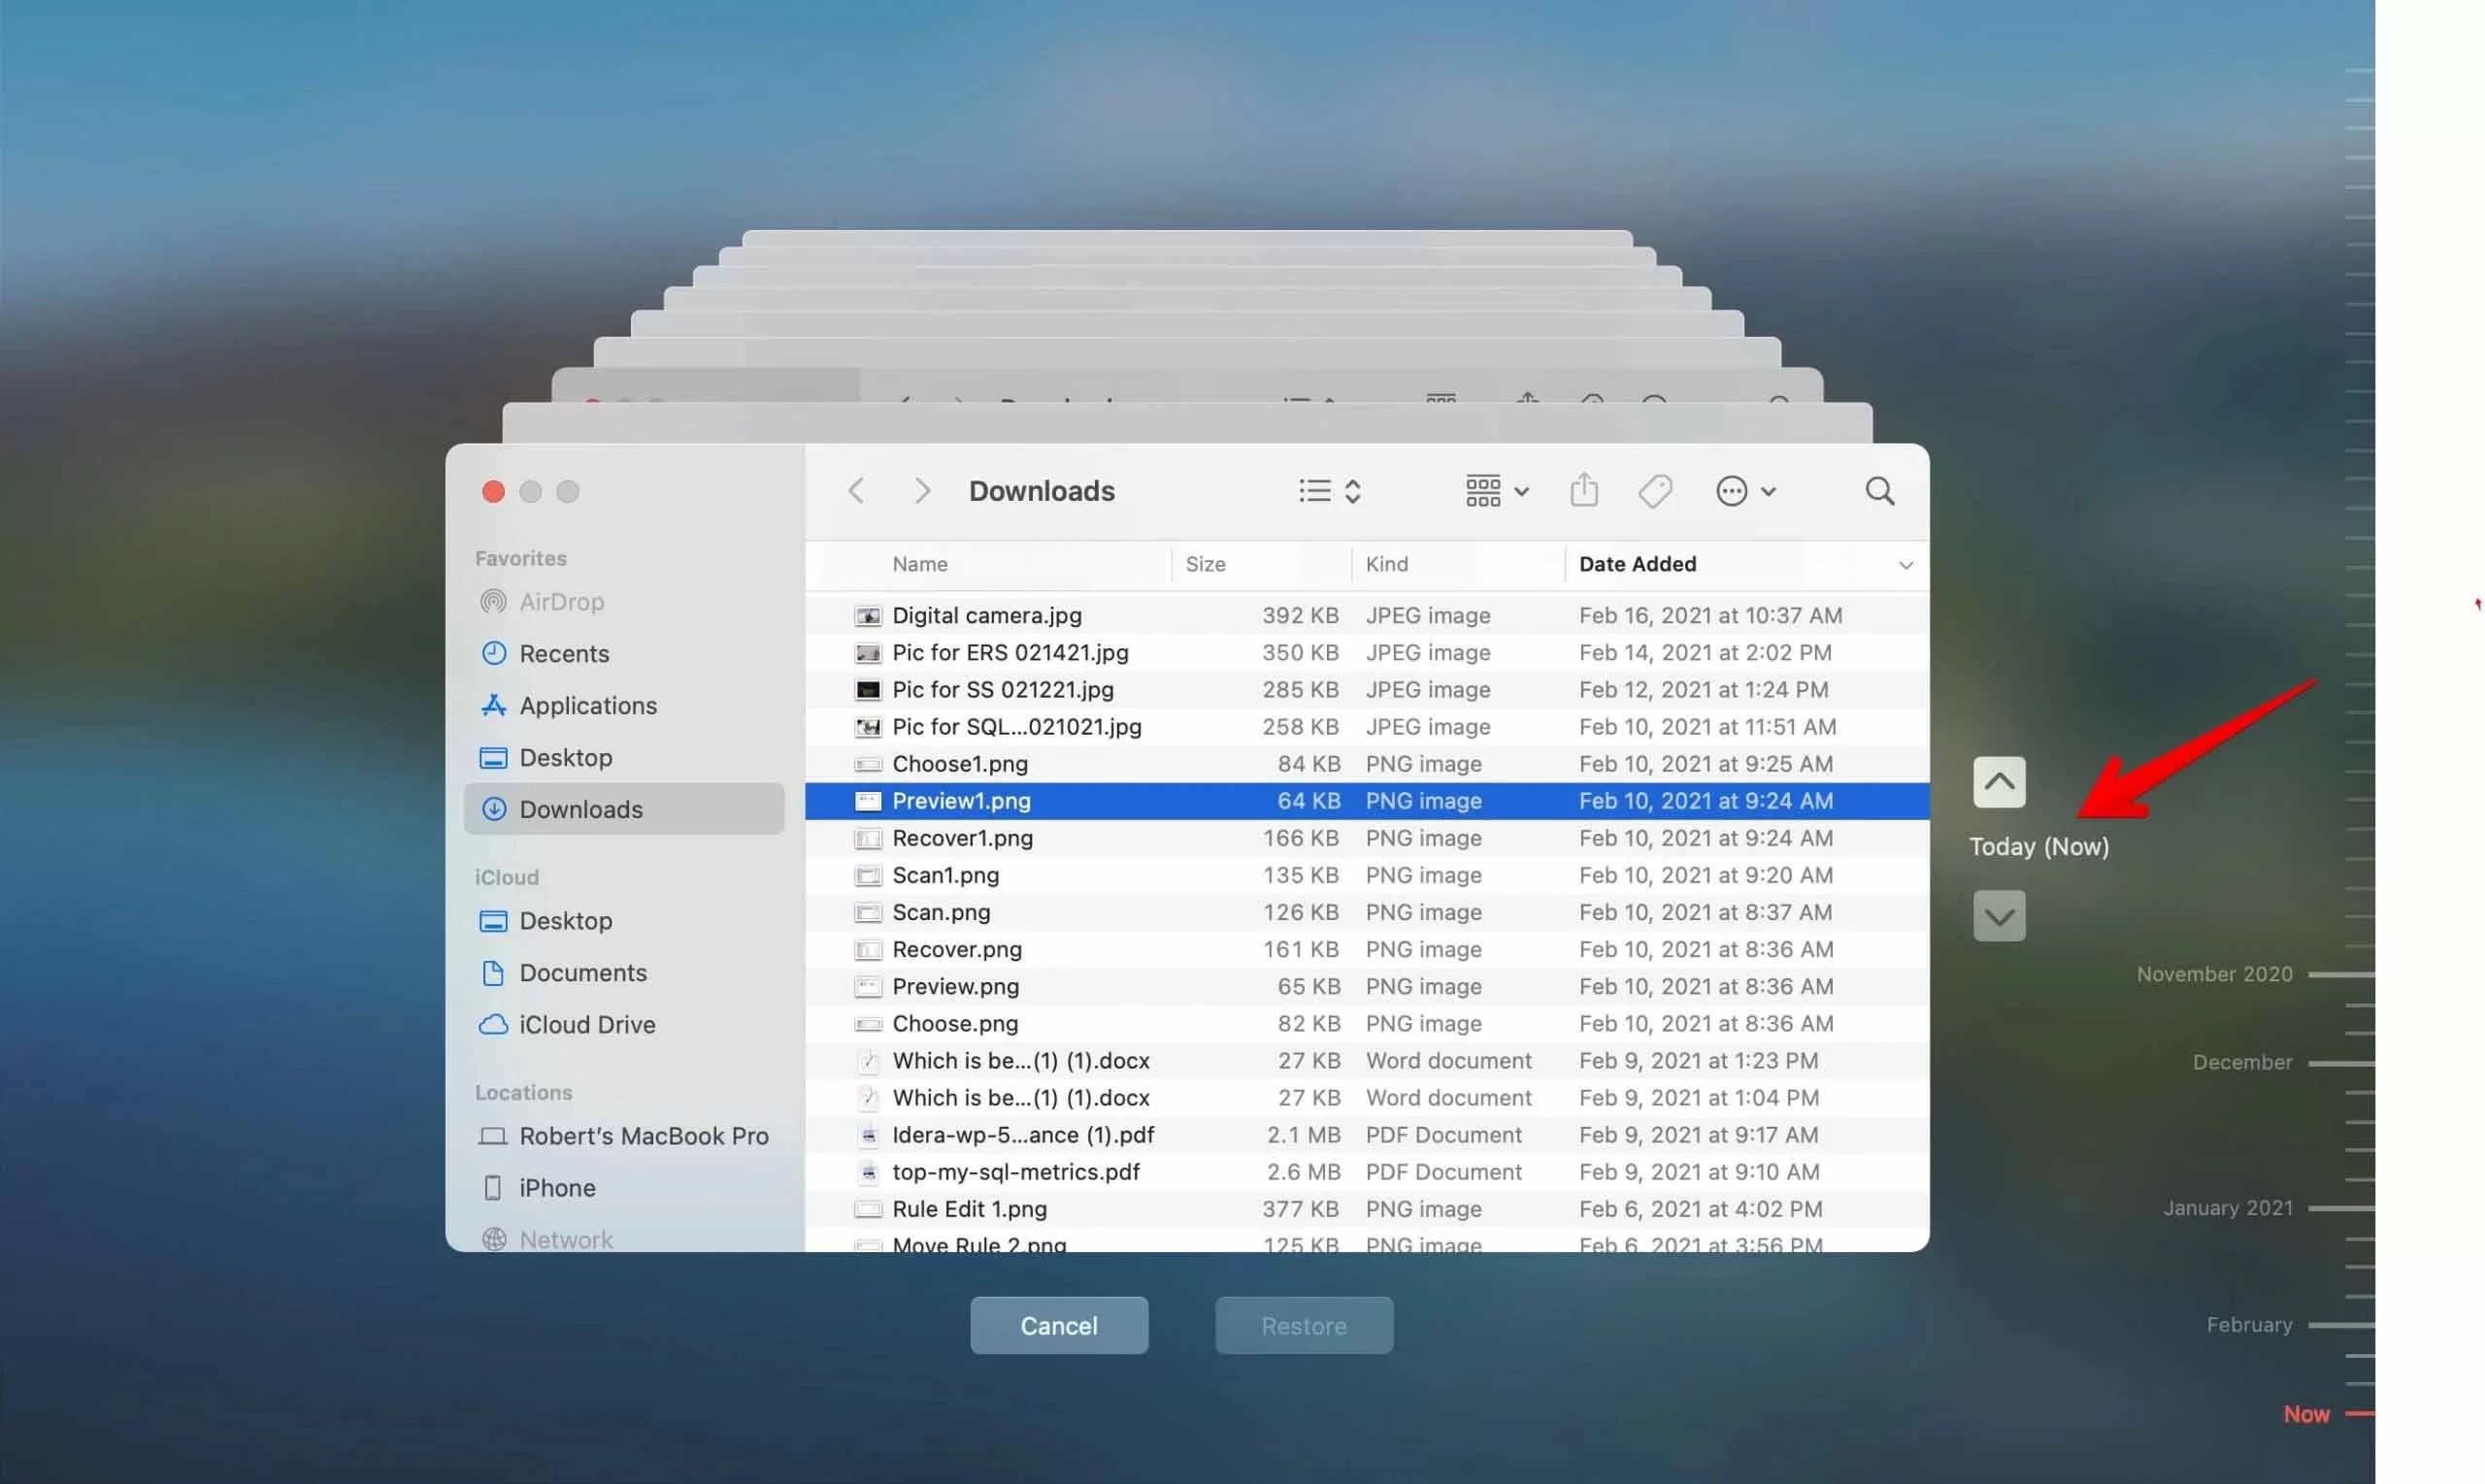
Enter Time Machine via the menu bar
Perhaps you haven't accessed the Time Machine backup files in the right way so you find a grayed-out restore button there. Entering Time Machine via the menu bar is the right way to access your backed-up files. Here is how:
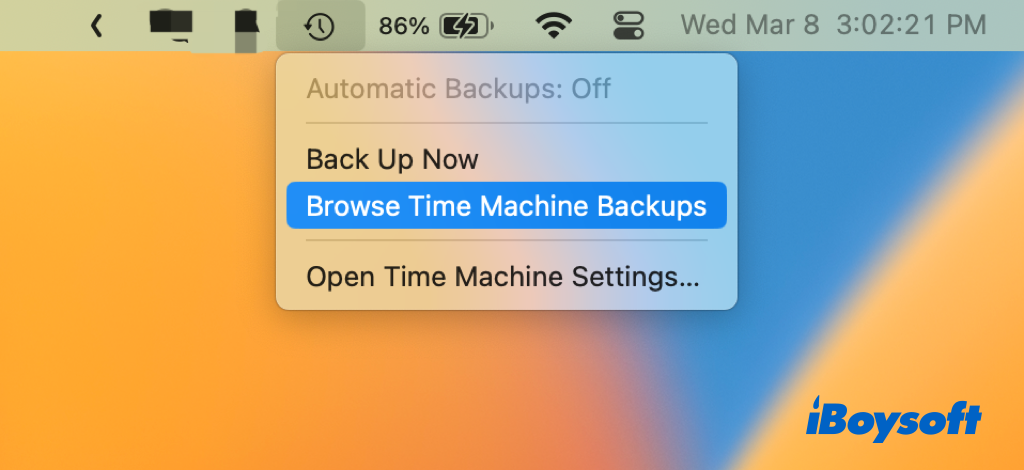
- Click the Time Machine icon in the menu bar.
- Choose Browse Time Machine Backups.
- Select the wanted backup files/folders and click Restore.
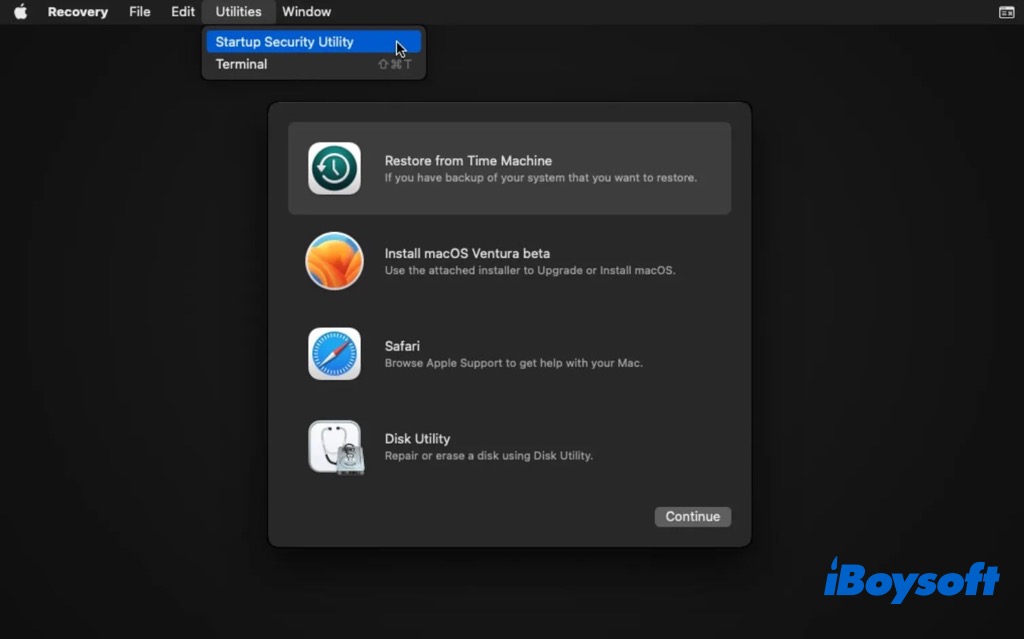
Access Time Machine in Recovery mode
Another solution to access Time Machine is in macOS Recovery mode, where you can restore the whole Mac operating system and your files/folders. You may bypass the Time Machine restore greyed out error in Recovery mode and successfully rescue your Mac/files.
Follow the steps below to restore from Time Machine in Recovery mode:
- Connect the Time Machine backup drive to your Mac.
- Boot your Intel Mac/Apple silicon Mac into Recovery mode.
- Select Restore from Time Machine on the macOS Utilities screen and click Continue.
- Choose the correct Time Machine backup disk and click Continue. Enter password if asked.
- Select a backup by date and click Continue.
- Choose the Macintosh HD or the external hard drive to restore the selected backup to it.
- Click Restore and restart your Mac.
Repair Time Machine backup drive with Disk Utility
Just like any other standard hard drive, the Time Machine backup drive is also vulnerable to being corrupted due to improper ejection, sudden power outage, and so forth. And perhaps the backup version that you want is damaged due to hard drive corruption. Then, you can try First Aid to repair disks on Mac.
- Connect the Time Machine drive to Mac correctly.
- Open Disk Utility from Finder > Applications > Utilities.
- Click the View button and choose Show All Devices.
- Select the connected Time Machine drive from the left list.
- Click the First Aid button on the toolbar.
- Click Run on the pop-up menu and wait for the process to complete.
- Enter Time Machine again and check whether the greyed-out Restore button is fixed.
Is the Restore button usable now? If the answer is yes, share these methods with more people.
Alternative: recover data with third-party software
If you still fail to restore with Time Machine and there is no cloud storage such as iCloud, you are not hopeless. There is also another way for you to recover data on your Mac, which is third-party data recovery software such as iBoysoft Data Recovery for Mac.
Not everyone has formed the habit of backing up files, and even Time Machine may fail you sometimes such as Time Machine can't find backup disk, etc. Then, third-party data recovery software gives users a way to recover deleted/lost data from storage media like HDD, SSD, USB flash drive, and SD card. As long as the deleted/lost data haven't been overwritten(new-saved data uses the space previously occupied by deleted/lost data), you can recover them back.
Here, we would like to recommend iBoysoft Data Recovery for Mac with a high success rate, risk-free environment, and easy-to-use user interface. It helps to recover data under multiple scenarios of data loss such as recovering data from internal and external disks, recovering data from a disk image, unbootable Mac recovery, lost partition recovery, etc.
Just freely download iBoysoft Data Recovery for Mac to have a try!
Follow the steps below to recover data with iBoysoft Data Recovery for Mac(suitable for non-startup disks):
- Download, install, and open iBoysoft Data Recovery for Mac.
- Connect the external hard drive from which you want to recover deleted/lost data.
- On the left sidebar, head to Data Recovery > Storage Device, and choose the connected drive.
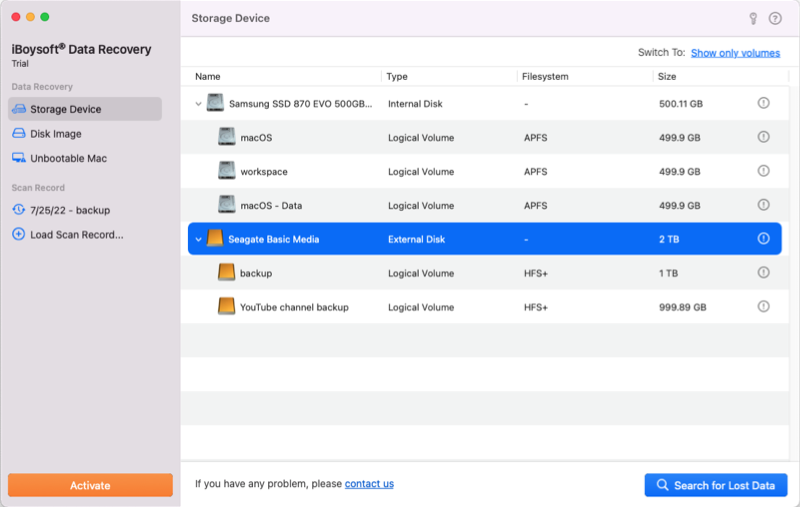
- Click on the Search for Lost Data button to start scanning the selected drive.
- When the process completes, filter the files and preview.
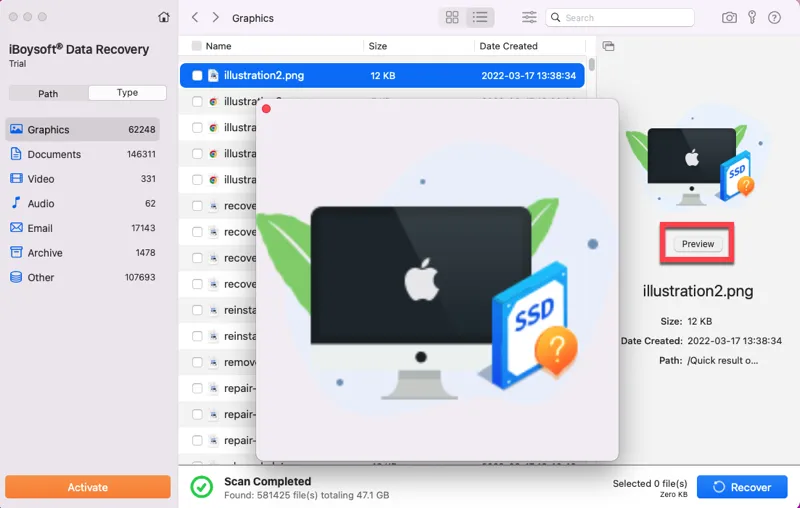
- Tick the desired files and click Recover to save them to a new location.
If it is the Mac startup disk from which you want to get files back, you need to run iBoysoft Data Recovery in macOS Recovery mode to recover data from it. Read the following post to get detailed information.
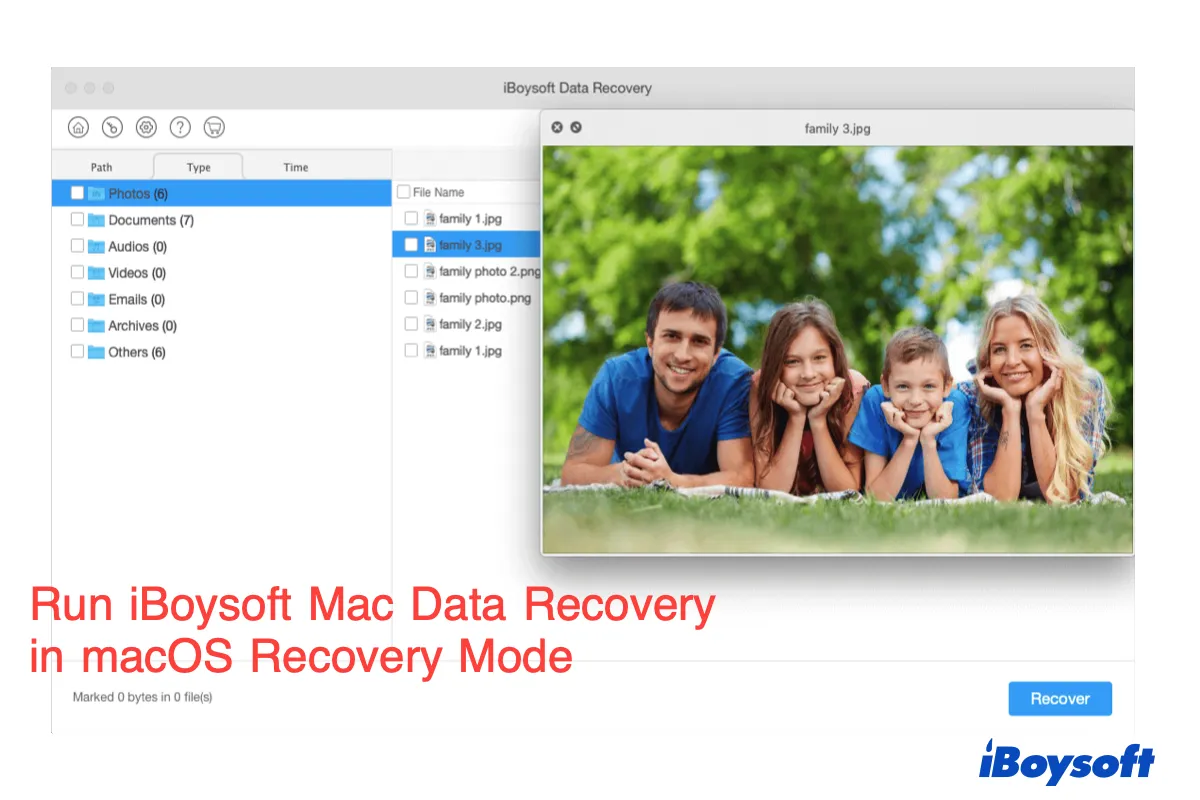
How to Run iBoysoft Data Recovery in macOS Recovery Mode?
Tutorial to run iBoysoft Data Recovery in macOS recovery mode to recover data from Mac that won't turn on. Read more >>
Share iBoysoft Data Recovery for Mac to help more people recover their deleted/lost data!
The end
Time Machine is convenient for Mac users to restore files/Mac to the desired state. However, it may go wrong from time to time such as Time Machine restore button greyed out. iBoysoft provides some solutions to fix the issue and you can use data recovery software to rescue your files if other solutions are not working.