Following the tradition, Apple releases the new macOS update with macOS Monterey, accompanied by a new compatibility list and features. Sadly, this time, some Mac users with old versions of macOS wouldn't be able to download the latest macOS update officially.
macOS Monterey Update Issues, Problems, How to Fix (2022)
A macOS Monterey issues roundup, including macOS Monterey downloading/installing/not booting problems, 32-bit apps not working issues, how to fix top macOS Monterey bugs, and how to recover lost data. Read More >>
Yet there is nothing to worry about. This instruction will guide you on how to install macOS Monterey on an unsupported Mac.
Note: By downloading OpenCore Legacy Patcher, you can install macOS Monterey on an old unsupported Mac. You have to bear in mind that you can't enjoy all of the highlights and great experiences of the new macOS due to the incompatibility between old hardware and the new OS.
What is an unsupported Mac?
Apple offers an official delta update or combo update of the latest macOS versions to recent Macs. These Macs that can receive the software updates directly in Mac Apple Store or Software Update in System Preferences are supported Macs.
Some Macs shipped many years ago with outdated hardware, antiquated operating system, and old-fashioned devices, that are incompatible with the newly-developed macOS.
Apple regards running the latest macOS Monterey on an old unsupported as against its terms and conditions. Thus, Apple provides no official support for these old Macs to install the newest macOS.
Nevertheless, if you want to run the newest Mac operating system and gain its benefits, try this tutorial to install Monterey on your unsupported MacBook, MacBook Air, MacBook Pro, iMac, and other seem-to-be-obsolete Mac models.
Old unsupported Macs that can run macOS Monterey
To begin with, check your Mac model to see if macOS Monterey can be installed on it.
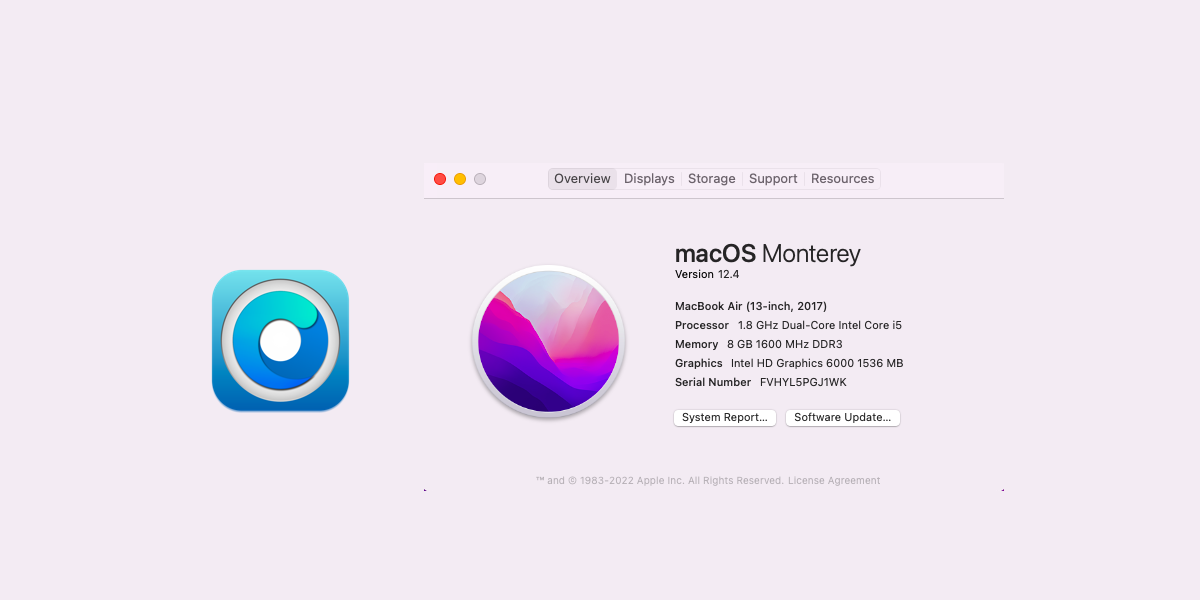
Step 1: From the Apple menu in the top left corner of the Mac screen, choose About This Mac.
Step 2: You can see your Mac model in the Overview window.
For macOS Monterey, these are supported models according to Apple:
- MacBook (Early 2016 or newer)
- MacBook Air (Early 2015 or newer)
- MacBook Pro (Early 2015 or newer)
- iMac (Late 2015 or newer)
- iMac Pro (2017)
- Mac mini (Late 2014 or newer)
- Mac Pro (Late 2013 or newer)
- Mac Studio (2022)
If your Mac model is listed above, you can download & update to macOS Monterey on your Mac directly through Mac Apple Store, or just by clicking the Apple menu > About This Mac > Software Update…
Old unsupported Macs that can run macOS Monterey are listed below:
- MacBook (Early 2008 or newer)
- MacBook Air (Late 2008 or newer)
- MacBook Pro (Early 2008 or newer)
- iMac (Mid 2007, after upgrading the CPU)
- iMac (Early 2008 or newer)
- iMac Pro (2017)
- Mac mini (Early 2009 or newer)
- Mac Pro (Early 2008 or newer)
- Mac Studio (2022)
- Xserve (Early 2008 or newer)
Unfortunately, if your Mac is listed in old unsupported Macs, installing macOS Monterey on your old unsupported Mac is not straightforward. The Software Update will not let you install the new version of macOS.
However, the fact that your Mac is not supported does not mean you cannot install macOS Monterey. A patcher called OpenCore Legacy Patcher will do the trick.
What is OpenCore Legacy Patcher?
OpenCore is a sophisticated boot loader used to inject and patch data in memory, instead of on disk. By using OpenCore Legacy Patcher, you're able to get a near-native experience of new macOS on an unsupported Mac.
OpenCore Legacy Patcher can help install macOS Monterey on an old unsupported Mac, ignoring the hardware incompetence, and seaming the OS incompatibility.
You can check from the list to see if your Mac model can run OpenCore Legacy Patcher:
- MacBook 4.1 – MacBook 8.1
- MacBook Air 2.1 – MacBook Air 6.2
- MacBook Pro 4.1 – MacBook Pro 11.3
- Mac mini 3.1 – Mac mini 6.2
- iMac 7.1 – iMac 15.1
- MacPro 3.1 – MacPro 5.1
- Xserve 2.1 – Xserve 3.1
Think this post helpful? Why not share it to help other people?
How to install macOS Monterey on an unsupported Mac?
After getting to know OpenCore Legacy Patcher, you should make preparations that are crucial for later installation work.
Prepare to install macOS Monterey on an unsupported Mac
Step 1: 16GB+ USB drive which can be formatted later is essential for the installation.
Note: 16GB or larger in storage space is required for storing OpenCore Legacy Patcher and downloading Monterey OS. Also, please make sure the USB drive is either formatted as GUID/GPT or has a FAT32 partition for OpenCore to sit on.
Step 2: Back up all your data with Time Machine. Ensure that all your backups really work.
Step 3: Download the latest version of OpenCore Legacy Patcher. Be sure to choose the “GUI-Offline” version.
How to install macOS Monterey on an unsupported Mac
Once all preparations have been completed, you can now follow the dedicated instructions for installing macOS Monterey on your old unsupported Mac.
The tutorial is lengthy and complex, your patience is the trump card in the process of installation.
Step 1: Setting up
Creating the installer
- Plug in your USB drive for later steps.
- Open the OpenCore Legacy Patcher and select Create macOS Installer in the app's main window.
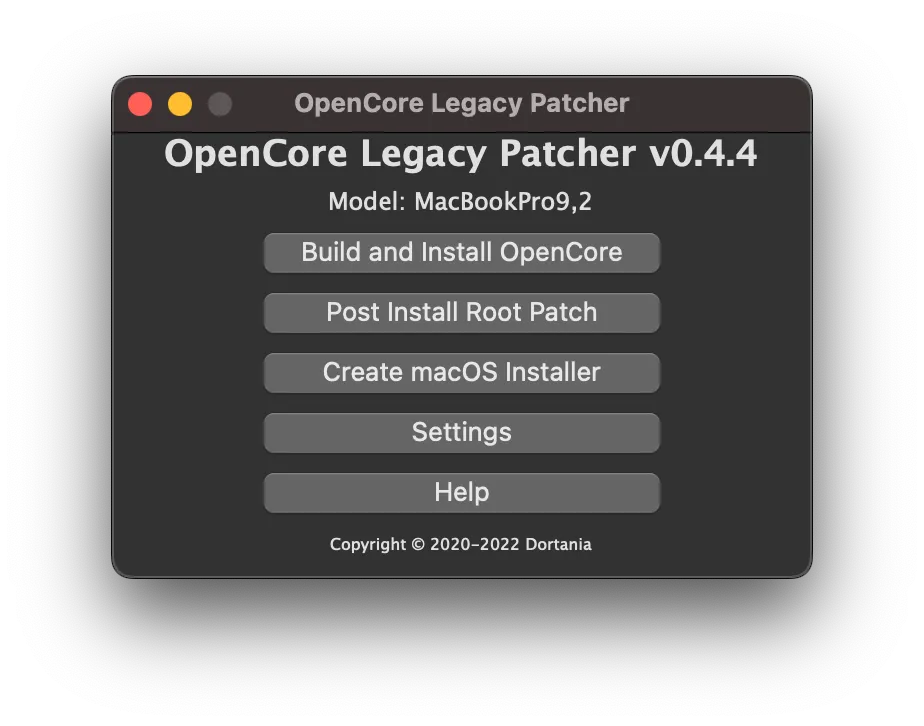
- When Create macOS Installer window pops up, you can select Download macOS Installer.
- A new pop-up will appear listing many macOS versions, you can click the most recent non-beta version to download, which should appear near the bottom of the list.
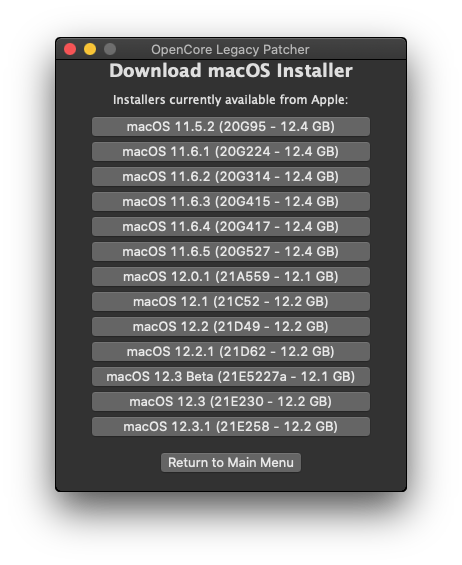
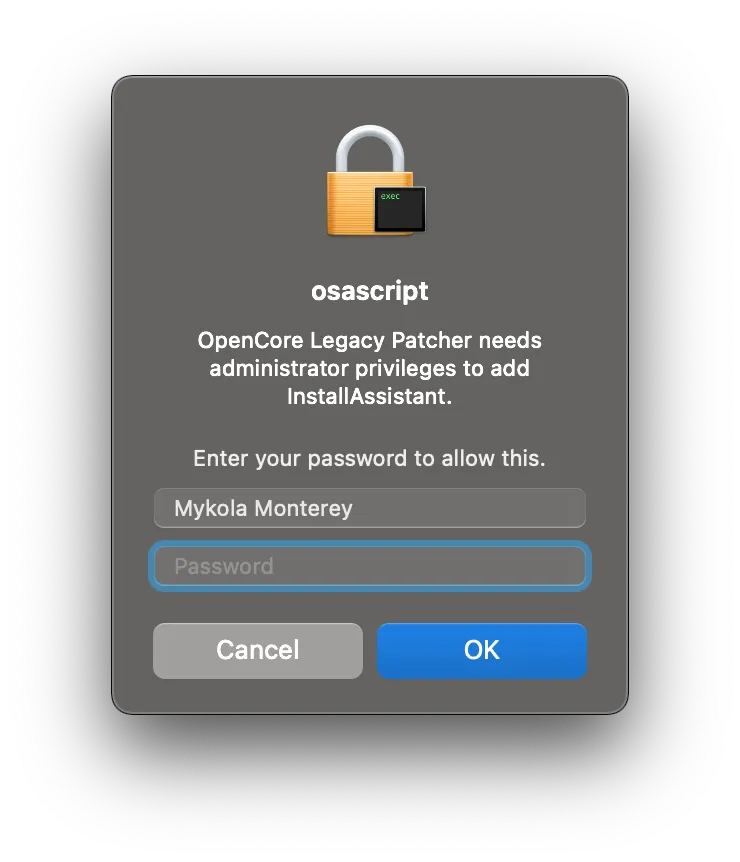
- When the download finishes, you will be prompted to enter your administrator's username and password to add InstallAssistant for the next step.
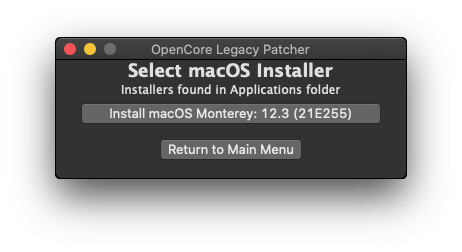
- Click on the Flash Installer button, and select Install macOS Monterey that you have downloaded before.
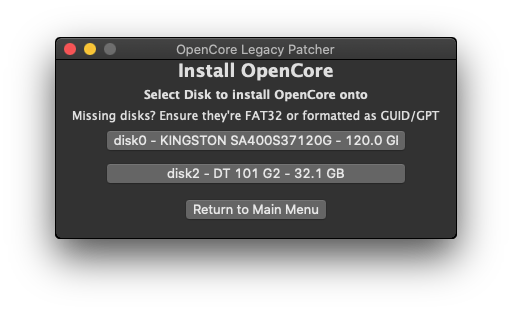
- Choose the USB drive that you plugged in. Please carefully choose the USB drive for it will be completely erased later.
- After choosing USB, you need to enter your administrator username and password again. This step allows your USB drive to be formatted and takes a long time.
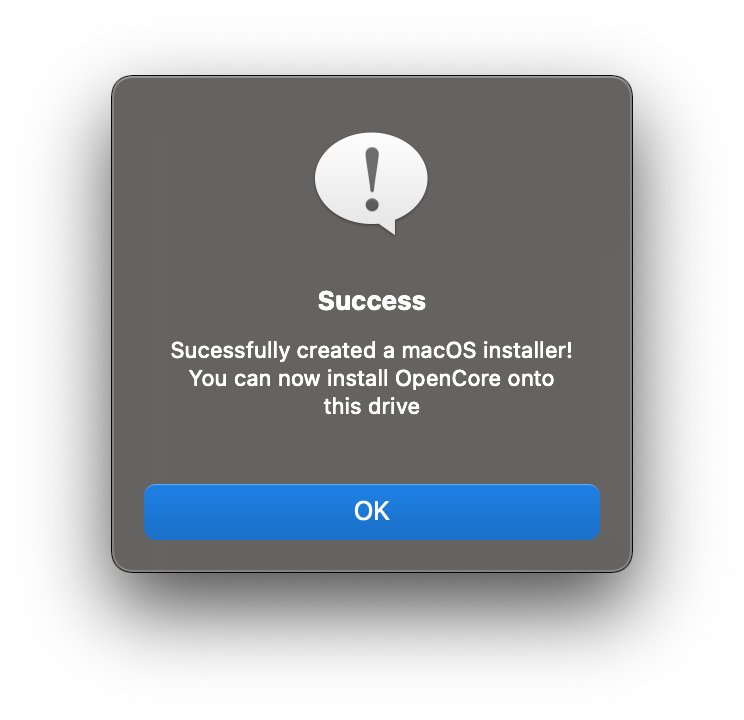
- Once the process completes, a Success dialogue pops up. Click the OK button and then click Return to Main Menu button.
Building and installing OpenCore
- Run the OpenCore Legacy Patcher, and select the Build and Install OpenCore in the main menu.
- When a window pops up, please click Build OpenCore to start building in the Build and Install OpenCore window.
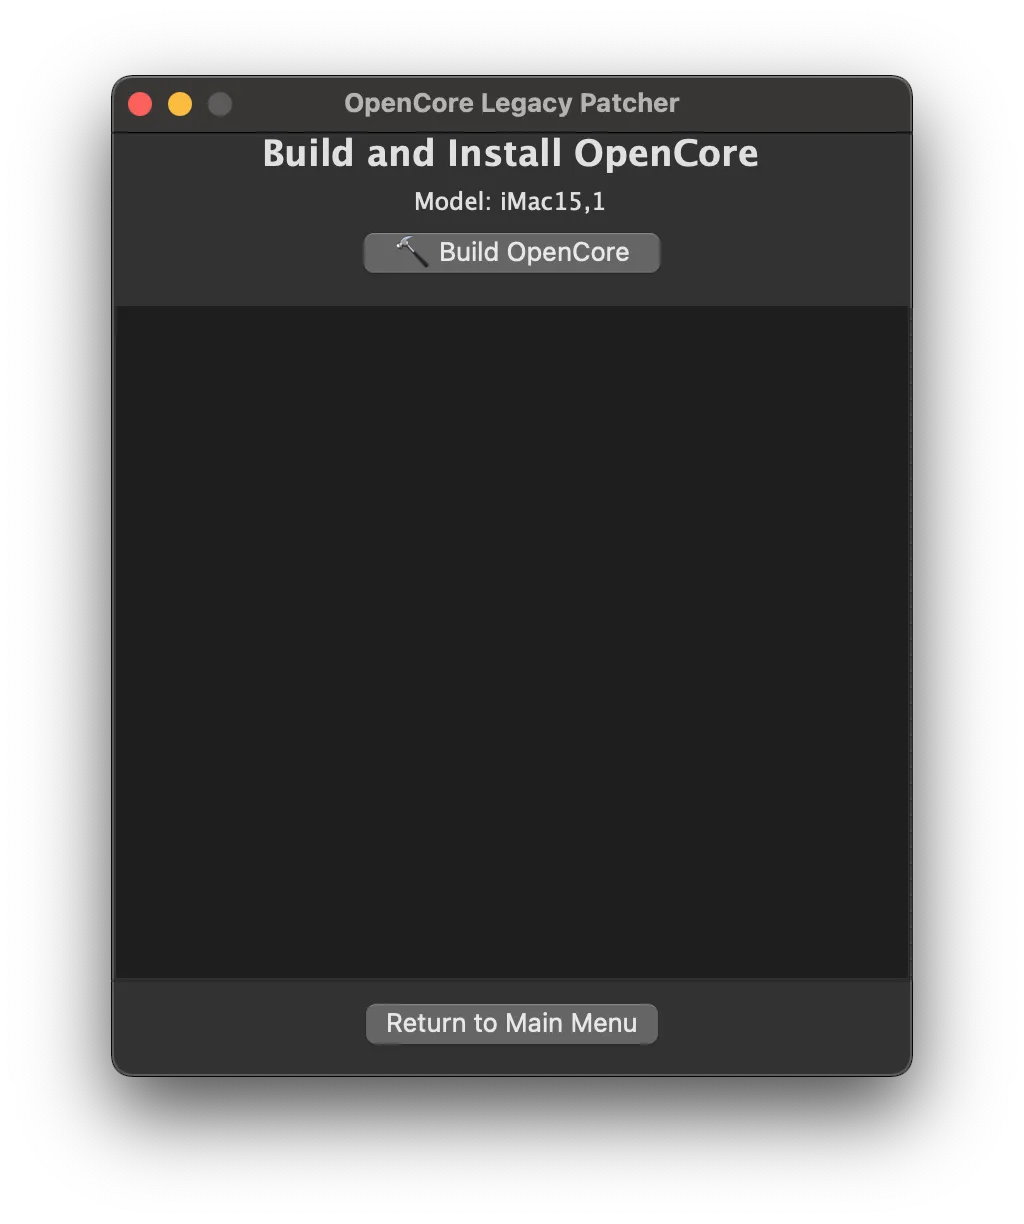
- Once the building finishes, select Install OpenCore in Build and Install OpenCore window.
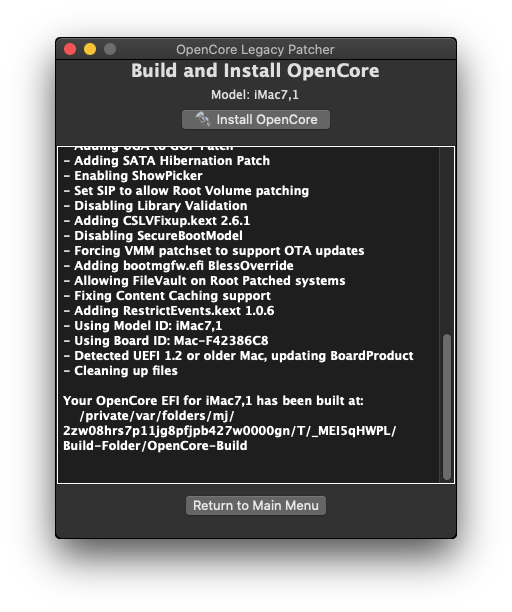
- In the Install OpenCore menu, click the USB drive that you inserted.

- After selecting the disk, you need to select the partition with the capital letters EFI in the window.
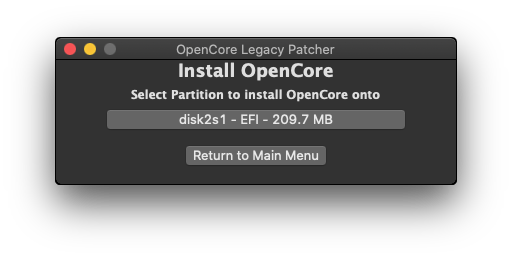
- Next, please enter your administration's name and password.
- When dialogue ends in “OpenCore transfer complete”, your Mac is ready to install macOS Monterey.
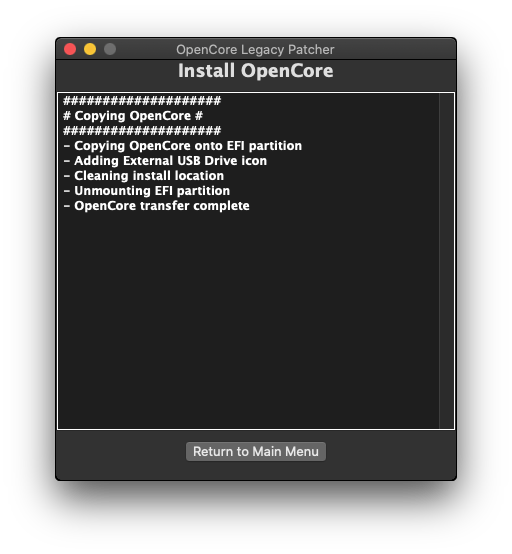
Step 2: Installation
Booting OpenCore and macOS
- Click the Apple menu and select Restart…, then click Restart.
- Please immediately hold the Option key until you see multiple drive options.
- After seeing multiple options, please use the arrow keys on your keyboard to select the EFI Boot entry with the OpenCore icon. Press Enter/Return key to choose EFI Boot.
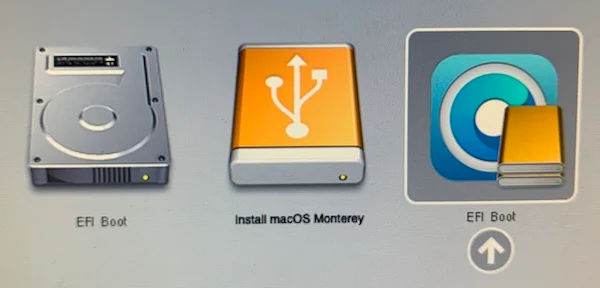
- After hitting the EFI Boot option, please use the arrow keys and Enter/Return keys to select the Install macOS Monterey option. This process depends on the age and speed of your Mac and USB, which takes a few minutes.
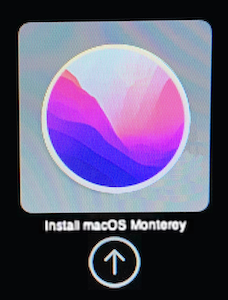
- When booting finishes, you can see multiple options, please choose Install macOS Monterey.
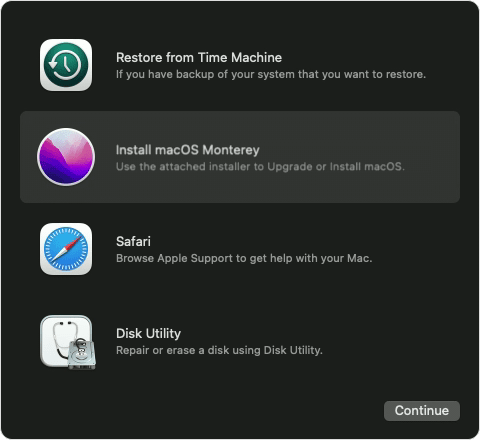
- When you're prompted to select a disk, you should choose your internal disk (e.g., “Macintosh HD”).
- If your Mac brings you back into the beginning of the setup after the first reboot, click the Apple Menu and select Restart, then hold the Option key. Select EFI Boot again, then choose the macOS Installer option with a grey hard disk icon.
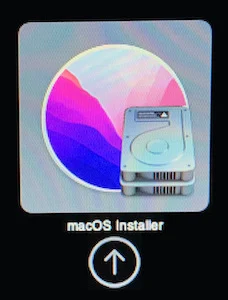
After macOS Monterey has been installed, Post Installation must be performed.
Step 3: Post Installation
Since you've installed macOS through OpenCore, you can boot up and go through the regular process.
Booting without a USB drive
Follow the steps to boot your Mac without a USB drive:
- Open the OpenCore Legacy Patcher app.
- Click Build OpenCore to start building.
- Once the building finishes, select Install OpenCore.
- When the Install OpenCore window pops up, select the internal drive to install OpenCore.
- Select the partition with the capital letters EFI in the middle.
- After selecting the partition, enter your administrator's name and password to prepare the internal drive to boot without the external drive attached.
- When you see a text dialogue ending in “OpenCore transfer complete”, you need to click on Return to Main Menu button.
- From the main menu, click the Post Install Root Patch. This will help you install any additional fixes that may be necessary to make Monterey work with your Mac's legacy hardware.

- From the Post-Install Menu window, please click the Start Root Patching button.
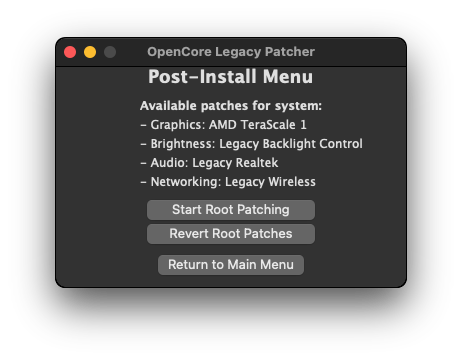
- Click Yes when you receive the “Relaunch as root?” prompt.
- Please follow the wizard and enter your administrator's name and password.
- After seeing dialogues like “Patching complete” and “Please reboot the machine for patches to take effect”, you can begin to reboot, and remember to eject and disconnect your USB from your Mac.
- After disconnecting your USB, please click the Apple menu and select Restart…, and click Restart. Hit the Option/Alt key, and select the internal drive's EFI Boot option.
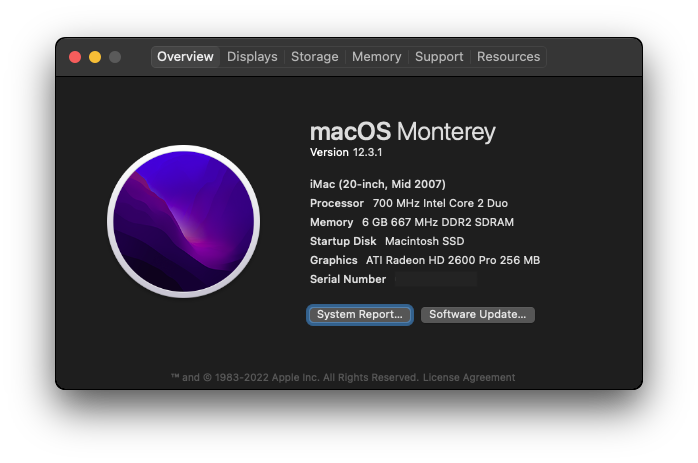
- Well done! Your unsupported Mac is running macOS Monterey now!
Conclusion
Using this post, you will find out how to install macOS Monterey on your old, unsupported Mac in a comprehensive and simple way. Get a taste of the performance and security improvements in macOS Monterey. You can also install macOS Monterey on VirtualBox on Windows PC if you want.
Related articles:
Share this article to help more people!
FAQ about installing macOS Monterey on an unsupported Mac
- Q1. Why can't I install Monterey on my Mac?
-
A
If you can't install or download Monterey, it most likely has to do with network, storage space, or device incompatibility.
Firstly, the disconnected network hinders you from downloading and updating to the new macOS.
Secondly, Apple states that if you are upgrading from macOS Sierra or later, you will need at least 26GB of storage available. Also, if you run an earlier version of macOS (e.g. EI Capitan, Yosemite, etc.), you will need 44GB at least for the macOS Monterey update.
Thirdly, the most obvious reason why macOS Monterey won’t install on your Mac is that it’s simply not compatible. You can check if your Mac are supported by Apple, if it is, then you should check your Mac's storage space and network; if it isn't, try this tutorial to install new masOS to your Mac.
- Q2. Can I install Monterry on my 2012 MacBook pro?
-
A
Yes, you can install macOS Monterey 12.0 - 12.4 versions on your 2012 MacBook Pro.
You can also install the macOS Catalina 10.15 -11.7.6 versions and the macOS Big Sur 11.0 - 11.6.7 on your 2012 MacBook Pro.
