Ever get stuck with a "read-only file system" error when writing data on Mac? This can happen on your Mac's internal drive, external hard drive, or even a shared folder. Whether you see "mkdir: /data: read-only file system" in Terminal or simply a "You can only read" message in your Finder, it can be a real roadblock.
Don't worry, you're not alone! This guide will equip you with the knowledge and tools to tackle this issue. We'll explore the common causes of read-only file systems on Mac and help you fix them using Terminal commands or simpler methods.
So, let's dive straight in and make the read-only file system writable again!
Here's a quick summary of the solutions mentioned in the following guide:
| Fix read only file system on Mac M1/M2/M3/T2/Intel | Solutions |
| Situation 1: External hard disk read only on Mac | 1. Turn off write-protection lock. 2. Check cooperate policies if using a company Mac. 3. Add a partition before adding files to Time Machine backup disk. 4. Use iBoysoft NTFS for Mac to grant read/write support for NTFS external drives. 5. Change permissions of read-only file system on Mac. 6. Reformat the external drive on Mac. |
| Situation 2: Read-only file system error in Terminal | 1. Ensure the command is correct. 2. Disable SIP. 3. Modify the /etc/synthetic.conf file. |
Before you fix it
Before you fix a read-only file system on Mac, check whether the problem is on an external drive or the internal system volume.
If the drive is NTFS, do not format it just to enable write access.
If the external drive contains important files, recover or back up data before First Aid, erasing, or formatting.
Do not disable SIP or modify the root volume unless you understand the risk.
Why do you encounter a read-only file system on Mac?
There are various reasons behind the read-only file system on Mac, depending on whether it's an internal drive or an external one. Here, we list some of the common scenarios where you may encounter the read-only issue and explain the possible causes.
Case 1: Mac external hard drive read only file system
I'm unable to copy to my USB flash drive on Mac no matter if I use Finder or Terminal. When I check disk permissions in Get Info, it says "You can only read" and doesn't allow me to enable read/write access. The drive is formatted with Windows NT Filesystem. How can I change permissions of this read-only file system on my MacBook Pro?
My exFAT external hard drive is suddenly read-only on Mac. But until yesterday, I was able to write to it. How to fix the read-only file system on M1 Mac?

If your external drive is read-only on a Mac, it could be due to NTFS formatting, incorrect permission settings, restrictions imposed by corporate policies, being a Time Machine backup disk, hardware failures, or being write-protected by a physical lock switch.
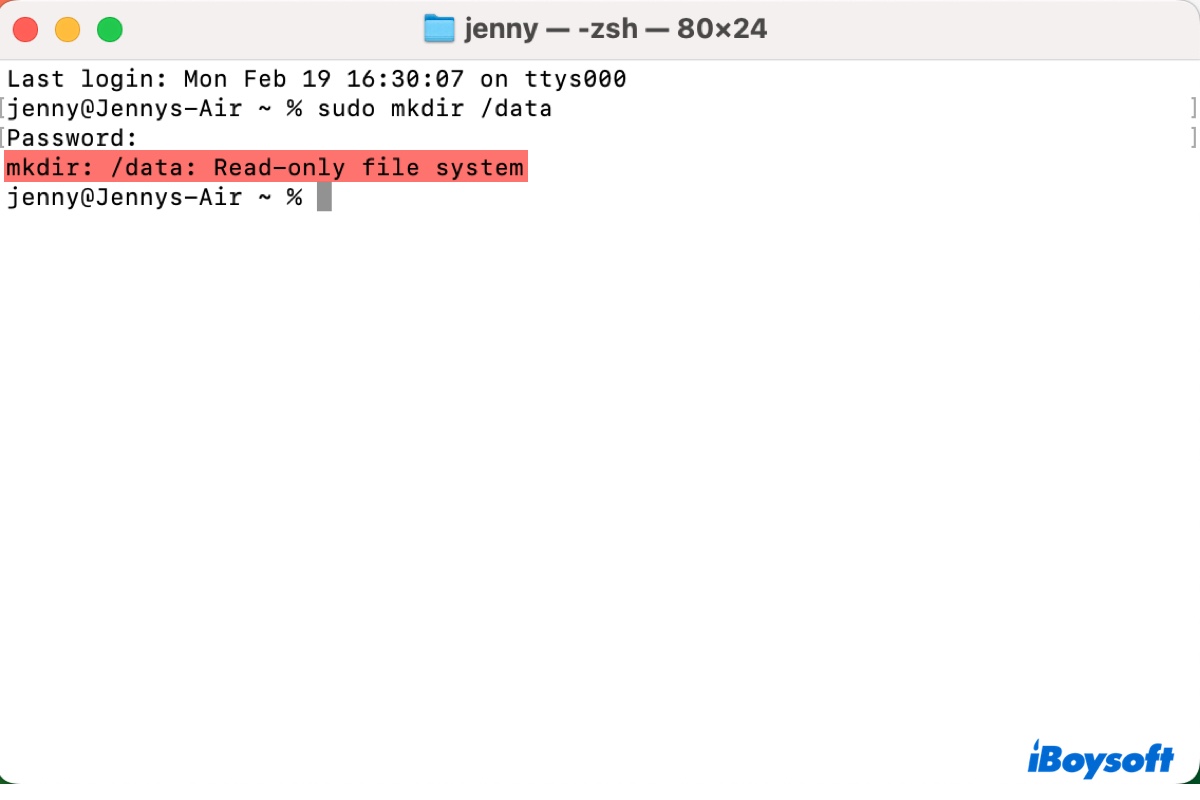
Case 2: mkdir: /data: Read-only file system
I was trying to create a new directory using the command: sudo mkdir /data/bd. Terminal returns an error that says "mkdir: /data: Read-only file system."
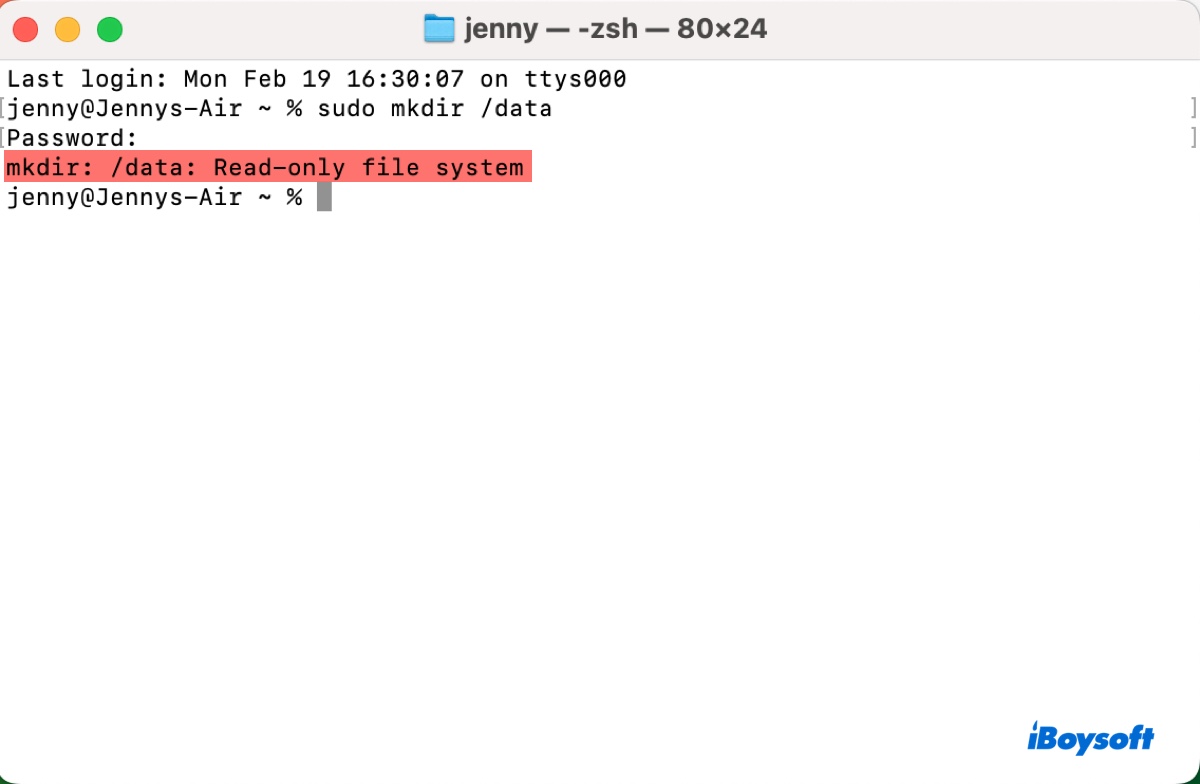
If Terminal returns "read-only file system" when you create a folder under the root directory, it usually means macOS is protecting the system volume. Since macOS Catalina, system files are stored on a read-only volume, while writable user data is stored on the Data volume.
For most cases, do not disable SIP, which is a security feature that prevents certain system files and directories from being modified, even by the root user. Instead, try creating the folder under /System/Volumes/Data or using /etc/synthetic.conf when you need a root-level path.
Case 3: rm: /var/db/ .AppleSetupDone: Read-only file system
I ran the command: rm /Volumes/Macintosh HD/var/db/.AppleSetupDone in Single User Mode to remove the AppleSetupDone file so that I can rerun the Setup Assistant. However, it failed with the message "rm: /var/db/ .AppleSetupDone: Read-only file system."
This read-only file system error is caused by a misspelling in the command.
The file path in the command is not enclosed in quotes. As a result, the shell interprets the file path as three separate arguments: /Volumes/Macintosh, HD/var/db/.AppleSetupDone, and rm. Since the HD/var/db/ directory belongs to the read-only system volume, the command fails to execute, resulting in the error.
To fix this issue, you need to enclose the file path (/Volumes/Macintosh HD/var/db/.AppleSetupDone) in double quotes. By doing so, the shell will interpret the entire file path as a single argument, and the command will delete the file from your user folder, where you have read/write privileges.
Boot into macOS Recovery, then run the following command in Terminal.
rm "/Volumes/Macintosh HD/var/db/.AppleSetupDone"
Case 4: OSError: [Errno 30] Read-only file system:
I was coding on Mac when I get this error: OSError: [Errno 30] Read-only file system: '/User'. Part of my code are "import os from_dir = os.path.dirname('/Users/user/Downloads/')
working_dir = os.walk(from_dir)
to_dir = os.path.dirname('/User/user/Downloads/New Folder/')
The error message "OSError: [Errno 30] Read-only file system" typically occurs when you misspell the command. For this user, the mistake has been pointed out in the message. Instead of "/User," it should be /Users.
Many users are experiencing the "read-only file system" error in Mac Terminal. Share this post to help them understand the issue better.
How to fix read-only file system on Mac for external drives?
If your external drive has a read-only file system on Mac, you can grant it write access with the solutions below.
- Tips 1: Many SD cards and some USB flash drives have a write-protect switch. When turned on, the disk can only be read, not written to. If your device has such a switch, ensure it's turned off.
- Tips 2: Cooperate computers may have set read-only access to external devices to prevent data breaches. If your Mac belongs to your organization, ask the IT staff for support.
- Tips 3: A Time Machine backup disk doesn't allow you to add files other than backups. Check this guide if you want to add files to such an external hard drive on Mac.
Way 1: Enable write access on NTFS drives
If the read-only file system is an external drive formatted as NTFS, the issue is not a normal macOS permission problem. macOS can read NTFS drives but cannot write to them by default. In this case, changing Sharing & Permissions in Get Info will not enable full write access. You'll need an NTFS for Mac driver to .
Use iBoysoft NTFS for Mac when you need to copy, edit, delete, or move files on an NTFS drive without reformatting it. Once installed, it can automatically mount your NTFS drive in read/write mode on Mac, allowing you to manage your files like any other drive.
This NTFS for Mac software supports all major macOS versions, including macOS High Sierra, macOS Mojave, macOS Catalina, macOS Big Sur, macOS Monterey, macOS Ventura, macOS Sonoma, macOS Sequoia, and macOS Tahoe.
Besides, it's compatible with Intel, T2, and Apple Silicon Macs, as well as all types of external storage devices, such as external hard drives, USB sticks, or memory cards.
Download it from the button below, and then you can read and write to the NTFS external drive on Mac freely without losing data.
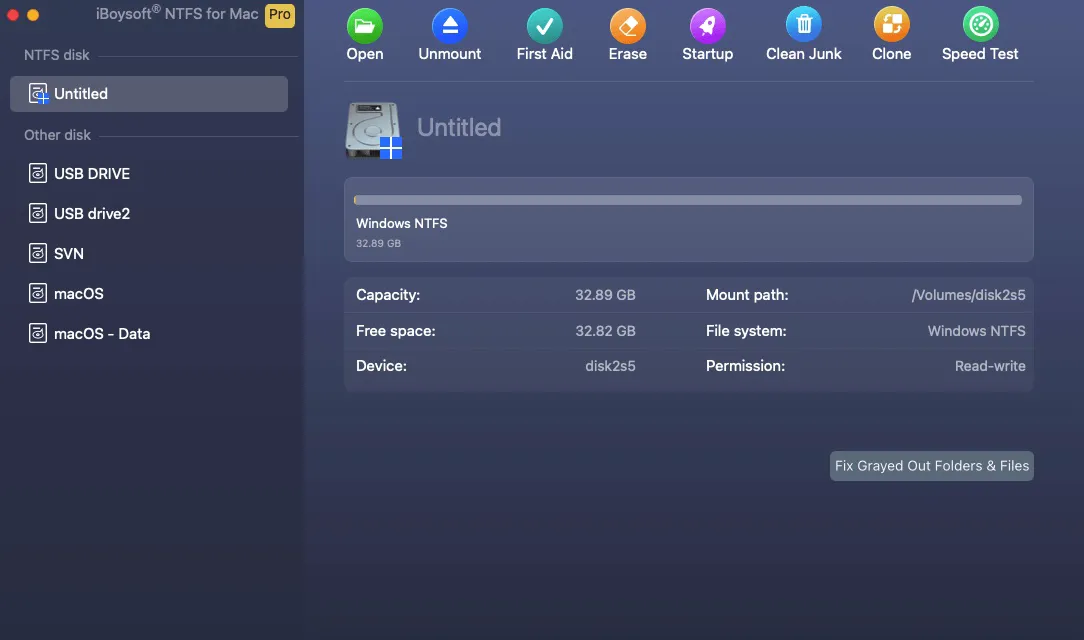
Tips: Have no idea what file system your external drive has? Check it in Disk Utility by selecting the main partition of the drive and viewing the information on the right side.
Way 2: Change permissions of read-only file system on Mac
Suppose your external disk is formatted with APFS or Mac OS Extended (Journaled); then you can try changing permissions of read-only file system on Mac. Here's how:
- Right-click on the drive with a read-only file system in Finder.
- Select "Get Info."
- Click the yellow tap to unlock the setting.
- Scroll to "Sharing & Permissions."
- Enable "Read & Write" privileges for your drive.
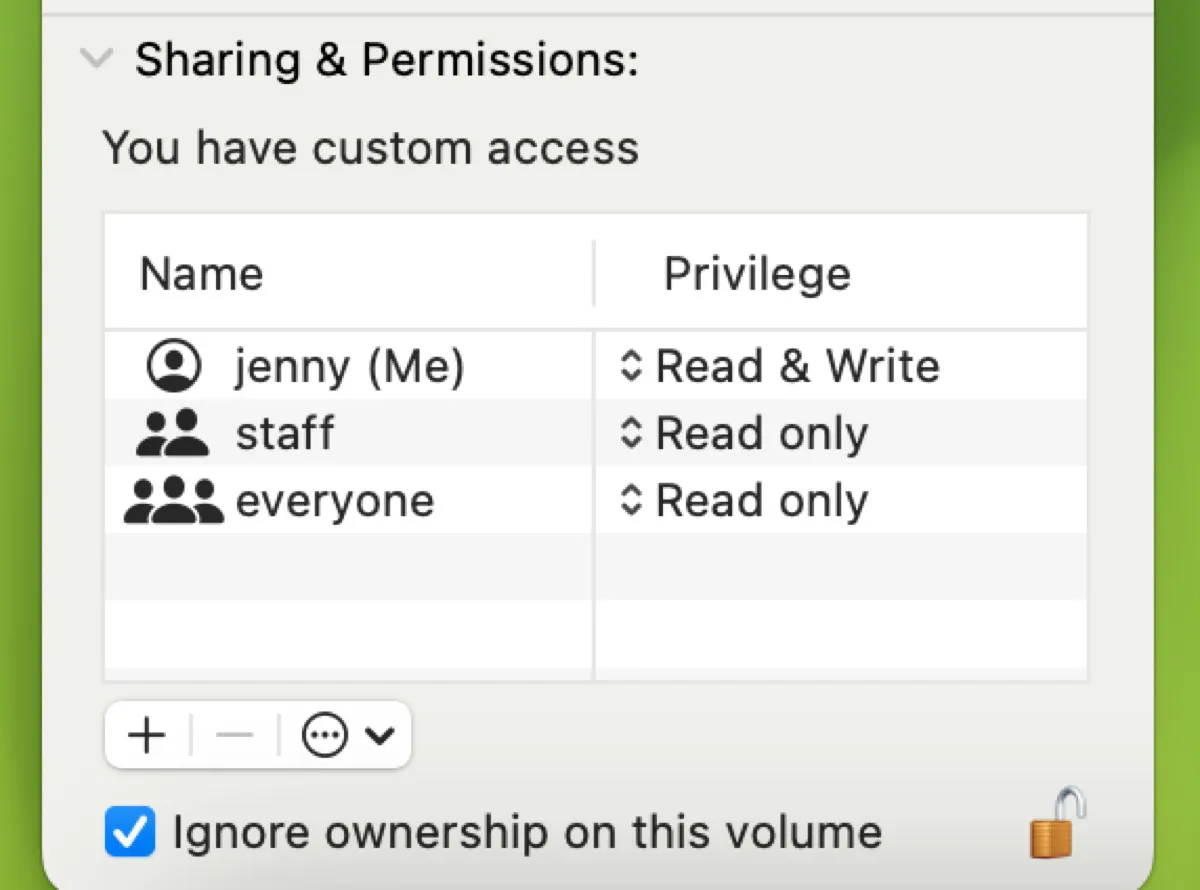
- Tap the Action pop-up, and click "Apply to enclosed items."
- Check "Ignore ownership on this volume."
- Tap the lock to save the changes.
If everything goes well, you should now be able to write to the external drive on Mac. If you can't change permissions on the external hard drive on Mac, try other methods in this guide: How to Change Permissions & Fix Permissions Denied on Mac
If the file system is exFAT, continue reading: How to Fix exFAT Drive Not Mounting/Showing Up on Mac?
Way 3: Reformat the drive after backing it up
Another way to fix the read-only file system on an external hard drive is by reformatting it with a format that has read-and-write support on Mac. Since performing a reformat will delete all data on the drive, you must back up the important files before proceeding.

This comprehensive guide explains how to reformat an external drive on Mac for different purposes, helping you make informed choices about file systems and partition schemes.
If you still can't write to the external hard drive on Mac even after formatting it to a Mac-compatible format, the drive has likely failed.
Help others fix the read-only file system on Mac external hard drives.
How to fix read-only file system on Mac for internal volumes?
The read-only file system error often occurs when you're trying to edit a system file on Mac. In this case, you can take the following methods to resolve it:
- How do I fix read-only file system error on Mac?
- Way 1: Double-check the command
- Way 2: Disable System Integrity Protection
- Way 3: Modify the /etc/synthetic.conf file
Way 1: Double-check the command
If Terminal returns the read-only file system message as in "rm: /var/db/ .AppleSetupDone: Read-only file system" or "OSError: [Errno 30] Read-only file system:," the first thing you should do is check whether the path specified in the command is correctly spelled.
It's possible that you've made a mistake in the command (e.g., omitted a space, a forward slash, or quotation marks), which made Terminal modify the read-only root directory.
Way 2: Disable System Integrity Protection
If you're indeed attempting to modify the root directory on Mac, you must disable SIP to make the read-only file system writable. Here's how to do it:
Note: The 'sudo' command is used to run commands with root privileges. To execute a command with 'sudo', you will need to enter your login password. When prompted, type in your password and press 'Enter'. Please note that your password won't be visible on the screen for security reasons.
- Boot into macOS Recovery.
- Click Utilities > Terminal.
- Turn off the SIP.csrutil disable
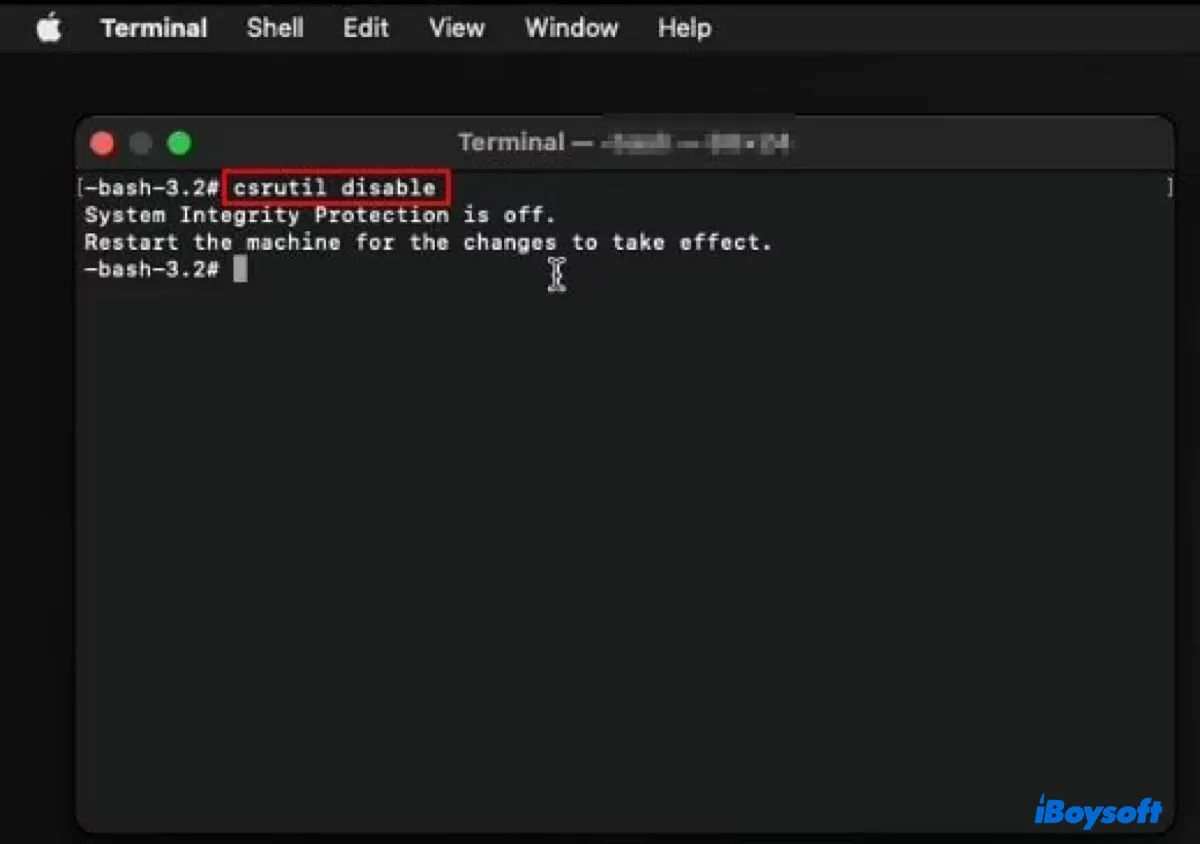
- Reboot your Mac for the change to take effect.
- Mount the read-only file system in read/write.sudo mount -uw /
- Give the folder you want to work with read/write rights.sudo chmod - R 775 folder_path
- Then you can write to the read-only file system on Mac.
- Restart your Mac.
- Boot into Recovery Mode and reenable SIP.csrutil enable
Way 3: Modify the /etc/synthetic.conf file to create directory at root level
Another workaround that doesn't require turning off SIP to add a new file or directory to the read-only root volume is to create a symbolic link from the data volume to the root level using the /etc/synthetic.conf file.
This file allows you to specify directories or symbolic links that you want to appear at the root level when the system boots. These directories or links are actually located on the data volume (/System/Volumes/Data), but they appear at the root level to software that accesses them.
Here's how to create a new directory with data on the read-only root directory in Terminal:
- Ensure you're logged in with an administrator account.
- Open Terminal.
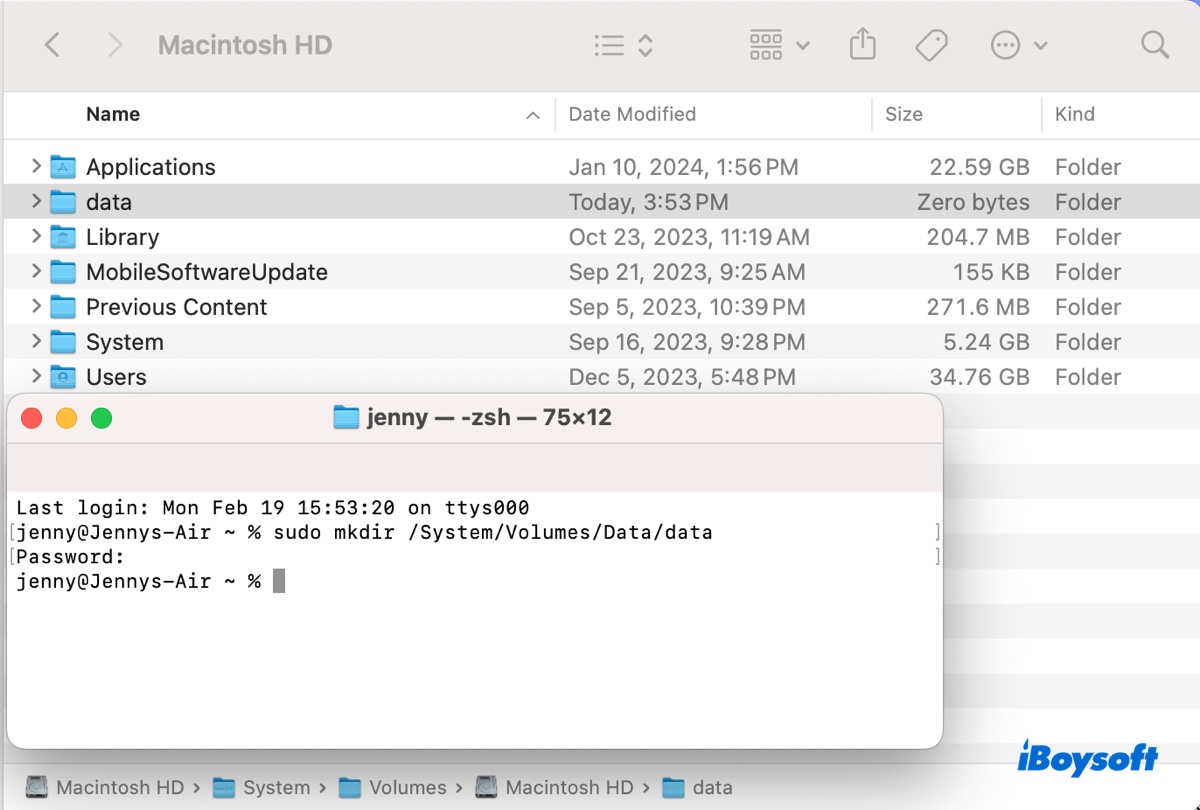
- Create a directory on the data volume or its sub-directory by typing the following command and hitting Enter.sudo mkdir new_folder_pathFor example: if you need to create a folder named data in the Macintosh HD Data volume, run: sudo mkdir /System/Volumes/Data/data
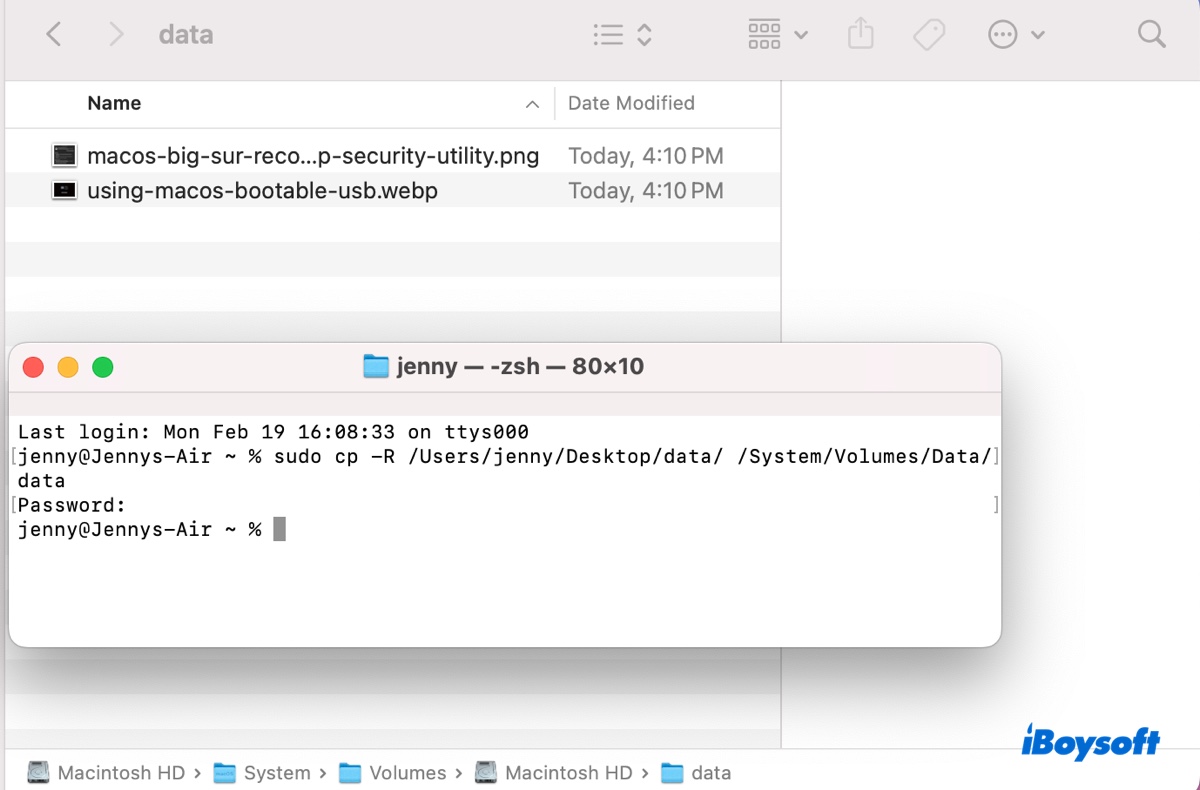
- Copy or move the data you want into the new directory by dragging and dropping or using the following command. (How to Copy a File/Directory in macOS Terminal with the cp command?)sudo cp -R source_directory_path/ new_folder_pathFor example, cp -R /Users/jenny/Desktop/data/ /System/Volumes/Data/data
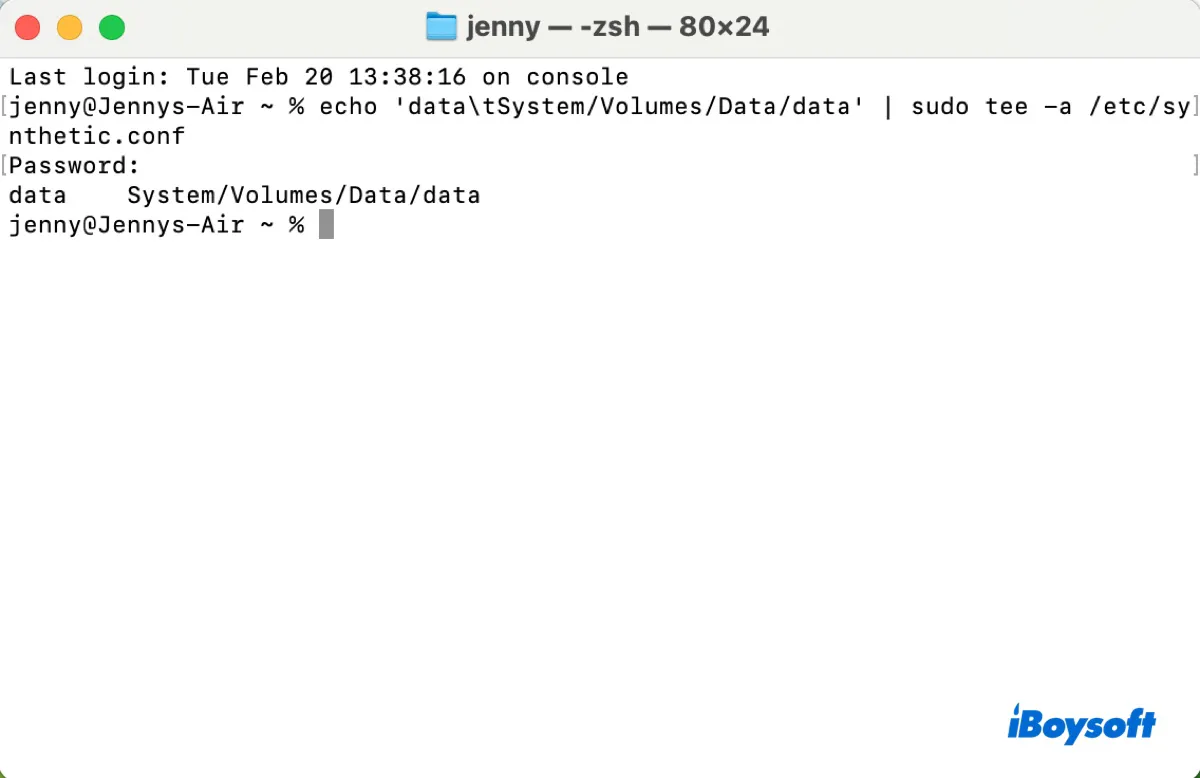
- Edit the /etc/synthetic.conf file to create a symbolic link at the root level that points to your new directory.echo 'data\tfolder_path' | sudo tee -a /etc/synthetic.confFor example, if you want to create a symbolic link named data at the root level that points to /System/Volumes/Data/data, you would use the following command: echo 'data\tSystem/Volumes/Data/data' | sudo tee -a /etc/synthetic.conf
- Restart your Mac.
- Check the folder in the read-only root directory.
Share this guide to benefit others who need to resolve the read-only file system on macOS Tahoe/Sequoia/Sonoma/Ventura/Monterey/Big Sur/Catalina.
FAQs about read only file system on Mac
- QHow do I unlock a read-only file on Mac?
-
A
To unlock a read-only file on Mac, right-click on the file, select 'Get Info' and enable 'Read & Write' access to your account. If the read-only file is located on an external drive formatted with NTFS, installing iBoysoft NTFS for Mac should allow you to modify it.
- QWhy is my file read-only Mac?
-
A
Possible causes of read-only files on Mac include NTFS file formatting, permission issues, or the locking status.
- QHow do I delete read-only files on Mac?
-
A
To delete read-only files on Mac, you need to grant write permissions to them. If the files are stored on an NTFS external drive, enable write support to it with a reliable NTFS for Mac driver, then delete them as usual.