
As a person who is really crazy about recording life with photos, I take thousands of photos every year. But the sad thing is, I quickly give up browsing them because whenever I try to do it, it's just like looking for a needle in a haystack.
If you are anything like me, you must be annoyed about the feeling of drowning in all these photos. What we need is a way to sort through our massive photos to help us locate the one we want to look at. Read on for how to organize photos on Mac.
How to organize photos on Mac using Photos app?
To do Mac photo management, the Photos app for macOS is something worth taking a close look at. Essentially, the Photos app is a photo management and editing tool. It allows users to organize the photo library based on their preferences and edit photos with the built-in Markup feature on Mac. Let's see how to manage photos on Mac with the Photos app.
Note: If you can't find Photos on your Mac, press the Command + Space bar at the same time to open Mac Spotlight, type Photos into the search bar, and hit Return.
If the Photos search function doesn't work, follow: Fix Photos search not working in macOS Sequoia.
Create your own album in Photos
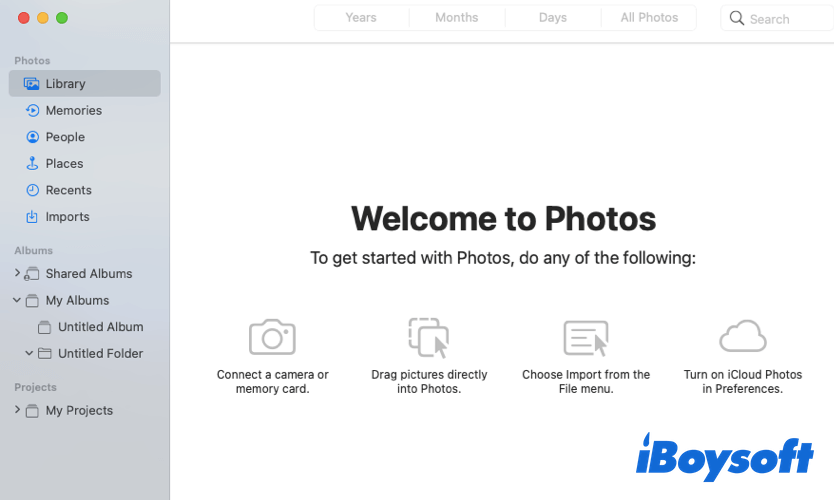
Actually, the Photos app will roughly categorize your photos on Mac by default. If you have opened the application, you will find there are some items from the Library list, such as Photos, People, Places, Recents, and Imports. Also, your screenshots, live photos, selfies, and other types of images may have their own albums in Photos.
Moreover, you can view photos by year, month, or day in the Photos item. This is a handy way to free us from digging for needed photos from a mess. Although the app is pretty good at sorting our photos into groups based on certain criteria, like locations and dates, it is not as good as you think when it comes to sorting through the photos you took during a trip.
So, in this situation, you can create your own album in the Photos app. This album could be used as a photo collection, and you can add a group of photos you took in a particular scene to it. Here's how to organize photos on Mac by creating your own album in Photos:
- Open Photos on your Mac.
- In the left column, choose My Albums, and click on “+”.
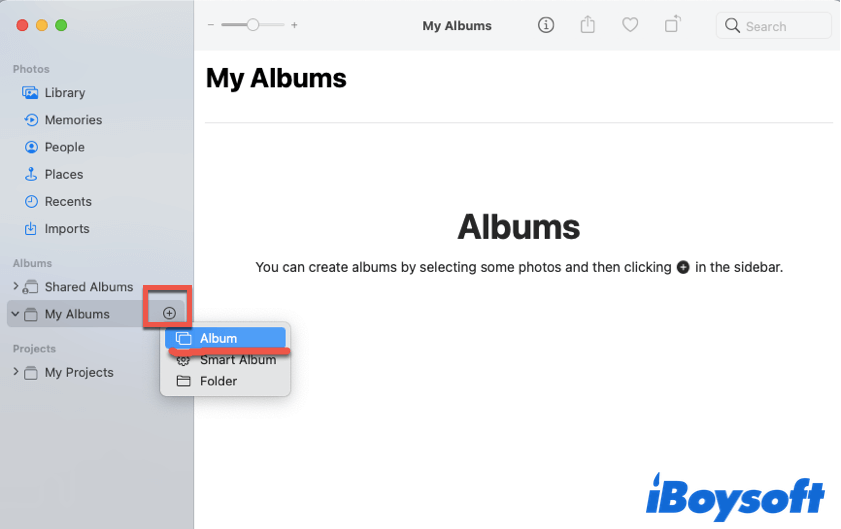
- Name the newly created album, or it will show as an Untitled Album by default.
Now you've created a new album successfully. But it stays empty for now, you should add photos to it manually. To add photos to the album, simply select the images you want, and drag them into the newly created album.
Add photos to existing albums
If you want to add photos to an existing album, like Memories, or Places, the thing you should do is all about dragging and dropping. Select the images you want, drag them to the album that suits you best, and release your finger from the mouse or trackpad.
Think this is helpful? Share it now!
Create a Smart Album for your photos
Different from the above content, Smart Album is more powerful than the one we just created. It is able to add photos automatically based on event triggers we designate. For example, if you are on a road trip, by setting a range for this smart album that encompasses the trip, it will automatically collect all images you snapped on your trip.
Here's how to perform Mac photo management by creating a Smart Album:
- Open Photos on your Mac.
- Click on the plus icon next to My Albums, and choose Smart Album.
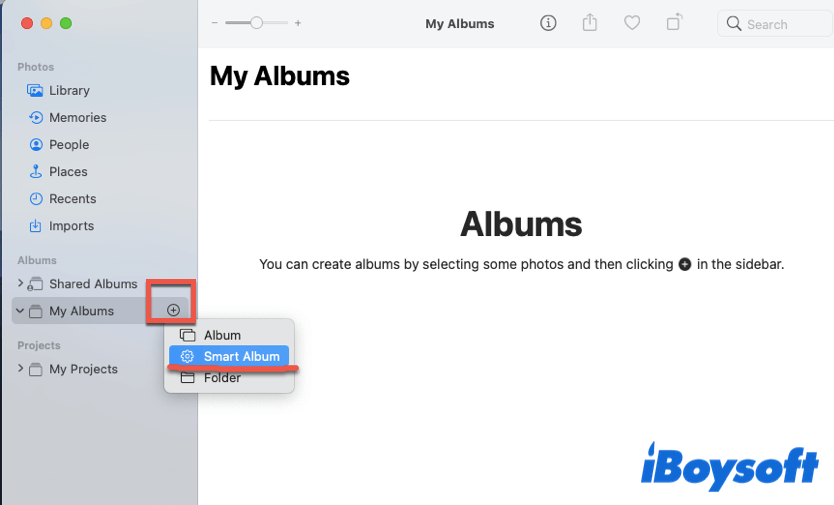
- Name the album first, and choose the parameters that best suit your needs.
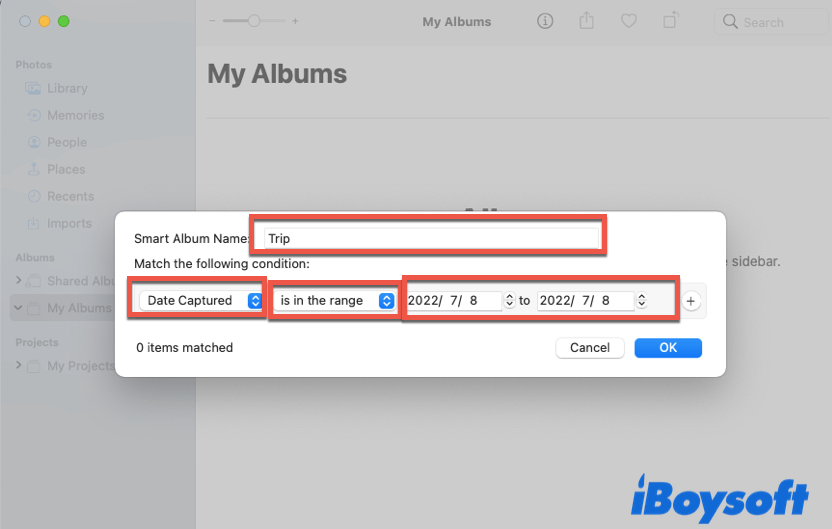
For the road trip we mentioned above, you can select 'Date Captured', 'is in the rage', and the dates of your trip.
Group albums in folders
Group existing albums into folders can help you further organize photos on your Mac. You may have multiple albums to store photos of your friends, one friend for one album. In this case, you can create a folder named Friends to make those albums further managed. Here's how:
- Open Photos on your Mac.
- Click “+” next to My Albums, choose Folder, and name it whatever you like.
- Select the albums you want to add, and drag them into the folder you just created.
How to favorite photos
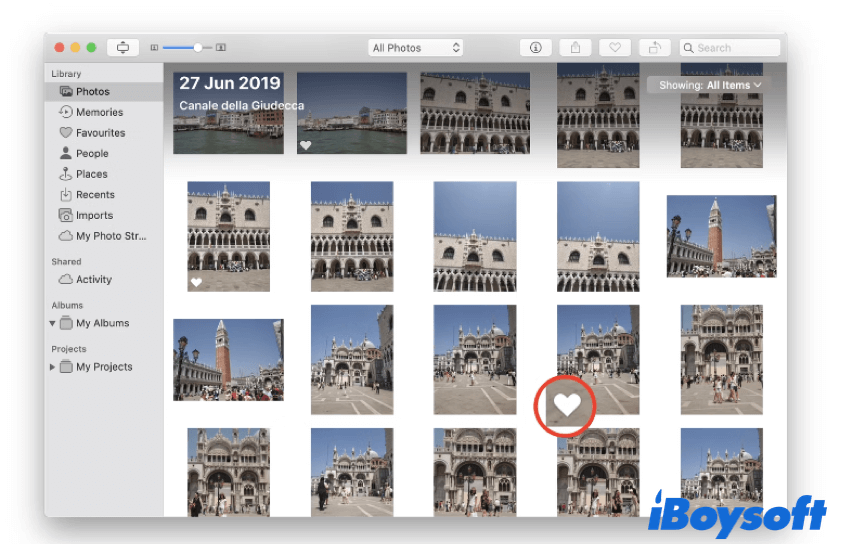
To favorite photos may be the simplest yet the most effective solution for how to manage photos on Mac. Essentially, to favorite photographs is to sort out photos you like from all the images. So, with that operation, you can choose a view that only shows your favorite photos.
To favorite a photo is quite easy to perform. As you hover over the wanted photo, you will see a heart icon appear in the bottom left corner of the photo, just click on it and you're all set.
Share photos with your family and friends
If you want to share your photos with your family and others, click the Share icon in the menu at the top of the window and choose a way to share. You can share them via Mail, Messages, AirDrop and etc.

How to Turn on & Use AirDrop on Mac/MacBook
This full guide tells you how to turn on AirDrop on Mac or MacBook. Also, it shows how to use and turn off AirDrop on Mac or MacBook. Read more >>
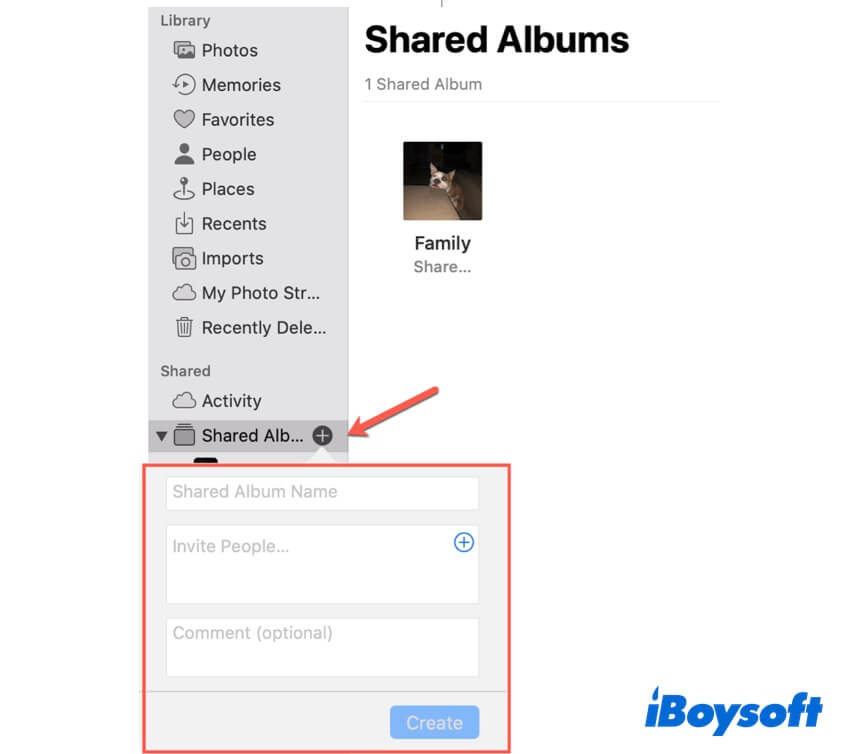
Besides, you can create a Shared Album. With Shared Album, your family and friends using Apple iCloud can see the photos in it, they can also comment, like, and even add photos. Here's how to organize photos on Mac with Shared Albums:
- Open Photos on your Mac.
- In the left sidebar, click “+” next to the Shared Albums.

- Name the album, invite people to collaborate, and click Create.
- Click All Photos in the sidebar.
- Drag and drop the photos you want to add to that album.
Let more people see this content by sharing it!
How to organize photos on Mac desktop?
Apart from photos in the Photos app, you can find photos on Mac in somewhere else, you may wonder how to organize Mac desktop photos. It's common for us can't find a photo on the desktop. So, it is necessary to organize desktop photos and improve work efficiency.
To organize pictures on your desktop, here's what you can do:
- Create a folder for your desktop photos.
- Use Stacks on Mac to help you with Mac photo management.
- Use third-party software to organize desktop photos.
If you want to organize your pictures on a Mac desktop more easily, you can try to use iBoysoft MagicMenu.
iBoysoft MagicMenu is a right-click enhancer for macOS. With it, you can quick access any photos you want on Mac without digging for them from folders or any other destinations. Also, you are allowed to copy and move photos to wherever you want with a few clicks on the mouse. In addition, iBoysoft MagicMenu is able to help you cut, edit, and hide files on Mac.
Here's how to quick access a photo using iBoysoft MagicMenu:
- Download, install, and launch iBoysoft MagicMenu on your Mac.
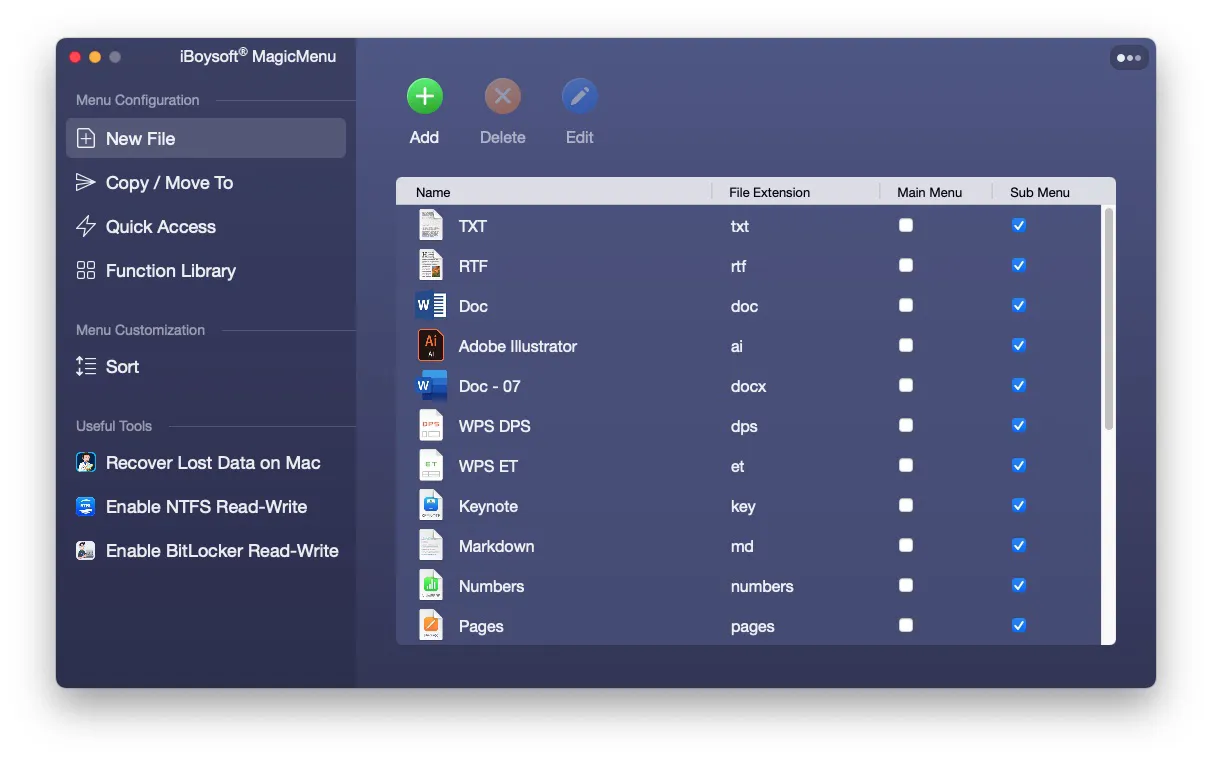
- Click Quick Access on the left panel in the user interface.
- Click Add and a context window will pop up.
- In the context window, click Browse, and select a photo you want to add for quick access. (Apart from a photo, you can add various items for quick access, like an app, folder, disk, and even a web page.)
- Type any name you want and click OK.
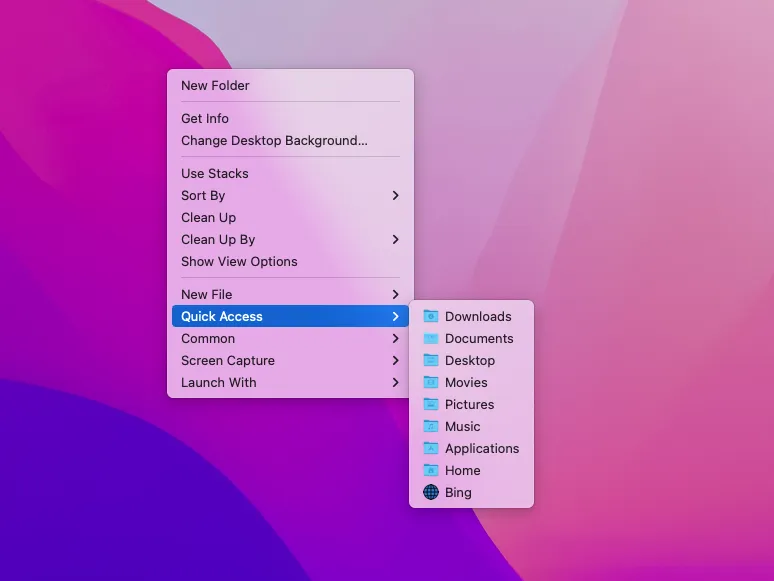
- Right-click on the blank space of your desktop, choose Quick Access, and click the newly created item to quick access the photo.
Have you learned how to organize photos on Mac desktop? If you did, share it with more people!
Bonus part: How to recover deleted photos on Mac?
After learning how to do Mac photo management, let's talk about something different. It's common for people to delete some files by mistake, and want to recover deleted files, like photos. Luckily, in most cases, deleted photos on Mac are recoverable.
- Recover photos from Trash: If you haven't emptied the Trash can after the deletion of pictures, they are easy to recover. Just open the Mac Trash bin, select the deleted photos you want to recover, right-click on them, and choose Put Back.
- Retrieve photos using Time Machine: With Time Machine on Mac turned on, you can get deleted photos back by restoring Mac from Time Machine.
- Recover images with data recovery software: If your images are permanently deleted, you can try to use data recovery software, such as iBoysoft Data Recovery for Mac. It can recover photos, videos, audio, etc. before they are overwritten.
FAQ
- QWhat is the difference between a folder and an album in Mac photos?
-
A
Albums allow you to organize your photos and videos, while Folders allow you to organize your albums. In other words, when you organize photos by creating new albums, you can also further organize them by creating folders.
- QHow to transfer photos from iPhone to Mac?
-
A
You can transfer photos from iPhone to Mac via AirDrop. Here's how:
1. Turn on AirDrop on your Mac.
2. Open the Photos app on your iPhone, and select the pictures that you want to transfer.
3. Click Share button in the lower-left corner, and choose AirDrop from the pop-up menu.
4. The app will find all Apple users in close vicinity.
5. Tab the user that represents your Mac, wait for the process to finish, and click Done.