While being popular among iPhone and iPad users, the Markup tool for Mac is less well-known yet pretty useful for Mac users. This Markup feature on Mac lets you perform multiple tasks on PDF documents and pictures when opening an item using Quick Look, Quick Actions, and certain macOS native applications. If there's an iPhone and iPad nearby, you can even use them to edit the file on Mac by utilizing the Continuity Markup feature.
Read on to explore more about the Mac Markup tool.
What is the Markup tool for Mac?
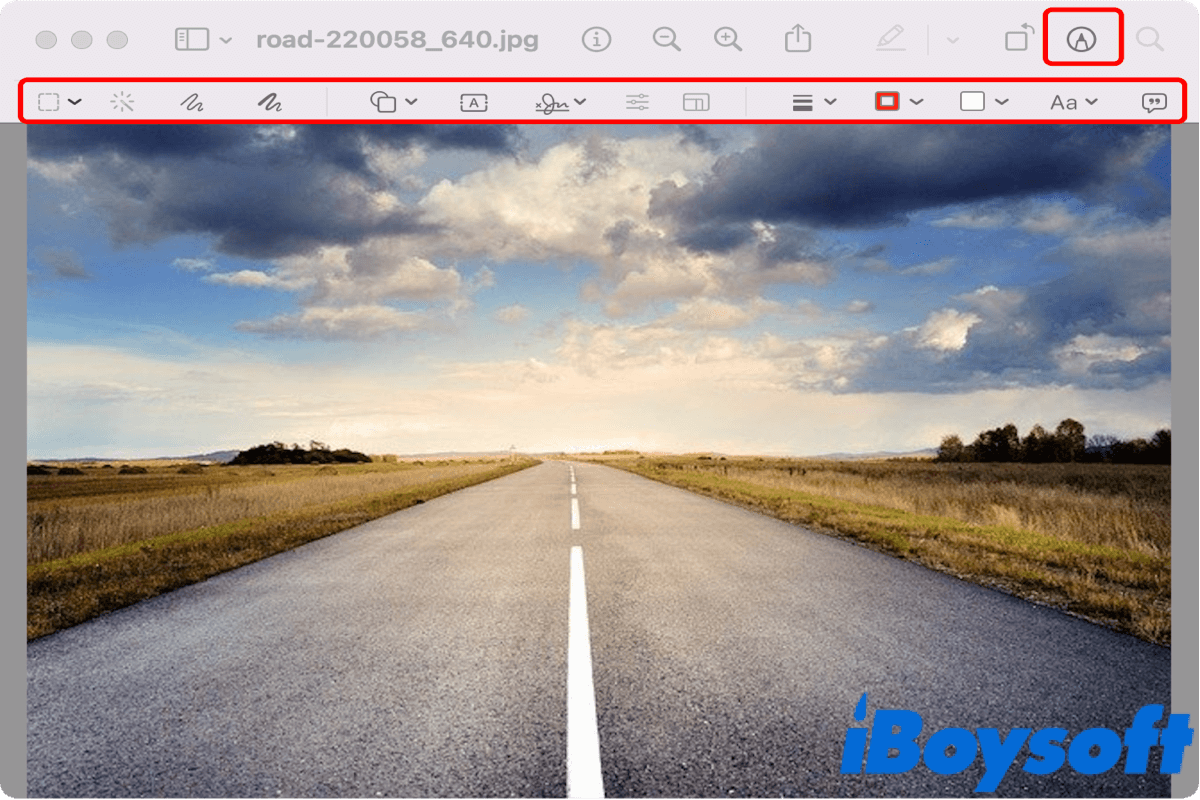
The Markup tool is one built-in feature in macOS that allows users to annotate and draw on PDF documents and images with a wide range of practical designs, for example, users can write, sign, crop, and add text to files by accessing a native Mac application's Markup toolbar using Quick Look or Quick Actions. Features shown on the Mac Markup toolbar vary from one file type to another. Here list some commonly used functions that offer great help when editing saved screenshots on Mac and other graphics.
- Sign. You can create electronic signatures on Mac using either the Touchpad or the camera.
- Sketch. Mark on a shape within one stroke, be it a line or a circle.
- Annotate. Add annotation to the item by making use of a nearby iPhone or iPad.
- Draw. As the name suggests, you can pretty much draw anything on the image using the Trackpad.
- Text. Add content in the text box and drag it anywhere you want.
- Highlight. This feature is often used to highlight certain parts of the content in a PDF document.
How to enable the Markup tool on macOS?
Not sure if you've enabled the Markup feature on Mac or can't see the Markup toolbar when attempting to edit an item? Follow the steps below to enable the Markup extension on macOS.
Step 1. Click on the Apple icon located at the top-left of the Mac menu bar and select System Preferences… from the context list.
Step 2. Select Extensions to enter the preference pane.
Step 3. Click on Actions from the left column. The Markup option should be shown in the right column.
Step 4. Tick the box in front of Markup to enable this feature.
Now you know how to enable the Markup tool on macOS, click on the below button to share with your friends.
How to use the Markup tool for Mac?
There are multiple ways that you can bring up and make use of the Markup feature on Mac. Let's start with the easiest method, Quick Look.
Use Mac Markup tool from Quick Look
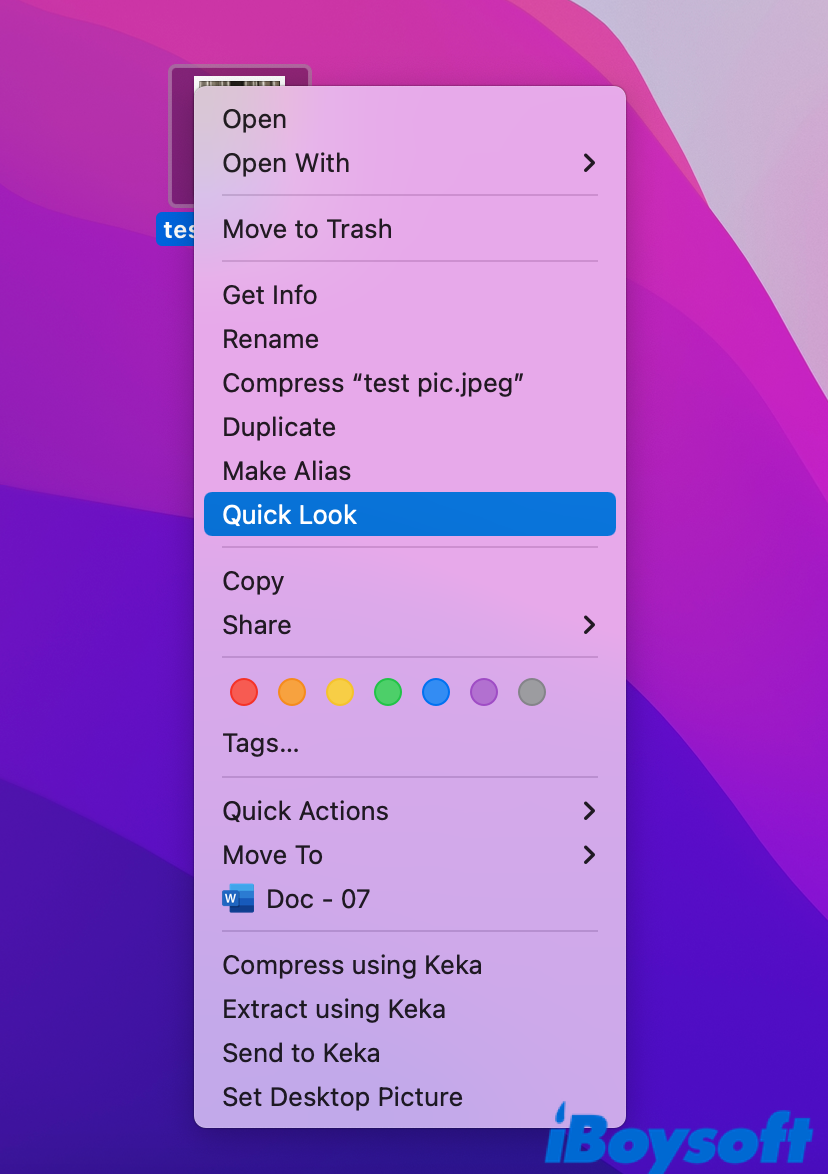
- Right-click on an item.
- Click on Quick Look from the context menu.
- Select the Markup icon from the top of the window. All available Markup tools should show up.
Use Mac Markup tool from Quick Actions
- Right-click on an item.
- Move to Quick Actions this time. You should see four options then, including the Markup one.
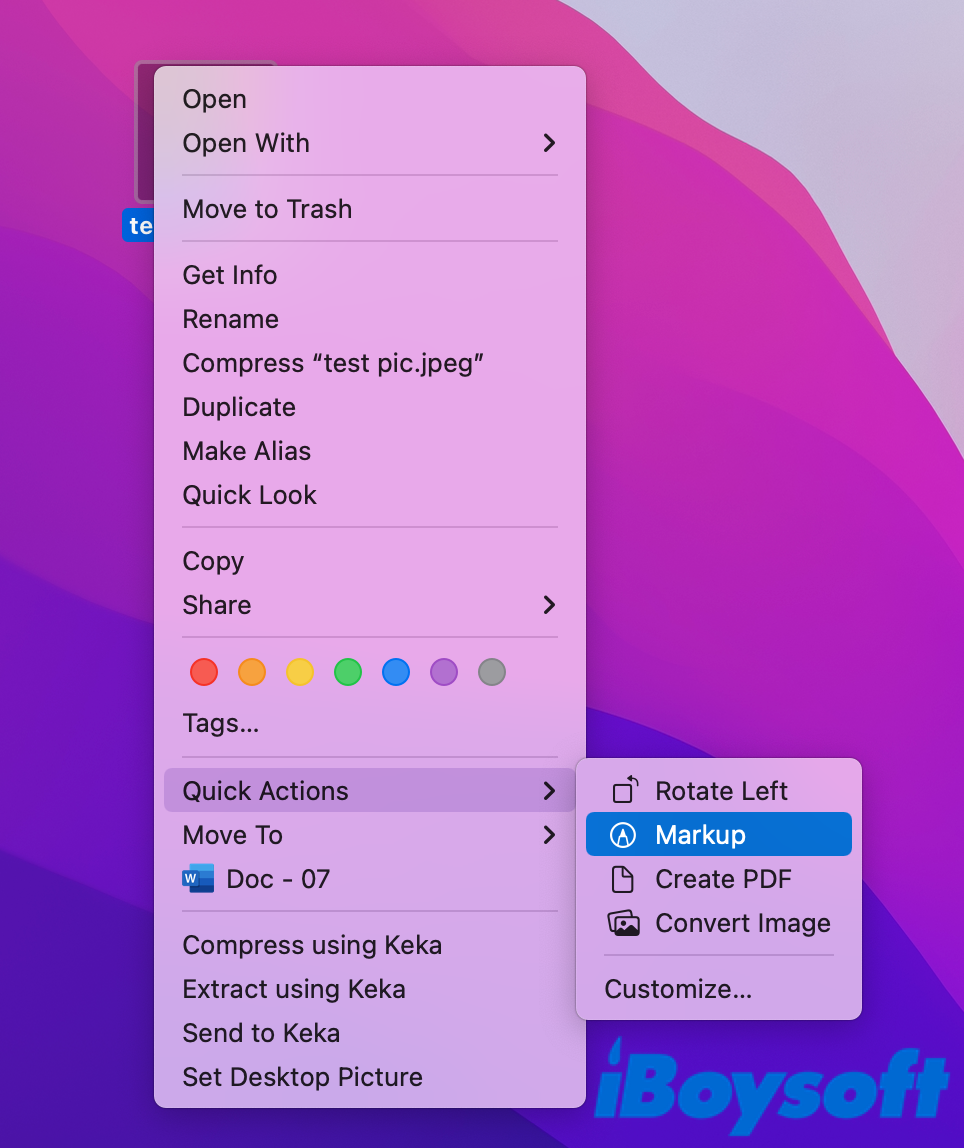
- Choose Markup to freely edit your files.
Use Mac Markup tool from Mail
- Open the Mail app and go to the email that includes a PDF or image attachment.
- Right-click on the PDF or image.
- Select the first option, Open Attachment.
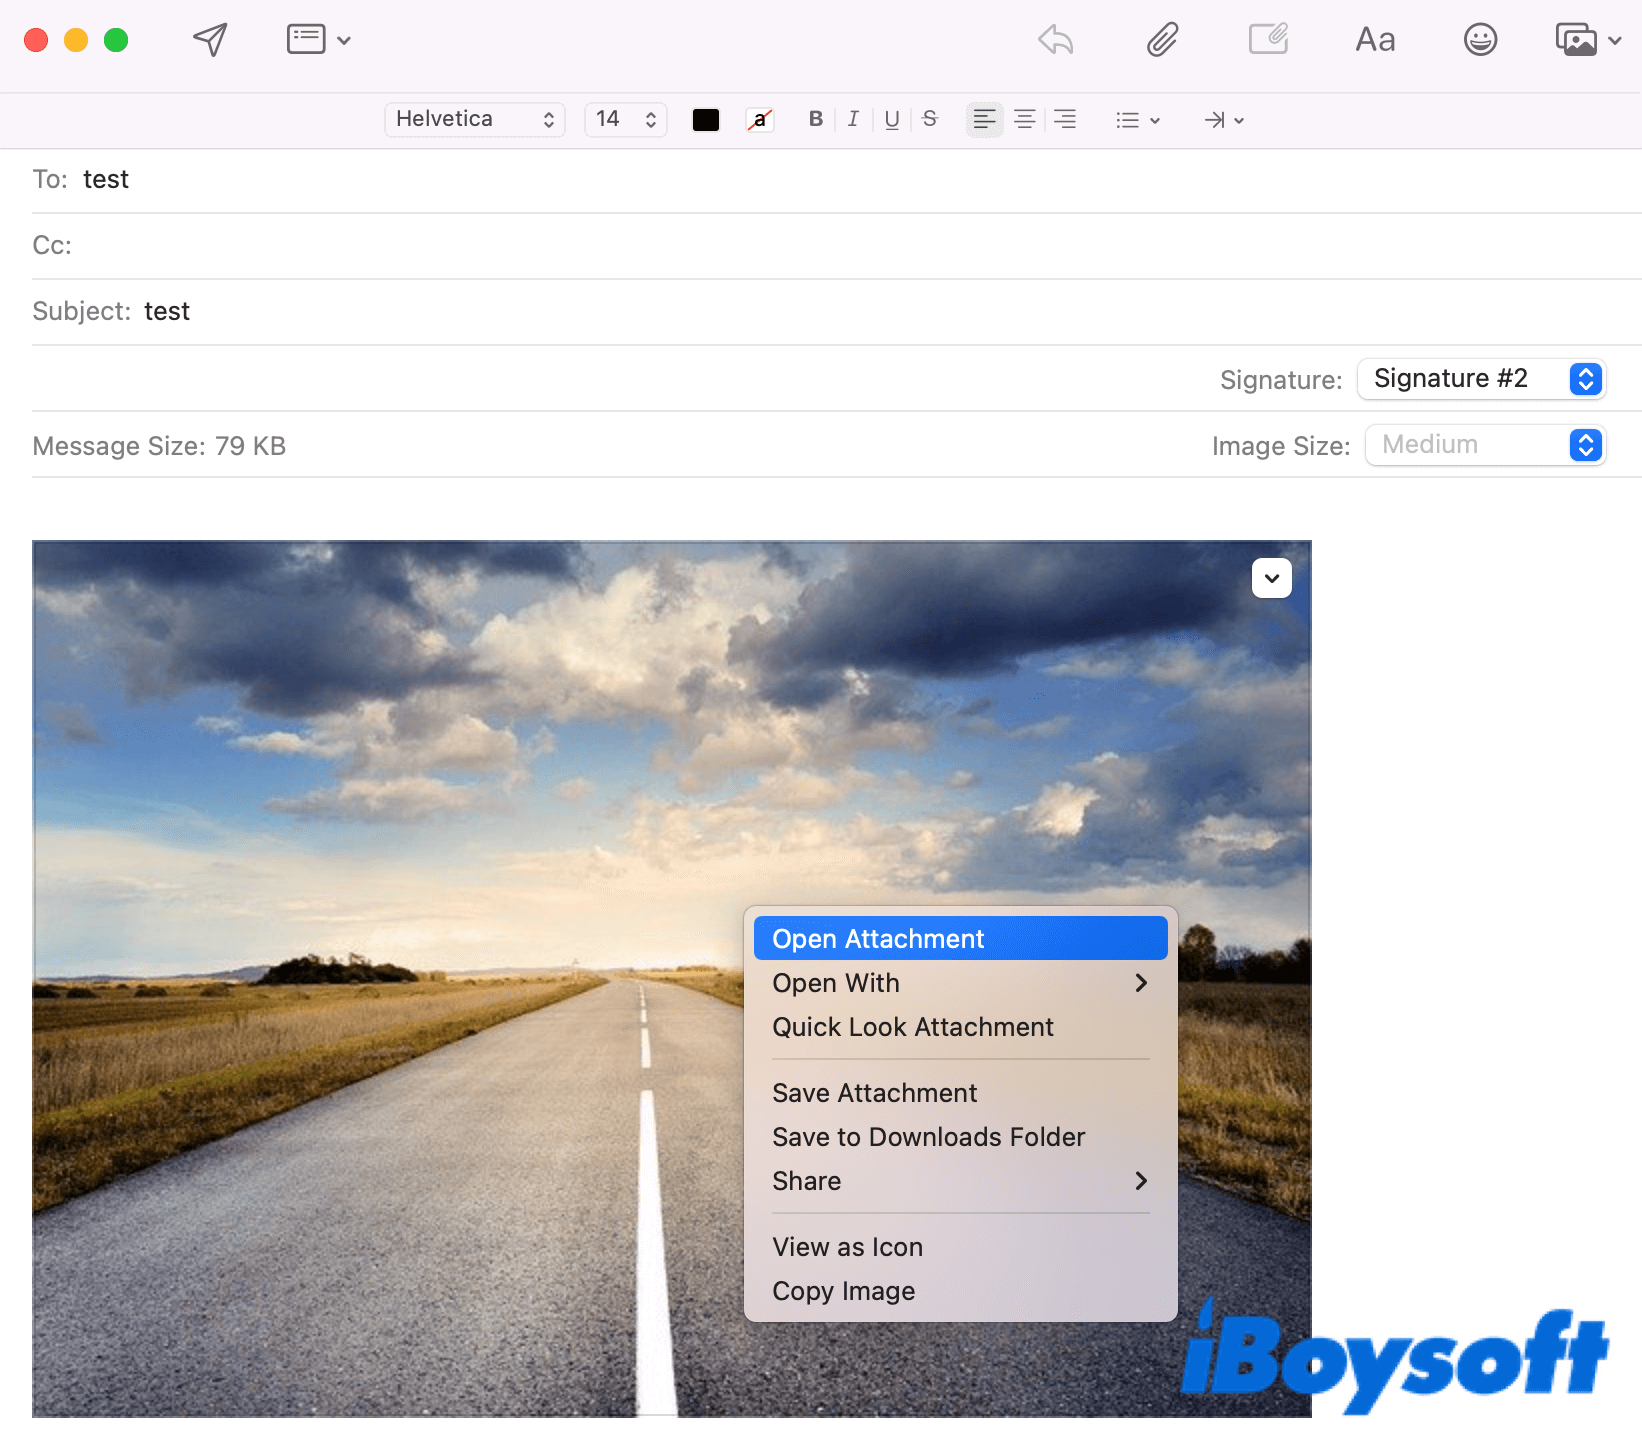
- Click the Markup icon and start to mark up your file.
Use Mac Markup tool from Notes
- Open the Notes from Launchpad and select the object you want to mark up.
- Right-click on the object and select the last option, Open with Preview.
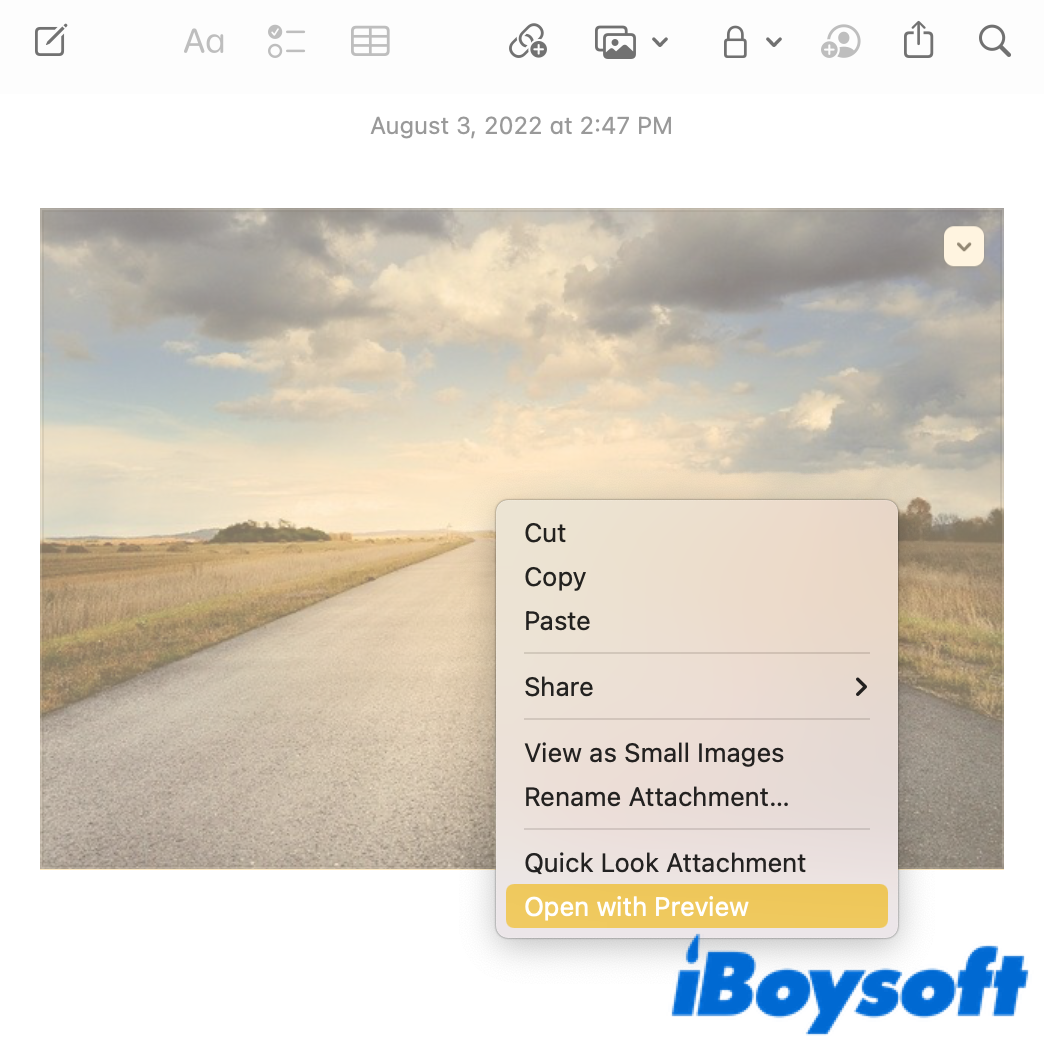
- Click the Markup icon that is next to the search sign.
Use Mac Markup tool from Photos
- Go to Launchpad and navigate to Photos. Click to open this app.
- Find the photo you wish to edit and double-click on it.
- Hit the Edit button at the top-right corner of the panel.
- Click on the Extensions icon with three dots inside a circle.
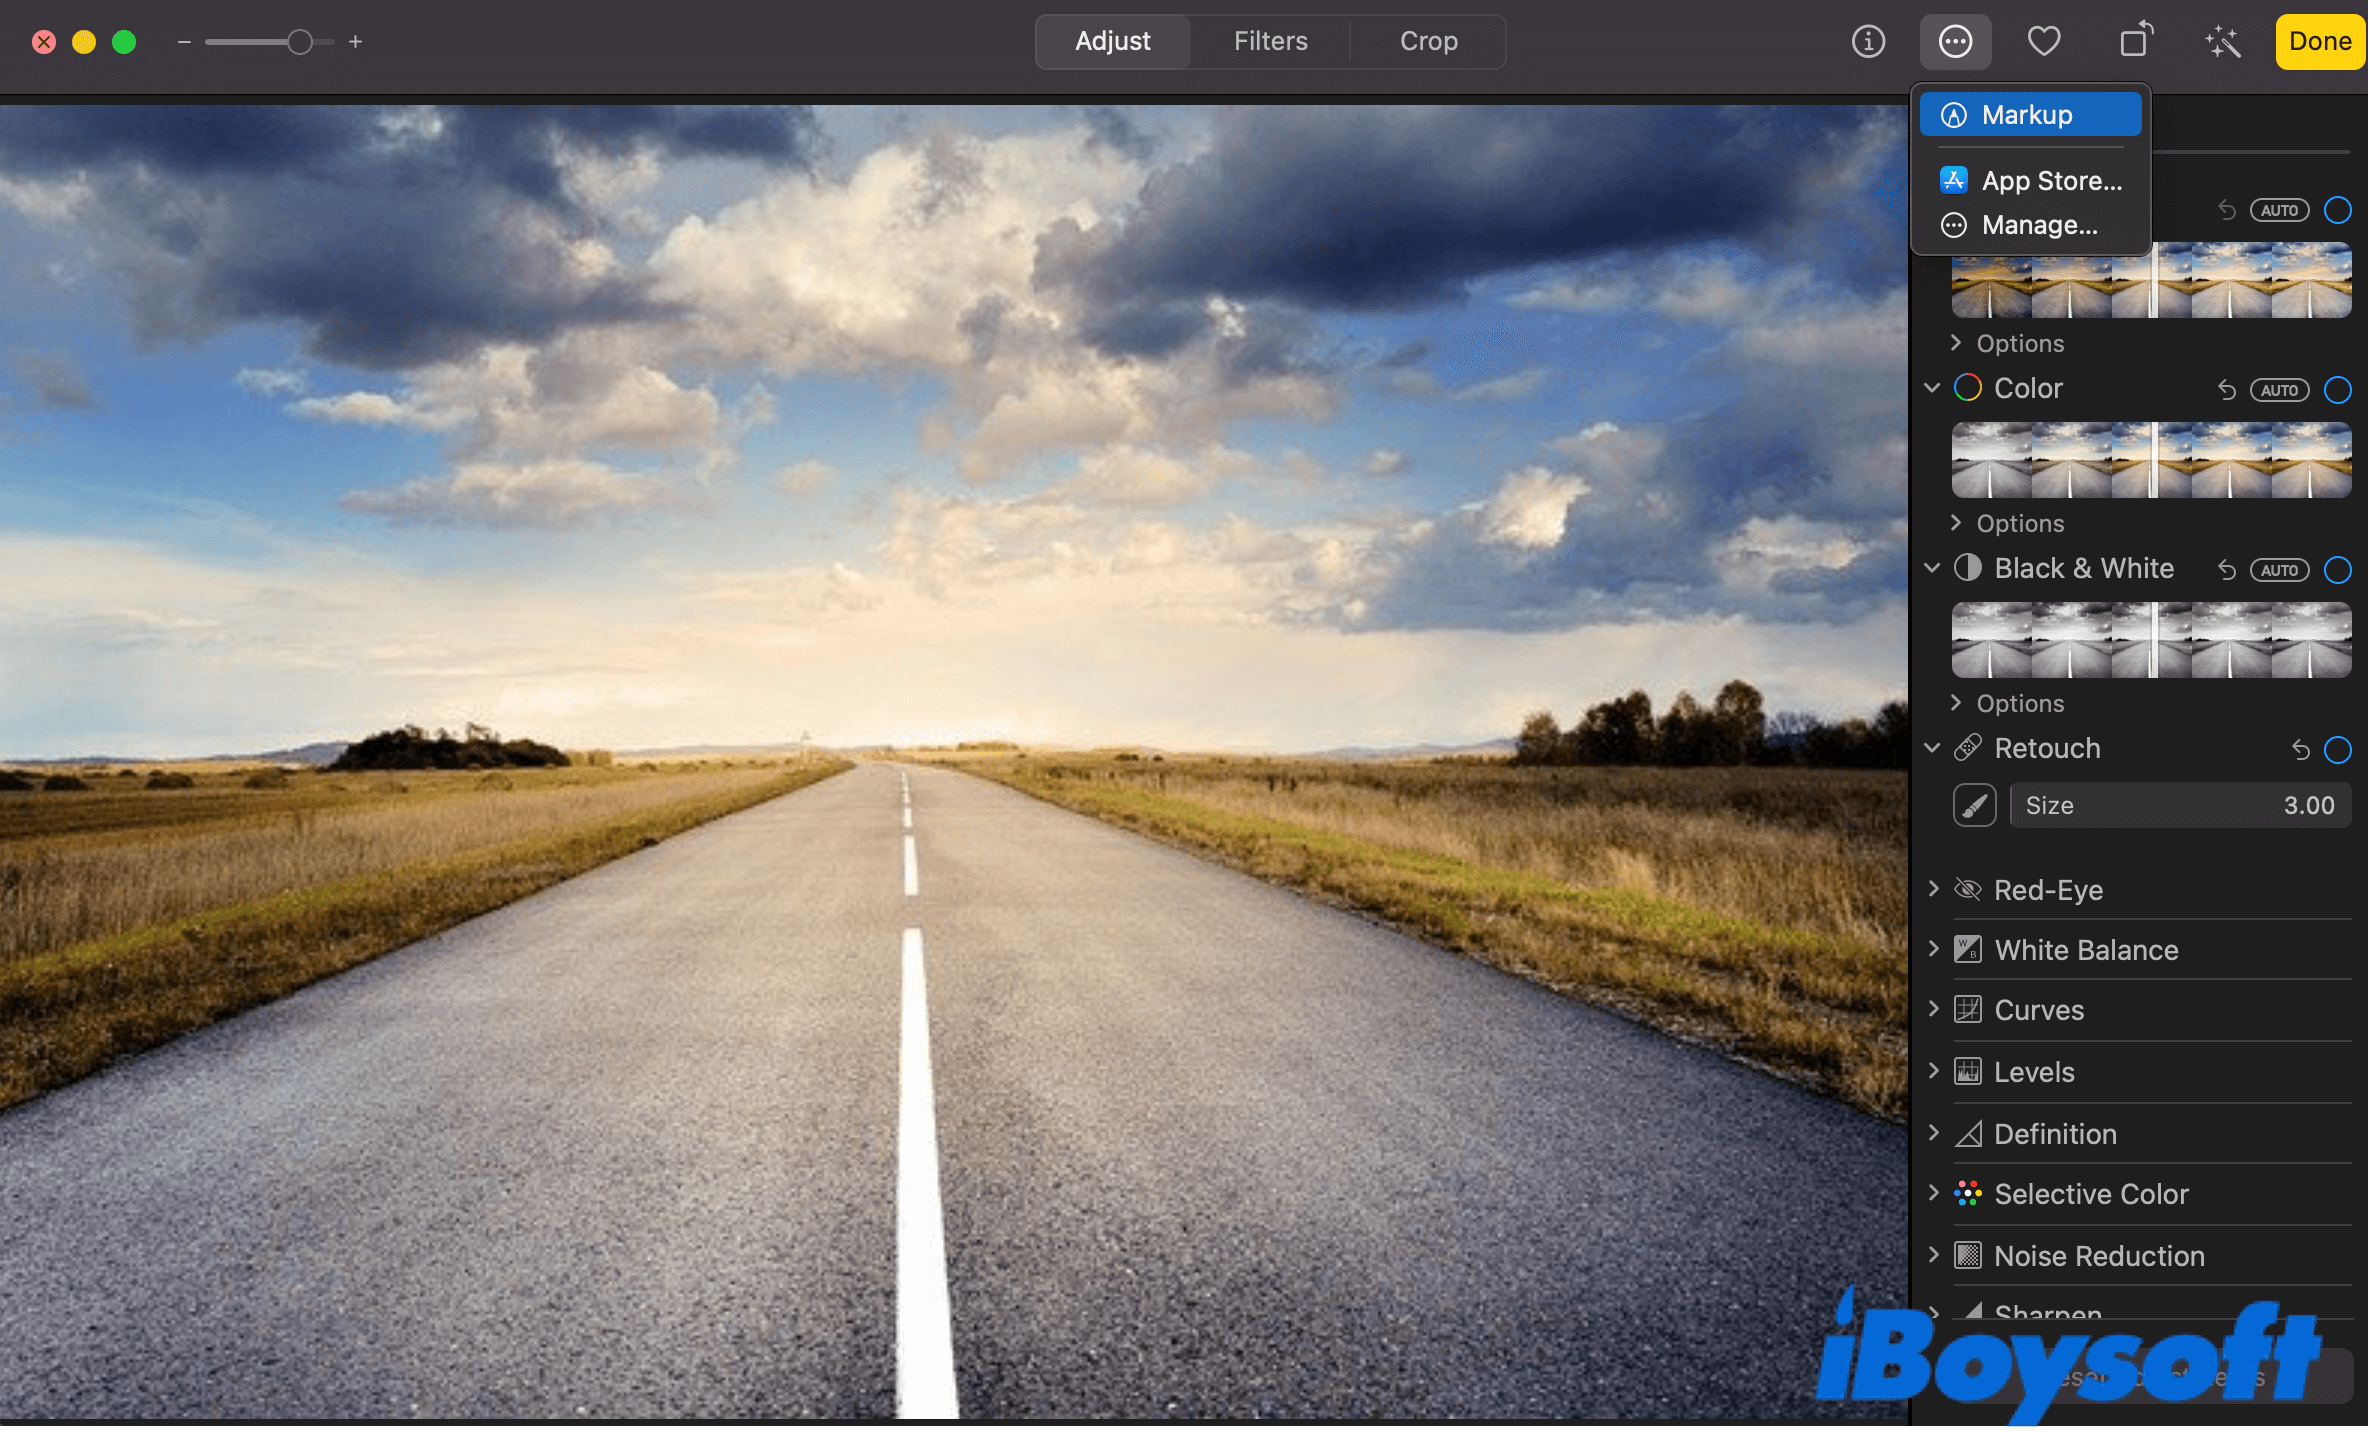
- Choose Markup to enjoy multiple photo editing features.
The bottom line
If you are looking for a simple and effective way to carry out basic annotations to your files, Mac's built-in Markup feature is capable of doing the trick. There are quite a few ways to bring up and enjoy this feature, including using Quick Look, Quick Actions, and native macOS programs. Next time you want to edit a photo, give it a try with the Mac Markup tool.
Find this post helpful? Share it with more people!