With the release of the public version of macOS Sonoma, many Mac users want to upgrade to macOS Sonoma on their Macs to use those powerful features brought by macOS 14, like Widgets on the desktop, web apps, Game Mode, and so forth.
In this post, we will guide you to create a bootable USB for macOS Sonoma, which can satisfy your needs in the following situations: (download the macOS installer full version)
- Clean install macOS Sonoma on Mac
- Update multiple Macs without downloading the installer each time
- Downgrade macOS
- Troubleshoot issues on the startup disk
- Have an emergency disk handy when the Mac won't turn on
- Install macOS 14 on a Mac without an internet connection
If you want to try the latest version, follow: how to create a macOS Tahoe bootable USB installer
Share this post with anyone who needs to create a bootable installer for macOS Sonoma!
Before beginning, you will need the following to be able to create a Sonoma USB installer:
a. A USB flash disk with at least 15 GB of available storage given that the macOS installer file is about 13 GB, and the USB flash drive should be formatted as Mac OS Extended. Backup any critical files on the USB drive due to that the following steps will erase the disk.
b. A healthy Mac that is compatible with macOS Sonoma. You will need to get the macOS Sonoma installer on the Mac used to create the USB bootable installer, thus the Mac model should be supported by macOS Sonoma. And ensure there is enough free space on your Mac for the macOS Sonoma installer.
c. Quality and stable internet connection on your Mac. During the process, you will need to download the macOS installer, and a good internet connection is required.
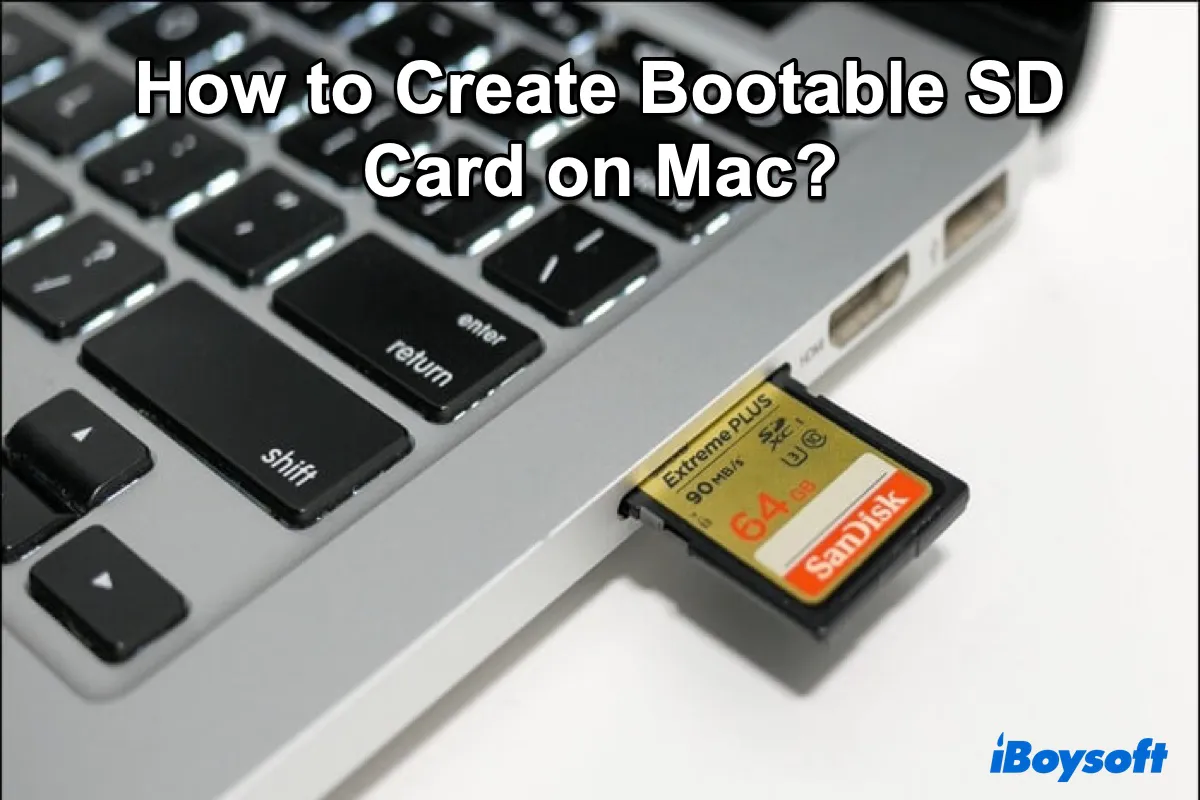
If you're trying to create a bootable SD card installer for macOS, continue reading this guide for step-by-step instructions.
Steps to create the macOS Sonoma bootable USB
Apple has made it possible for Mac users to utilize Terminal commands to install macOS on an external storage device ever since the release of OS X Mavericks in 2013. However, obtaining the required DMG files is not always easy, and the entire process can be quite cumbersome.
Therefore, we recommend using professional software to create a bootable installer, such as iBoysoft DiskGeeker for Mac. With this tool, you can easily create a macOS boot disk without the need to execute complex Terminal commands.
In addition, the software allows you to directly download macOS DMG files, including macOS 15 Sequoia, macOS 14 Sonoma, macOS 13 Ventura, macOS 12 Monterey, macOS 11 Big Sur, macOS 10.15 Catalina, macOS 10.14 Mojave, and macOS 10.13 High Sierra. This eliminates the hassle of searching for installation files, enabling you to create a macOS boot disk with ease.
Here is how to create a macOS Sonoma bootable USB from iBoysoft DiskGeeker for Mac.
Step1. Download iBoysoft DiskGeeker for Mac.
Step2. Connect your external hard drive to your Mac, select a volume, and click Create boot disk.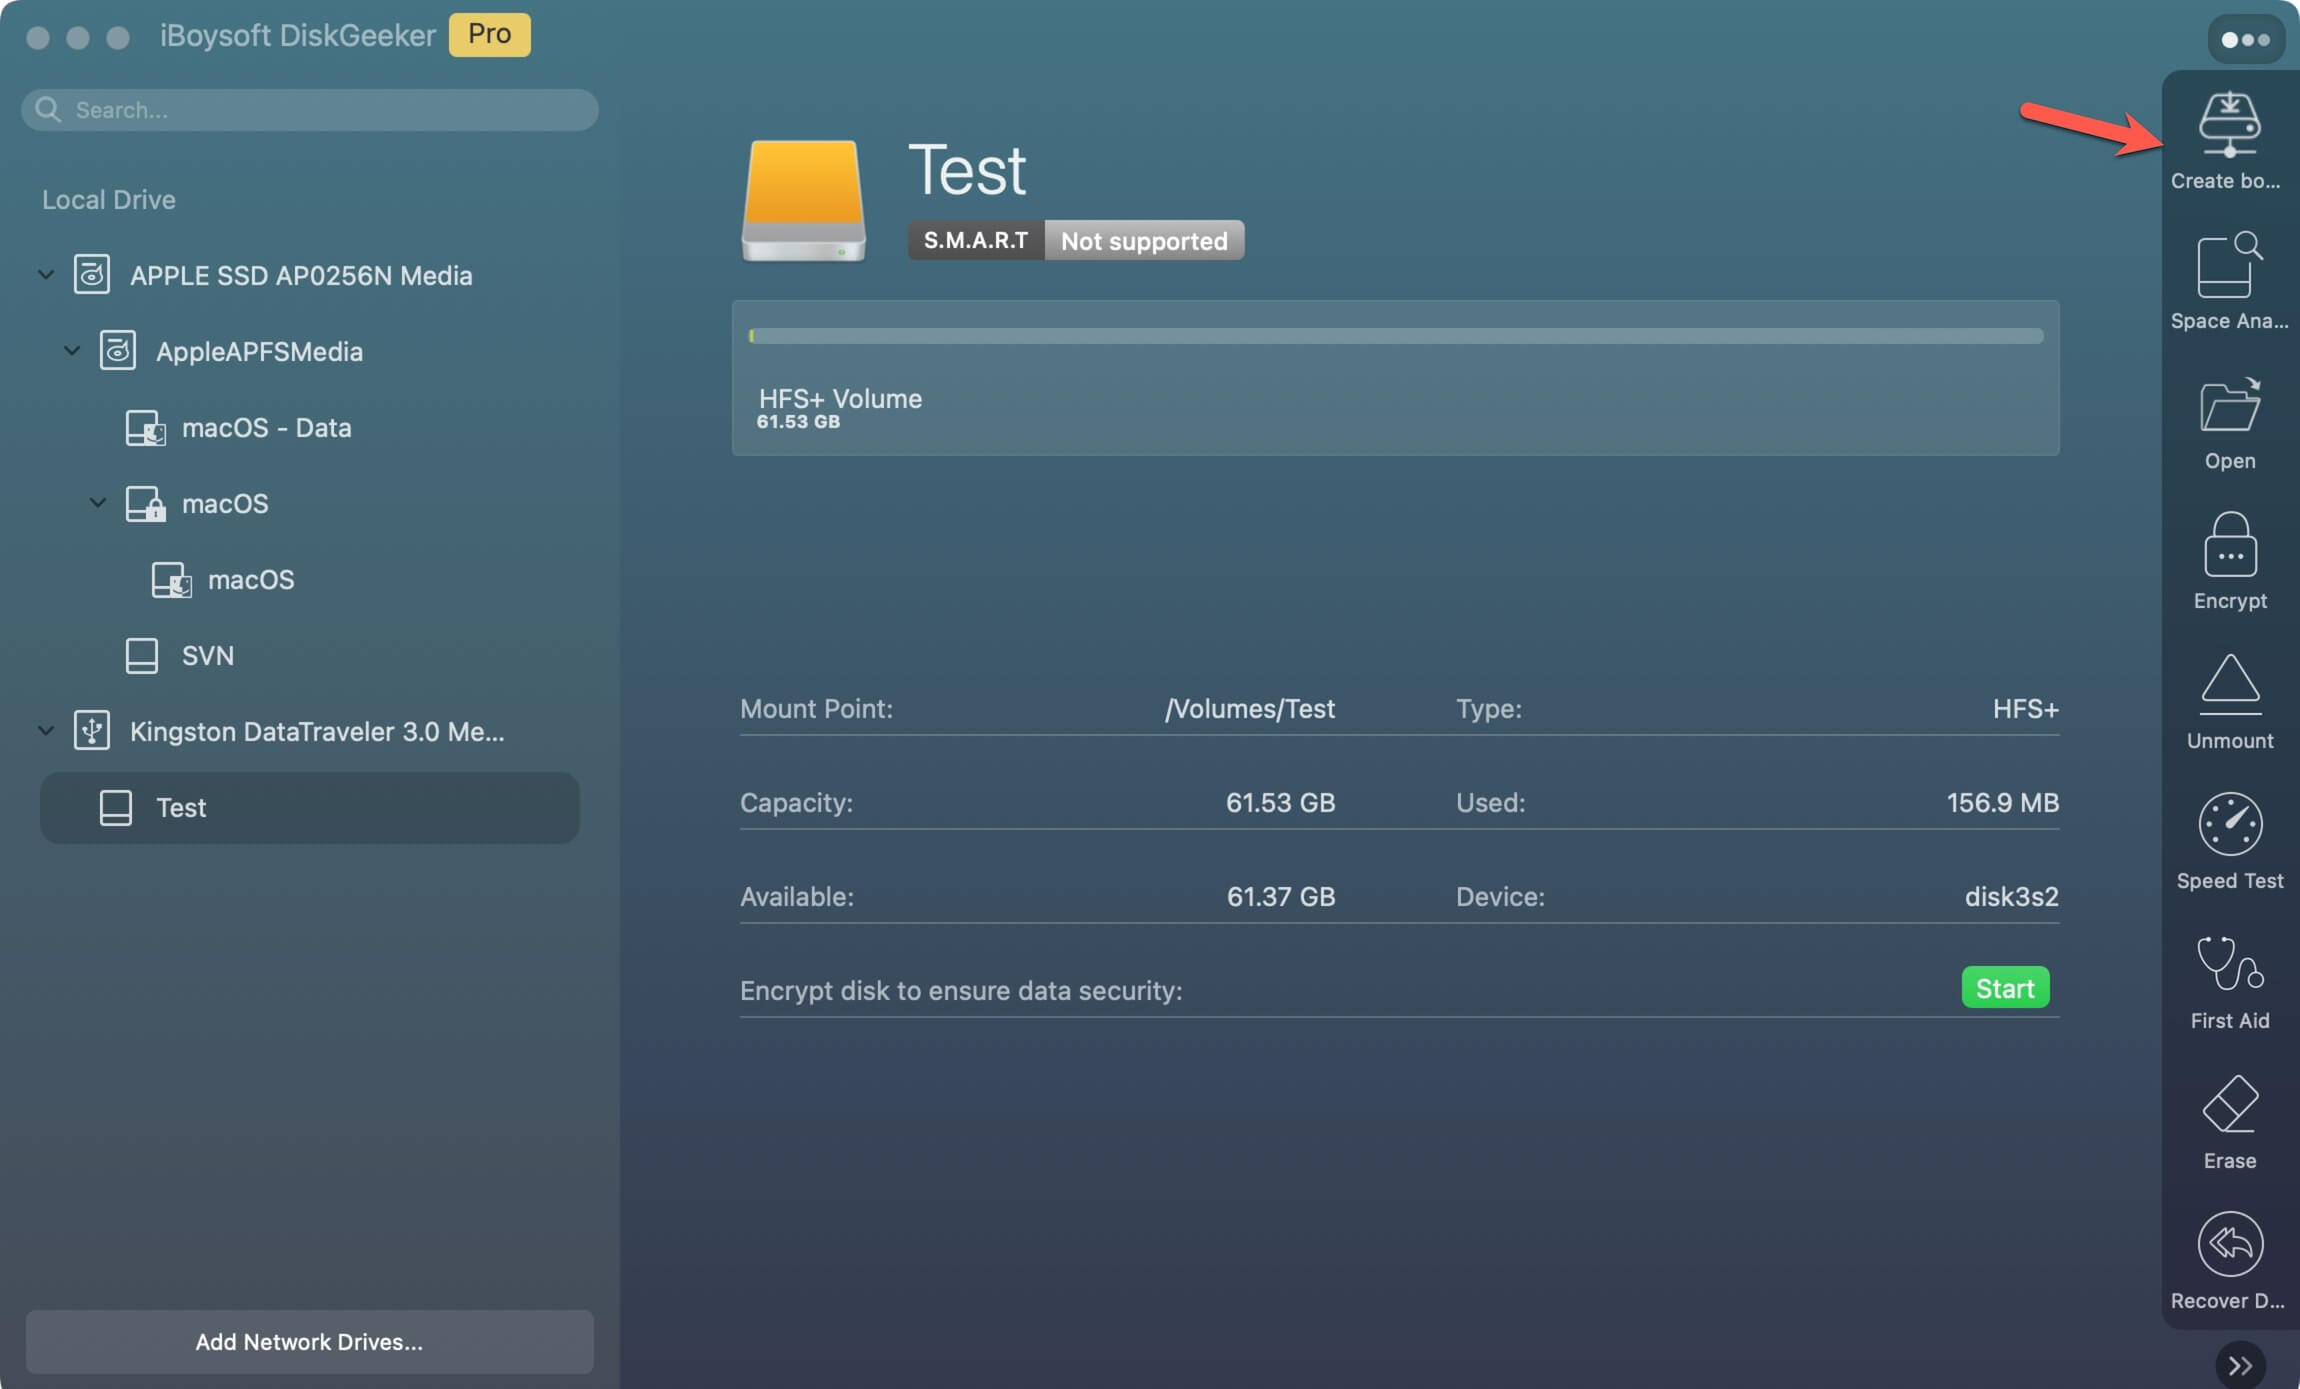
Step3. Click Continue when you are prompted that your disk will be formatted.
Step4. Select the macOS 14 Sonoma in the pop-up window and click Create boot disk.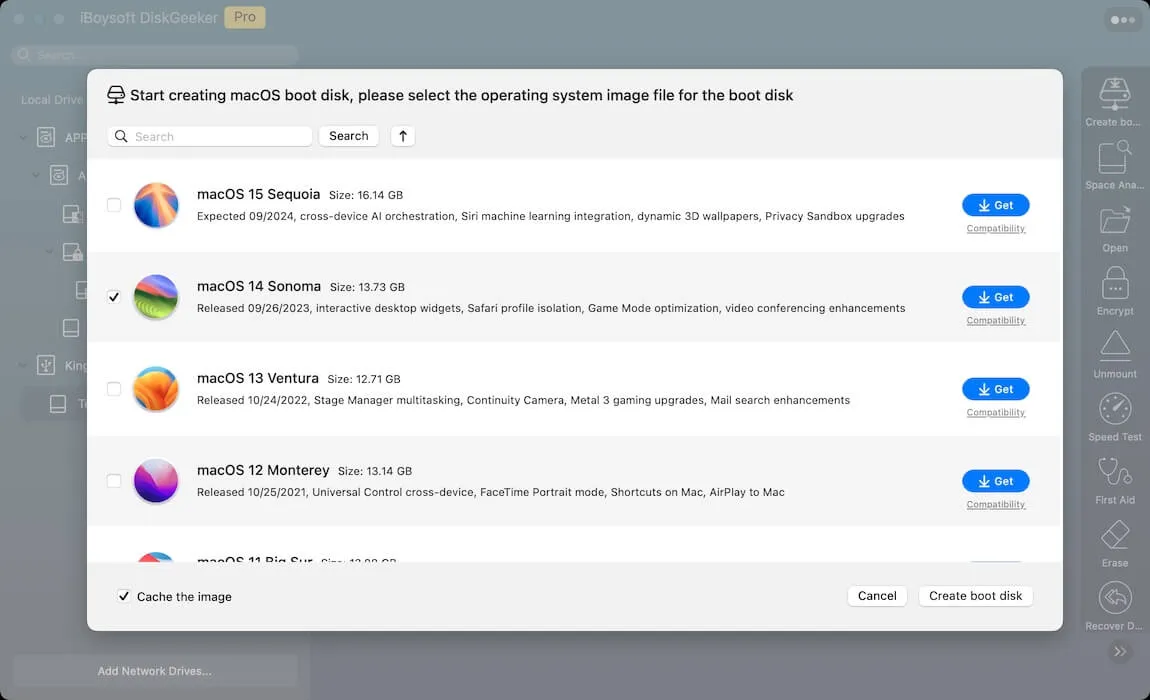
Step5. Click OK when the message “Creating the boot disk will erase the target partition.” appears.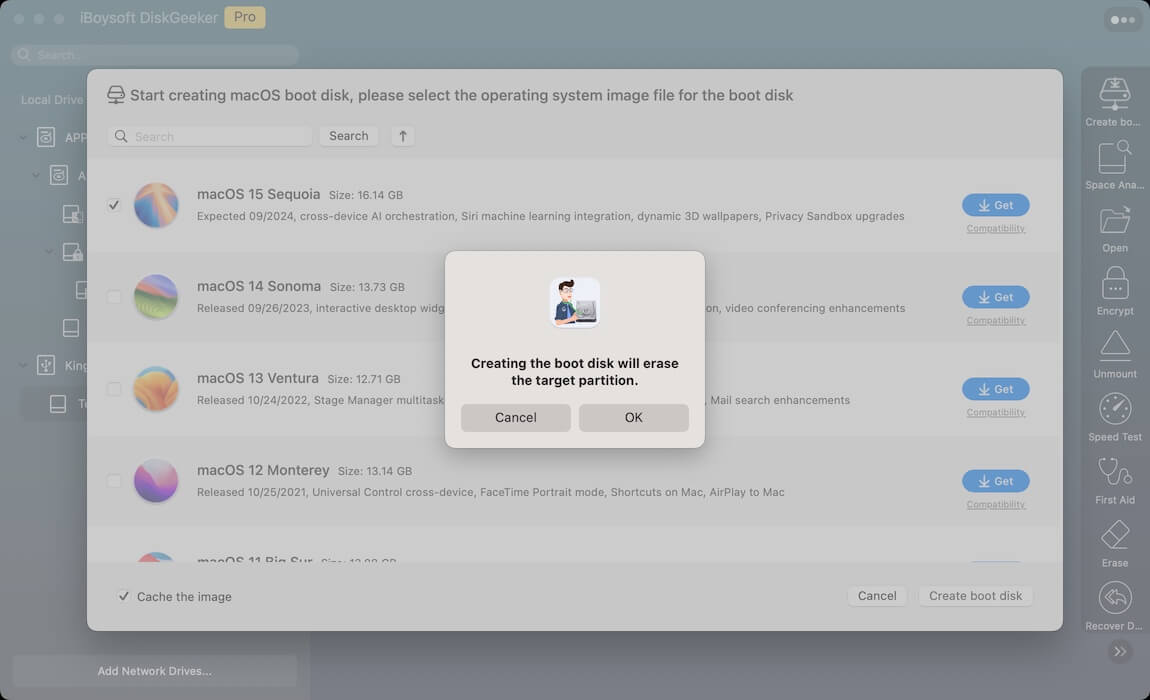
Step6. Wait for the DMG download to complete, then confirm the pop-up warning that creating a bootable disk will erase the target partition by clicking OK.
Wait for a moment, and the macOS Sonoma bootable USB will be created successfully.
* You could also create the macOS bootable USB installer from Windows.
Let more people know how to create a bootable installer for macOS Sonoma!
Boot up Mac from the Sonoma bootable USB
After you have successfully created the Sonoma USB installer, you can boot Intel/Apple Silicon Macs from the USB bootable installer and upgrade your Mac. Although it doesn't download macOS from the internet, it does require an internet connection to get firmware and other information specific to the Mac model. Here's how:
On a M1/M2 Mac:
- Connect the bootable installer to the target Mac.
- Turn on your Mac and hold the power button until the startup options window(Startup Manager) shows, and you can see all available bootable volumes.
- Select the volume where the bootable installer is installed, then click Continue.
- When the macOS installer opens, follow the onscreen installation instructions.
On any other Mac:
- Plug the macOS Sonomna bootable installer into the Mac.
- Turn on your Mac, then immediately press and hold the Option (Alt) key.
- Release the Option key when a black screen shows your bootable volumes.
- Choose the macOS Sonoma USB bootable disk. Then click the onscreen arrow or press Return. Make sure that you have selected "allow booting from external or removable media" in Startup Security Utility.
- Choose your language, if prompted.
- On the Utilities window, select Install macOS, then click Continue and complete the installation.
If you want to upgrade macOS on multiple Macs, just insert the USB bootable installer to each Mac and repeat the steps. This is more time- and effort-saving compared with downloading and installing macOS on multiple Macs one by one.
Related reading:
Help more people create a macOS Sonoma bootable installer!