The screenshot feature built into macOS enables us to take a screenshot without additional software. If there is no matter going on, we can get a screenshot on Mac easily. However, a lot of users have reported that they have encountered screenshots on Mac not working problem. How to fix the screenshot on Mac not working issue? Read on to get 6 quick and useful tips.
Restart and update your Mac
If your Mac has been running for a long time without shutting it down, some apps may can't work properly. Restarting your Mac may be useful to solve screenshots on Mac not working issue.
Here are 3 ways to restart Mac:
- Press the Power key on your keyboard. Choose Restart to restart Mac.
- Choose Restart from the Apple drop-down list.
- Press Control + Command + Power to restart your Mac.
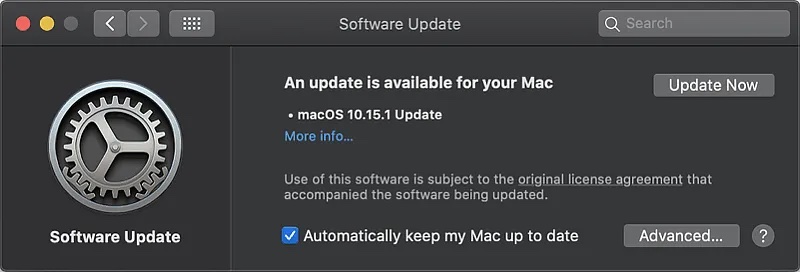
Another reason for screenshots on Mac not working is that your Mac is not up to date with system updates.
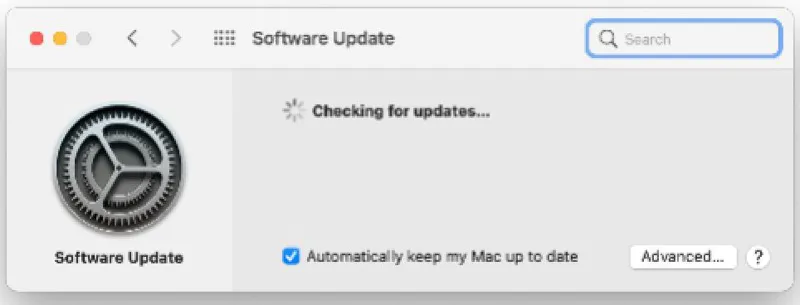
Step 1: Go to System Preferences > Software Update to prompt your Mac to check for updates:
Step 2: If there's an update available, click Update Now.
Check the keyboard shortcut settings
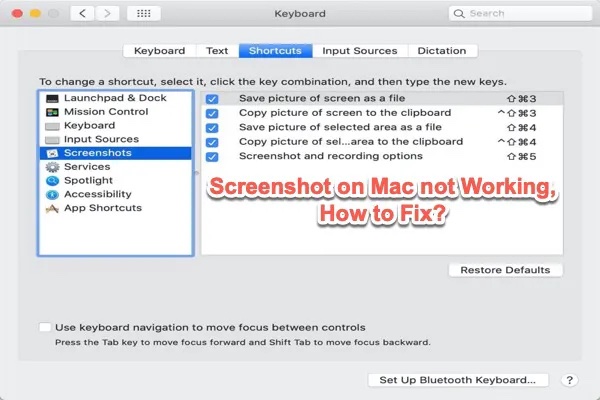
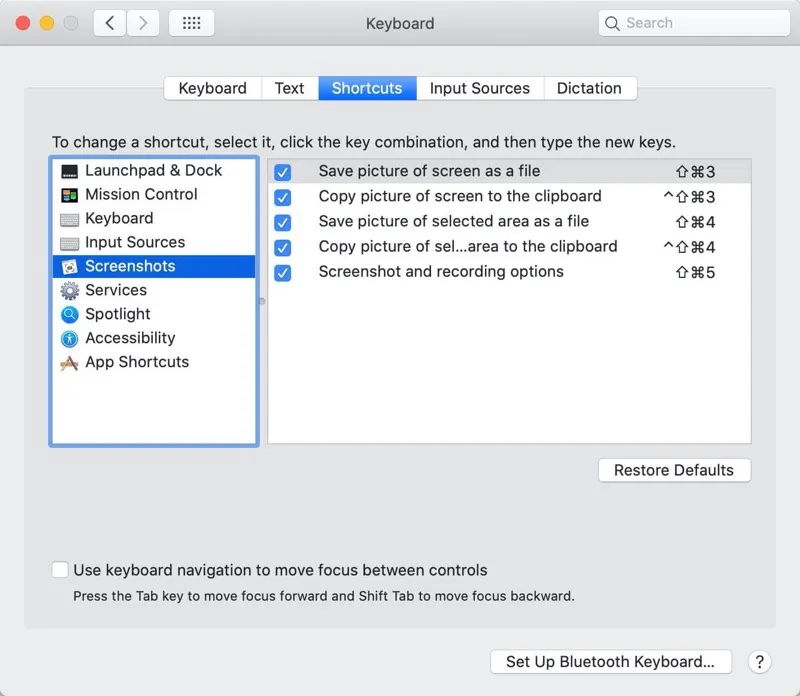
Mac screenshot shortcuts are convenient for grabbing a screen. If the screenshot on Mac is not working after restarting, chances are that your keyboard shortcuts are wrong like Command + Shift + 4 is not working or Command Shift 3 is not working. Check the settings, then you can use the screenshot normally.
Step 1: Click on the Apple logo at the menu bar and choose System Preferences.
Step 2: Click Keyboard and then choose Shortcuts.
Step 3: Click Screenshots in the list.
Step 4: Check whether the shortcuts to take screenshots are disabled.
Step 5: If so, enable it and set it properly.
Take a screenshot with Mac built-in tools
If you are using a third-party snipping tool for Mac to capture the screen, the screenshot may not work. In this situation, you can take a screenshot on Mac using Mac built-in tools such as Preview, QuickTime Player, and Screenshot toolbar. These applications are easy to use and will never let you down.
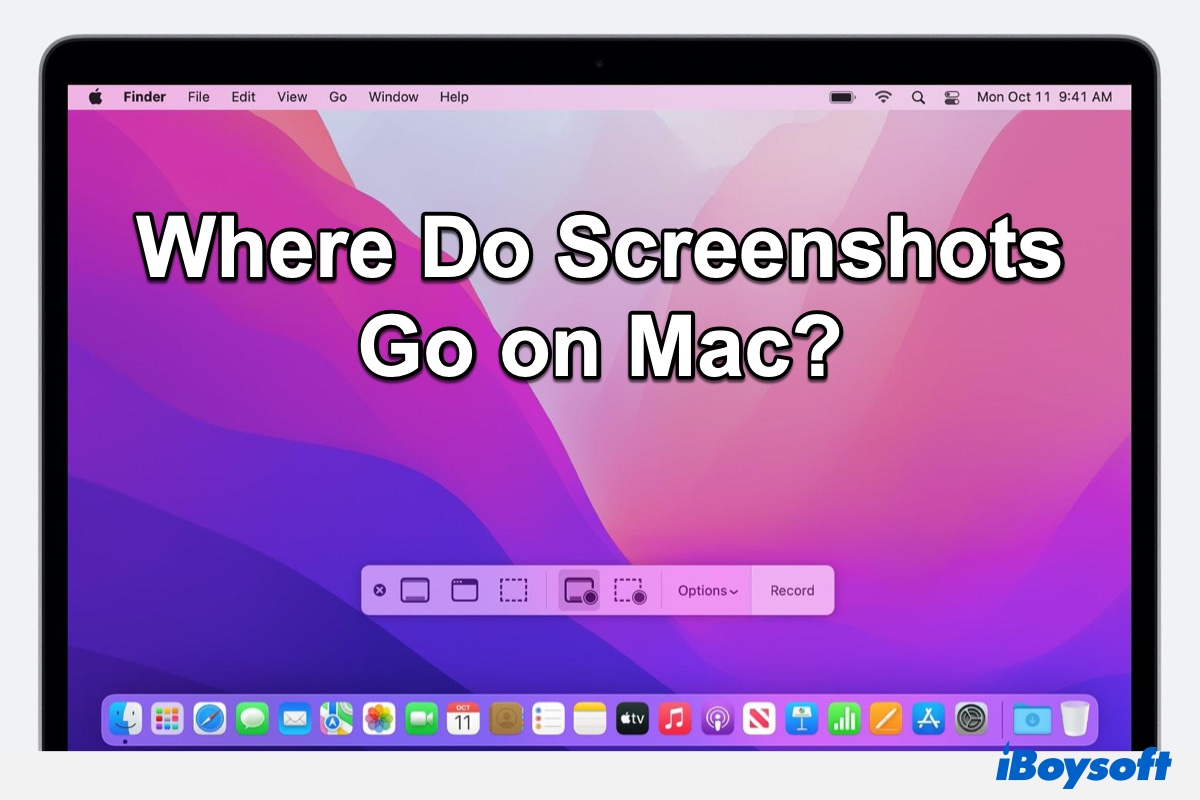
Where Do Screenshots Go on Mac Monterey, Big Sur, or Catalina?
Don't know where your screenshots are saved on Mac Monterey, Big Sur, or Catalina? This post will show you where do screenshots go on Mac and how to change where screenshots are saved on your Mac. Read more >>
Take screenshots using third-party software
Apart from taking screenshots on your Mac computer with macOS built-in tools, what if I tell you that there's a much easier way you can take to do so? With iBoysoft MagicMenu, you can take a screenshot more effortlessly.
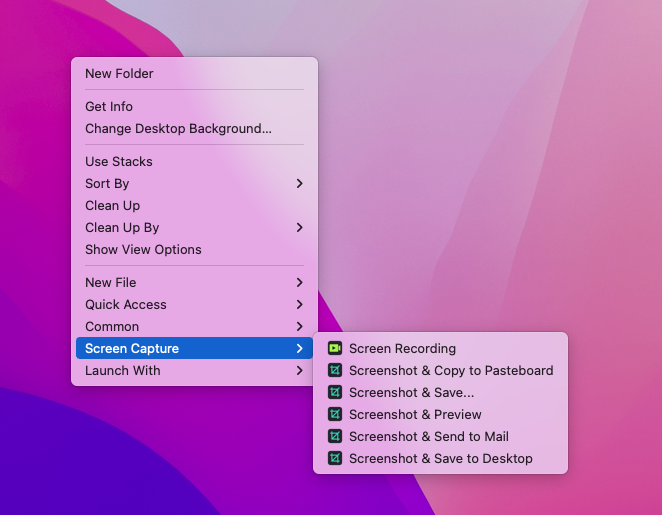
iBoysoft MagicMenu is a right-click enhancer for macOS, which is dedicated to improving your work efficiency. It adds the Screen Capture feature to the right-click menu, so you can take screenshots on your Mac within a few clicks. In addition, after taking the screenshot with iBoysoft MagicMenu, you can copy it to the pasteboard, save it to a wanted location, and directly send it to Mail.
Here's how to take a screenshot on Mac using iBoysoft MagicMenu:
- Click the above button to free download iBoysoft MagicMenu on your Mac, then install and launch it on your Mac computer.
- Right-click on any blank space on the desktop, and move your cursor to Screen Capture.
- In the Screen Capture menu, click one of the options that meet your needs to take a screenshot on your Mac. For example, if you want to take a screenshot and save it to the pasteboard, select Screenshot & Copy to Pasteboard.
Reset NVRAM
What if the screenshot on Mac is not working still? In such case, you can reset NVRAM on Mac. The shortcut errors and screenshot tools can be fixed.
Step 1: Shut down your Mac.
Step 2: Turn on Mac. Meanwhile, press Command + Option + P + R keys on your keyboard for 10 to 20 seconds.
Step 3: Hold those keys until you hear the second Mac startup sound. For Mac 2018 and later, when the Apple logo disappears for the second time you can release these keys.
Step 4: Your Mac computer will restart. Try again to check the issue of screenshot on Mac not working is solved or not.
Load in Safe Mode
If all of the methods above are not working, the screenshot on Mac not working problem may be caused by malware or apps that prevent your Mac from taking screenshots or saving them in a non-default location. To test this theory out, you can start up your Mac in Safe Mode to see whether the screenshot can work normally. Here are the ways to start up your Mac in Safe Mode:
For Apple silicon Macs
Step 1: Shut down the Mac and wait for 10 seconds.
Step 2: Press and hold the power button to see the startup options on the screen.
Step 3: Select a startup disk.
Step 4: Press and hold Shift, click on Continue in Safe Mode, and release Shift.
For Intel-based Mac
Step 1: Shut down your Mac and wait for 10 seconds
Step 2: Restart your Mac, then immediately press and hold the Shift key.
Step 3: Don't release the Shift key until you see the login window.
You can see “Safe Boot” in the menu bar after you successfully load in safe mode
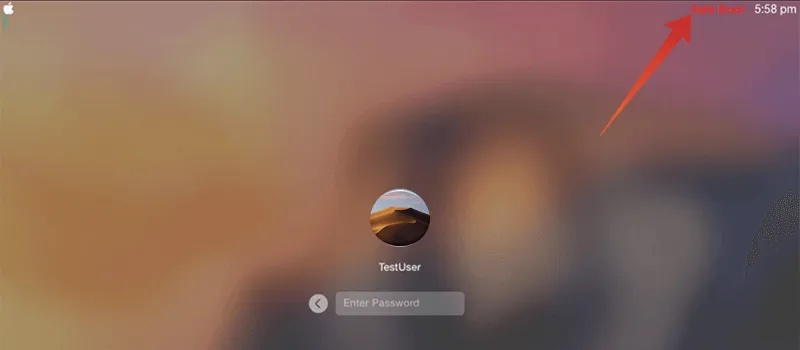
If screenshot on Mac not working problem is solved in safe mode, it means that malware or apps are to blame. You need to check the malware and uninstall apps on Mac, then you can use screenshot normally.
Conclusion
Screenshot which is widely used for school and work is really convenient for us to share information with others. It's really irritating if screenshot on Mac can't work or screenshot is not saving to desktop. Fortunately, one of the six ways mentioned above can help you solve the problem quickly and easily.
- How to convert HEIC files to JPG on Mac?
