iBoysoft NTFS for Mac Online Help
Getting Started
iBoysoft NTFS for Mac is a full-featured NTFS driver for macOS and Mac OS X. It is able to mount Microsoft-NTFS drives in read-write mode on Mac. It helps users read, write, copy, edit, delete and move files on external NTFS drives as well as Windows BOOTCAMP partition on Mac.
It allows you to transfer files between Windows and Mac computers with an NTFS drive without formatting it to FAT or exFAT. Besides, it can also allow users to view disk information, unmount disks, check disk errors and erase disk data through one-click.
Supported Operating Systems
macOS 26 Tahoe, macOS 15 Sequoia, 14 Sonoma, 13 Ventura, 12 Monterey, 11 Big Sur, 10.15 Catalina, macOS 10.14 Mojave, macOS 10.13 High Sierra.
Supported Storage Devices
External hard drive, USB drive, SD card, pen drive, flash drive, memory card, CF card, etc.
How to Install iBoysoft NTFS for Mac?
Step 1: Download iBoysoft NTFS for Mac at https://iboysoft.com/ntfs-for-mac/.
Step 2: Double click the .dmg file and follow the instructions to finish the installation process.
Note: On macOS 11 or later, you will be asked to allow the utility to access files in your Desktop folder when you install the utility for the first time.
Step 3: Launch the utility and directly read and write to NTFS disks on Mac because your NTFS volumes will be mounted in read-write mode automatically.
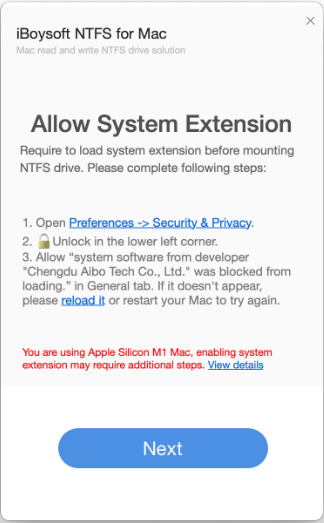
Step 4: If you can't read and write your NTFS disks, a pop-up will ask you to install a standalone NTFS driver by iBoysoft and enable System Extensions. Then you will be able to read and write NTFS files on Mac easily.
Enable System Extension on Mac
To enable system extension on Apple Silicon M1/M2/M3/M4/M5 Mac, read our article here.
The following guide is for Intel-based Mac computers:
- 1. Follow the setup wizard to install iBoysoft NTFS for Mac.
- 2. When seeing "System Extensions Blocked", open Security & Privacy tab, click the Lock to make changes.
- 3. Click Allow in the context window or click Details... under "Some system software requires your attention before it can be used" to approve the developer: "Chengdu Aibo Tech Co., Ltd.".
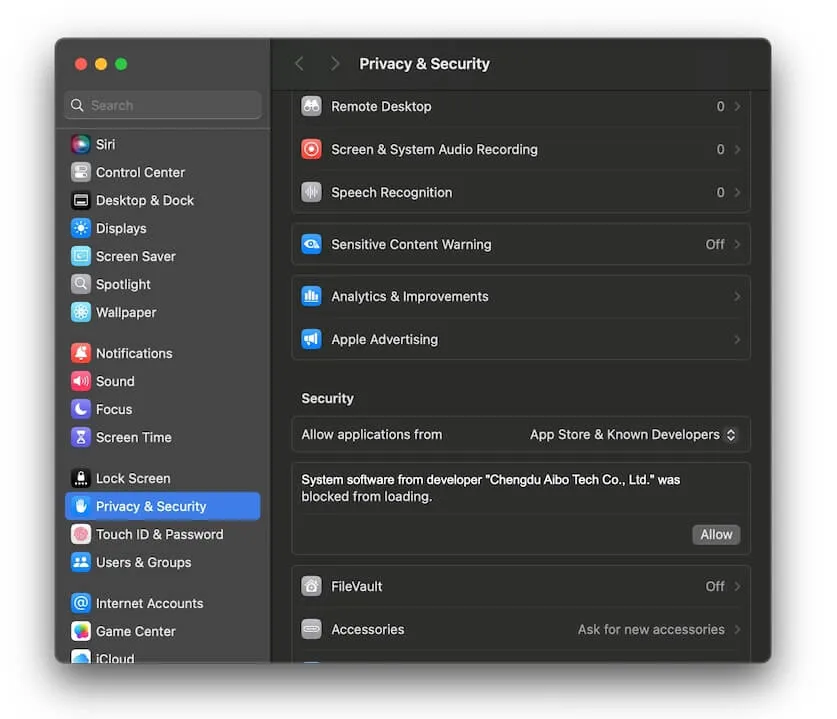
- 4. Restart your Mac.
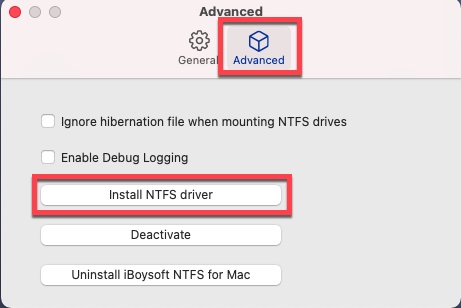
If you don't see allow option, click "Reload it" in the setup window to reload system extension and then check if allow option appears or click "Install NTFS driver" in Preferences of iBoysoft NTFS for Mac.
If the "Allow" option is still not appeared, please open /Library/Extensions/ folder, manually delete the drivers that are not in use and then reinstall iBoysoft NTFS for Mac to try again.
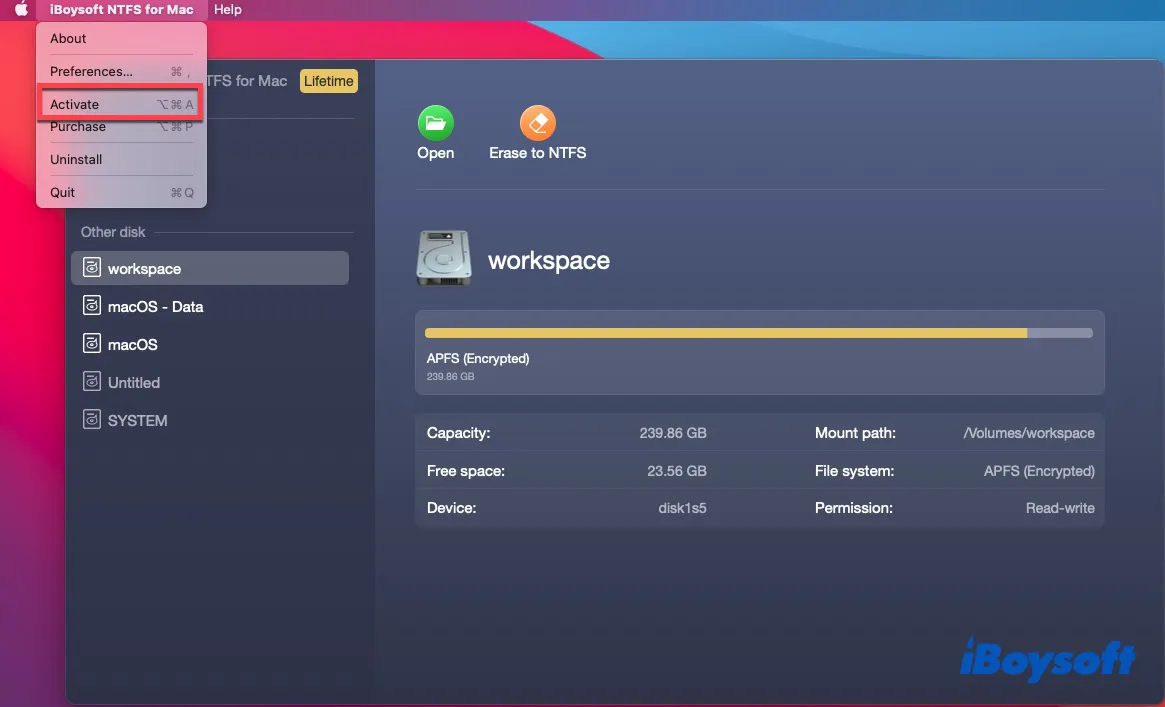
How to Activate iBoysoft NTFS for Mac?
iBoysoft NTFS for Mac provides a free trial for users to mount NTFS drives in read-write mode. After the trial expires, users need to activate it with a license key.
Step 1: Click iBoysoft NTFS for Mac > Activate from the top menu beside Apple logo to open the activation window.
Step 2: After receiving the license key, please copy and paste it to the license key field and then click Activate.
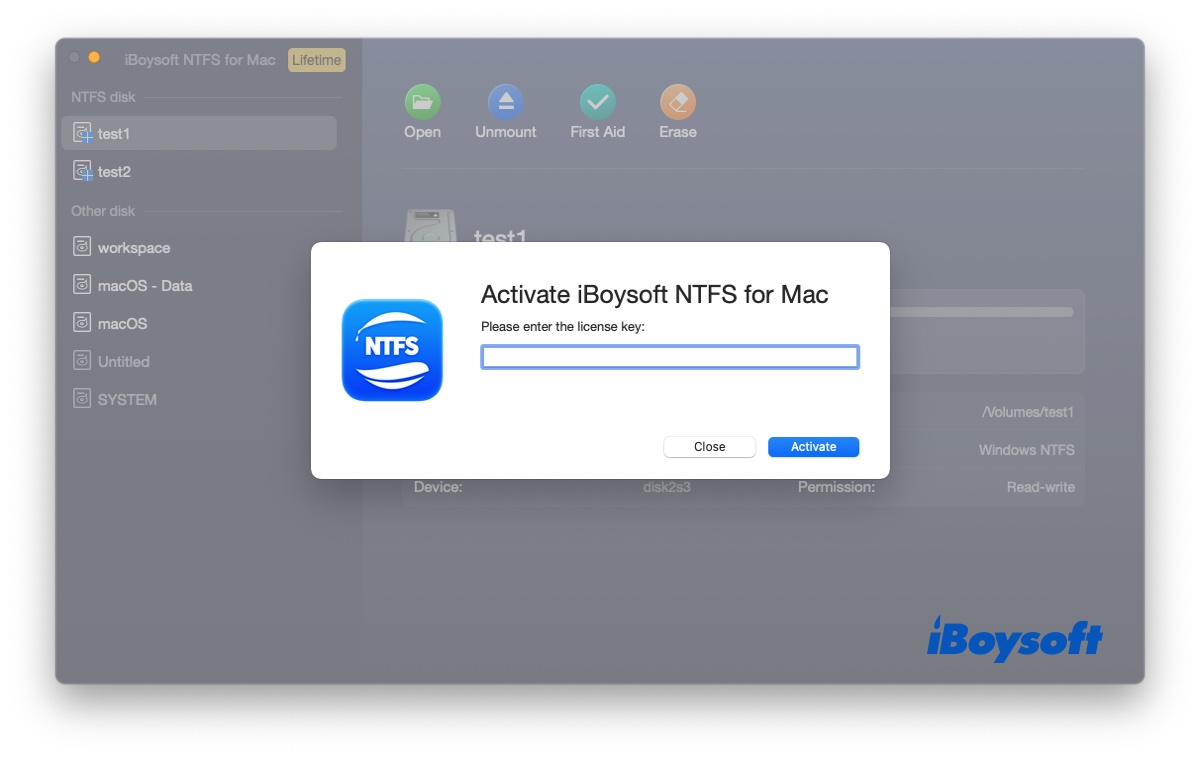
Note: Please make sure you have internet access (either eithernet or Wi-Fi) while activating iBoysoft NTFS for Mac. If you are running firewall or anti-virus programs on your computer, please temporarily turn them off so as to complete registration. Have no internet access or have other questions? Please contact us via [email protected].
How to Manage NTFS Disks with iBoysoft NTFS for Mac?
How to Read/Write NTFS Disk on Mac?
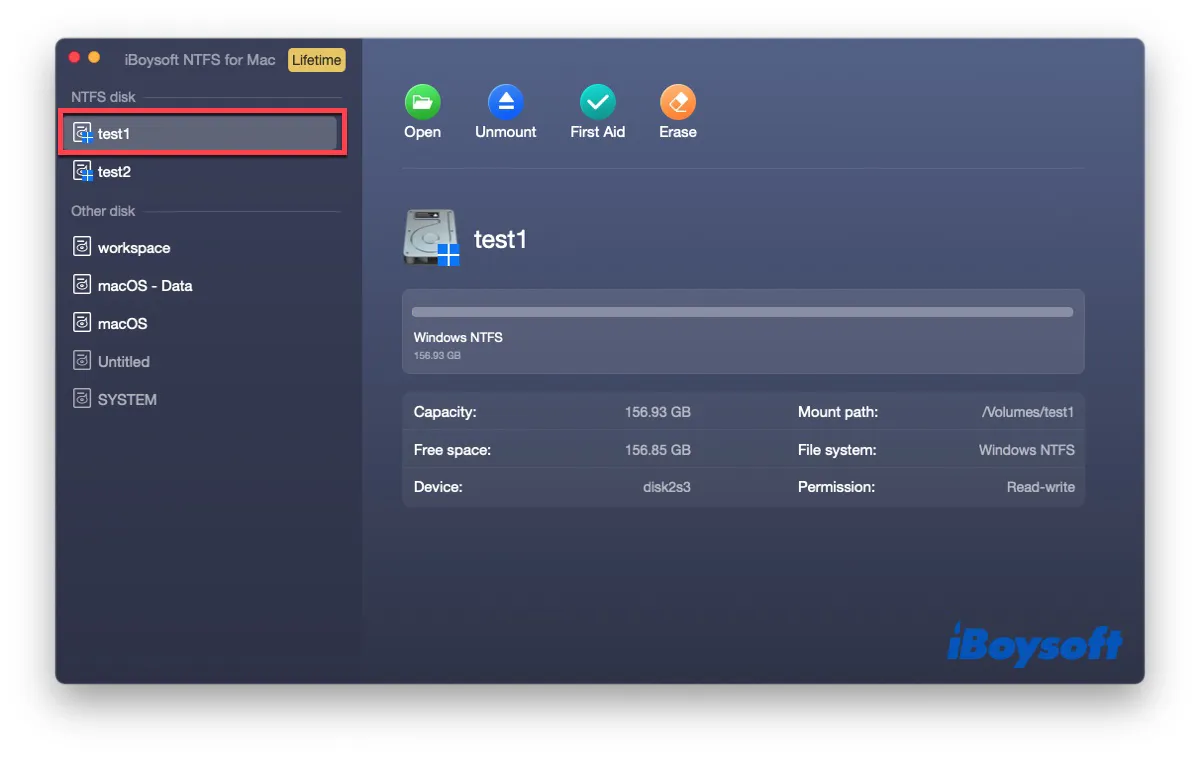
Step 1: Select NTFS drive in iBoysoft NTFS for Mac, click Open in the toolbar.
Step 2: Select the mode to open NTFS drive:
Simple mode: It doesn't require extra steps, but it needs to manully mount NTFS drive in read-write mode every time.
Advanced mode: Automatically Mount NTFS drive in read-write mode with NTFS driver, it requires extra steps to enable system extension.
Your NTFS disks will be automatically mounted in read-write mode on Mac immediately after detected. You can then read, write, edit, copy, delete, and move files on the NTFS disks as native disks on Mac.
You can also read/write NTFS drive on your Mac without opening iBoysoft NTFS for Mac program after installing NTFS driver (Preferences > Advanced > Install NTFS driver).
Step 3:Open NTFS drive in read-write mode.
How to Unmount an NTFS Disk?
Step 1: Select the NTFS disk you want to unmount from the left sidebar.
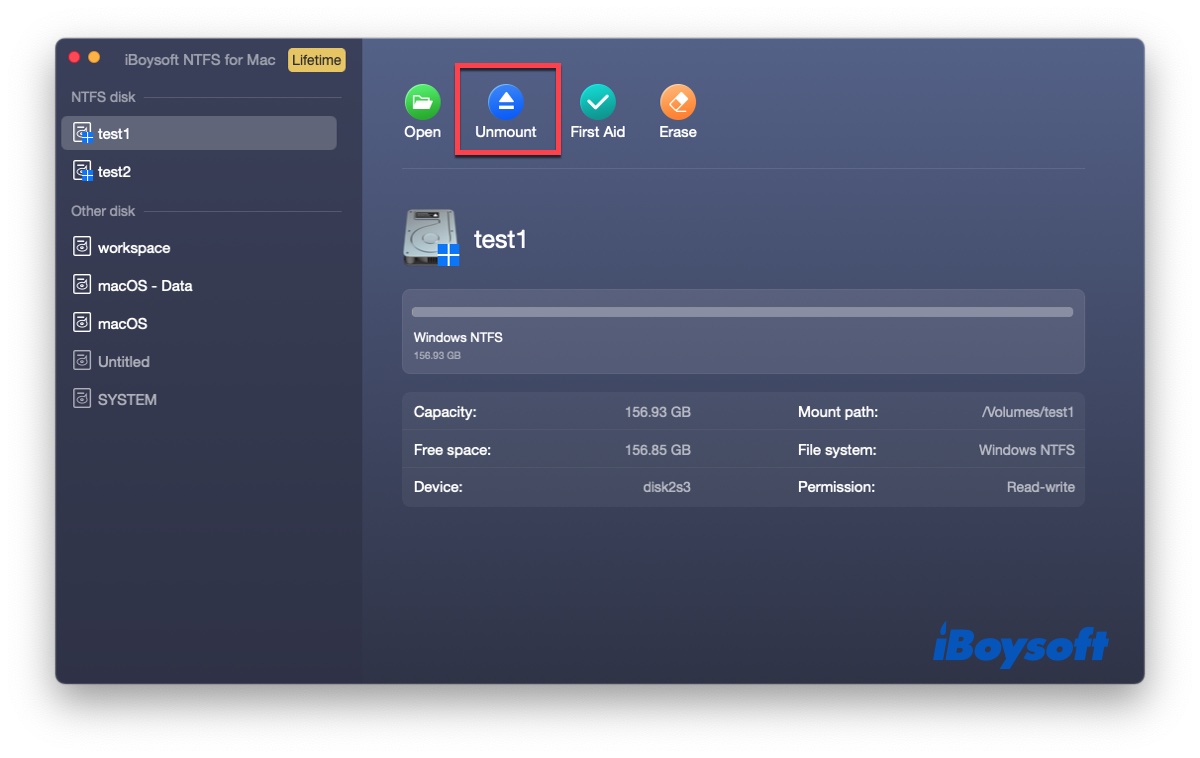
Step 2: Click Unmount button on the right panel. The NTFS disk will be unmounted immediately.
How to Repair an NTFS Disk?
Step 1: Select the NTFS disk you want to check and repair from the left sidebar.
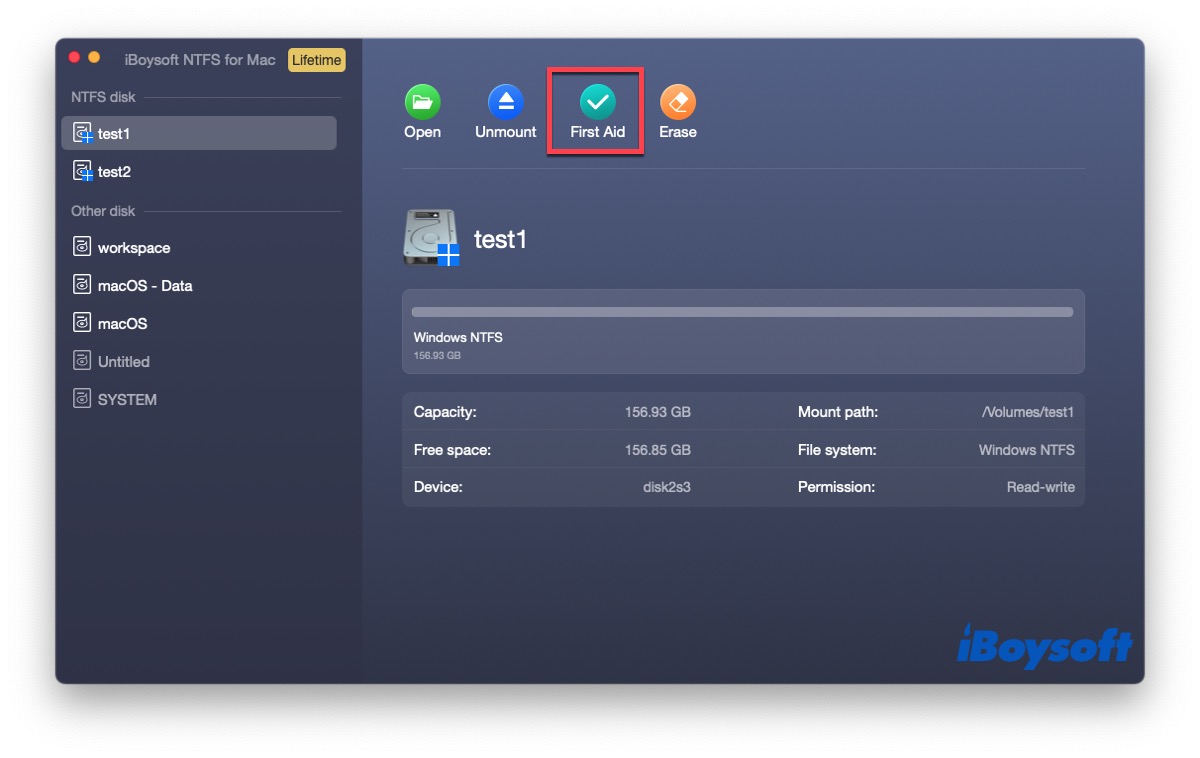
Step 2: Click the First Aid button on the right panel.
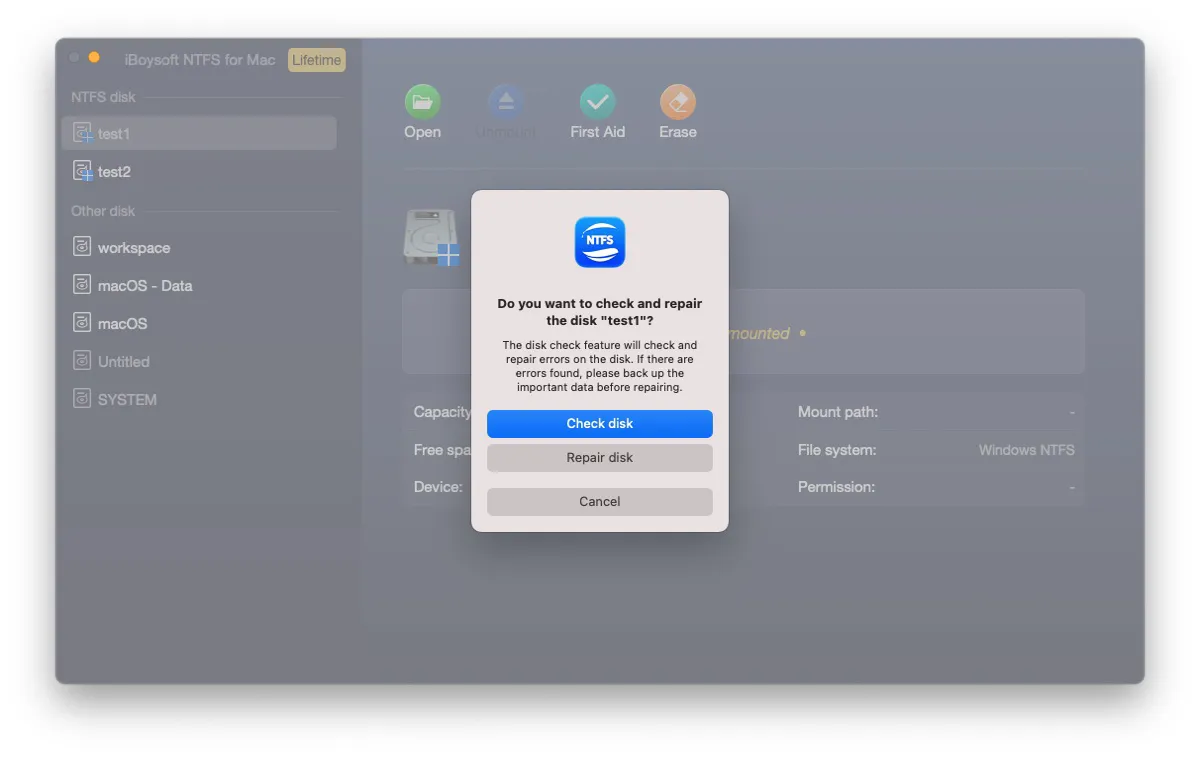
Step 3: In the pop-up, you have two options - Check disk (Check the errors without repair them) and Repair disk (check and repair errors).
Step 4: Click the Repair disk button and iBoysoft NTFS for Mac will start verifying and repairing the selected drive.
Note: During the repair, you disk will be unmounted and won't be automatically mounted after the repair is complete. You can either manually mount it in Disk Utility or Click Open to mount and open the disk.
How to Verify and Repair an NTFS Disk using CHKDSK on Windows?
If First Aid can't help with repairing your NTFS disk to make it workable on Mac, you can find a Windows PC and try to repair it with FSCK command.
Step 1: Go to the Start menu, type in cmd in the search bar, and press Enter.
Step 2: Right click cmd.exe and choose Run as administrator.
Step 3: Run the following command:
chkdsk volume: /fPlease replace "volume" with the drive letter of your NTFS disk. For example, if the drive letter is "G", then you need to type in chkdsk G: /f.
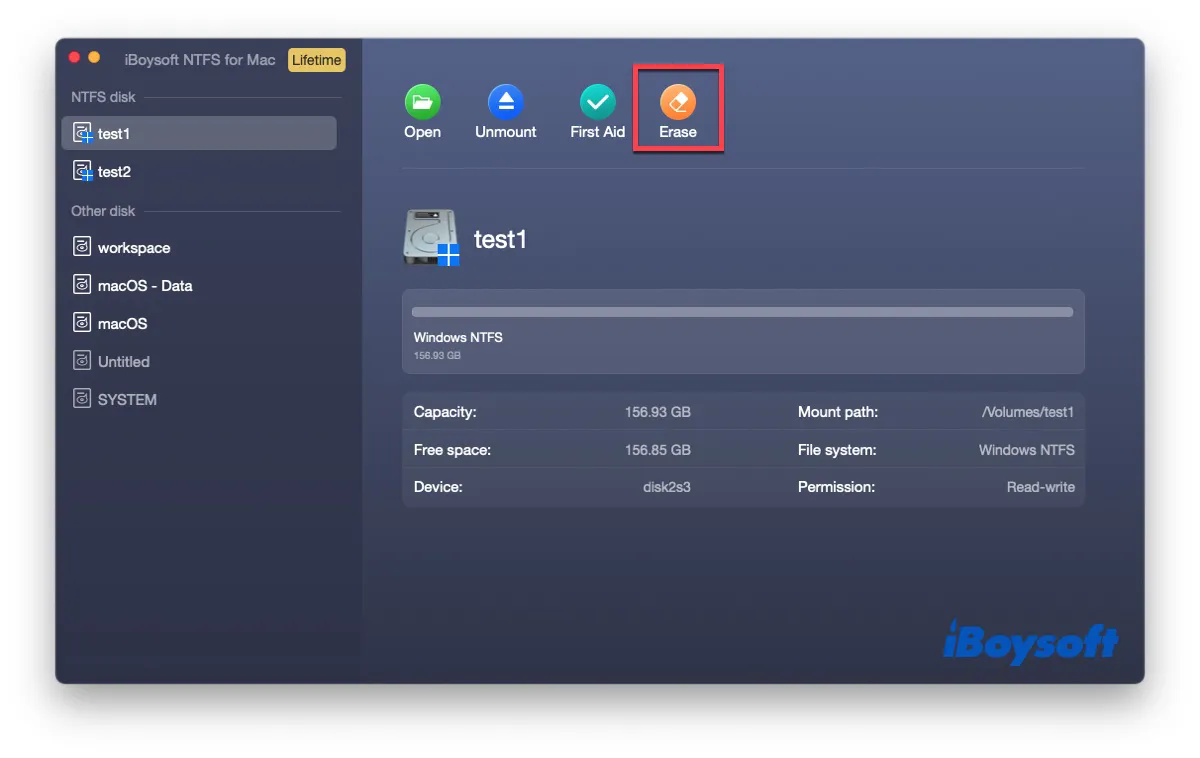
How to Erase an NTFS Disk?
Note: Disk erasure will wipe all data on the disk, so make sure you have a full and latest backup of your important files before you do so. For data lost due to disk formatting, you can recover lost data with iBoysoft Data Recovery software.
Step 1: Select the NTFS disk you want to erase from the left sidebar.
Step 2: Click Erase button on the right panel.
How to Manage Other Disks with iBoysoft NTFS for Mac?
iBoysoft NTFS for Mac can also help you manage disks with other file systems, such as exFAT, FAT32, APFS, and HFS+, etc.
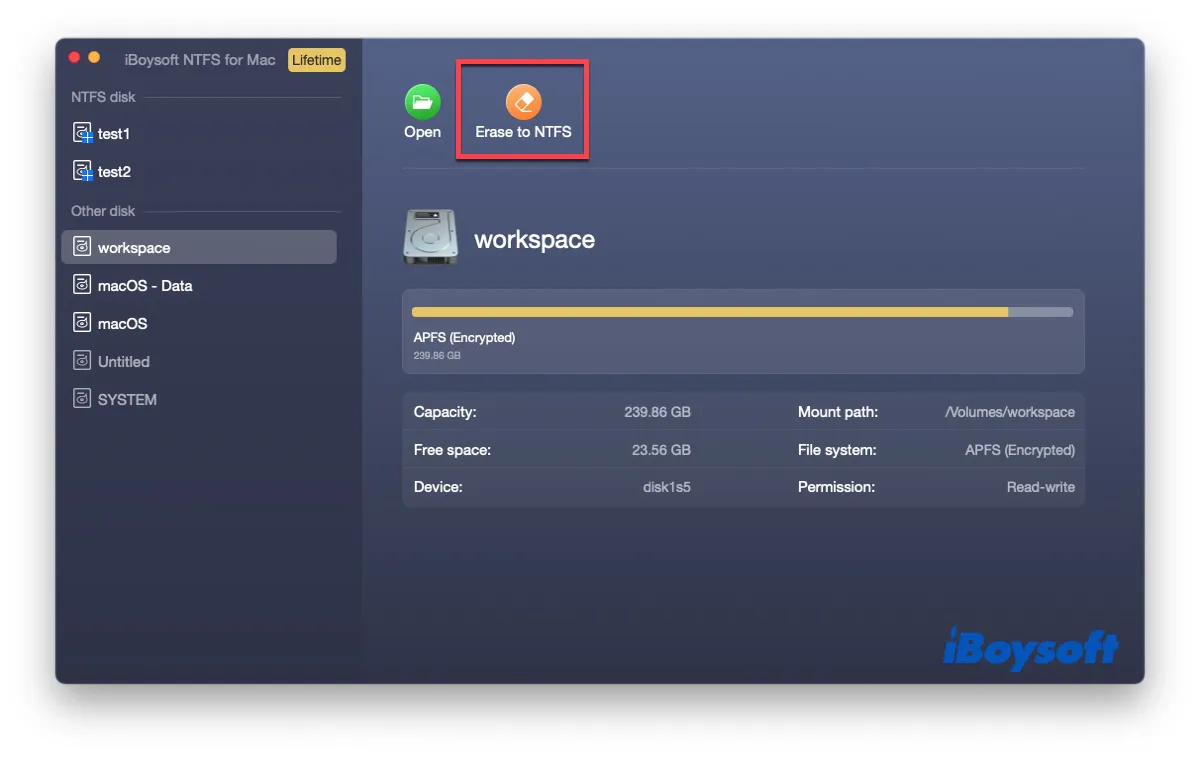
How to Erase Other Disks to NTFS?
macOS and OS X don't support erasing disks to NTFS natively. However, with iBoysoft NTFS for Mac, you don't have to bother to complete this process on a Windows computer.
Step 1: Install iBoysoft NTFS driver first if you haven't installed it by clicking iBoysoft NTFS for Mac on the menu bar > Preferences > Advanced > Install NTFS driver.
Step 2: Select the disk you want to convert to NTFS file system.
Step 3: Click Erase to NTFS button on the right panel.
Note: When you need to format an APFS-formatted disk to NTFS file system on Mac, you need to go to Disk Utility > select container name instead of volume name > Erase. You will find Windows NTFS in your format options there.
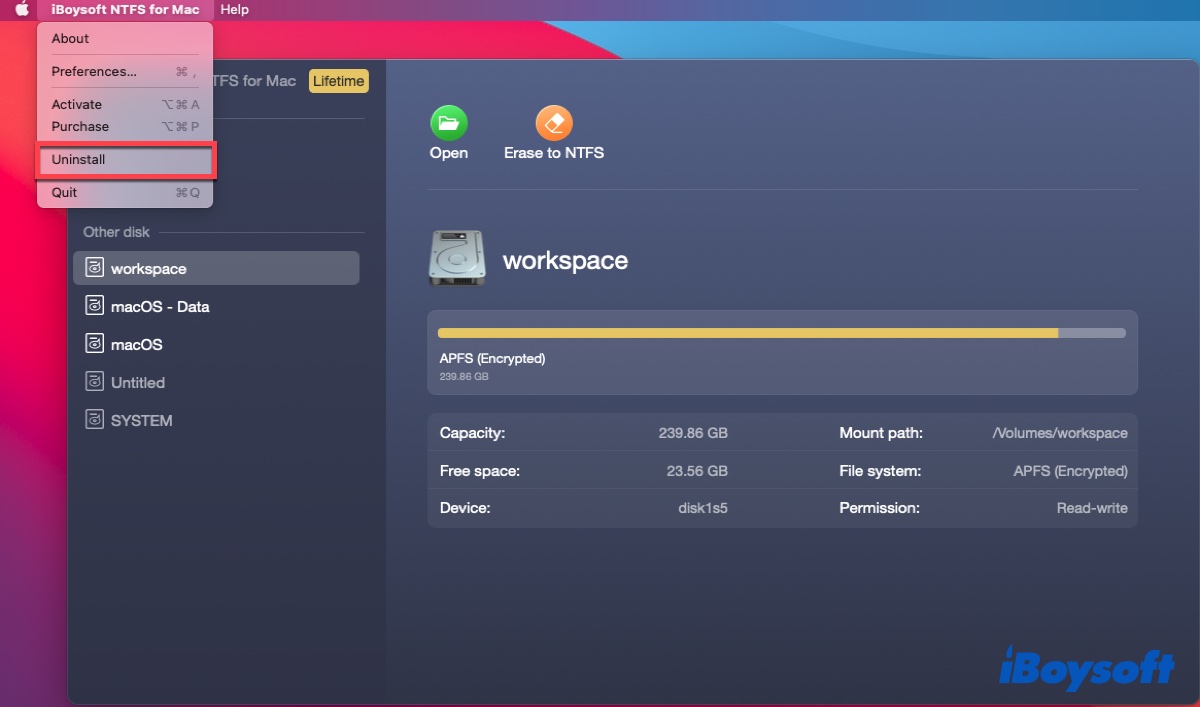
How to Uninstall iBoysoft NTFS for Mac?
Step 1: Click iBoysoft NTFS for Mac from the menu bar beside Apple logo.
Step 2: Select "Uninstall" option to completely remove iBoysoft NTFS for Mac from your Mac.
If you just deleted iBoysoft NTFS for Mac app from Applications folder, there still are two driver components left. To completely remove these two driver components, the following commands need to be used:
sudo rm -rf /Library/Filesystems/iboysoft_NTFS.fs
sudo rm -rf /Library/Extensions/ms_ntfs.kext
What does 'Reset the activation' (built-in Preferences) mean?
'Reset the activation' is just used to delete the activation information from your local computer when the activation is not ok, instead of deactivating it from one computer and activating it on another computer. If you want to transfer the license, please see the licensing FAQ.