
Written by
Amanda Wong
By default, the connected external hard drive should show up on the Mac desktop so that you can access it to read & write data. But sometimes, you may want to hide the external hard drive from your Mac desktop. Whatever the reason, you get covered in the post to remove one, multiple, or all external drives from the Mac desktop.
How to hide external drive from Mac desktop in Finder
The Mac desktop is actually a folder on macOS, and you can decide the content displayed on your desktop. In Finder's Settings, you can show up and hide items such as hard disks, external disks, CDs, DVDs, iPods, and connected servers.
Here's how to hide all external disks from Mac desktop:
- Open Finder, and click Finder next to the Apple logo.
- Choose Settings from the drop-down menu.
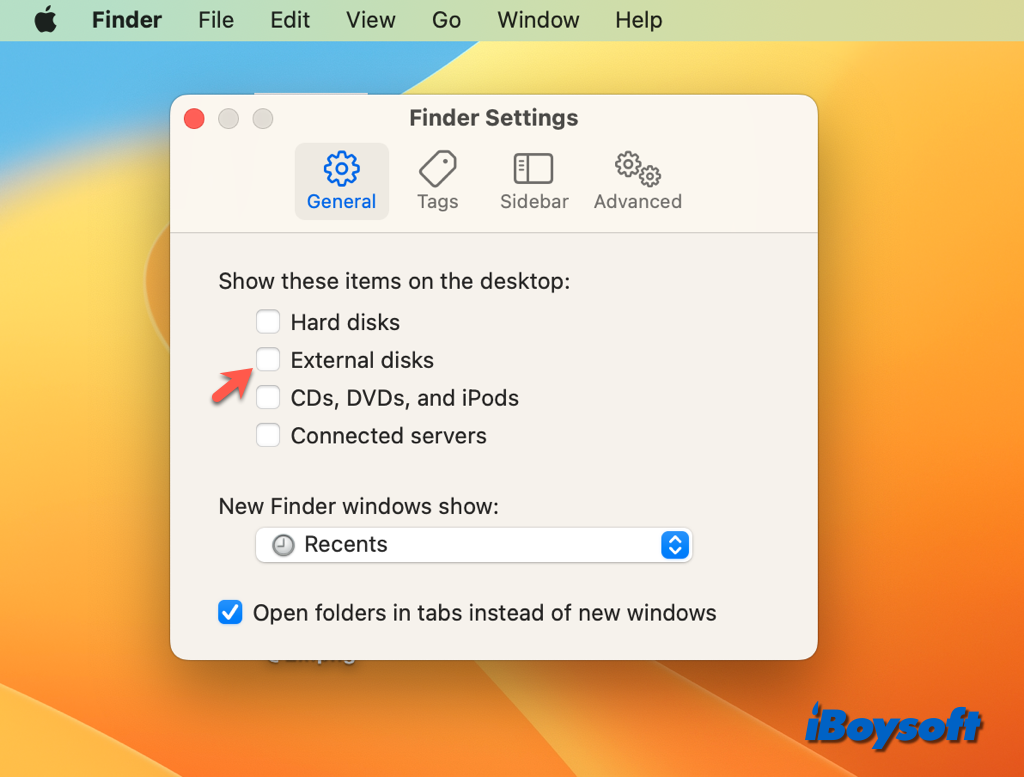
- Click the General tab on the Finder Settings window.
- Uncheck External disks under "Show these items on the desktop."
Whenever you want to show up the external hard drive on the desktop, you can go back to the Finder Settings and tick the box of the External disks, then you can see all the connected external drives showing up on the desktop.
When you encounter the following issues, you can check Finder Settings with the above steps:
How to remove external drive from Mac desktop via Terminal
With the built-in Terminal app, you can also hide icons on Mac desktop. If you don't want to remove all external hard drives from the Mac desktop via the Finder Settings, using Terminal is a complementary solution.
Follow the steps below to hide an external drive from Mac desktop:
- Right-click the drive icon and choose Copy (drive name) to copy the file path on Mac.
- Launch Terminal from Finder > Applications > Utilities.
- Type the following command: chflags hidden
- Copy the file path in Terminal and press Enter.
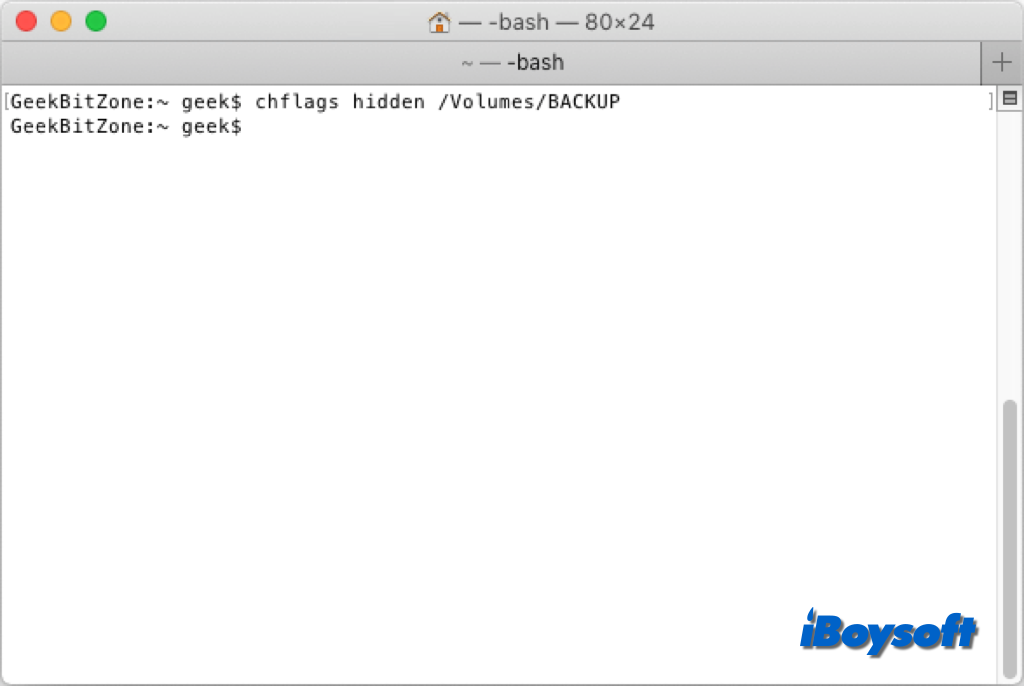
- To force refresh the Finder to pick up our changes, type this command:killall Finder
- Press Enter to run the command, and quit Terminal.
Now if you return to the Mac desktop, you will find the desired external drive is hidden from the desktop. Therefore, you can't access the hidden drive on the desktop, but you can still access it in Finder's sidebar and Terminal. Similarly, you can unhide the drive from the desktop using Terminal, just use the command chflags nohidden, copy the file path, and press Enter.
The end
After reading this post, you can hide the external hard drive from the Mac desktop as you need. Finder provides a setting to easily hide all external disks on the desktop top, and Terminal enables you to remove one external disk from the Mac desktop. Choose the method that suits your case!