macOS Sonoma is the evolution of macOS Ventura with new eye-catching features and highlights, rolled out in the fall of 2023. It brings loads of new functions and app enhancements, attracting users and fans who cannot help install this update to get a taste of these new changes.
However, a new OS always brings new features and issues at the same time. Typically, some users have reported that their files and folders get lost after the macOS Sonoma update, which makes the new OS experience extremely awful!
Well, please do not be overwhelmed by this issue. You can recover the files and folders that disappear after updating macOS Sonoma with the assistance of this post!
Why are files lost after a macOS Sonoma update?
Before diving right into how to recover the lost files after a macOS Sonoma update, let's figure out what reasons should be blamed for the file loss first:
Accidental deletion. Sometimes, inadvertently deleting files or folders before or after the macOS Sonoma update would result in file loss.
Clean macOS Sonoma installation. Differentiating from a macOS upgrade, a clean install requires you to entirely erase the hard drive for incomparable performance and super fast running speed of the new OS, and this erasure action takes all Mac files and folders away from your computer.
Operating system glitch. Once the operating system works wrongly, it may cause an issue in the form of a Mac update deleting everything, and then all your files and folders get lost.
Unsafe macOS Sonoma installer. Some Mac users download the macOS Sonoma installer from non-Apple channels, which cover potential viruses or malware leading to Mac file loss after updating to macOS Sonoma.
These reasons are the common ones that likely result in data loss on a Mac running macOS Sonoma, and you can follow the 3-2-1 backup strategy to keep your files safe and secure, which effectively avoids further data loss.
If you suffer from data loss due to the reasons above, please share this post to remind more people to avoid them in case data loss happens.
How to recover lost files after a macOS Sonoma update?
As long as you haven't overwritten your Mac hard drive with new files and data, it's still possible to recover missing files from your Mac. We gather all workable solutions here to recover lost documents, numbers, photos, videos, audio, etc. after the macOS Sonoma update. You can read carefully and choose one that fits you most to implement the data recovery mission.
1. Recover lost files via iBoysoft Data Recovery Software
The most comprehensive and effective workaround that we would like to share with you is the professional data recovery software -- iBoysoft Data Recovery Software. This way can deal with all file loss cases that Mac Trash, APFS snapshots, or Time Machine backup specializes in, and that's the very point we recommend it most.
iBoysoft Data Recovery Software is configured with the most reliable and advanced disk scanning skills and data recovery algorithms, which can scan for any file traces left on the hard drive bit by bit and sector by sector. After thorough disk scanning, it allows you to pre-check the scanned results and then bring the scanned files back with ease!
This utility supports the recovery of documents, numbers, movies, pictures, videos, audio, presentations, and notes from unreadable, inaccessible, formatted, corrupted, broken, and even failing hard drives! Once you find a file lost after the macOS Sonoma update, you ought to stop any writing actions and begin data recovery ASAP!
How to recover lost files after a macOS Sonoma update via iBoysoft Data Recovery Software?
Step 1: Download and install iBoysoft Data Recovery Software to external storage or to the drive that doesn't suffer from data loss, or that will overwrite the lost file, leaving no opportunity for data recovery.
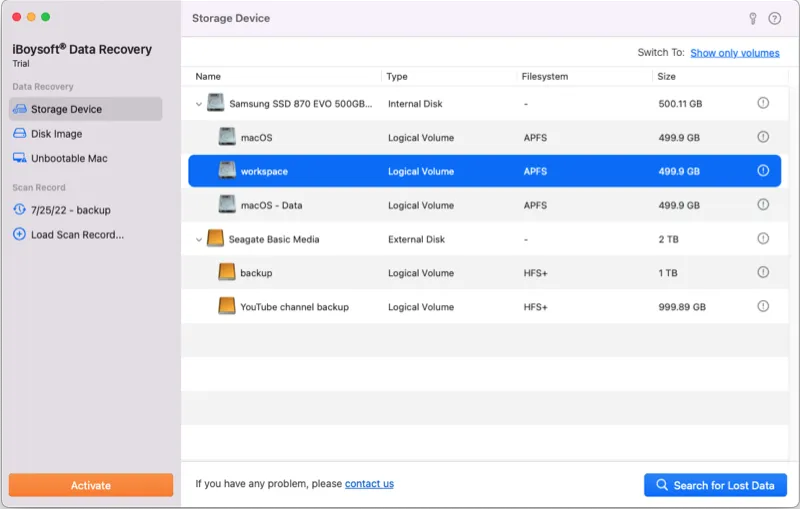
Step 2: Then, launch this data recovery helper and select the hard drive that loses files.
Step 3: Followingly, click Search for Lost Data to initialize the disk scanning. This action sets the software to scan for traces of lost files through the selected hard drive.
Step 4: When the disk scanning ends, you can pre-check the scanned results to see if they are the files you want and whether they are intact by clicking Preview.
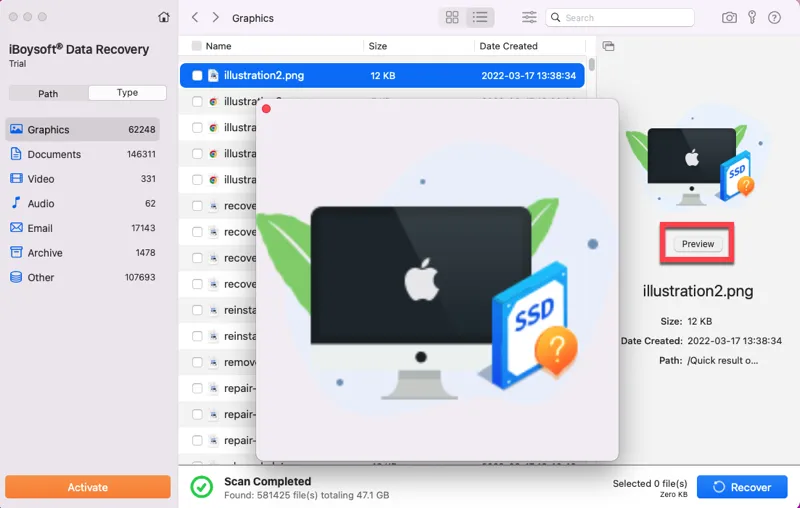
Step 5: Next up, select the files you want and click Recover to begin the file recovery. Please save the recovered files well and back up them firmly if possible. A 3-2-1 backup strategy is recommended here, moreover.
2. Recover lost files via Mac Trash
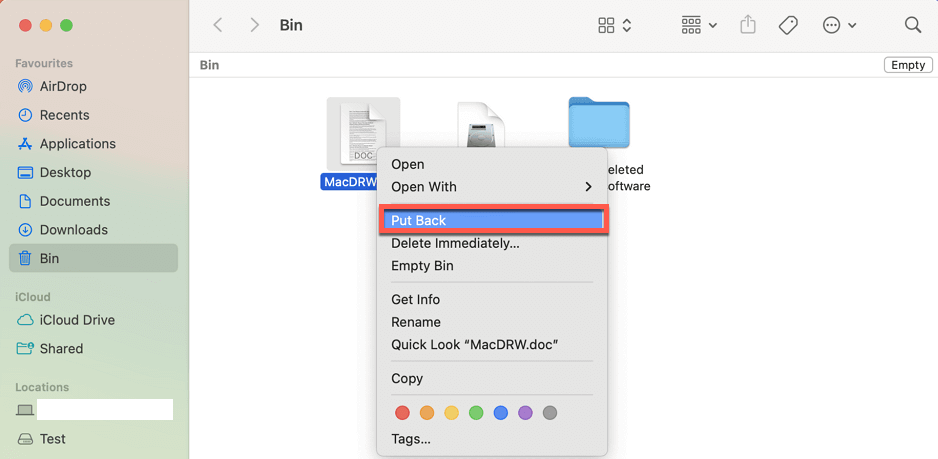
Suppose that you delete some files after the macOS Sonoma update, they will go to Mac Trash directly and be kept there for 30 days. You can visit Mac Trash in search of the deleted files before it empties them: access Mac Trash > search the desired files > select them and click Put Back.
If the files are emptied by Mac Trash, you can give iBoysoft Data Recovery Software a try for file scanning.
3. Recover lost files via APFS snapshot
APFS snapshot can capture the state of the startup disk (APFS formatted) at a certain point and keep all the captured files on the drive. If you need, you can use the APFS snapshot to return your Mac to the point when the files were not deleted or lost.
Here's how to roll back to a certain APFS snapshot point for file recovery with the assistance of Time Machine:
- Click the Time Machine icon at the upper right corner of your screen.
- Select Enter Time Machine.
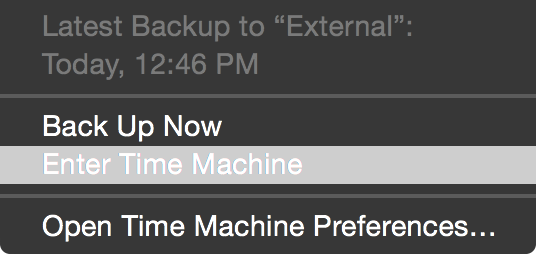
- Search for the snapshot point that preserves the files you want.
- Choose the data and click Restore.
4. Recover lost files via the Time Machine backup
If you make a full backup of your Mac computer using Time Machine before the file loss, you can go on with the file recovery by accessing the Time Machine backup drive.
- Just connect the Time Machine backup drive to your Mac computer.
- Choose Enter Time Machine by clicking the top Time Machine icon in the Apple menu bar.
- Click the up and down arrow and find your desired data, then save them well.
If you have recovered lost files successfully with the methods provided above, please share them to help more people on your social platform!
How to fix grayed-out files or disappeared files in the macOS Sonoma update?
Indeed many users have reported that loads of files on Mac desktop or inside folders disappeared after updating MacBook Pro, MacBook Air, Mac mini, etc. to macOS Sonoma, and they turn greyed-out when indexed by Spotlight Search.
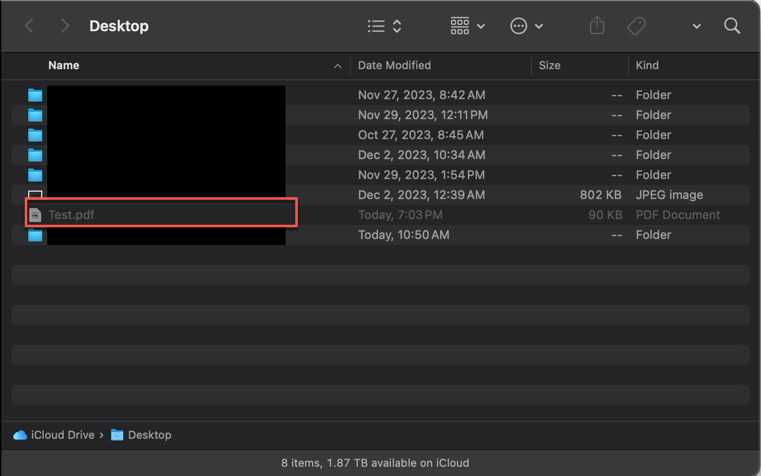
Well, this issue is highly likely caused by the iCloud sync. Suppose that you have turned iCloud on to sync your files before the macOS Sonoma upgrade, it will re-organize all of your desktop files and move them to the cloud for the sake of data safety.
For the files you cannot find on the Mac desktop, go to Finder to press the Shift + Command + Period keys together to toggle hidden files on, then wait and see if grey-out files come back or restore to an accessible state.
Alternatively, you can access this iCloud file directory to find the disappeared files:
~/Library/Mobile Documents/com~apple~CloudDocs

Conclusion
Having files lost or disappeared after the macOS 14 update is an unpleasant experience, especially when you get ready to taste the newly installed OS on your device. Luckily, this post collects 4 workable ways to assist you in recovering the deleted or lost files on your computer. You can bring priceless files back if you have ever suffered from data loss.
Besides, turning iCloud sync on might re-place all your files to the iCloud folder for file safety in a macOS update, which makes desktop files or inside folders greyed out. You can visit the iCloud folder to move them back!