For most Mac users, Time Machine on Mac is definitely the most convenient and simplest backup solution for automatically backing up the macOS system and your personal data, including apps, photos, files, and more. You can use an external hard drive, Airport Time Capsule, or a network drive for Time Machine backups.
This article will help you look at how to create a Time Machine backup to NAS with a stepwise guide. By following the steps carefully, you will be able to save the Time Machine backups to an online shared folder for restoring your Mac and data at some point.
If Time Machine can't back up to NAS on macOS Tahoe, fix it with this guide: Fix Time Machine Not Working after Upgrading to macOS Tahoe
A Time Machine Guide to Back Up and Restore Your Mac
This post will walk you through the steps to set up Mac Time Machine, create Time Machine backups, and restore Mac from Time Machine. Read more >>
Can you back up Mac to NAS
Absolutely, you can. Apple states that you can use Time Machine with an Airport Time Capsule by Apple, with a network-attached storage (NAS), or with an external storage device connected directly to your Mac through a USB or Thunderbolt port.
But not all network-attacked storage can store Time Machine backups. It requires your network server or NAS device to support Server Message Block (SMB) or Apple Filing Protocol (AFP).
In addition, some network disks made by non-Apple vendors do not support Time Machine. It is advised to contact your disk maker to see if it can be used for Time Machine backups.
How to back up your Mac to a NAS with Time Machine
Tools like QNAP NAS or Synology NAS are network storage solutions that enable users to build a private and centralized cloud to store, access, back up, and share files.
Currently, Synology NAS is the most favored NAS provider, so this article will primarily talk about how to back up to a Synology NAS with Time Machine. The process probably will be similar for other NAS devices by other manufacturers and can be broken up into two main steps:
1. Configure the NAS for Time Machine backups
2. Set up the Time Machine on Mac to use the NAS
Note: this tutorial assumes that you have finished the initial Synology NAS setup, including the installation of the DSM on your Mac and the establishment of a storage pool.
Step 1: Configure the NAS settings for Time Machine backup
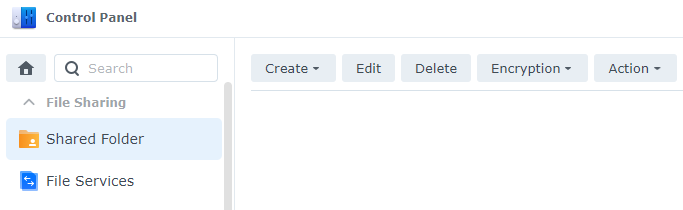
1. Go to Control Panel after signing in to DSM with an administrator account.
2. Select Shared Folder and click Create at the toolbar.
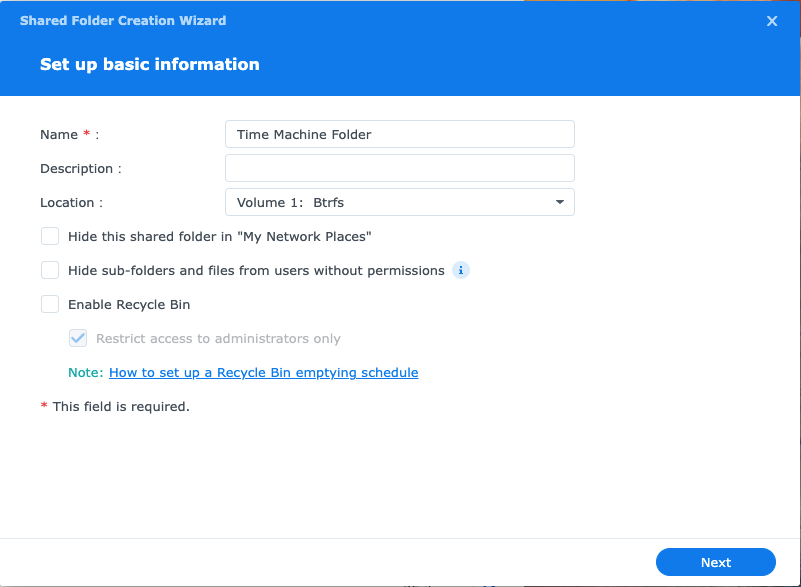
4. Click Next. It is NOT recommended to enable the Recycle Bin feature and use the encryption on the shared folder on the Synology NAS.
5. Continue to click Next or configure the settings in the following wizards including Advanced, Permissions, Advanced Permissions, and NFS Permissions until you arrive at the Confirm settings page.
6. Click Apply to complete creating a shared folder for Time Machine backup to NAS.
7. Stay in the Control Panel window and select File Services.
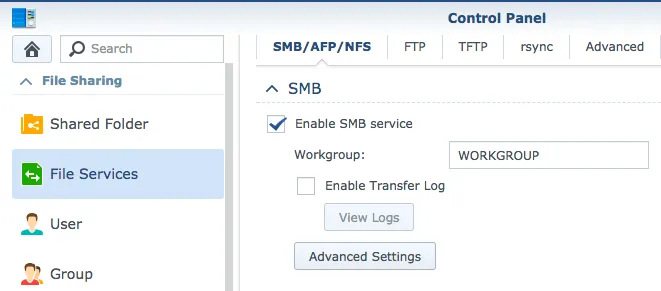
8. Go to the SMB tab and tick Enable SMB Service. For macOS Sierra (10.12) and later, Time Machine uses SMB as the default protocol.
9. Go to Advanced, and then Enable Bonjour Time Machine broadcast via SMB. In this way, if your network server or NAS device supports Time Machine Bonjour notifications, you can set up Time Machine backups even if you are not connected to the server.
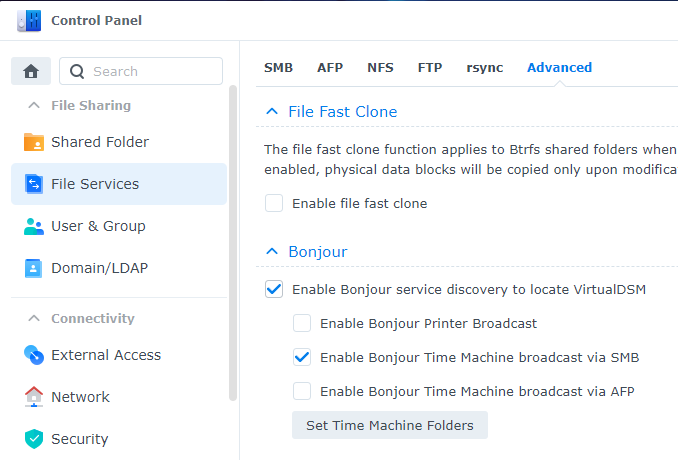
10. Click on Set Time Machine Folders.
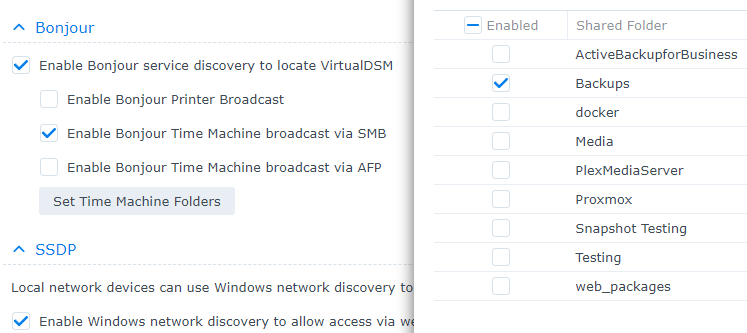
11. Check the folder where you want the Time Machine application to back up your Mac on your Synology NAS.
12. Click Save to save your settings and then you are done with setting the shared folder as Time Machine's backup target.
Step 2: Set up Time Machine backup to your NAS
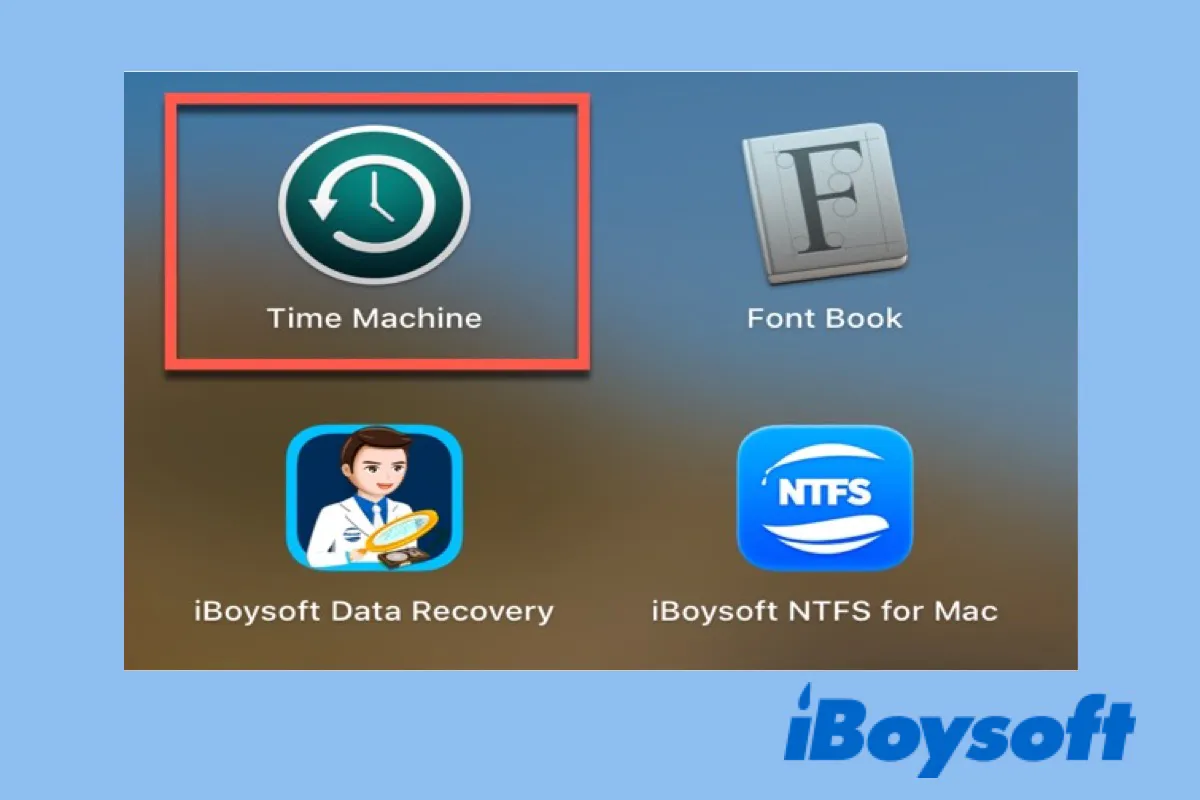
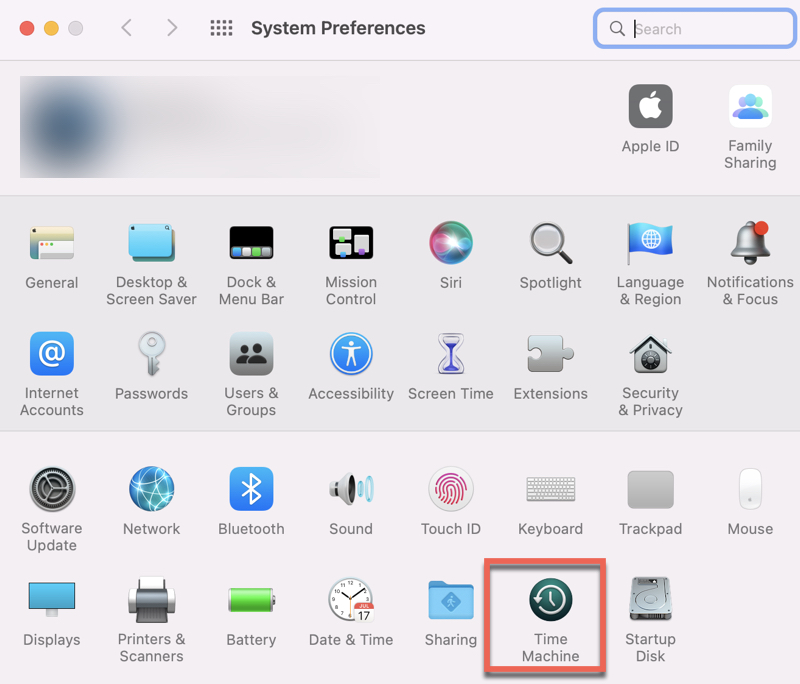
1. Open System Preferences from the Apple Menu and click Time Machine.
2. For easier access, tick the box Show Time Machine in Menu Bar; Select Back Up Automatically to let Time Machine is constantly backing up your Mac.
3. Click Select Backup Disk. 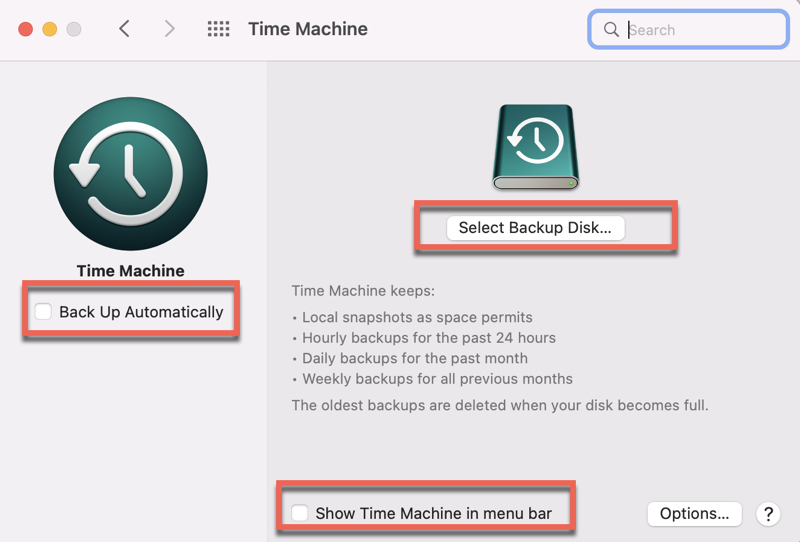
4. Choose the shared folder you created on the Synology NAS. For example, Time Machine on sever name of your Synology NAS.local. If you would like to encrypt your Time Machine backup to NAS, check Encrypt backups. This will slow down your backup when you are first time backing up your Mac to NAS.
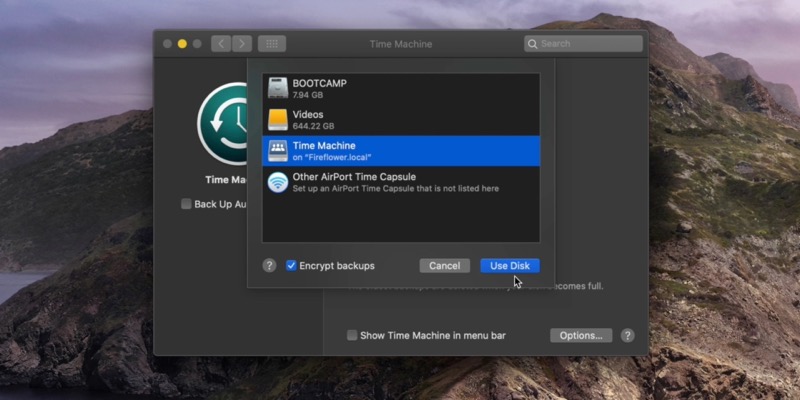
5. Click Use Disk.
6. Click Connect and then provide your username and password for the shared folder on DSM.
7. Click Connect and Time Machine will start backing up your system and your data shortly.
If Time Machine backup fails after upgrading to macOS Sequoia with your NAS, you're suggested to follow the steps again to re-establish the connection between the NAS and your Mac.
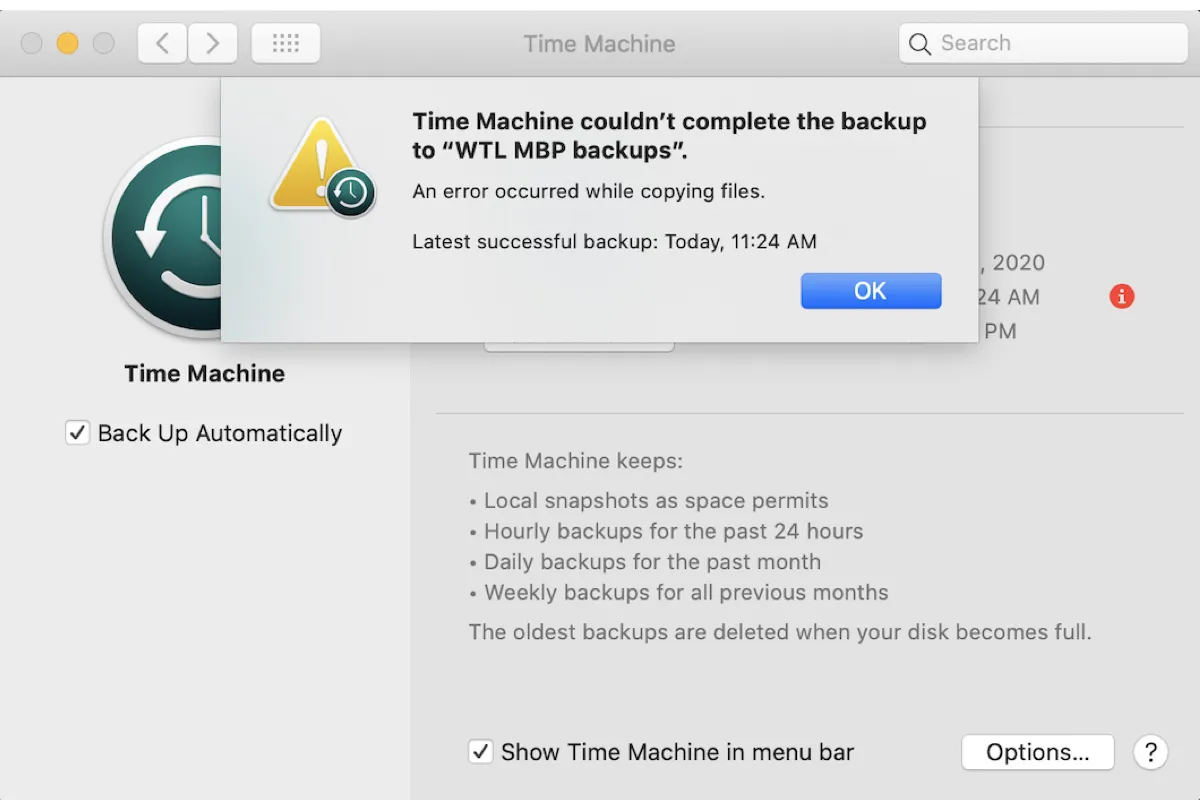
If you encounter the error that reads "Time Machine couldn't complete the backup," you can fix it with the solutions in this guide. It tackles the various causes of the error, such as insufficient space, and offers proven solutions.
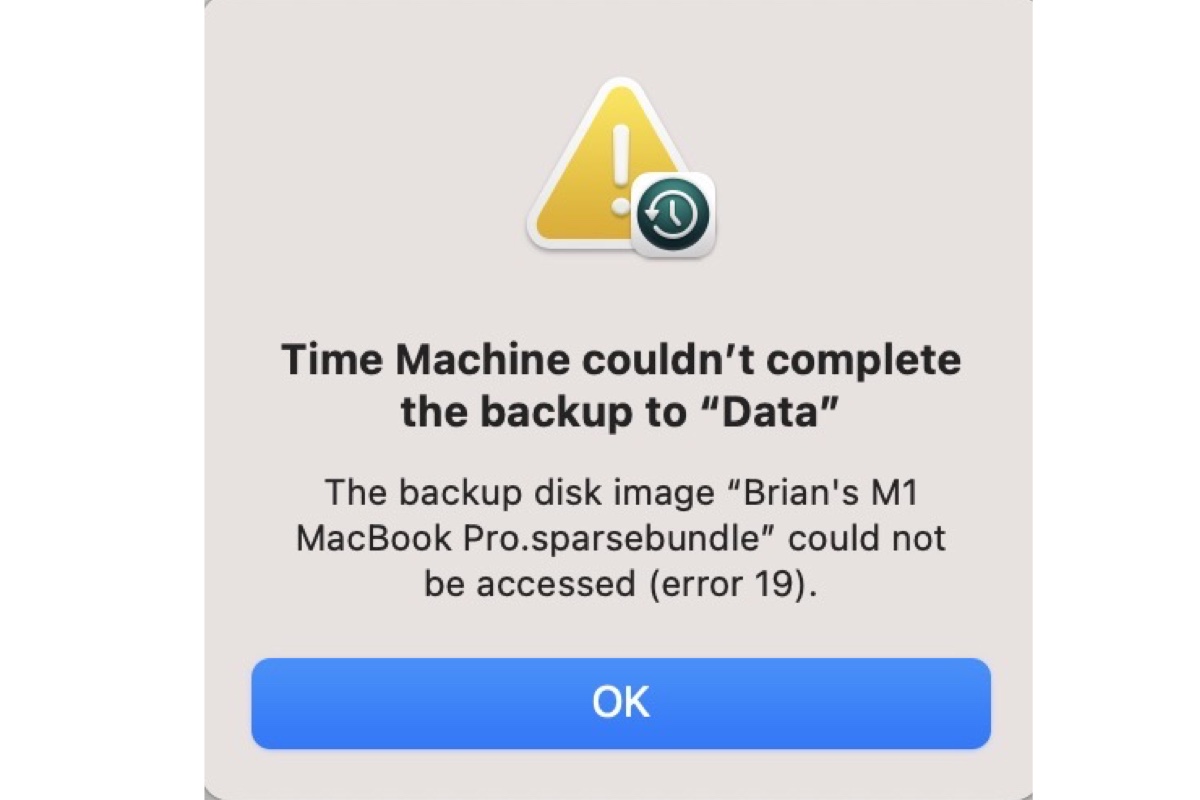
If you receive the error 16/19/112 with the message "The backup disk image could not be accessed" when initiating a Time Machine backup, keep reading this guide for solutions.
Step 3: Restore files with Time Machine backup to NAS (optional)
If you inadvertently deleted some files on your Mac and happened to empty the Trash can, you can use the Time Machine backup to NAS to restore your lost files easily.
Just like restoring files from backups on an external hard drive, you just need to connect to the NAS, open Time Machine software, and use the slider on the right side of your screen to navigate through your backed-up files. Then select the file or folder you want to get back and click Restore to restore it to the original location.
Alternative way: Clone your Mac hard drive with iBoysoft DiskGeeker
If you have an empty hard drive and don't want to use Time Machine on Mac for a continuous backup, it is recommended to clone the Macintosh HD for data backup completely. Disk clone is very helpful for intermittent backup as it doesn't require an all-time connection with your Mac computer.
iBoysoft DiskGeeker is an all-featured disk management toolkit for Mac users. The primary feature is to create a 1-to-1 copy of your startup disk to an external drive in case of data loss. It means everything on your Mac system drive including operating system files, apps, music, documents, videos, emails, archives, and many more.

Guide on How to Clone Mac Hard drive to External SSD
This article tells what Mac hard drive clone is and how to clone a hard drive on a Mac in 2 ways, including using Disk Utility and iBoysoft Mac disk clone tool. It also lists the steps on how to restore your Mac from a clone. Read more >>
How to back up your Mac by cloning your Mac hard drive:
1. Download and install iBoysoft DiskGeeker on your Mac.
2. Connect an empty external hard drive to your Mac and make sure the target disk has at least the same or larger capacity than Mac hard drive.
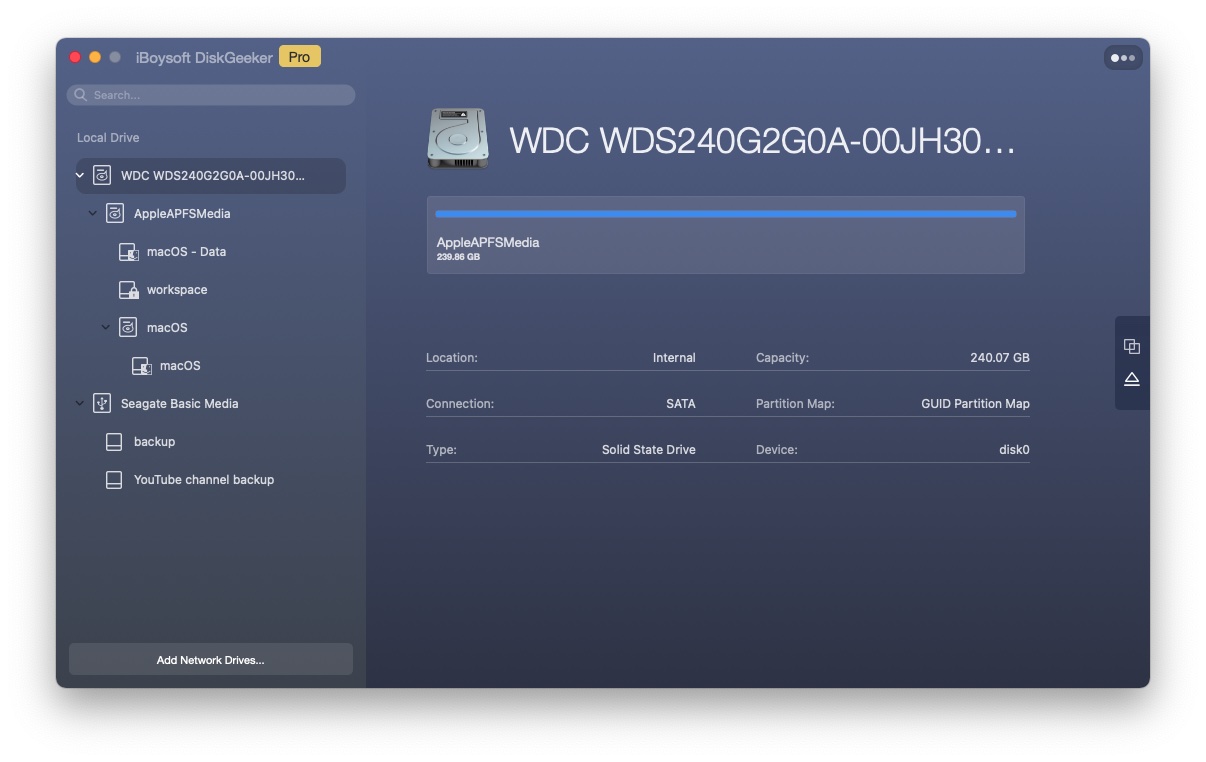
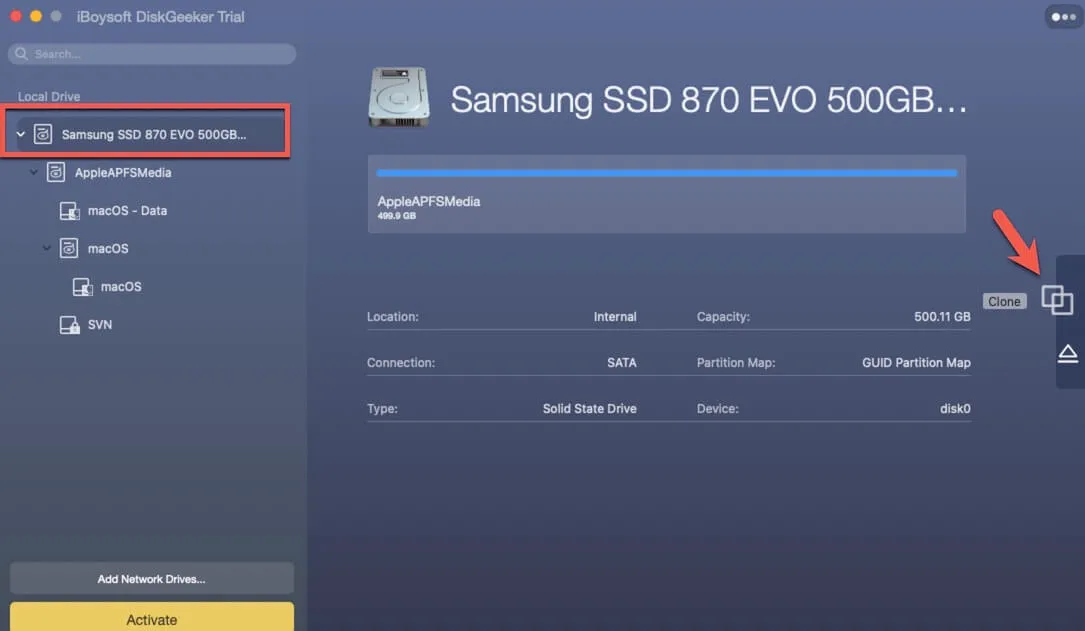
3. Launch the disk management tool by iBoysoft and select the SSD on your Mac.
4. Click Clone from the toolbar on the right side.
5. Choose the external hard drive in the pop-up and click Start Clone.
6. Wait until the clone completes and disconnect the external disk from your Mac.
Conclusion
This article explains how to back up your Mac without external hard drives. Apple allows you to create a Time Machine backup to NAS. The steps above seem to be complicated but actually are not. As long as you follow them carefully, backing up your Mac to a network drive is a very easy task.
If you feel overwhelmed by the process, try to use iBoysoft DiskGeeker to clone your Mac drive for backup.
FAQ about Time Machine backup to NAS
- QHow to use Time Machine on Mac without external hard drive?
-
A
You need to back up your Mac to a network drive or a network-attached storage device.
1. Complete the NAS or network drive setup and create a shared folder.
2. Open the Time Machine application on Mac and select the shared folder as the backup disk.
3. Keep the NAS or network drive connected to your Mac and Time Machine will back up your Mac automatically and constantly.
- QHow do I automatically back up files to a network drive?
-
A
When you set up Time Machine on your Mac, remember to check the box "Back Up Automatically". Then after you connect to your network drive on Mac, the backup will start itself in the background.
- QHow do I set up Time Machine on my Synology NAS?
-
A
Setting up Time Machine on the Synology NAS breaks up into 3 key steps:
1. Create a Time Machine shared folder on your storage volume of the Synology NAS.
2. Configure the shared folder as the Time Machine backup folder.
3. Set up Time Machine on your Mac to use your Synology NAS.