Seeing a "This computer is not authorized." message released by Apple Music or iTunes cannot be a pleasant affair, given that it interrupts your work routine and causes you annoying trouble. In reality, this trouble comes in similar forms yet happens under different scenarios. Here is a collection:
- This computer is not authorized. You must authorize this computer before you can use Apple Music or iTunes Match on this computer.
- Your computer is not authorized. You must authorize this computer from the Account menu before you can download previous purchase.
- This computer had previously been authorized, it has been re-authorized. Including this one, you have authorized 2 computers out of your available 5.
- This computer is already authorized. Including this one, you have authorized one computer out of your available 5.
- Your computer is not authorized. You must authorize this computer from the Store menu before you can download previous purchases.
- This computer is not Authorised. In order to complete this request, you need to authorize this computer. To authorize this computer, go to the iTunes Account menu and select Authorization.
- This computer is no longer authorized for apps that are installed on the iPhone "xx's iPhone". Would you like to authorize this computer for items purchased from the iTunes Store?
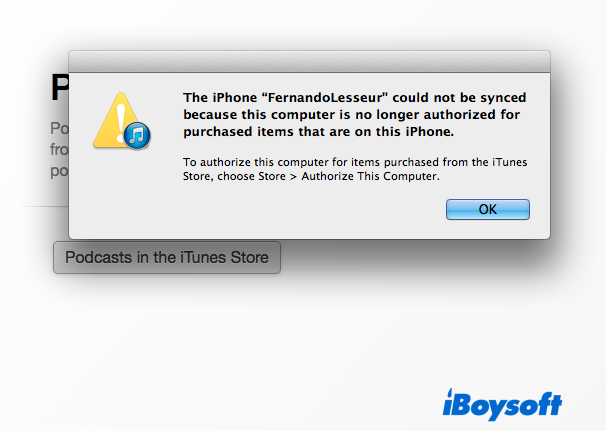
- The iPhone "xxx" could not be synced because this computer is no longer authorized for purchased items that are on this iPhone. To authorize this computer for items purchased from the iTunes Store, choose Store > Authorize This Computer.
Looks complex? Take it easy. This post is gonna get Apple Music This computer is not authorized trouble fixed completely. All you have to do is follow this article to perform the solutions provided by it.
How to fix the iTunes/Apple Music 'This computer is not authorized.' issue on Mac?
To download the previously purchased apps or files including music, videos, books, etc. successfully, we have to make the "This computer is not authorized" message disappear. Here, this post provides all possible solutions which allow you to choose from.
Quick fixes to resolve 'This computer is not authorized' on Apple Music or iTunes:
Fix 1: Analyze the space of Apple Music
Fix 2: Check the Apple ID account
Fix 3: Deauthorize useless and unwanted devices
Fix 4: Log in with an admin account
Fix 5: Delete and re-download the item that won't play
Fix 6: Delete the SC Info folder
Analyze the space of Apple Music
Mac operating system indeed allows you to view the Storage condition on your device, yet it is a summary of all installed applications and their associated files, you have no path to see the storage usage condition of each app separately.
iBoysoft MagicMenu sets a path for you to view a separate app's storage usage and allows you to remove its contained files with ease. You can apply it to know Apple Music's files and remove the troublesome ones.
Step 1: Download and install iBoysoft MagicMenu on your computer. This process takes tens of seconds.
Step 2: Launch iBoysoft MagicMenu and download the Space Analyze extension by searching it in the top right corner.
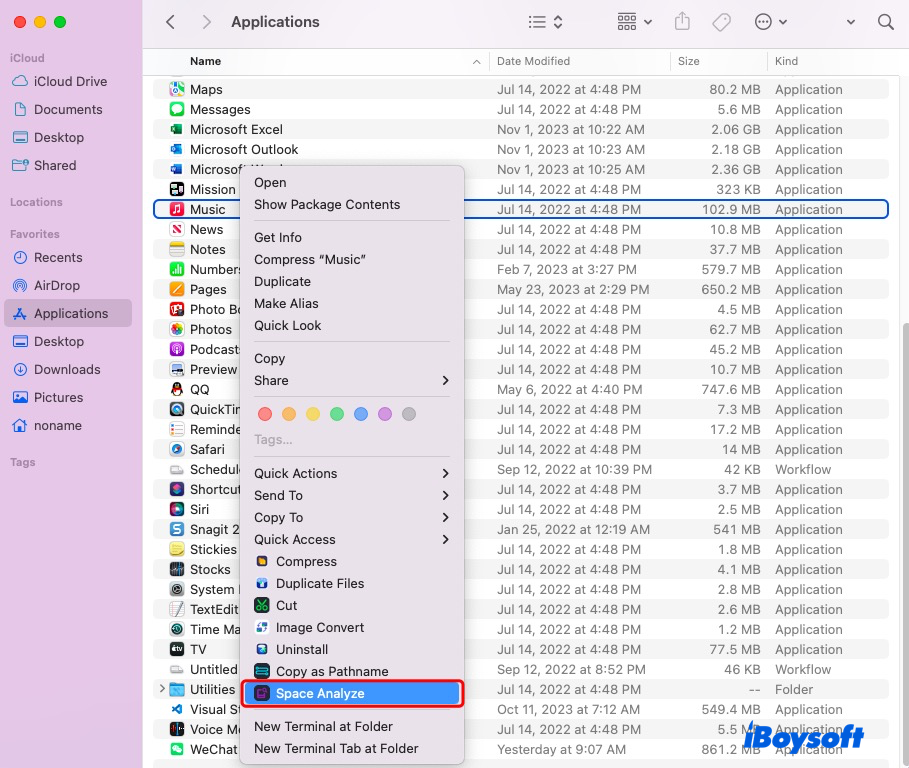
Step 3: Open Finder > Applications > Music > Right-click it to select Space Analyze on the dropdown menu.
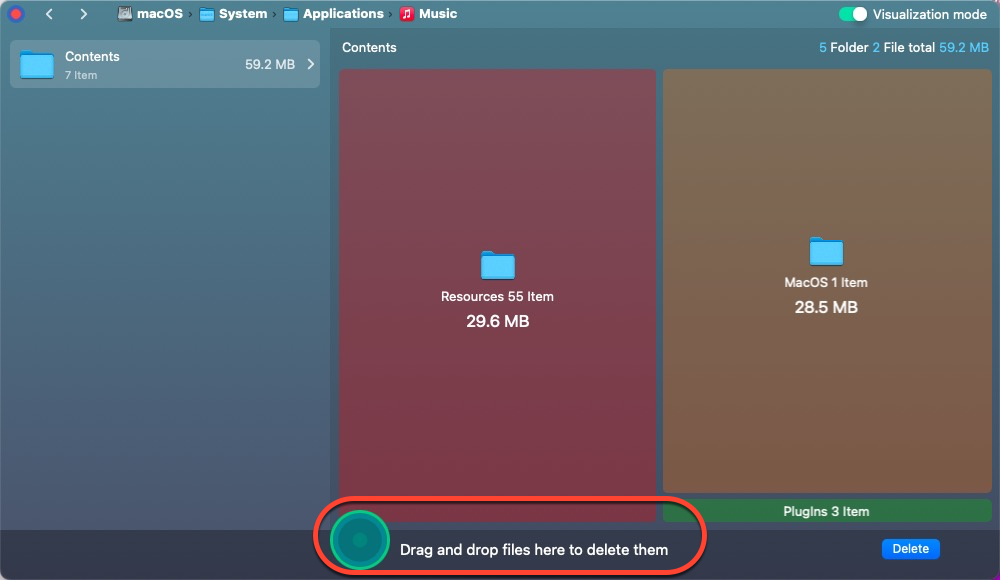
Step 4: Wait for iBoysoft to respond with the details of the content file where you can click to know what they are.
Step 5: Drag the contents to the green circle and click Delete to move them all at once. This tool is also applicable for you to free up storage space on Macintosh HD, including the system data that you can not clean in About This Mac > Storage > Manage.
If you received "This computer is not authorized." prompted by iTunes, follow the steps mentioned above to remove any problematic files in iTunes directly.
Check the Apple ID account
Once your Apple ID goes wrong or the device you're running isn't verified with Apple ID logged in, it has an impact on the purchased items on your Music or other apps included in iTunes. You ought to check the Apple ID:
- Click the Apple menu, go to System Settings, and then go to Apple ID.
- Under the Devices section, check to confirm whether you've registered your computer. If not, log in straightforwardly.
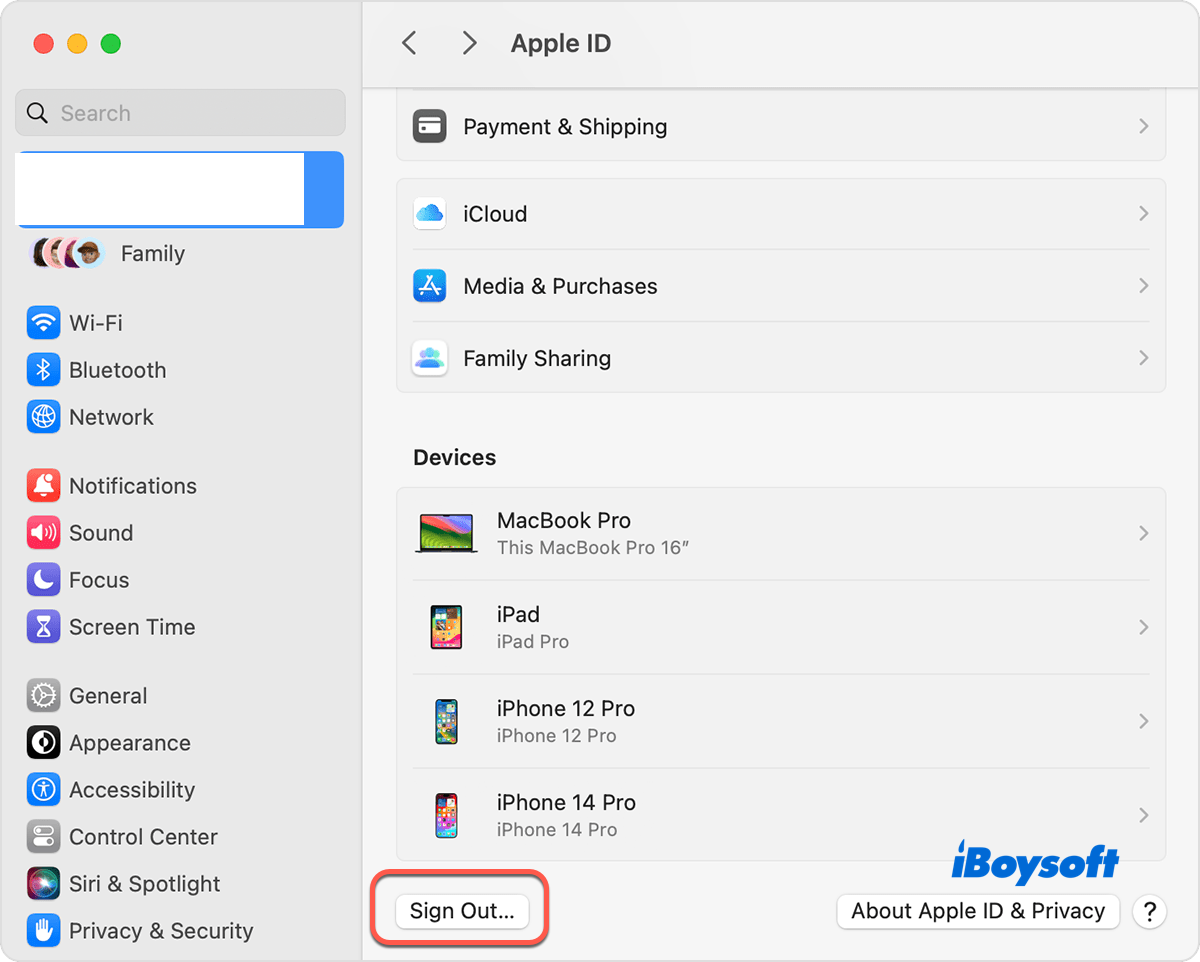
- If you find something wrong there, log out of your Apple ID and re-login to isolate the error.
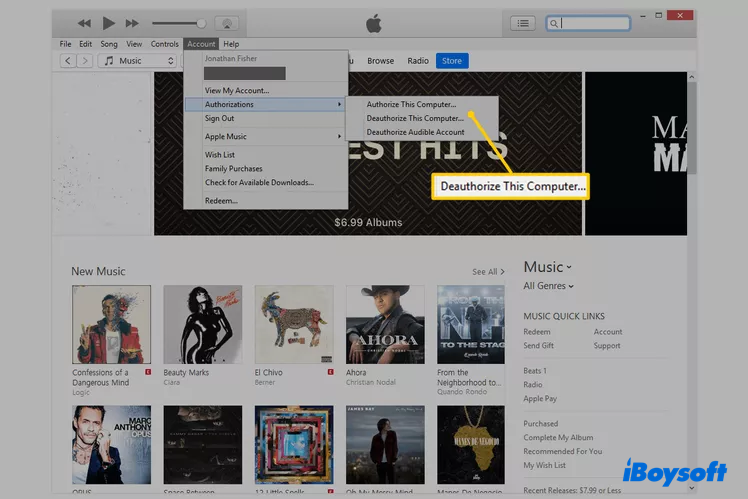
Deauthorize useless and unwanted devices
Apple Music or iTunes has a limitation for available devices, you fail to authorize your computer if verified device numbers reach the limitation already. You therefore have to remove the useless device first.
- Open Music on your computer.
- Account > Account Settings.
- Sign in with your Apple ID account and look for Computer Authorizations.
- Tap Deauthorize All and add your current computer to it.
Now we need to authorize this computer to use Apple Music as you wish:
- Open Apple Music (or iTunes), go to Authorization > Authorize this computer.
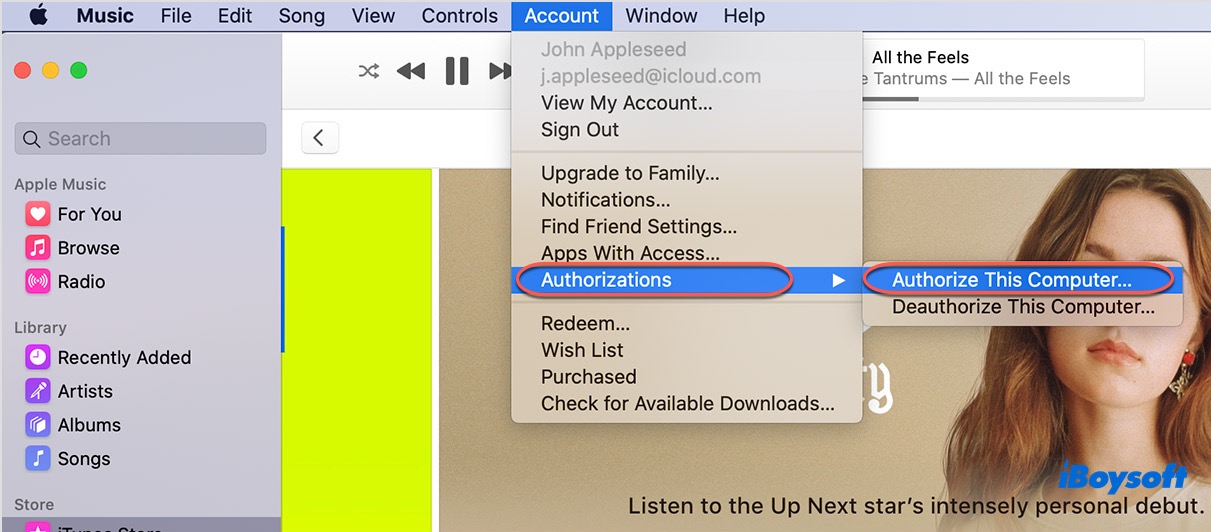
- Quit Apple Music and re-launch it for a seamless experience.
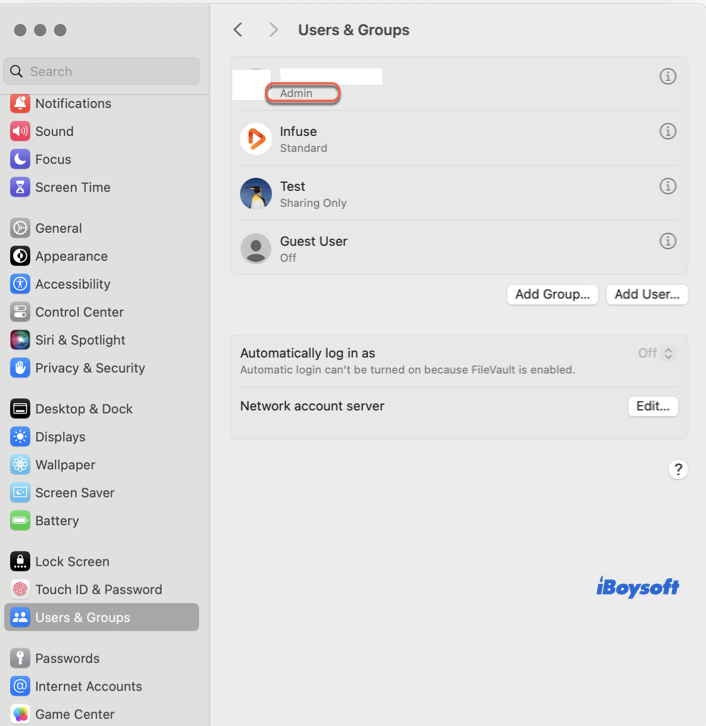
Log in with an admin account
Admin account means that you get all access to your Mac computer, including the purchased items in Apple Music or iTunes.
You can check if you're logged in with an admin account here:
Apple menu > System Preferences > Users & Groups > then find if the account you're logged in shows Admin under its name.
If you're not using an admin account, switch to it: Apple Menu > Log Out xxx(account name). After that, log into the admin account right now!
Delete and re-download the item that won't play
You can remove the items like songs, videos, books, or more that refuse your access from your device and download them again.
Step 1: Open Apple Music or iTunes and locate the item that denies your access.
Step 2: Control-click it or them and select Delete From Library in the dropdown menu.
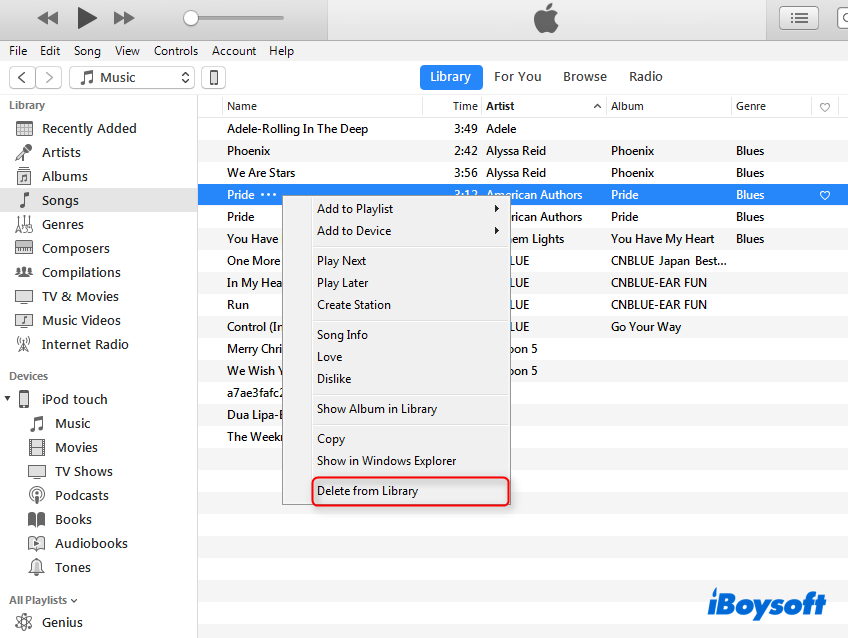
Step 3: To re-download an item, you can download or add the file to your computer. Then, double-tap on it. The Apple Music app should open, and you can play your track again.
Delete the SC info folder
The SC info folder contains all authorization details of your iTunes account. Deleting it from your Mac will make the pre-installed Apple Music/iTunes get ready for the next work routine.
Please follow the steps below carefully and do not delete the file mistakenly.
Step 1: Launch Terminal and run the following command line to make the files show up. Don't forget to hit Enter to make it run.
defaults write com.apple.finder AppleShowAllFiles TRUE
Step 2: Type the following command and hit Enter again.
killall Finder
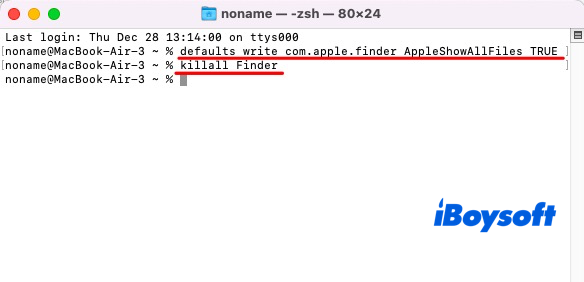
These two command lines will make the SC Info visible in Finder.
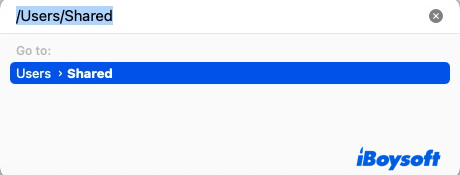
Step 3: Open Finder > Go > Go to Folder > /Users/Shared.
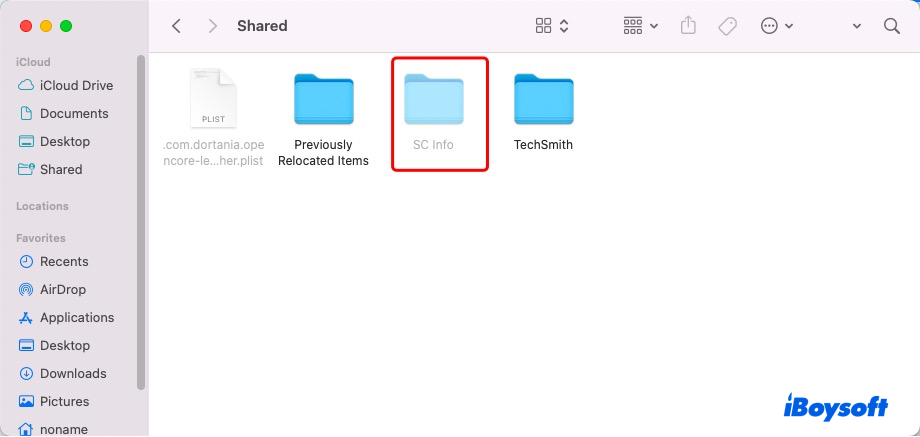
Step 4: Navigate SC Info in the Finder window and then drag it to Mac Trash.
Step 5: Relaunch Apple Music or iTunes and I bet "This computer is not authorized." will not come out anymore!
Reinstall iTunes
This method is only applicable to the ones who receive "This computer is not authorized" prompted by iTunes frequently, given that Apple Music does not support a removal from Mac.
Note that this complete uninstallation will reset iTunes to its default state when it comes with your Mac, and you will have blank playlists and an empty music library. So you'd better make a full backup previously.
Step 1: Go to Finder, select Applications, and double-click the Utilities folder.
Step 2: Launch Activity Monitor from the Utilities folder.
Step 3: In Activity Monitor, double-click iTunesHelper. In the window that opens, click Quit.
Step 4: Boot your device into macOS Recovery Mode based on your computer processor (Intel or Apple Silicon).
Step 5: Select Utilities > Terminal to open Terminal in macOS Recovery Mode.
Step 6: Type the command line below and press the Return key to disable the System Integrity Protection.
csrutil disable
Note: Disabling SIP puts your Mac at a considerably higher risk of malware/virus attack.
Step 7: Type the command line below and press Return to mount the folder as writable.
sudo mount -uw/System/Applications
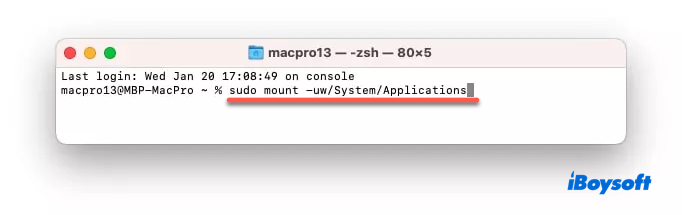
Step 8: Enter your Mac administrator password to proceed.
Step 9: Type the following command line and press Return to delete iTunes.
sudo rm -rf iTunes.app/
Step 10: Restart your Mac.
Step 11: Boot into macOS Recovery mode and enable SIP to secure your Mac.
Step 12: Launch Terminal, type the command line below, and press the Return key to enable System Integrity Protection.
csrutil enable
Now you can reinstall iTunes on your computer one more time:
- Download the latest version of iTunes 12.8.3 here.
- Launch the installer and follow this instruction on your screen.
If you have fixed "This computer is not authorized" successfully, why not share your joy with your followers?
Final words
The "This computer is not authorized" notification is so common that many users have reported experiencing that in various scenarios online, it can happen on books, songs, videos, apps, etc purchased on iPhone or iPad yet deny your access on the Mac end.
Luckily, this article offers you all workable solutions to make this notification vanish and access Apple Music or iTunes with no obstacles. If you're trapped in this question also, do not hesitate and try the fixes in this post!