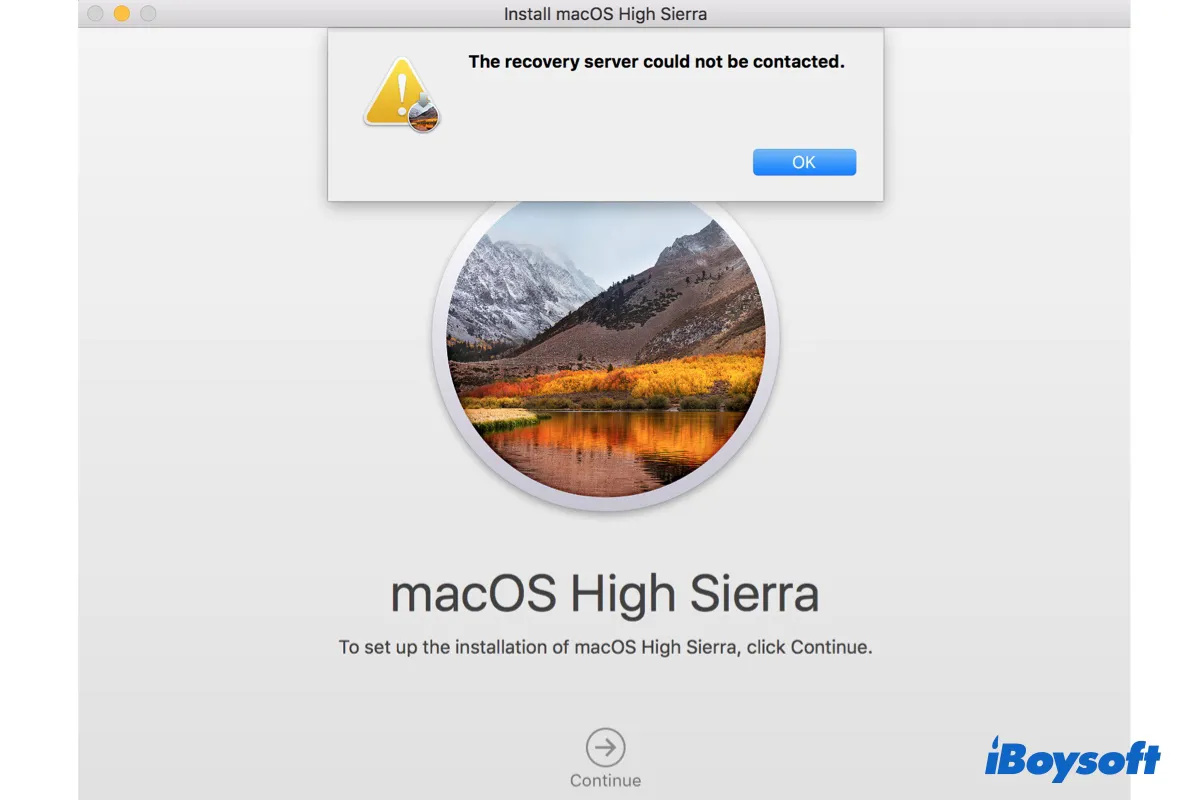
"The recovery server could not be contacted." is one of the common errors you may encounter when installing, updating, or reinstalling macOS on your Mac or Hackintosh. It has been reported to occur on macOS Sonoma, Ventura, Monterey, Big Sur, Catalina, Mojave, High Sierra, and Sierra.
﹒macOS High Sierra Won't Install, Update or Reinstall
Here, we'll discuss the reasons and solutions for "The recovery server could not be contacted."
| Fixes to "The recovery server could not be contacted" when reinstalling macOS High Sierra or later | Quick Steps |
| Ensure your internet connection is working | Switch to a stable WiFi or cable connection |
| Check Apple server status | 1. Visit Apple's server status page. 2. Ensure "macOS Software Update" is working. |
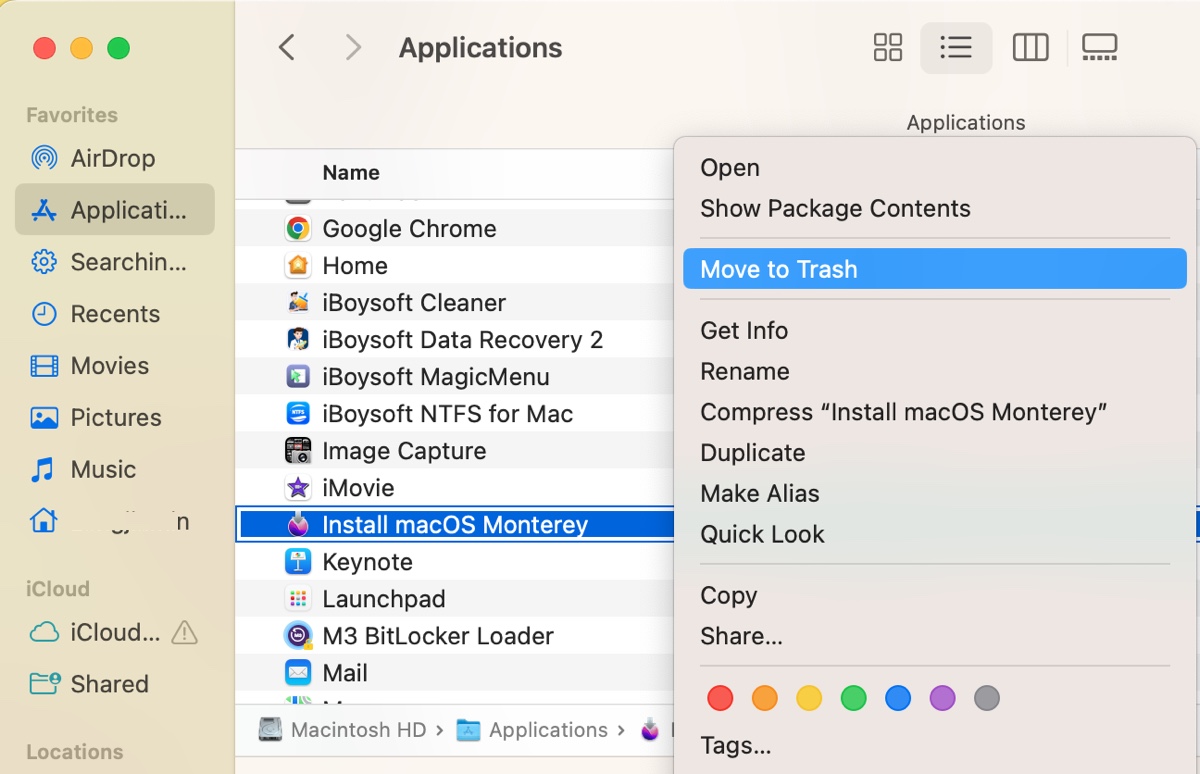
| Delete the installer and install it from the App Store | 1. Right-click the installer on your Applications folder. 2. Select "Move to Trash" and empty the trash. 3. Redownload from the App Store. |
| Install macOS in Internet Recovery | 1. Hold Option-Command-R while rebooting your Intel Mac. 2. Release the keys when you see the spinning globe. 3. Click "Reinstall macOS." |
| Install macOS from Terminal | 1. Open Terminal. 2. Run softwareupdate -l. 3. Run softwareupdate --install 'label' with the desired version. |
| Synchronize your Mac's date with the Apple server | 1. Open the Apple menu > System Settings/Preferences. 2. Turn on "Set date and time automatically." 3. Turn on "Set time zone automatically using your current location." |
| Erase your Mac | 1. Boot into macOS Recovery. 2. Open Disk Utility. 3. Click View > Show All Devices. 4. Select the internal physical disk and click Erase. |
| Install from a macOS bootable installer | 1. Plug in the macOS bootable installer. 2. Boot from it. 3. Select the installer and click Continue. 4. Click "Install macOS." |
What does 'The recovery server could not be contacted' mean?
Suppose you receive the error "The recovery server could not be contacted" when installing macOS. In that case, it usually means that your Mac has tried to connect to the Apple server, which is required to download the macOS installer or the updates to your current macOS version, but failed.
Here are some culprits that may prevent your Mac from contacting the Apple server and result in "The recovery server could not be contacted" on Mac.
- The internet connection on your Mac is disconnected or unstable.
- The date and time on your Mac don't match those of the Apple server.
- The Apple recovery server is overloaded.
Now that you have a sense of the causes, read on to find out the solutions.
How to fix 'The recovery server could not be contacted' on Mac?
This section will present you with all the proven fixes to the error.
Since each case is different and you could get the error "The recovery server could not be contacted" when reinstalling macOS after erasing your Mac, updating macOS from the Software Update setting, or in other scenarios, some of the solutions may be more useful to others than you.
Anyway, it's recommended to read through the below solutions and try those applicable to your case until the error is resolved.
Solutions to "The recovery server could not be contacted" for macOS High Sierra, Mojave, Catalina, Big Sur, Monterey, Ventura, Sonoma:
- Fix 1: Ensure your internet connection is working
- Fix 2: Check Apple server status
- Fix 3: Delete the installer and install it from the App Store
- Fix 4: Install macOS in Internet Recovery
- Fix 5: Install macOS from Terminal
- Fix 6: Synchronize your Mac's date with the Apple server
- Fix 7: Erase your Mac
- Fix 8: Create a macOS bootable installer
Ensure your internet connection is working
An internet connection is necessary to contact the recovery server, so you must ensure your Mac is connected to a stable WiFi network. Click the WiFi menu in the top-right menu bar and select your WiFi network. If it's already selected, disconnect it and reconnect it again.
You can retry the installation now. If the error persists, consider switching to a different WiFi or using a wired connection with an ethernet cable. It's also a good idea to power cycle your router or modem and wait a few minutes to reconnect to your WiFi.
Check Apple server status
Though not common sometimes the issue lies on the server's end, especially when too many users request for the installer. You can check Apple's status page to see if relevant servers like macOS Software Update are not operating normally. If it is, the only thing you can do now is to wait and try again later.
Delete the installer and install it from the App Store
If the error appears when you are trying to update or upgrade macOS, you can likely eliminate the error by deleting the downloaded installer from your Applications folder and redownloading the full installer through the App Store or the links in this guide.
Note that if you receive the error "The recovery server could not be contacted" when updating to macOS Ventura from the Software Update pane, you don't need to delete the installer first, as it doesn't save the installer.
Keep running the installer a few times if the first attempt doesn't work properly, as some managed to succeed on the third or fourth try.
Install macOS in Internet Recovery
Alternatively, you can install macOS in Internet Recovery mode if you have an Intel-based Mac. Booting into Internet Recovery will allow you to install the latest macOS version compatible with your Mac. It will not remove your data if you don't erase your Mac.
- Shut down your Mac.
- Press the power button, then immediately press and hold Option + Command + R.
- Release the keys when you see the spinning globe.
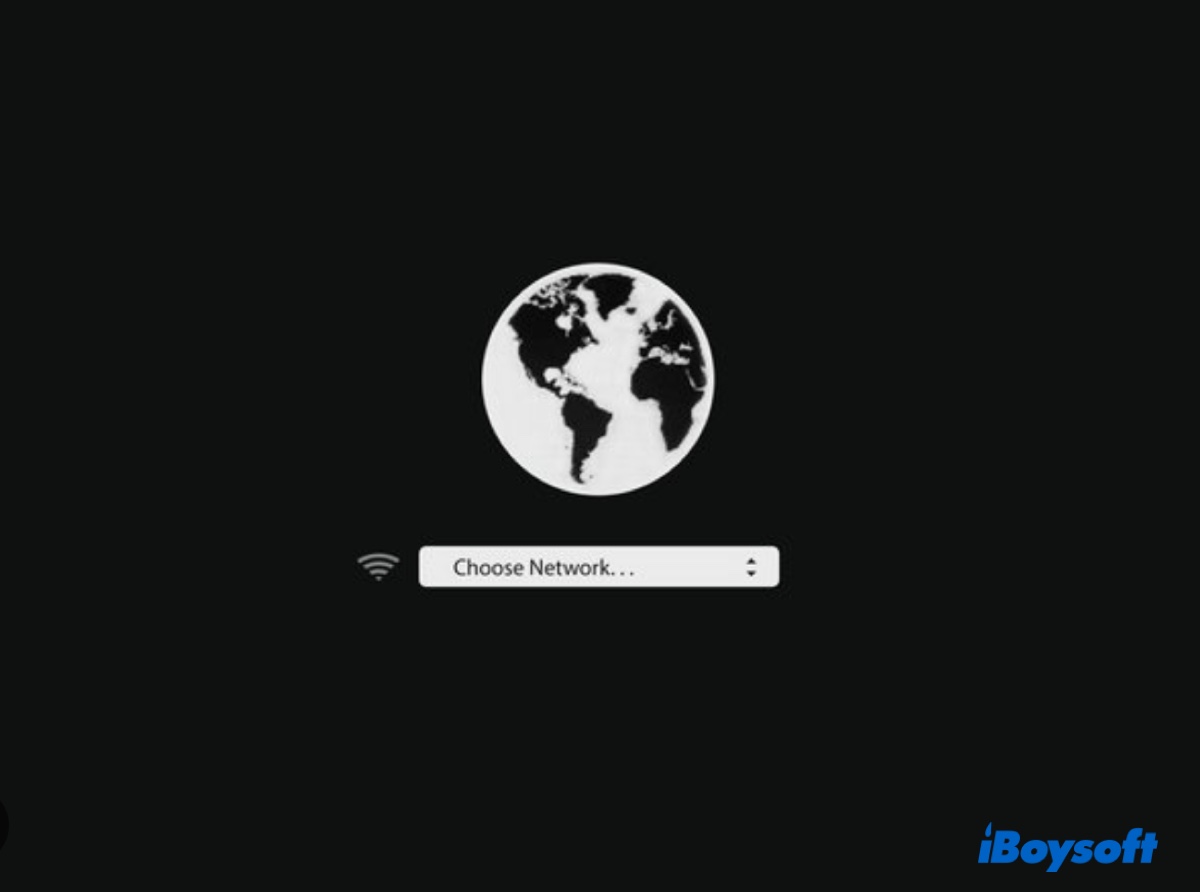
- Choose a working WiFi network. (If you use an ethernet connection, you don't need to select a WiFi.)
- Select your account and enter your password if required.
- Click "Reinstall macOS" and follow the onscreen instructions install macOS.

Suppose your Mac still says "The recovery server could not be contacted" on macOS High Sierra or later; repeat the steps above but change the keyboard combination to Shift + Option + Command + R to install the macOS version shipped with your Mac or the closest available version. You can upgrade it in Software Update to the latest version compatible with your Mac afterward.
Install macOS from Terminal
You can also update your Mac by executing two simple commands in the built-in Terminal app. Here's how to do it.
Fix "The recovery server could not be contacted" on MacBook:
- Launch Terminal from the Applications > Utilities folder.
- Type the following command and hit Enter to list available updates to your Mac.softwareupdate -l
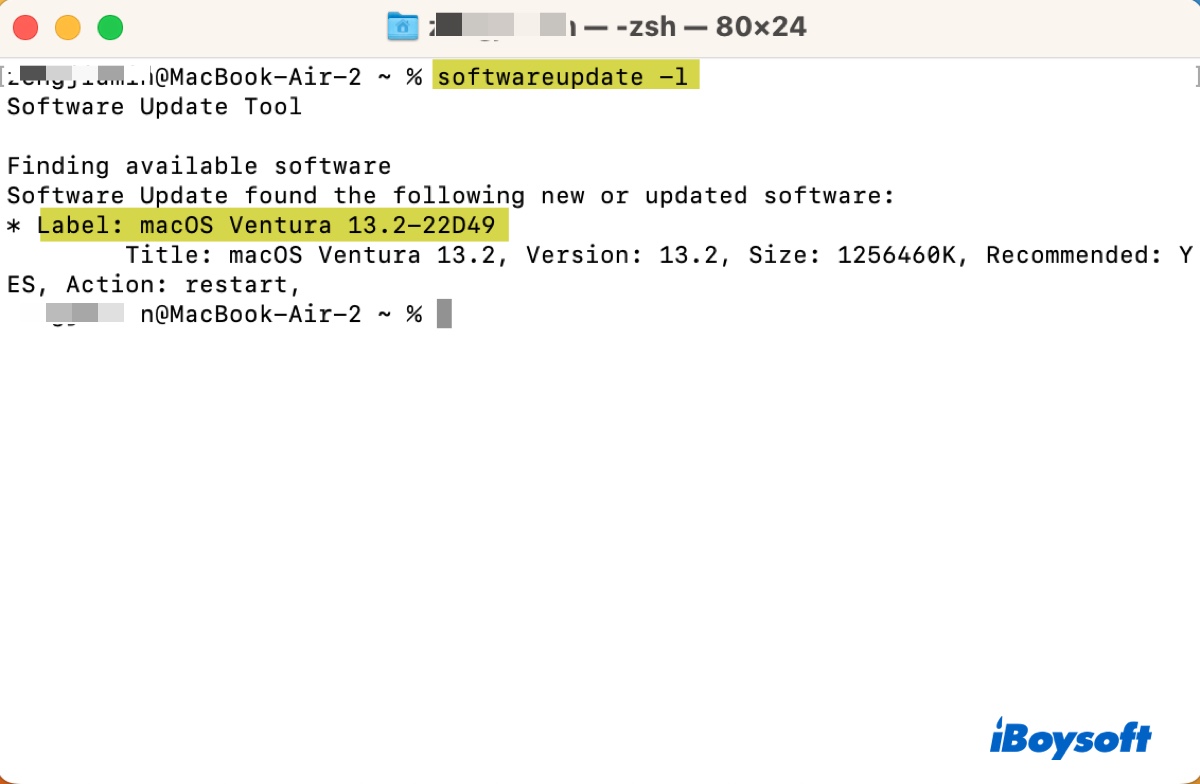
- Run the command below to download and install a specific update in the list.softwareupdate --install 'label'
Note that you need to replace 'label' with the update you want to install and enclose the label in single quotes. For instance, if you want to install macOS Ventura 13.2-22D49, the command should be softwareupdate --install 'macOS Ventura 13.2-22D49'
Synchronize your Mac's date with the Apple server
Contacting the Apple server needs reasonable clock synchronization. If the date and time on your Mac aren't properly synced with the Apple server, the macOS installation like macOS High Sierra can't connect to recovery server. To fix the error, you must reset the date and time settings.
If you can still boot up your Mac to the desktop, you can configure your Mac to set the date and time automatically.
Fix "The recovery server could not be contacted" on macOS Ventura/Sonoma:
- Go to the Apple menu > System Settings.
- Click General > Date & Time.
- Toggle "Set date and time automatically" on.
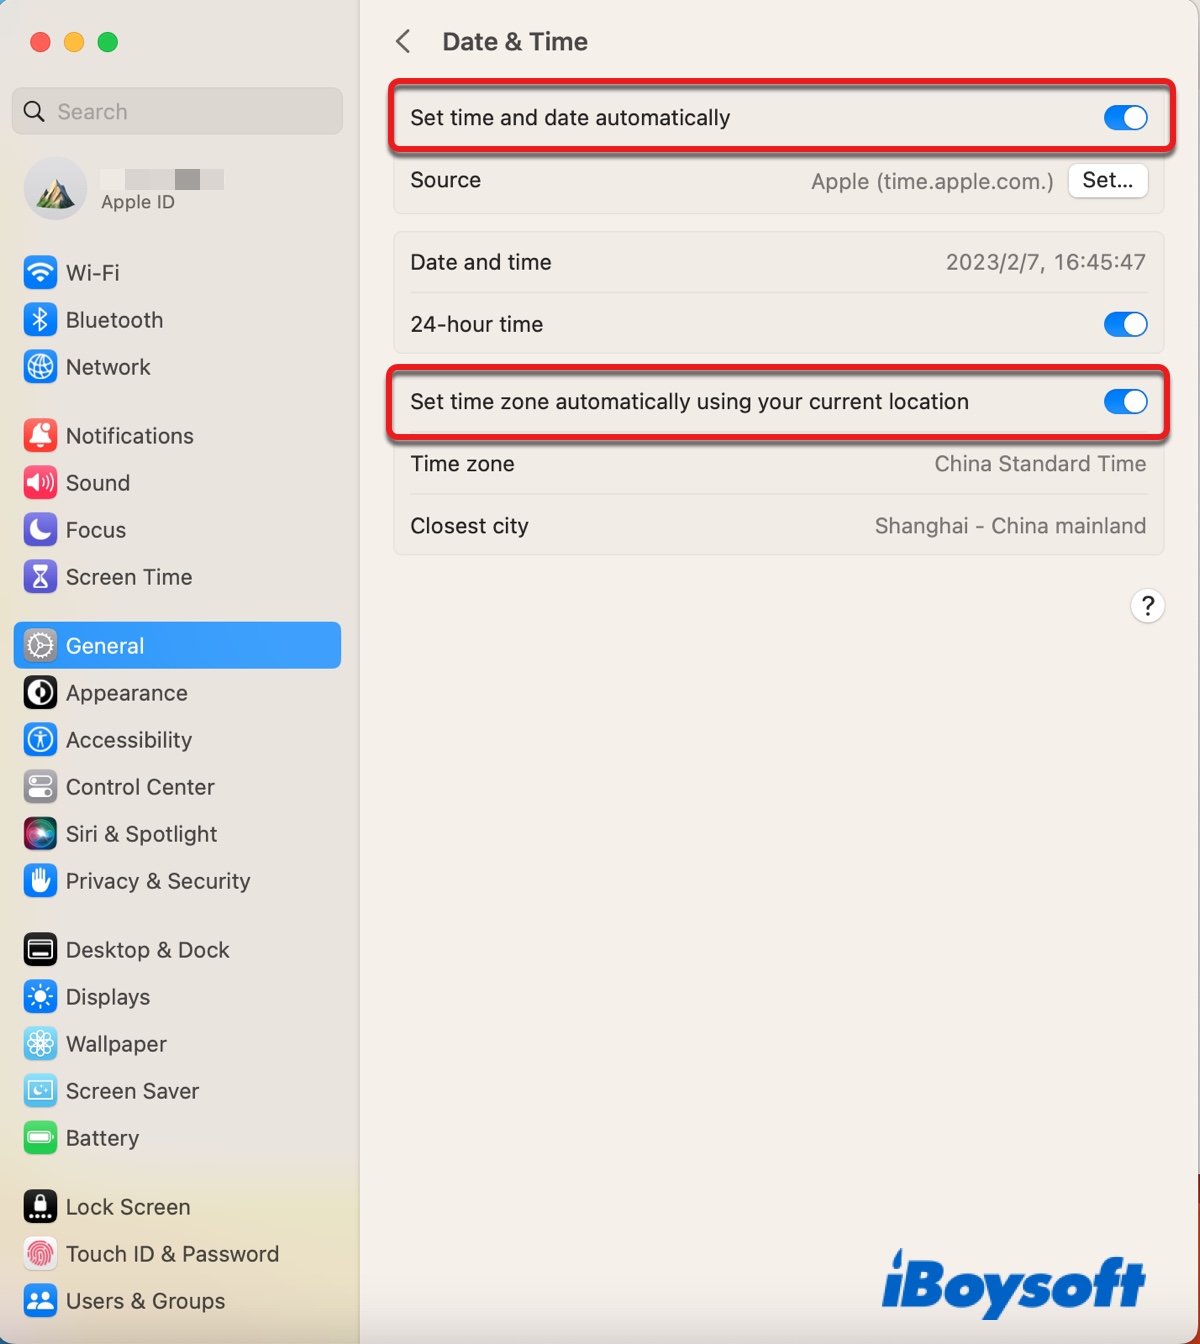
- Toggle "Set time zone automatically using your current location" on.
Fix "The recovery server could not be contacted" on macOS Monterey, Big Sur, Catalina, Mojave, or High Sierra:
- Go to the Apple menu > System Preferences.
- Click Date & Time.
- Tap the yellow padlock and enter your password.
- Click Date & Time.
- Enable "Set date and time automatically."

- Click Time Zone.
- Enable "Set time zone automatically using your current location."
If you're in Recovery Mode, you can adjust your Mac's date to the actual time in Terminal, which you can access by selecting Utilities > Terminal from the top menu bar after clicking the OK button on the error and returning to the macOS Utilities window.
Some recommend running the command below in Terminal to synchronize with the server. But both of them failed with the error command not found: ntpdate on my Mac running Ventura. Give them a try if you get "The recovery server could not be contacted" when installing High Sierra or Sierra:
ntpdate -u time.apple.com
sudo ntpdate -u time.apple.com
I've also tried the following command, which returns "sntp: Clock select failed." Still, if you receive "The recovery server could not be contacted" while installing Mojave, Catalina, Big Sur, or Monterey, it may work for you.
sudo sntp -sS time.apple.com
If none of the above commands did the trick, you can manually correct the date and time using the steps below.
- In Terminal, type the following command and press Enter to see your Mac's current date and time.date
- If the date and time are incorrect, execute the following command to correct them.sudo date mmddhhmmyyFor instance, if it's Feb 7, 05:19 p.m. 2023, type date 0207171923. If using the correct local time doesn't work, try the current UTC time.
- Enter your administrator password and hit Enter. (The password you type into Terminal won't be visible.)
- Close Terminal and try reinstalling macOS again.
Tips: If you want to install a really old OS like macOS High Sierra, try setting the date back to the time when it was released.
Erase your Mac
If macOS exhibits the message "The recovery server could not be contacted" when you attempt to reinstall macOS, you might have already erased your Mac. If so, you can skip this solution after you're certain that your Mac is formatted with the correct format and scheme.
Otherwise, you can erase your startup disk and clean install the operating system to get rid of the error. It's noteworthy that doing so will remove all data on your Mac. Therefore, you should back up your Mac with Time Machine or other ways before taking action.
- Boot into Mac Recovery Mode.
- Open Disk Utility > Continue.
- Click View > Show All Devices.
- Select the top-level disk (usually named similar to Apple SSD) and click the Erase button.
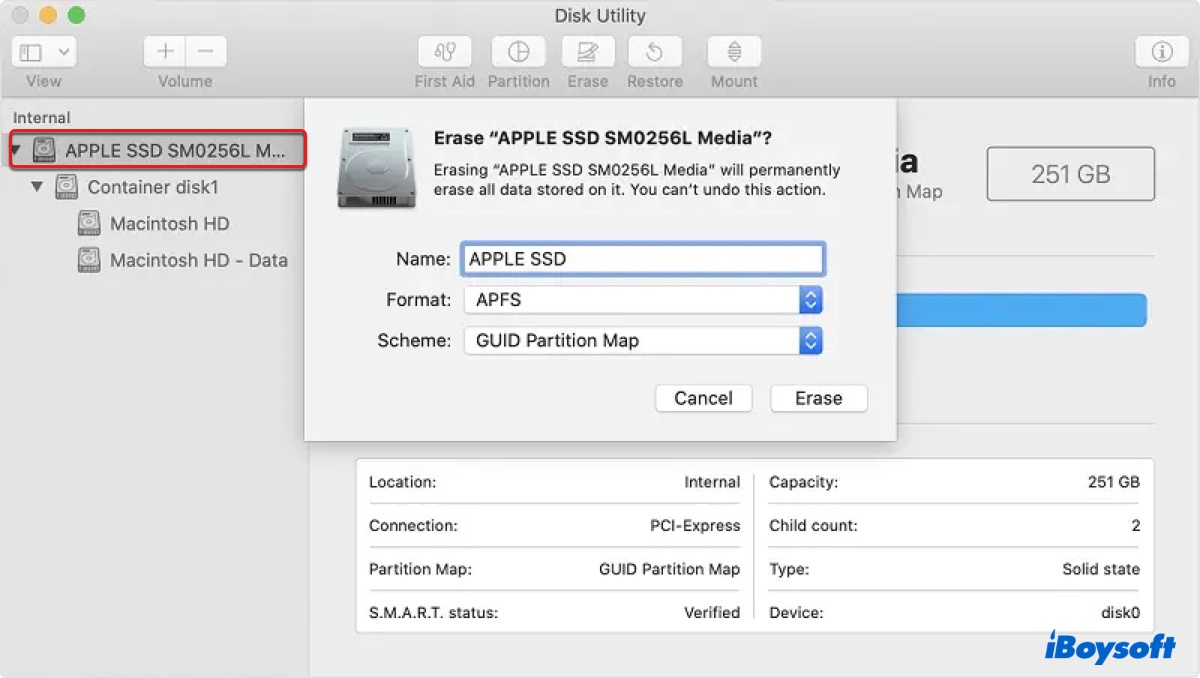
- Give it a name, such as Macintosh HD.
- Choose APFS as the format if you wish to reinstall macOS 10.12.4 Sierra or later. Otherwise, select Mac OS Extended (Journaled).
- Set the scheme to GUID Partition Map.
- Click Erase again.
- Exit Disk Utility and click "Reinstall macOS" to get the installation.
If, unfortunately, the error "The recovery server could not be contacted" recurs after erasing your Mac, move on to the next solution.
Create a macOS bootable installer
If none of the above solutions have resolved the issue, you can install macOS from a bootable installer. To create the macOS bootable installer, you will need an external storage media like a USB flash drive with at least 14GB of storage, formatted as Mac OS Extended.
Since reformatting the drive will delete data on it, you should get the essential files off the drive first. Then, take the steps below.
- Create a macOS bootable USB installer.
- Insert the installer into the Mac you want to install macOS.
- Ensure your Mac is connected to the internet.
- Shut down your Mac.
- Boot from the USB installer.
On an Intel Mac: Turn on your Mac and immediately press and hold the Option key until your bootable volumes appear.
On an Apple Silicon Mac: Press and hold the power button until your bootable volumes show up. - Select the volume containing the installer and click the up arrow or Continue.
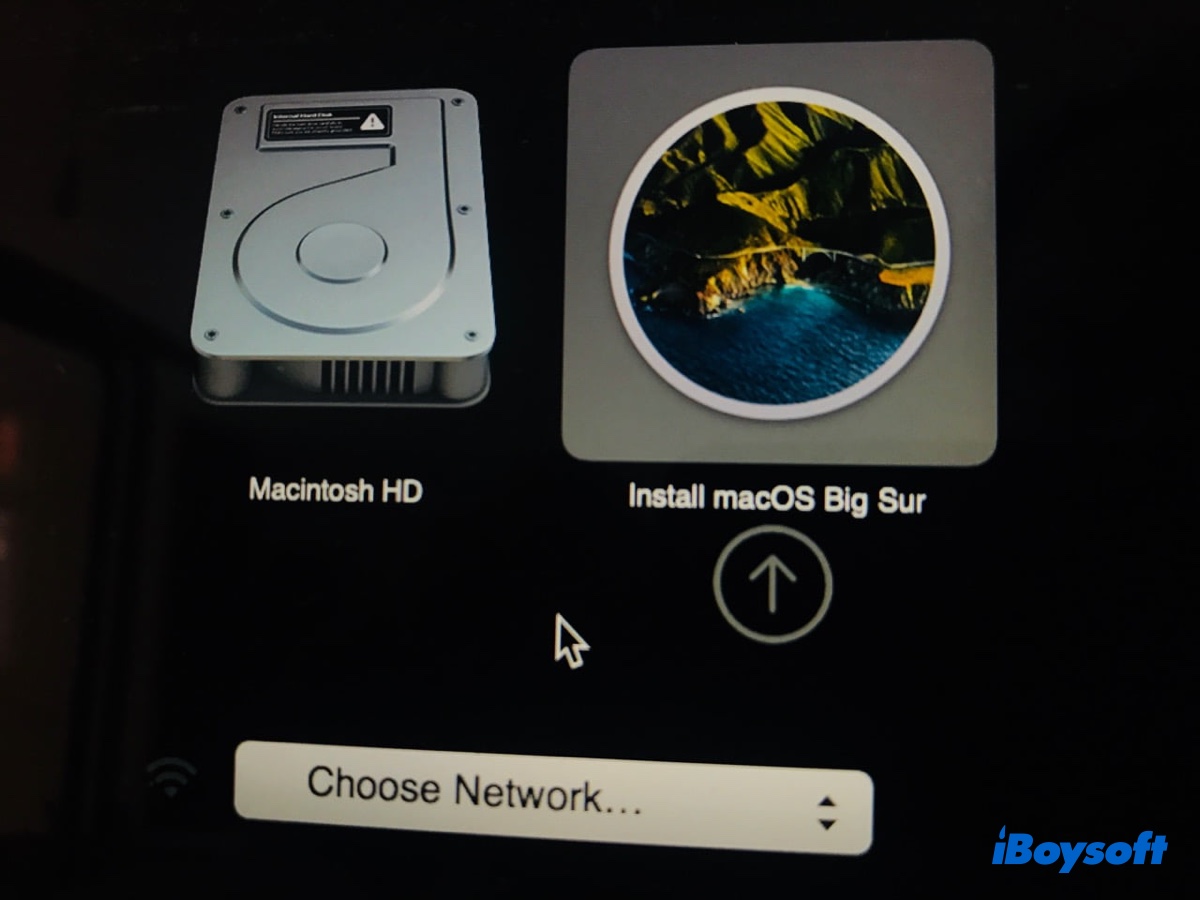
- Choose "Install macOS" and click Continue if necessary, then follow the onscreen instructions.
Problem solved? Share this post to help more Mac users eliminate "The recovery server could not be contacted" when reinstalling macOS High Sierra or a later version.
How to recover lost data after the macOS update or installation?
If you notice essential data lost or missing after fixing the error "The recovery server could not be contacted" and successfully updating your Mac or reinstalling macOS, you can get them back utilizing iBoysoft Data Recovery for Mac.
This data recovery software is one of the best programs in the market that excels in recovering data lost due to macOS updates, macOS reinstallation, factory reset, a clean install of macOS, etc. from Intel and Apple Silicon (M1 & M2) Macs.
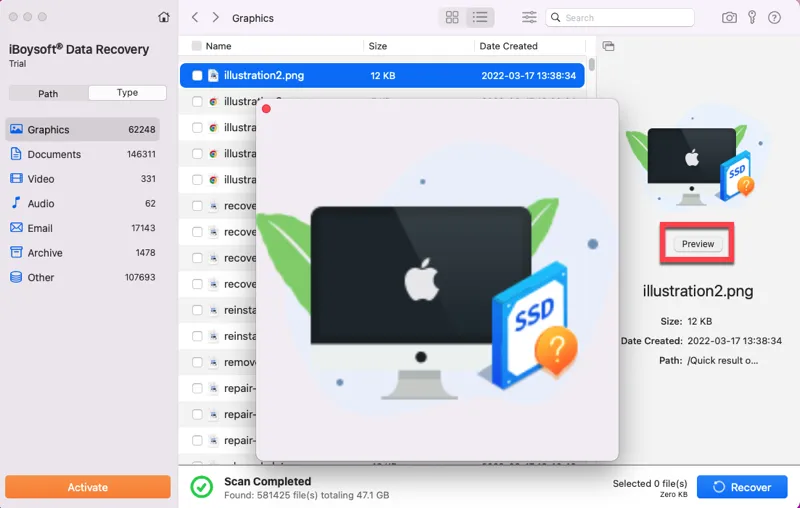
It supports all types of files, such as photos, videos, documents, emails, audio, etc. You can use it to preview the recoverable files before recovery for free.
Here are the simple steps to retrieve your lost or missing data on Mac:
Step 1: Free download and install iBoysoft Data Recovery for Mac.
Step 2: Launch the software, select your internal hard drive, and click "Search for Lost Data."
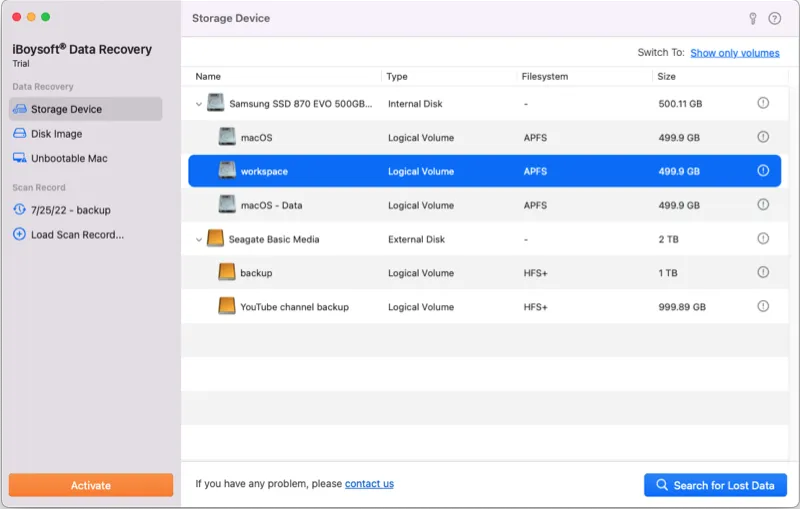
Step 3: Free preview the found files.
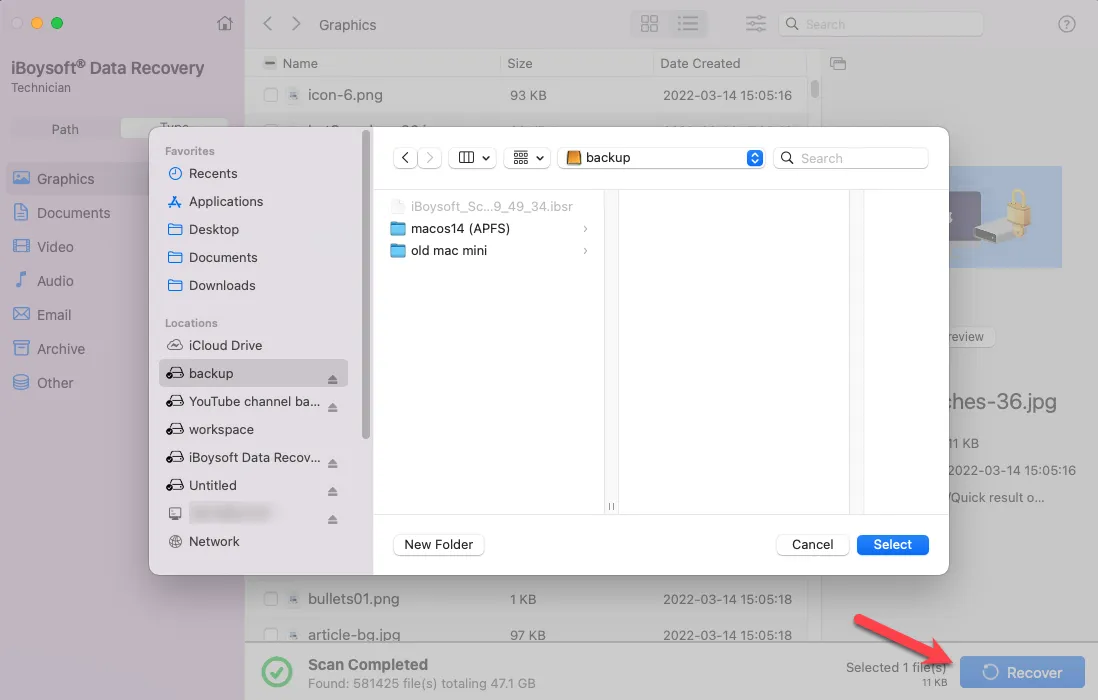
Step 4: Tick the checkboxes before the files you want to get back, then click the Recover button and save them to a different storage device.
Please share this post if you find it helpful.
FAQs about 'The recovery server could not be contacted'
- QWhat to do when your MacBook says the recovery server could not be contacted?
-
A
To fix "The recovery server could not be contacted" issue on your MacBook, try the following solutions:
Fix 1: Ensure your internet connection is working
Fix 2: Check Apple server status
Fix 3: Delete the installer and install it from the App Store
Fix 4: Install macOS in Internet Recovery
Fix 5: Install macOS from Terminal
Fix 6: Synchronize your Mac's date with the Apple server
Fix 7: Erase your Mac
Fix 8: Install macOS from a macOS bootable installer
- QHow to fix the recovery server could not be contacted when reinstalling macOS?
-
A
If you encounter the error "The recovery server could not be contacted" when reinstalling macOS, try disconnecting and reconnecting the WiFi network or booting into Internet Recovery Mode.
- QWhy is my Macbook saying it cannot connect to the server?
-
A
When your MacBook says it can't connect to the server, it indicates that your Mac has internet issues or the server is busy, shut down, or has other problems.